Halloween Pumpkin Carving Contest · Starts October 1st · $500 in prizes
← Back to ideas
@ai_concepts
Sep 25, 2026
Ornate Celestial Pumpkin With Sun Moon and Five StarsAI
0

Report this carving

Tell us what is wrong. Reports are private.

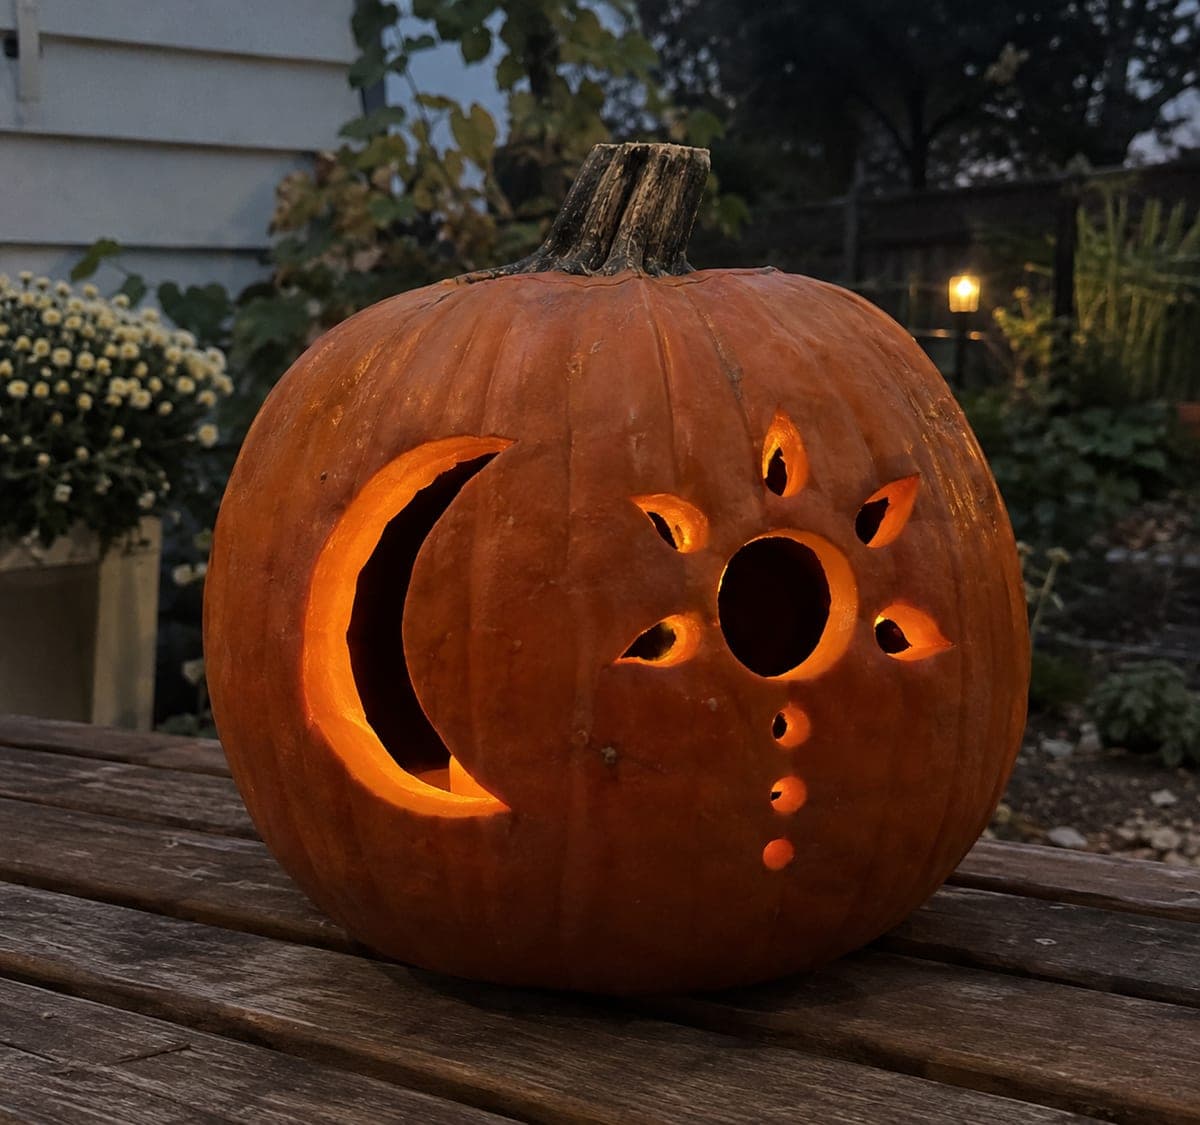
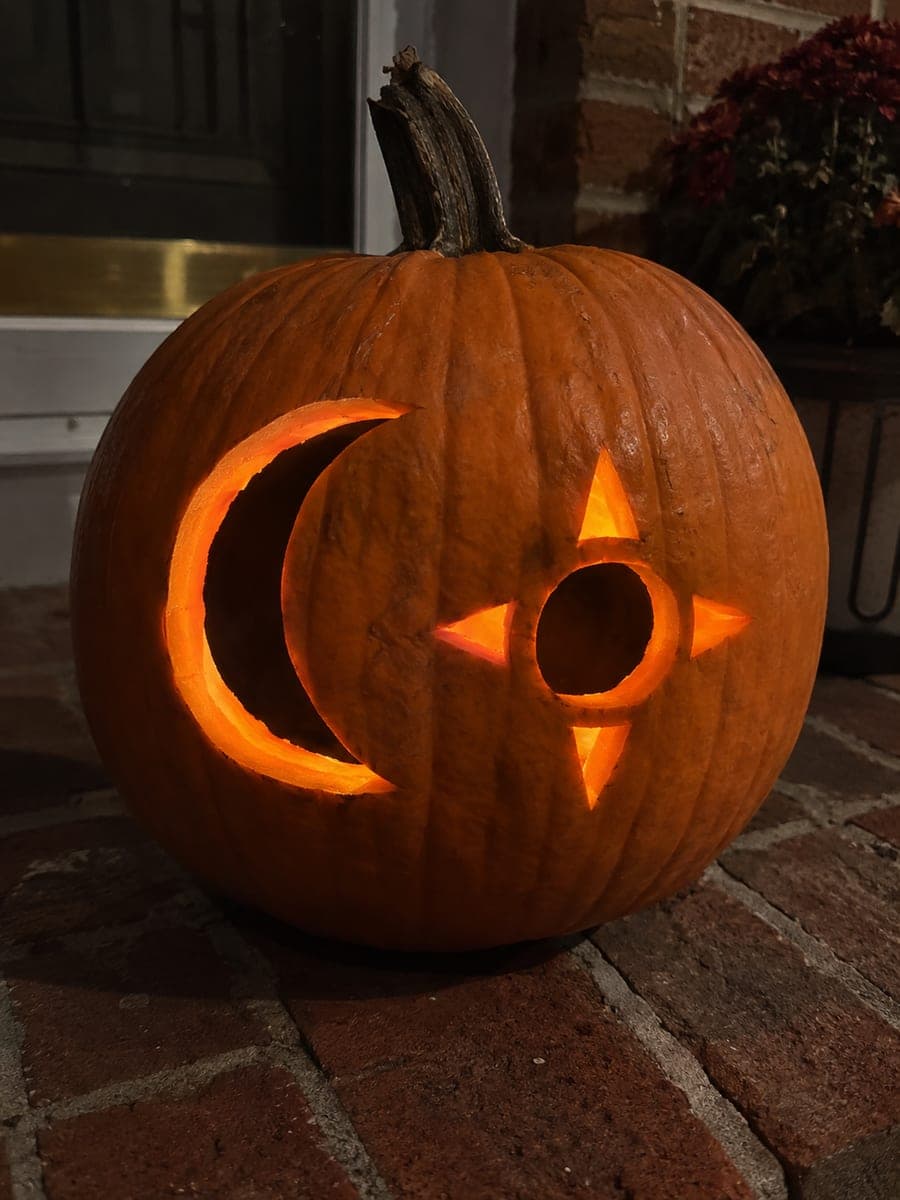
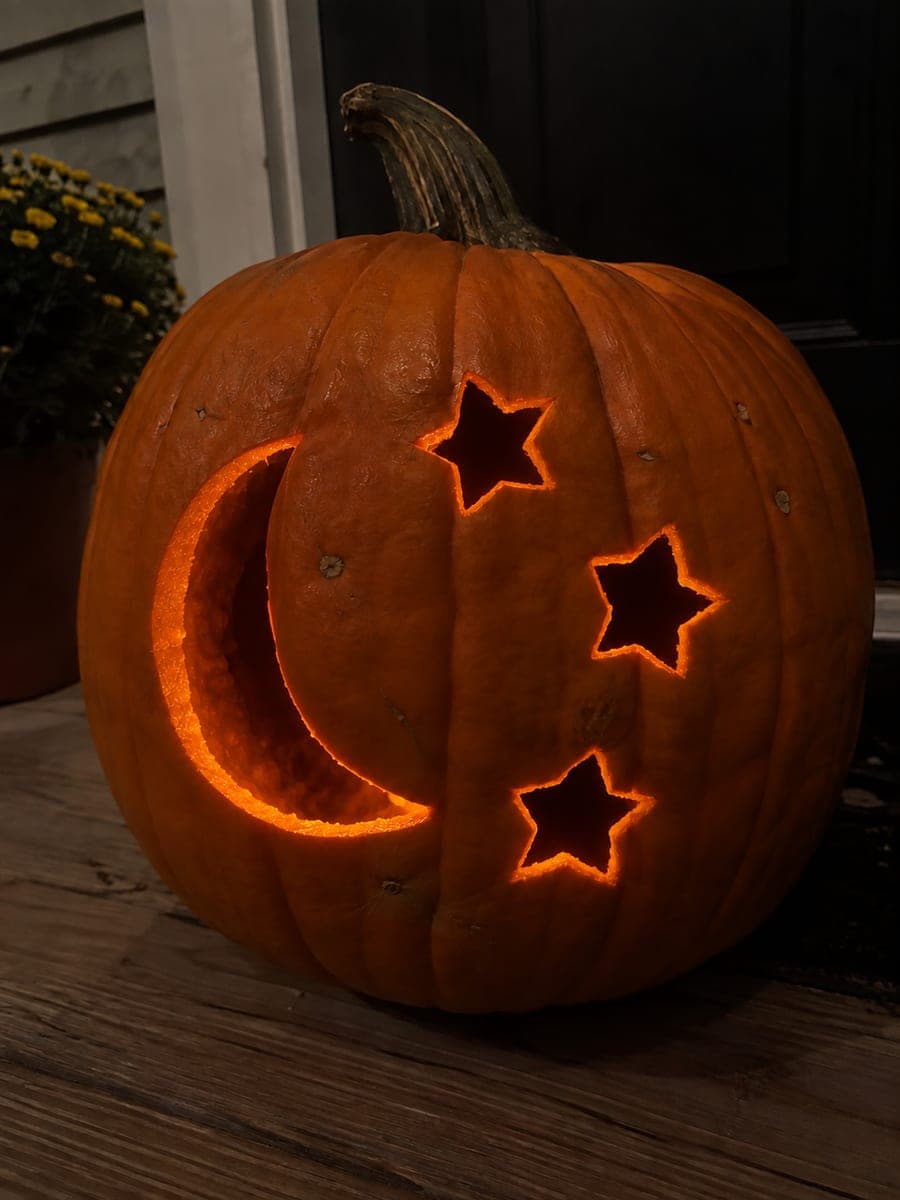
Ornate Celestial Pumpkin With Sun Moon and Five Stars

A large open crescent, a round sun aperture, and five open star apertures form the main structure of this expert celestial pumpkin carving, with smaller rays, circles, and diamond accents executed as shallow backed carving throughout. The absence of an enclosing medallion cut means all supported areas connect back to the main shell directly. Start by cutting the crescent and sun, then add the five stars, and finish with the backed accent details using a linoleum gouge. Displayed on a hearth, the combination of through-lit and surface-carved elements creates a genuinely ornate celestial pumpkin carving.

No ratings yet · Sign in to rate
Comments (0)

  • No comments yet — be the first.

Save without an account. Sign in to like or comment.

Our tips for carving a similar design

The five star apertures, the crescent, and the sun circle are all through-cuts that connect directly back to the main shell without an enclosing medallion, which simplifies the structural planning compared to a spoke-supported design. The smaller rays, circles, and diamond accents scattered across the remaining rind are all shallow backed work, done last on a fully-structured shell. Starting with the crescent and sun establishes the main light sources before the detailed accent work begins.

From pumpkin to porch

  1. Plan the full composition

    Scoop the interior to a firm, even inch-thick wall and chill the pumpkin. Transfer the template with all seven main openings, the crescent, sun, and five stars, plus all backed accent positions marked in a contrasting pencil color. Confirm that every main opening is separated from its neighbors by solid rind before cutting.

  2. Cut the crescent moon

    Begin with the large crescent, cutting the outer arc and then the inner arc cleanly. The crescent is the largest and most structurally significant single opening in this design, so getting a clean, even result here establishes confidence for the rest of the work.

  3. Cut the round sun aperture

    Cut the round sun circle with a jab saw, following the perforated outline continuously. The sun and crescent are the two main light anchors of the composition and should be positioned so the rind between them is at least half an inch thick.

  4. Cut the five star apertures

    Cut each of the five star openings in sequence. Work from the stars closest to the crescent and sun outward toward the edges of the face, confirming after each star that the surrounding rind is still solid. Each star point should be cut in a single smooth draw rather than a sawing motion.

  5. Add the shallow backed accent details

    With all main through-cuts complete, switch to a linoleum gouge for the backed accent work. Carve the small ray lines, circle shapes, and diamond accents as shallow channels removing only the outer skin and a quarter of the wall depth. Work systematically across the remaining rind, spacing accents evenly for a full, ornate coverage.

  6. Light on a hearth for close viewing

    Place a bright LED inside centered among all the openings. Display on a hearth or mantel where viewers can approach closely enough to appreciate both the bright through-cuts and the subtly glowing backed accents. The combination of two glow levels gives this design a genuinely handcrafted ornamental quality.

Written with AI to match this design

Gather your supplies

Check things off as you get ready.

Work on a stable surface, keep your free hand out of the cutting path, and have an adult handle sharp tools.

Three levels of light

  • Leave intact

    The main shell rind between all openings and accents remains solid and dark.

  • Peel & shade

    The shallow back-carved ray lines, circles, and diamond accents glow with a soft, diffused mid-level light.

  • Cut through

    The large crescent, the round sun aperture, and all five star openings glow at full brightness.

Learn the carving basics

Before you start cutting

What is the safest cutting order for the five stars?

Cut the stars in a sequence that keeps you working from the areas with the most remaining rind mass toward the areas with less. Start with the star most isolated from the crescent and sun, then work inward toward the other main openings, checking rind thickness between each star and its neighbors before committing to the next cut.

How do I keep the backed accent work consistent across the whole pumpkin?

Use the same gouge angle and the same number of passes for each accent element. Marking all accent positions before starting the gouge work, and working in rows from one side of the pumpkin to the other, helps maintain consistent depth and scale. Check each cluster of accents against the lit interior every few minutes to verify the glow is even and not building to cut-through depth in any spot.

This design has seven main openings plus many backed accents. How long should I budget?

Allow two to three hours for an experienced carver, not including drying or setup time. The crescent and sun together take about 20 minutes of careful cutting. Each of the five stars takes 10 to 15 minutes including cleanup. The backed accent phase, which covers a lot of surface area, typically takes 45 to 60 minutes for a thorough, evenly-covered result. Work in good lighting and take breaks to rest your hands during the gouge work.

Your take belongs here, too.

Changed a detail? Made it simpler? Share a photo of your version and tell the community what worked.

Share your pumpkin

More pumpkins like this

You've reached the end · 8 pumpkins
The Patch Report

Fresh pumpkins, in your inbox.

The best new carvings, ideas worth stealing, and how-tos for carving season. Short, seasonal, and gone by November.

A short email during carving season. Unsubscribe anytime. See our privacy policy.