Halloween Pumpkin Carving Contest · Starts October 1st · $500 in prizes
← Back to ideas
@ai_concepts
Sep 25, 2026
Celestial Sun-Face Pumpkin With Crescent Moon and Open WedgesAI
0

Report this carving

Tell us what is wrong. Reports are private.

Celestial Sun-Face Pumpkin With Crescent Moon and Open Wedges

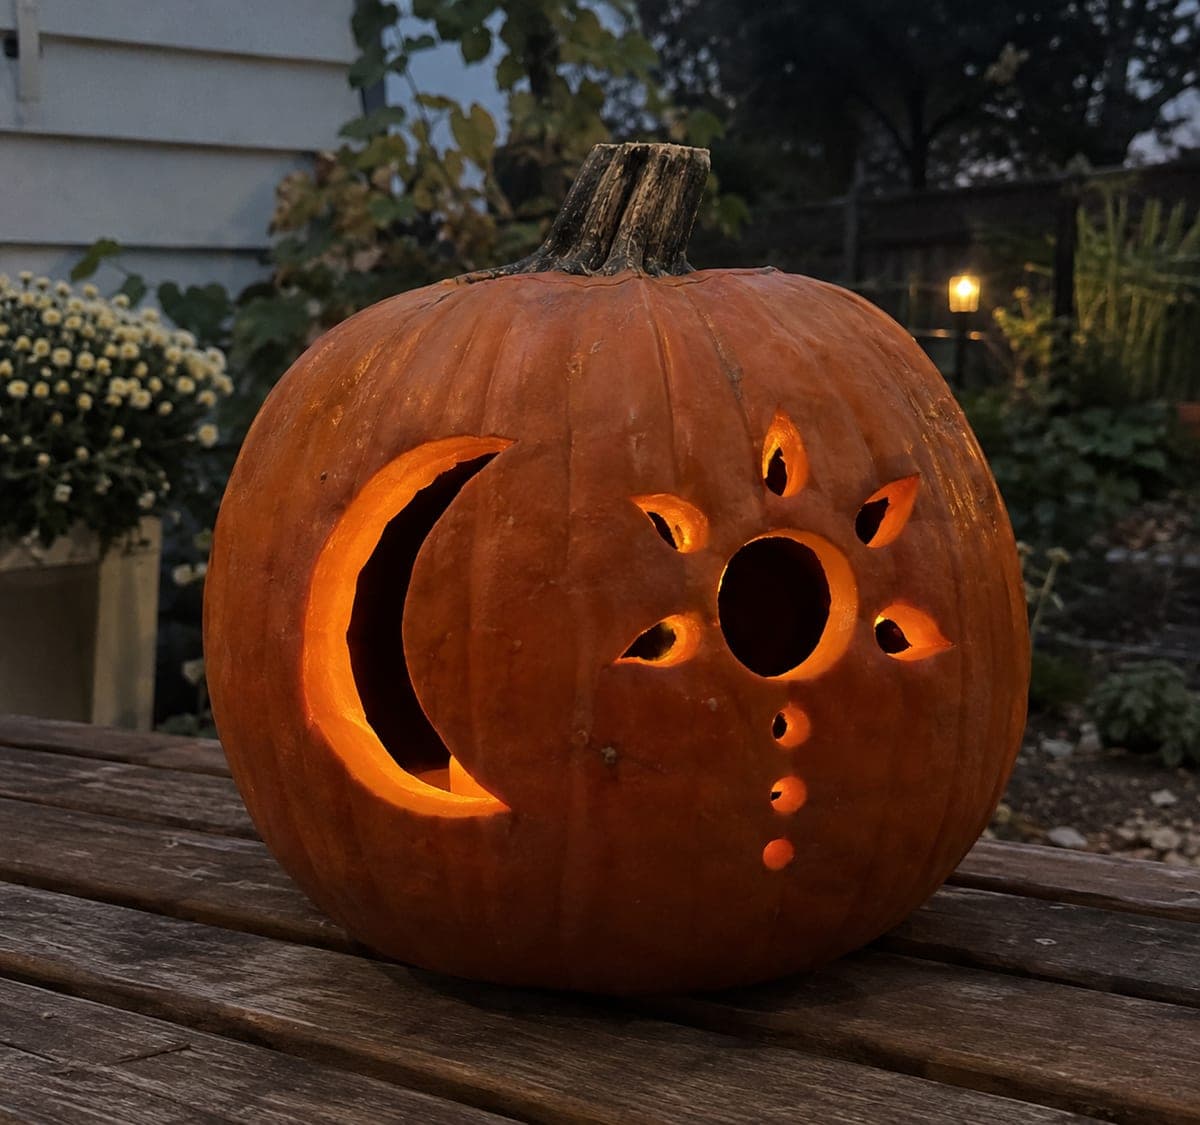
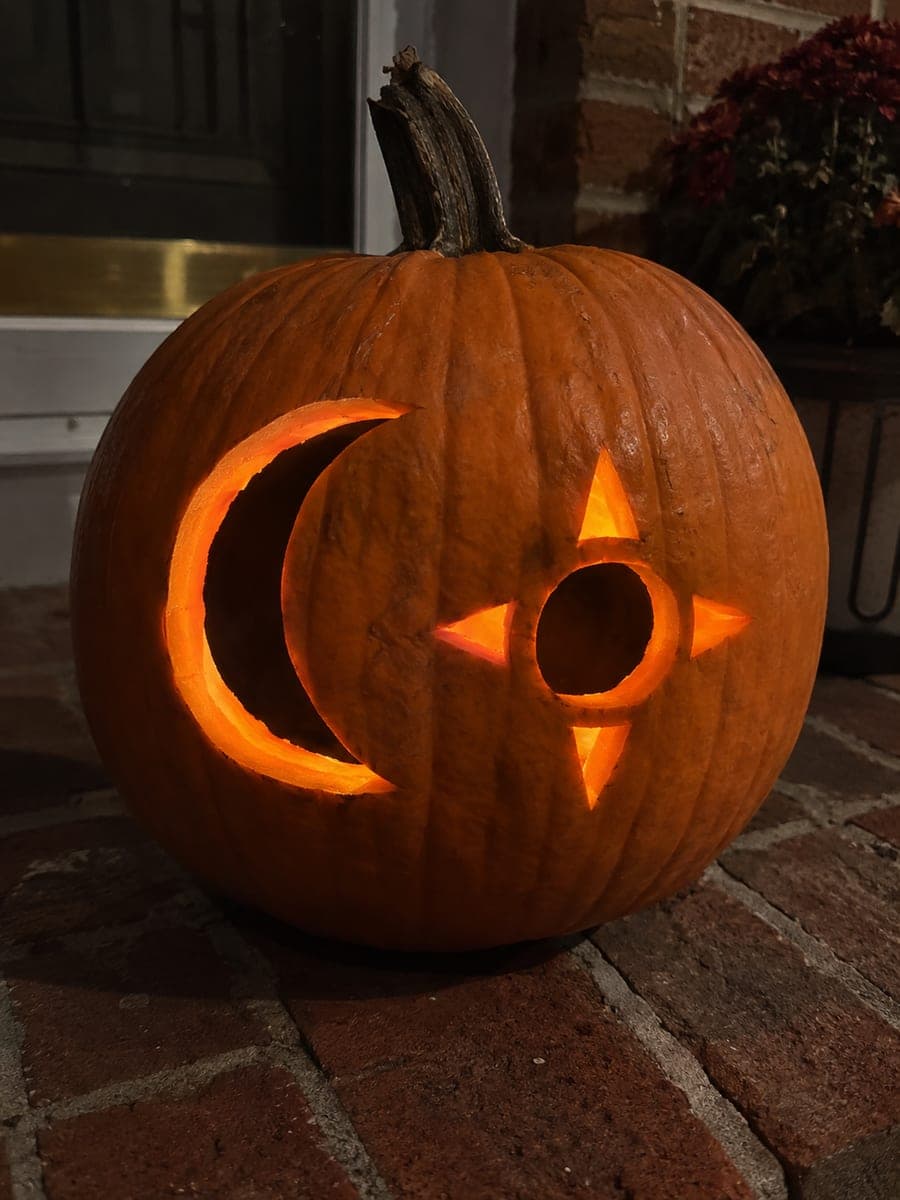
A retained sun face connects to the pumpkin shell through eight broad spokes, with open wedge windows between each spoke glowing brightly on this hard celestial pumpkin carving. Small eye, smile, ray, and moon accents include a mix of through-cuts and shallow backed areas for dimensional detail. Cut the eight wedge windows between the spokes first to establish the radial structure before adding the facial features. Placing this sun-face pumpkin carving idea on a lit porch at night casts long spoke shadows in every direction.

No ratings yet · Sign in to rate
Comments (0)

  • No comments yet — be the first.

Save without an account. Sign in to like or comment.

Our tips for carving a similar design

The eight broad spokes connecting the retained sun face to the outer shell are the structural core of this design. All eight open wedge windows between the spokes must be cut before any facial or crescent accent work begins. The mix of through-cut wedges and shallow backed facial accents produces a layered light effect: bright wedge windows surround a glowing sun face with subtler inner detail.

From pumpkin to porch

  1. Divide and verify the eight-spoke layout

    Scoop the interior to a firm inch-thick wall and chill the pumpkin before carving. Divide the pumpkin face into eight equal segments with a ruler and pencil, drawing lightly through the center point. The eight spoke lines should all pass through the same center point. Confirm each spoke will be at least three-quarters of an inch wide before perforating the template.

  2. Transfer the full template

    Perforate all eight wedge window boundaries and the boundaries of all through-cut facial features. Mark the shallow-backed moon, ray, and facial accent positions with a contrasting pencil color. Remove the paper and review the complete layout.

  3. Cut the eight wedge windows

    Begin at the first wedge and cut it completely before moving to the opposite wedge, then the remaining six in opposite pairs. This alternating approach keeps the shell balanced as mass is removed. After all eight wedges are open, confirm every spoke is still intact and at least three-quarters of an inch wide.

  4. Cut the facial through-cut features

    Move to the retained sun face and cut the through-cut eye openings and any through-cut smile or mouth features. All these cuts should be fully enclosed within the face disc and surrounded by solid face rind on all sides. A detail knife gives better control for the small, expressive eye shapes.

  5. Add the shallow backed accents

    Use a linoleum gouge to carve the shallow crescent moon, ray, and remaining facial accent shapes as back-carved relief marks. Keep each backed accent no deeper than a third of the wall thickness and well clear of the spoke edges. These details will glow faintly when lit, adding dimensionality to the face and outer rays.

  6. Light on a porch for spoke shadows

    Place a bright LED tea light inside, positioned toward the back of the cavity so the light source is well behind the face and spokes. At night on a lit porch, the eight spokes cast long, defined shadow lines on nearby walls and fencing, creating the dramatic shadow-ray effect this design is known for.

Written with AI to match this design

Gather your supplies

Check things off as you get ready.

Work on a stable surface, keep your free hand out of the cutting path, and have an adult handle sharp tools.

Three levels of light

  • Leave intact

    The eight broad spokes and the solid outer rim remain dark and structurally intact.

  • Peel & shade

    The shallow back-carved moon, ray, and facial accent marks glow faintly with diffused inner light.

  • Cut through

    The eight wedge windows and the through-cut eye and facial features glow at full brightness.

Learn the carving basics

Before you start cutting

How do I make the spoke shadows on the wall as dramatic as possible?

The key is a small, bright, point-source LED placed as deep in the cavity as possible and centered behind the spokes. The farther the light source is from the pumpkin face, the longer and sharper the spoke shadows will be on surrounding surfaces. A single LED tea light works, but a small focused LED torch pointed at the face from inside produces even sharper shadow lines.

Can I add a crescent moon as a through-cut in the face instead of as a backed accent?

You can, but converting the crescent to a through-cut inside the face disc reduces the structural mass of the face and weakens the spoke connections where the face meets the spokes. A backed accent crescent is the safer approach and still reads clearly as a moon feature from a normal viewing distance. Reserve through-cuts in the face for the smallest feature elements like eyes and nostrils.

What expression works best for the sun face on this design?

A serene or gently smiling expression suits the celestial character of this design better than a grinning jack-o-lantern face. Simple almond-shaped eyes with a gentle upward tilt at the outer corners and a shallow, curved smile opening give the sun face a dignified, friendly quality. Avoid exaggerated features that would compete visually with the dramatic spoke framework around them.

Your take belongs here, too.

Changed a detail? Made it simpler? Share a photo of your version and tell the community what worked.

Share your pumpkin

More pumpkins like this

You've reached the end · 8 pumpkins
The Patch Report

Fresh pumpkins, in your inbox.

The best new carvings, ideas worth stealing, and how-tos for carving season. Short, seasonal, and gone by November.

A short email during carving season. Unsubscribe anytime. See our privacy policy.