Halloween Pumpkin Carving Contest · Starts October 1st · $500 in prizes
← Back to ideas
@ai_concepts
Jul 9, 2026
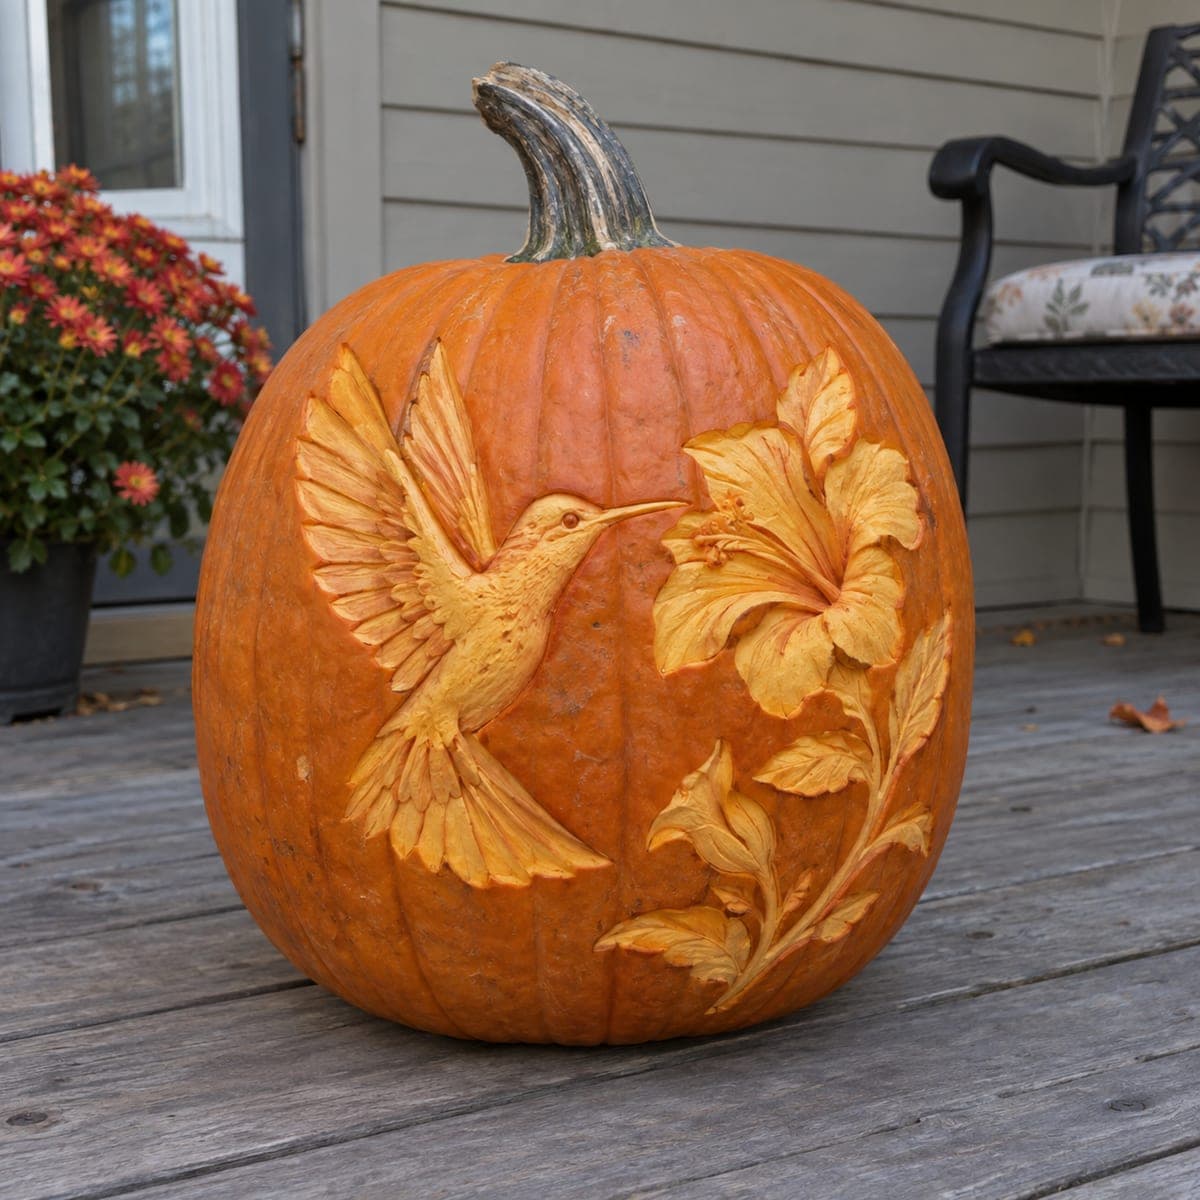
Hummingbird and Hibiscus Flower Shaded PumpkinAI
0

Hummingbird and Hibiscus Flower Shaded Pumpkin

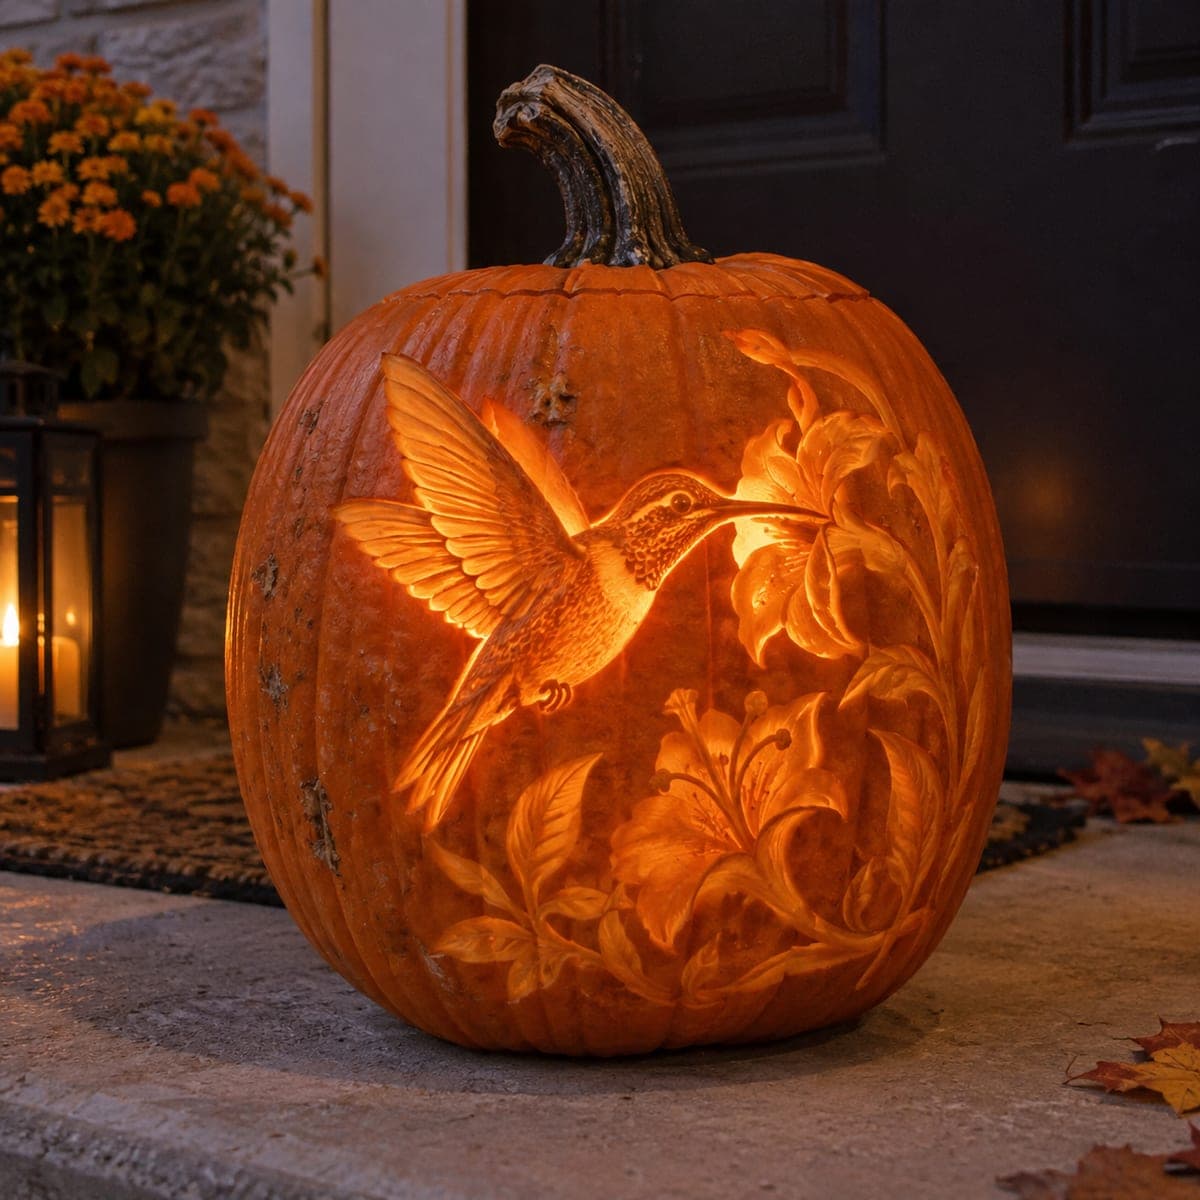
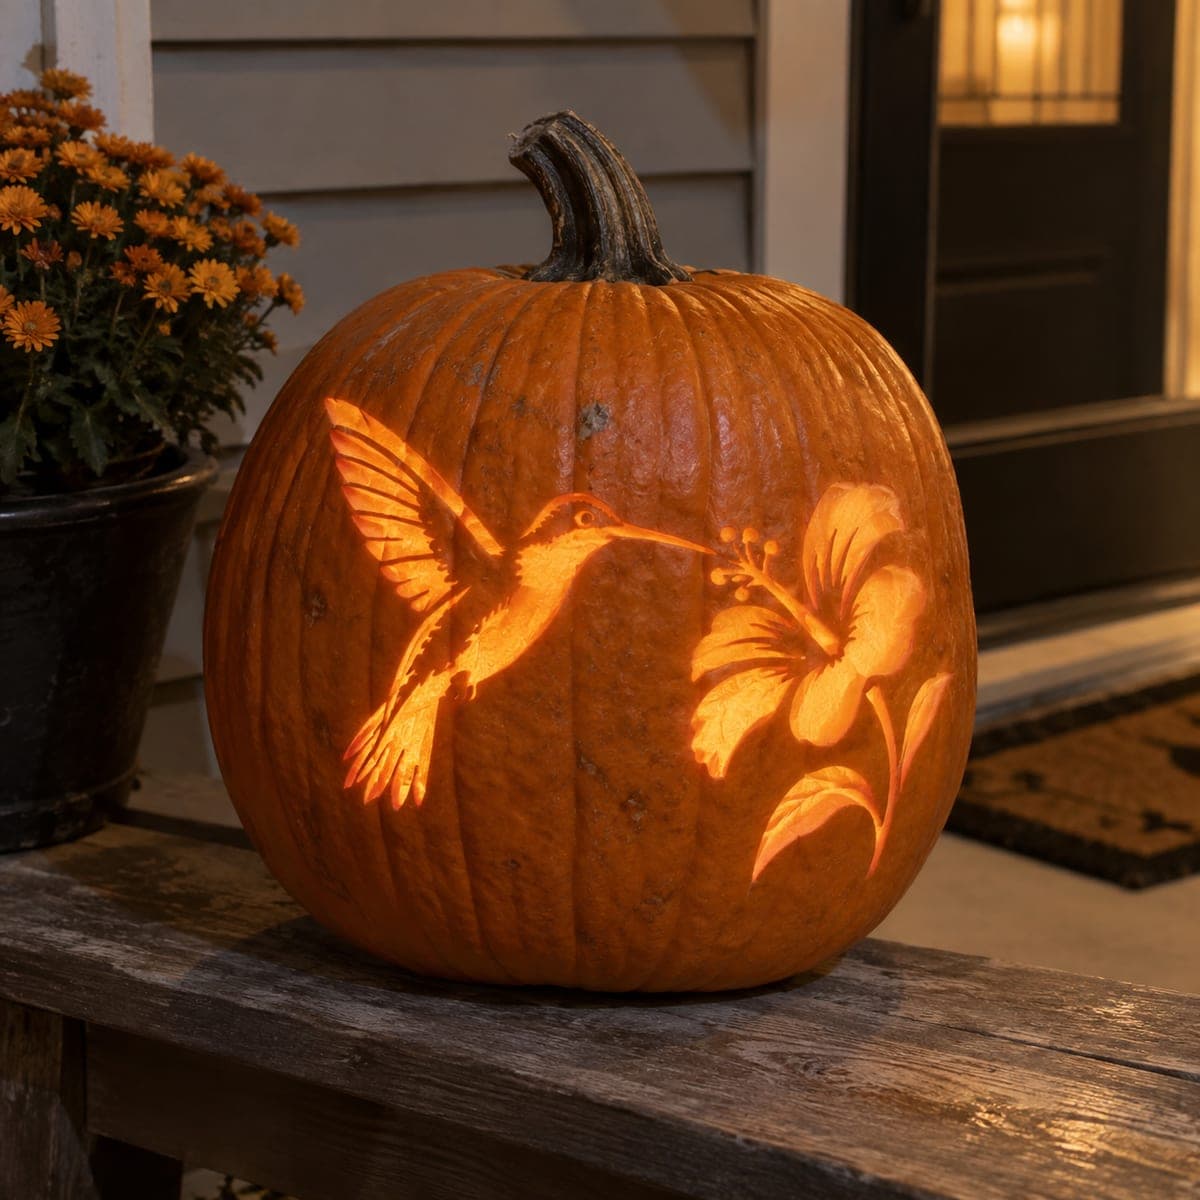
A hummingbird in mid-hover approaches a large hibiscus bloom, both subjects carved in exquisite shaded detail across the surface of a broad pumpkin so the natural orange skin glows through the carved areas. Every feather on the bird's wing and every petal on the flower is individually etched to suggest texture and depth. Transfer the design with graphite paper, then work the bird's head and eye first since small errors there read most noticeably. One of the most beautiful nature pumpkin carving ideas for gardeners and bird-watchers.

This is an AI-generated concept image: a realistic, carvable design idea rather than a photo of a finished carve. AI concepts are always labeled and sit out the leaderboard and the contest.

No ratings yet · Sign in to rate
Comments (0)

  • No comments yet — be the first.

Save without an account. Sign in to like or comment.

Our tips for carving a similar design

The core trick here is shading rather than cutting all the way through, so you shave the skin at different depths to let the natural orange glow read as feathers and petals. Plan the pumpkin as a low relief sculpture, with the hovering hummingbird on the left and the large hibiscus bloom on the right. Work from the smallest, most delicate features outward so a slip early on does not spoil the whole face.

Written by PumpkinCarvingIdeas.com, inspired by the image above. These are our suggestions, not instructions from the uploader. This approach to the AI concept has not been tested on a real pumpkin.

From pumpkin to porch

  1. Pick and prep a broad, smooth pumpkin

    Choose a wide pumpkin with a flat, blemish-free front panel big enough for both the bird and the flower. Wipe the surface clean and dry. For a shaded design like this you can leave the pumpkin whole and skip gutting, since you are not cutting through the wall. If you prefer to light it later, cut a small lid or a hole in the back, well away from your carving.

  2. Transfer the design with graphite paper

    Print the hummingbird and hibiscus at the size of your panel. Tape it in place, slide graphite paper underneath, and trace every major outline plus the main feather and petal lines. Peel the paper back to check that the bird's head, beak, and eye came through cleanly. These small features read most noticeably, so redraw any faint lines by hand before you carve.

  3. Establish the bird's head and eye first

    Start with a small detail knife or a fine loop tool on the hummingbird's head and eye. Shave shallow layers to shape the rounded head, then define the slim beak by carving the skin down on either side so it stands slightly proud. Keep the eye as a tiny reserved bump of skin for a lifelike highlight. Go slowly here and step back often, because errors in this area are the hardest to hide.

  4. Shade the wing feathers and body

    Move outward across the wings, peeling the skin in long tapered strokes that follow each feather. Vary your depth so feathers nearest the light are shaved thinnest and brightest, while overlapping layers stay a touch deeper and darker. Use the tip of a loop tool to score fine separation lines between feathers. Work one wing section at a time so you keep the flow consistent.

  5. Carve the hibiscus petals and leaves

    Shape the large bloom by hollowing each petal into a gentle cup, leaving raised ridges where petals overlap. Etch the fine radial lines from the center outward and add the slender stamen as a raised thread with a light touch. For the leaves below, carve central veins deeper and side veins shallower. Keep every element connected to the skin around it so nothing works loose.

  6. Clean up, seal, and photograph

    Brush away debris and even out any rough transitions with a soft dry brush or a clean loop tool. Rub cut edges with a little petroleum jelly to slow drying and keep the shaded areas from browning too fast. If you added a back opening, drop in a battery LED, never a candle, so the light rakes across the relief. Photograph it outdoors in soft daylight where the shading shows best.

Gather your supplies

Check things off as you get ready.

Work on a stable surface, keep your free hand out of the cutting path, and have an adult handle sharp tools.

Three levels of light

  • Leave intact

    The untouched orange skin around the bird and flower and any dark accents like the eye and deepest feather shadows

  • Peel & shade

    Most of the feathers, petals, and leaves, shaved to varying shallow depths so they glow dim orange with texture

  • Cut through

    This shaded design uses almost no full cutouts, but you can slice the very thinnest reserved slivers along a wing tip or petal edge if you want a small bright pop

Learn the carving basics

Before you start cutting

Do I cut all the way through the pumpkin for this design?

No. This is a shaded relief, so you shave the skin at different depths and leave the wall intact. Cutting through would break up the smooth flow of the feathers and petals. If you want interior light, add a small hidden opening in the back instead.

How do I keep the feathers and petals from looking flat?

Vary your carving depth. Shave the areas you want brightest the thinnest, and leave overlapping layers slightly deeper so they read as shadow. Scoring fine separation lines between feathers and petals also adds depth and keeps each element distinct.

This is shown as a concept image, so can a real pumpkin hold this much detail?

Yes, with the right approach. Since almost nothing is cut through, the thin feather and petal lines stay supported by the skin around them and will not snap. Choose a fresh pumpkin with a thick, firm wall and work in a cool spot so the shaded areas do not dry and shrink while you carve.

Your take belongs here, too.

Changed a detail? Made it simpler? Share a photo of your version and tell the community what worked.

Share your pumpkin

More pumpkins like this

You've reached the end · 8 pumpkins
The Patch Report

Fresh pumpkins, in your inbox.

The best new carvings, ideas worth stealing, and how-tos for carving season. Short, seasonal, and gone by November.

A short email during carving season. Unsubscribe anytime. See our privacy policy.