Halloween Pumpkin Carving Contest · Starts October 1st · $500 in prizes
← Back to ideas
@ai_concepts
Sep 12, 2026
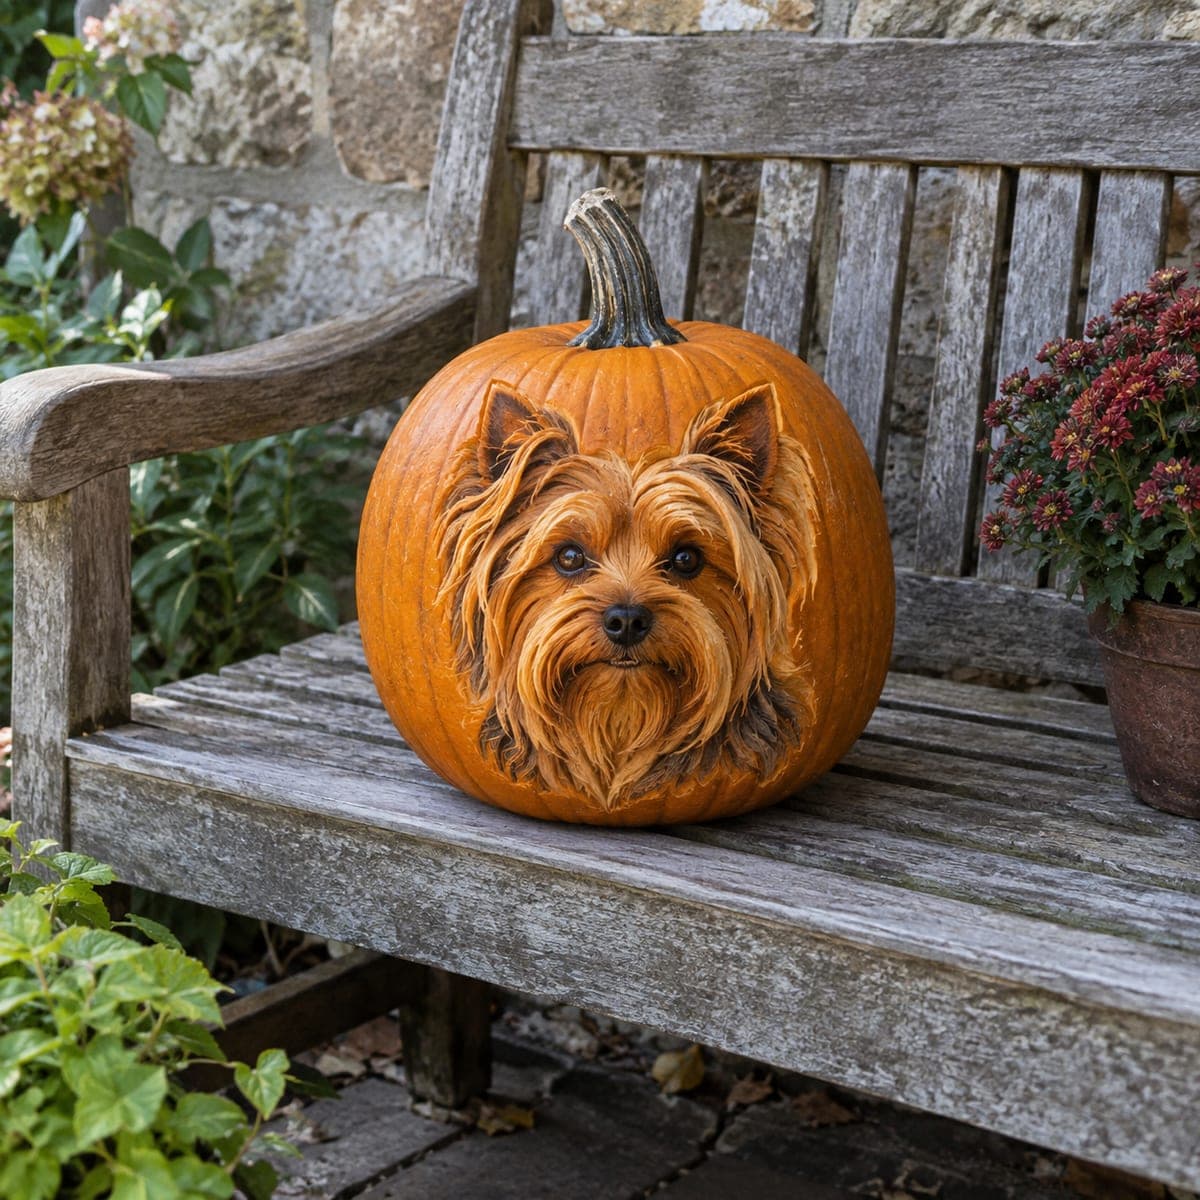
Lifelike Yorkshire Terrier Pumpkin PortraitAI
0

Lifelike Yorkshire Terrier Pumpkin Portrait

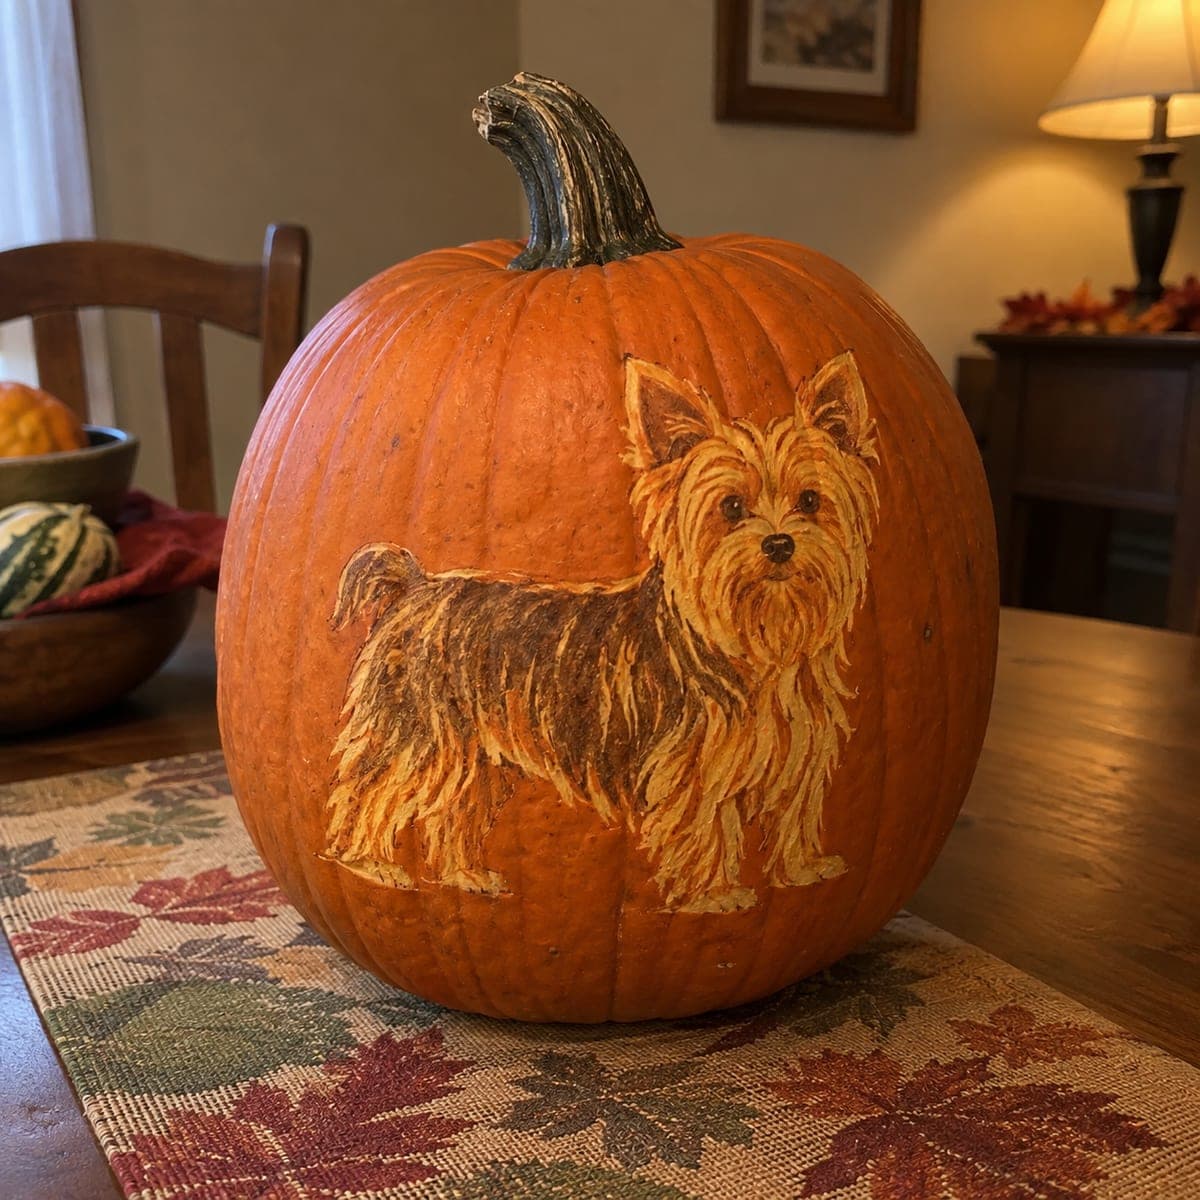
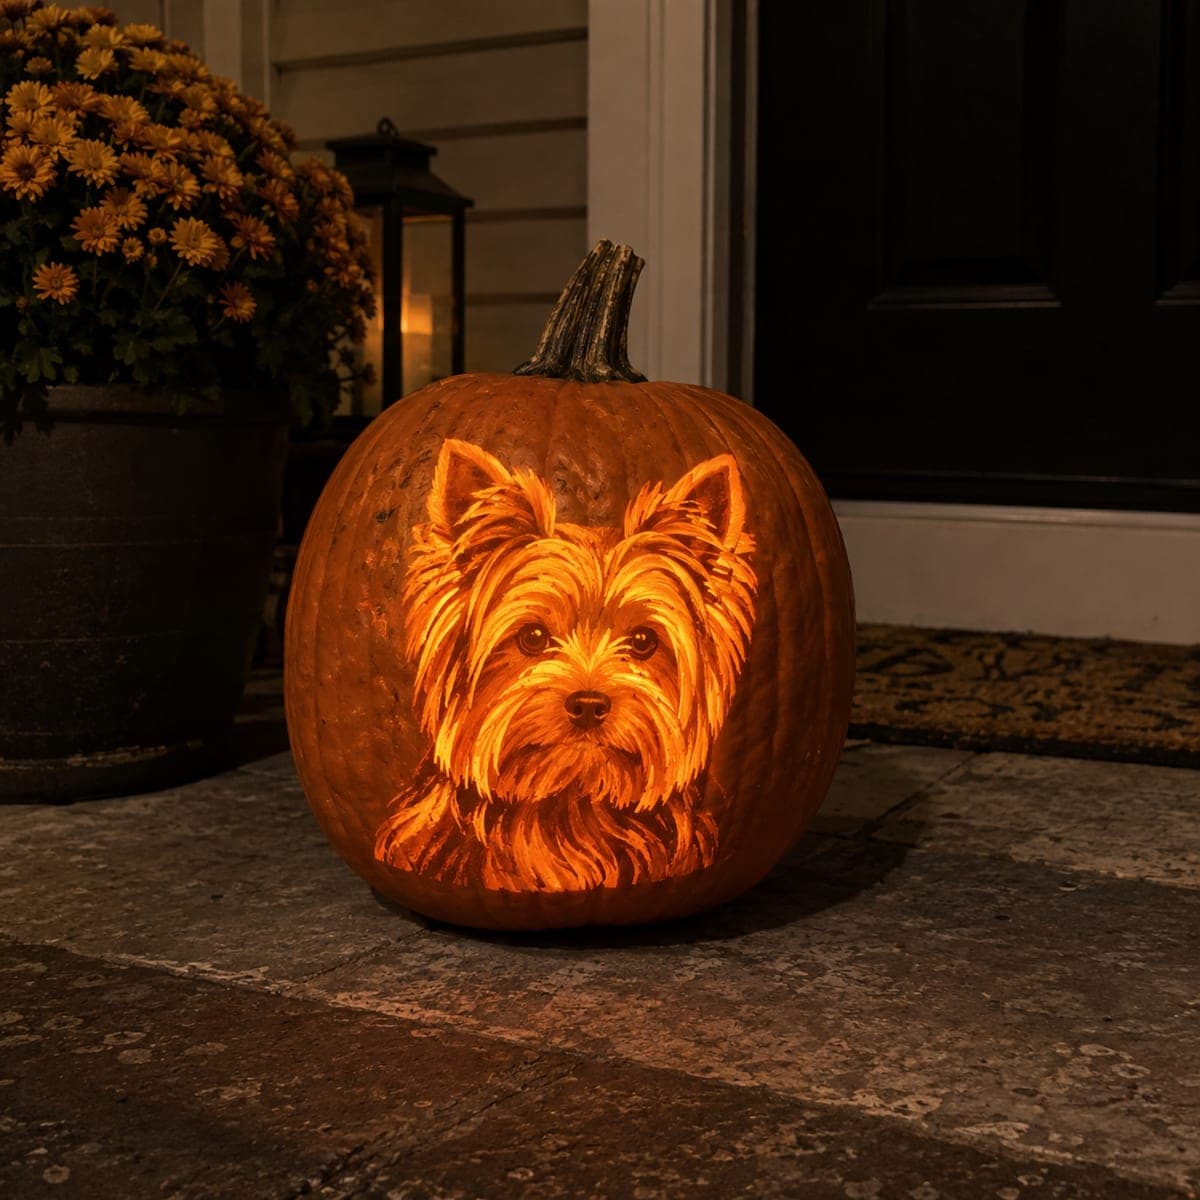
A Yorkie's face fills this pumpkin in sculpted, lifelike detail, from the perked ears down to the silky fall of fur framing its dark button eyes. The coat is carved in long flowing layers and darkened in the recesses so the portrait reads perfectly in daylight. Work from a head-on photo of your own dog, rough in the skull shape before any fur, and deepen shadows around the muzzle last.

This is an AI-generated concept image: a realistic, carvable design idea rather than a photo of a finished carve. AI concepts are always labeled and sit out the leaderboard and the contest.

No ratings yet · Sign in to rate
Comments (0)

  • No comments yet — be the first.

Save without an account. Sign in to like or comment.

Our tips for carving a similar design

This is a sculpted relief portrait, so the trick is carving into the pumpkin wall at different depths rather than cutting all the way through. You shave away skin to create fur layers and deepen the recesses so shadows do the drawing for you. Plan for a daylight display, since the depth and dark valleys are what make the Yorkie read, not backlight.

Written by PumpkinCarvingIdeas.com, inspired by the image above. These are our suggestions, not instructions from the uploader. This approach to the AI concept has not been tested on a real pumpkin.

From pumpkin to porch

  1. Pick your photo and prep the pumpkin

    Choose a head-on reference of a Yorkie with clear ears, eyes, and a full fur frame. Pick a tall, wide, blemish-free pumpkin and wipe the face area clean and dry. Leave the pumpkin whole so the thick wall gives you room to sculpt in relief. Do not cut a lid or gut it yet, since you want the full wall thickness to carve into.

  2. Transfer and rough in the skull shape

    Tape your printed pattern to the front and poke or trace the main outlines: the head oval, ear triangles, muzzle, and eye placement. Before carving any fur, use a loop tool to establish the broad rounded planes of the skull and cheeks. Think of it like a clay bust, building the big forms first. Getting the underlying shape right now keeps the fur believable later.

  3. Peel the base skin for the coat

    With a ribbon or loop tool, remove the orange skin across the whole face and coat area to expose the lighter flesh. This peeled layer becomes the mid glow tone of the fur in daylight. Keep the depth even and shallow at this stage. Leave the ears and muzzle tip slightly higher so they sit forward from the rest.

  4. Carve the flowing fur in layers

    Work the long silky coat as stacked, overlapping strokes that fall from the crown down past the chin. Use a fine detail tool to pull long grooves, always following the direction the fur hangs. Vary the depth so some locks stand proud and others sink back. Keep the ear fur wispy but leave small bridges of flesh so thin tufts stay attached and do not snap off.

  5. Deepen shadows and set the eyes and nose

    Now carve the recesses deepest: around the muzzle, under the ears, between fur layers, and the eye sockets. These dark valleys are what make the face pop, so save them for last. Leave the nose and the button eyes as raised, untouched skin so they stay dark and glossy. Take your time here, since small shadow shifts change the whole expression.

  6. Clean up and photograph in daylight

    Brush out crumbs with a soft toothbrush and refine any soft edges. Coat the exposed carving with a thin layer of petroleum jelly to slow drying and keep the fur crisp. This portrait shines in daylight, so display it on a shaded porch or bench and photograph it soon after carving. If you want any glow, tuck a small LED behind it, never a candle.

Gather your supplies

Check things off as you get ready.

Work on a stable surface, keep your free hand out of the cutting path, and have an adult handle sharp tools.

Three levels of light

  • Leave intact

    The nose and the two button eyes stay as untouched skin so they read dark and glossy.

  • Peel & shade

    The broad coat and face flesh are peeled to a shallow depth for the soft mid orange fur tone.

  • Cut through

    No full cutouts here; this is a relief sculpture, so the deepest carved valleys read as shadow rather than open light.

Learn the carving basics

Before you start cutting

Do I hollow this pumpkin like a normal jack-o-lantern?

Not in the usual way. Because the portrait is a relief carved into the pumpkin wall, you want the full thickness to sculpt into. You can scoop the inside later if you plan to add a small LED, but keep the front wall thick where the face sits.

How do I keep the thin ear fur from breaking off?

Carve those wispy tufts as shallow grooves in the surface rather than free-standing points. Leave small bridges of flesh connecting each strand to the coat behind it. This keeps the delicate ear fringe attached and structurally sound.

Since this is a concept image, can a real pumpkin look this detailed?

A real pumpkin will not hit photo-perfect fur, but the layered shading technique genuinely produces a strong likeness. Work from a clear head-on photo of your own dog and build the skull shape first. Expect a soft, sculpted portrait rather than an exact copy of the concept.

Your take belongs here, too.

Changed a detail? Made it simpler? Share a photo of your version and tell the community what worked.

Share your pumpkin

More pumpkins like this

You've reached the end · 8 pumpkins
The Patch Report

Fresh pumpkins, in your inbox.

The best new carvings, ideas worth stealing, and how-tos for carving season. Short, seasonal, and gone by November.

A short email during carving season. Unsubscribe anytime. See our privacy policy.