Halloween Pumpkin Carving Contest · Starts October 1st · $500 in prizes
← Back to ideas
@ai_concepts
Sep 25, 2026
Lightning Bolt and Stars Pumpkin for 8 Year OldsAI
0

Report this carving

Tell us what is wrong. Reports are private.

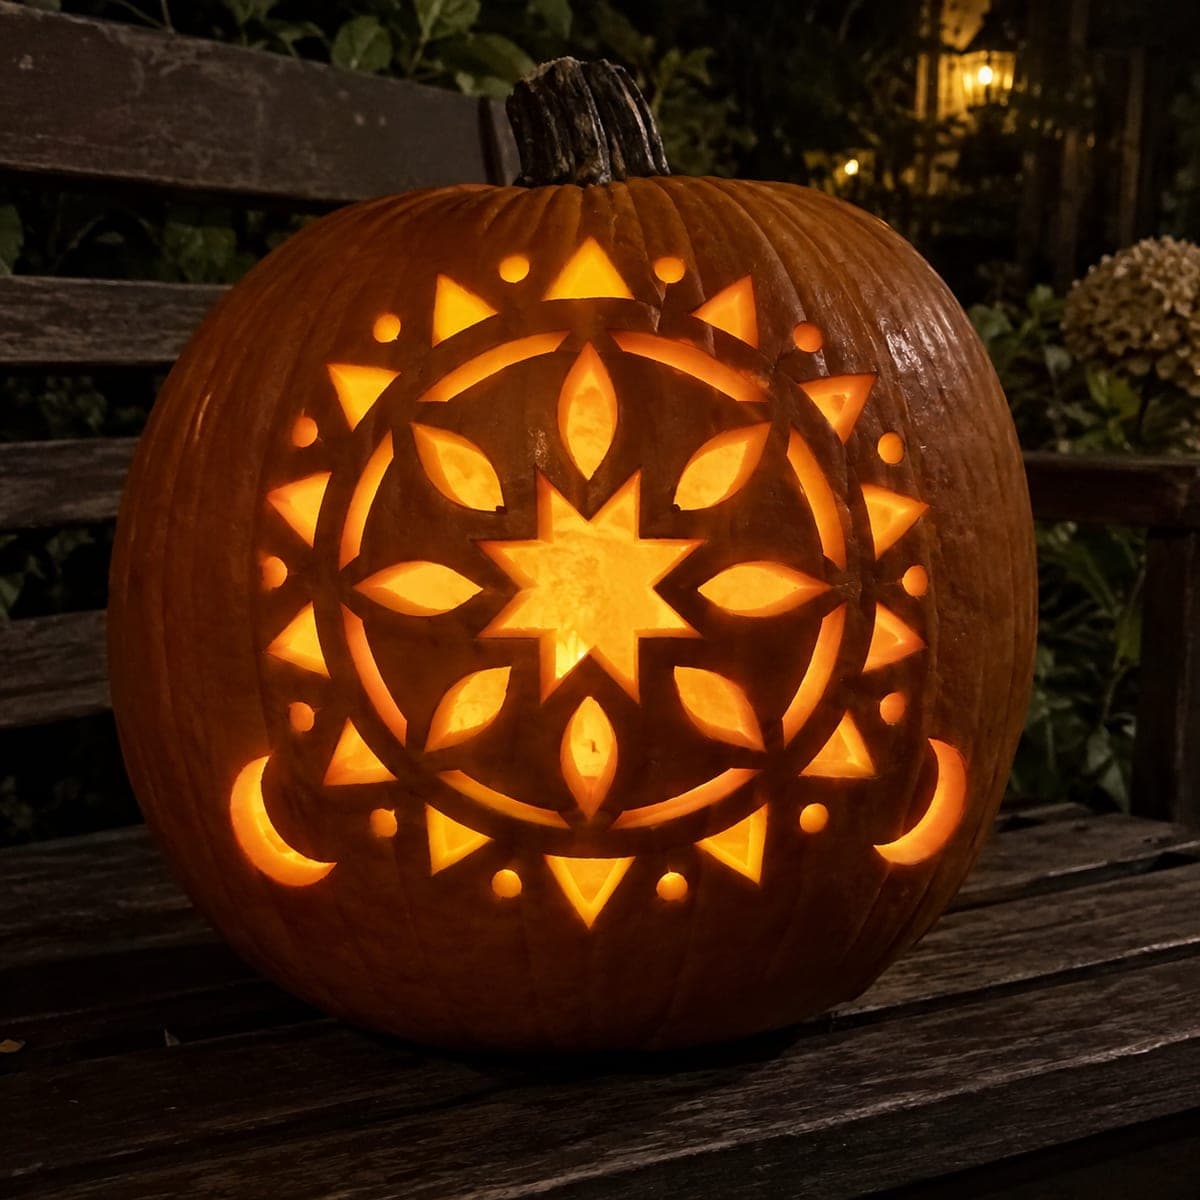
Lightning Bolt and Stars Pumpkin for 8 Year Olds

A bold lightning bolt with stars cut entirely through a pumpkin makes an energetic adult-carved display for this intermediate pumpkin carving idea for 8 year olds, with each shape removed fully and no interior islands. The strong graphic shapes read instantly from across a yard, making this design punchy for front-porch display. Remove the lightning bolt first since it is the dominant element, then cut the stars in a loose arrangement around it. Eight year olds can choose the number and size of stars to include, giving them ownership of the finished design.

No ratings yet · Sign in to rate

Comments (0)

  • No comments yet — be the first.

Save without an account. Sign in to like or comment.

Our tips for carving a similar design

The lightning bolt and stars are cut entirely through the rind, relying on the large surrounding orange shell for all structural support. The key trick is keeping the bolt arms wide enough so the central angle does not snap under its own weight. Stars scattered around the bolt in varying sizes fill the space naturally and give the carver flexibility in how many to include.

From pumpkin to porch

  1. Gut and choose your pumpkin

    A round, relatively smooth pumpkin works best for graphic shapes. Scoop to about one inch of wall thickness. Lumps and ridges make template transfer harder, so choose the flattest face available and center the design there.

  2. Transfer the lightning bolt template

    Print the bolt so its widest arm is at least one inch across at the narrow central angle. Pin-poke the outline and trace with a marker. Mark the star positions loosely with circles after removing the paper, letting an 8 year old choose the arrangement before committing.

  3. Cut the lightning bolt first

    Saw the dominant bolt shape first since it defines the whole design. Cut along one side completely before starting the other. At the central angle, saw slowly and change direction smoothly rather than forcing a sharp pivot. Remove the bolt piece by pressing inward.

  4. Cut the star openings

    Cut stars from largest to smallest. A five-pointed star has ten direction changes, so work in short overlapping cuts at each point rather than one continuous outline. Push each star piece inward once the perimeter is fully cut.

  5. Smooth edges and seal

    Run a detail knife along any rough or uneven cut edges. Rub petroleum jelly on all exposed surfaces. Insert a battery LED candle and position the pumpkin at the front of a porch step so the bright graphic shapes catch passing eyes from a distance.

Written with AI to match this design

Gather your supplies

Check things off as you get ready.

Work on a stable surface, keep your free hand out of the cutting path, and have an adult handle sharp tools.

Three levels of light

  • Leave intact

    The broad orange rind surrounding the bolt and stars stays dark, framing the design as a graphic poster.

  • Peel & shade

    None.

  • Cut through

    The full lightning bolt and every star are cut entirely through for maximum brightness.

Learn the carving basics

Before you start cutting

How wide should I make the central angle of the lightning bolt to prevent snapping?

Keep the narrowest point at least three-quarters of an inch wide, ideally one inch. Scale the template up slightly if the angle looks narrow on paper. A bolt that is a touch wider looks just as dramatic and will survive the whole Halloween season.

What is the easiest way to cut the zigzag shape cleanly?

Saw each straight segment in one clean stroke, then reposition the blade for the next segment. Avoid trying to pivot continuously around the angle mid-stroke, as that tends to crack the rind. Score the direction-change points first with a knife so each segment has a clear start mark.

How many stars is the right amount?

Three to six stars scattered asymmetrically around the bolt looks deliberate and dynamic. More than eight stars in a small area will weaken the rind between them. Space each star so there is at least one inch of solid shell between it and any neighboring opening.

Your take belongs here, too.

Changed a detail? Made it simpler? Share a photo of your version and tell the community what worked.

Share your pumpkin

More pumpkins like this

You've reached the end · 8 pumpkins
The Patch Report

Fresh pumpkins, in your inbox.

The best new carvings, ideas worth stealing, and how-tos for carving season. Short, seasonal, and gone by November.

A short email during carving season. Unsubscribe anytime. See our privacy policy.