Halloween Pumpkin Carving Contest · Starts October 1st · $500 in prizes
← Back to ideas
@ai_concepts
Sep 25, 2026
Friendly Dragon Pumpkin with Glowing Wing Details for KidsAI
0

Report this carving

Tell us what is wrong. Reports are private.

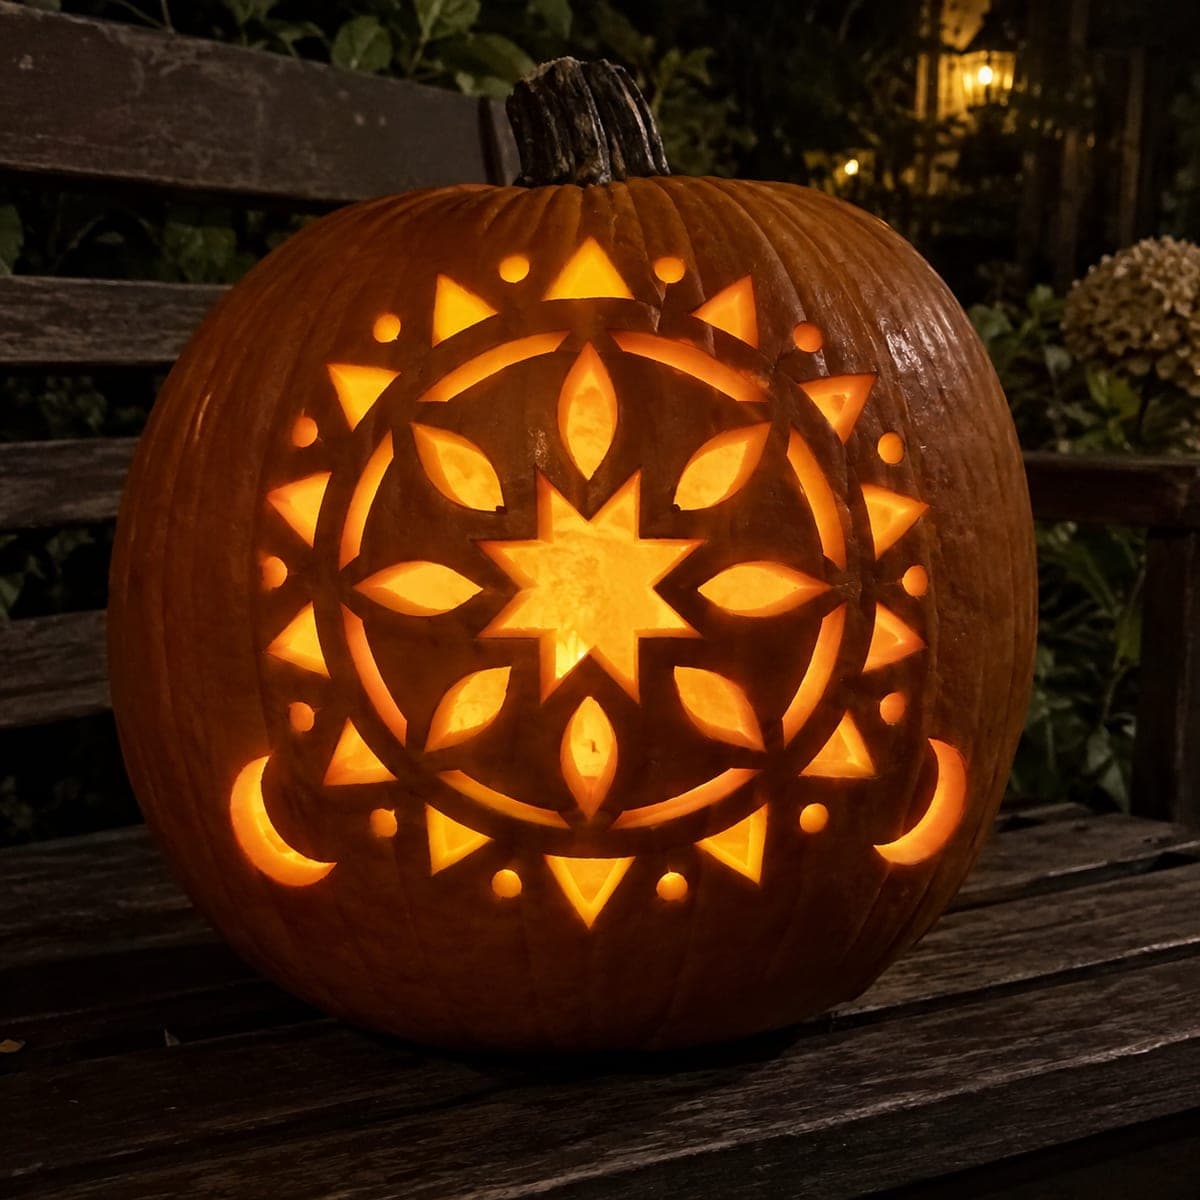
Friendly Dragon Pumpkin with Glowing Wing Details for Kids

A friendly dragon with feet rooted into a broad base, a curled tail touching the side frame, and separate wing and scale apertures glows through a pumpkin in this expert adult-carved design for 8 year olds, with small star accents partly shallow-backed for added sparkle. The dragon's multiple lit openings create an animated effect when seen from a distance. Carve the feet-to-base connection and the tail-to-frame connection first to lock the figure in place, then open the wing apertures and scale holes. An 8 year old can help decide which star positions to include around the dragon.

No ratings yet · Sign in to rate

Comments (0)

  • No comments yet — be the first.

Save without an account. Sign in to like or comment.

Our tips for carving a similar design

The dragon's structural integrity relies on two firm anchors: the feet rooting into the broad lower frame and the curled tail touching the side frame. With those connections established, the wing apertures and scale holes can be opened without any risk of the figure drifting. Shallow-backed star accents scattered in the surrounding rind add sparkle without requiring additional cut-through holes that would weaken the shell.

From pumpkin to porch

  1. Plan structural connections before transferring

    Map the foot-to-base and tail-to-frame contact points on paper before printing the template. Each connection should be at least one inch wide. Adjust the template until those connection widths are confirmed, then transfer via pin-poke. Trace all outlines including wing apertures, scale holes, and star positions.

  2. Hollow the pumpkin thoroughly

    This design needs walls at least one and a quarter inches thick to support the many adjacent openings. Scoop carefully and check wall depth with a skewer at several points. A thicker wall also provides more surface for the shallow-backed stars.

  3. Carve the foot and tail connections first

    Establish the foot-to-base join by cutting the body shape around the feet, keeping the foot rind fused to the lower frame. Cut the tail outline next, confirming it touches the side frame before removing any material from the tail tip area. Do not open any wing holes yet.

  4. Open the wing apertures

    Cut the wing holes from the inner edge of each wing outward toward the wing tips. Work from the largest aperture to the smallest within each wing section. Check that solid rind separates every opening from adjacent ones as you go.

  5. Cut the scale holes

    Scale holes are small and closely spaced, so switch to a detail knife for these. Each scale is a small oval or teardrop cut entirely through. Work systematically from one side of the body to the other to track which holes have been completed.

  6. Shallow-back stars and seal

    Use a V-tool or detail knife tip to remove just the outer skin of each star accent position. The stars should glow amber rather than white. Coat all surfaces with petroleum jelly and insert a battery LED candle offset slightly from center so light reaches all wing apertures evenly.

Written with AI to match this design

Gather your supplies

Check things off as you get ready.

Work on a stable surface, keep your free hand out of the cutting path, and have an adult handle sharp tools.

Three levels of light

  • Leave intact

    Solid rind forming the dragon body, wing membranes between apertures, and the curled tail stays dark.

  • Peel & shade

    Star accent areas are shallow-backed to glow at a softer amber level.

  • Cut through

    Wing apertures and scale holes are cut entirely through for bright light.

Learn the carving basics

Before you start cutting

How do I keep scale holes from merging as I cut them?

Mark the boundary of each scale clearly before cutting and stop the blade exactly at that boundary. Keep at least a quarter inch between adjacent scales. If the design calls for very closely spaced scales, reduce the number and space them more generously to maintain shell strength.

What if the curled tail tip does not quite reach the side frame on my pumpkin?

Extend the tail slightly in the template so the tip overlaps the side frame edge by at least a quarter inch. That small contact point is enough structural support. Alternatively, leave a thin rind rib connecting the tail to the nearest portion of solid shell rather than the outer frame.

Where should the 8 year old be involved in this project?

An expert carving like this is fully adult-executed, but the child can choose star accent positions on the template before it is transferred, track progress during carving, and place the LED candle when the adult has finished. Those contributions make the display feel shared.

Your take belongs here, too.

Changed a detail? Made it simpler? Share a photo of your version and tell the community what worked.

Share your pumpkin

More pumpkins like this

You've reached the end · 8 pumpkins
The Patch Report

Fresh pumpkins, in your inbox.

The best new carvings, ideas worth stealing, and how-tos for carving season. Short, seasonal, and gone by November.

A short email during carving season. Unsubscribe anytime. See our privacy policy.