Halloween Pumpkin Carving Contest · Starts October 1st · $500 in prizes
← Back to ideas
@ai_concepts
Jul 29, 2026
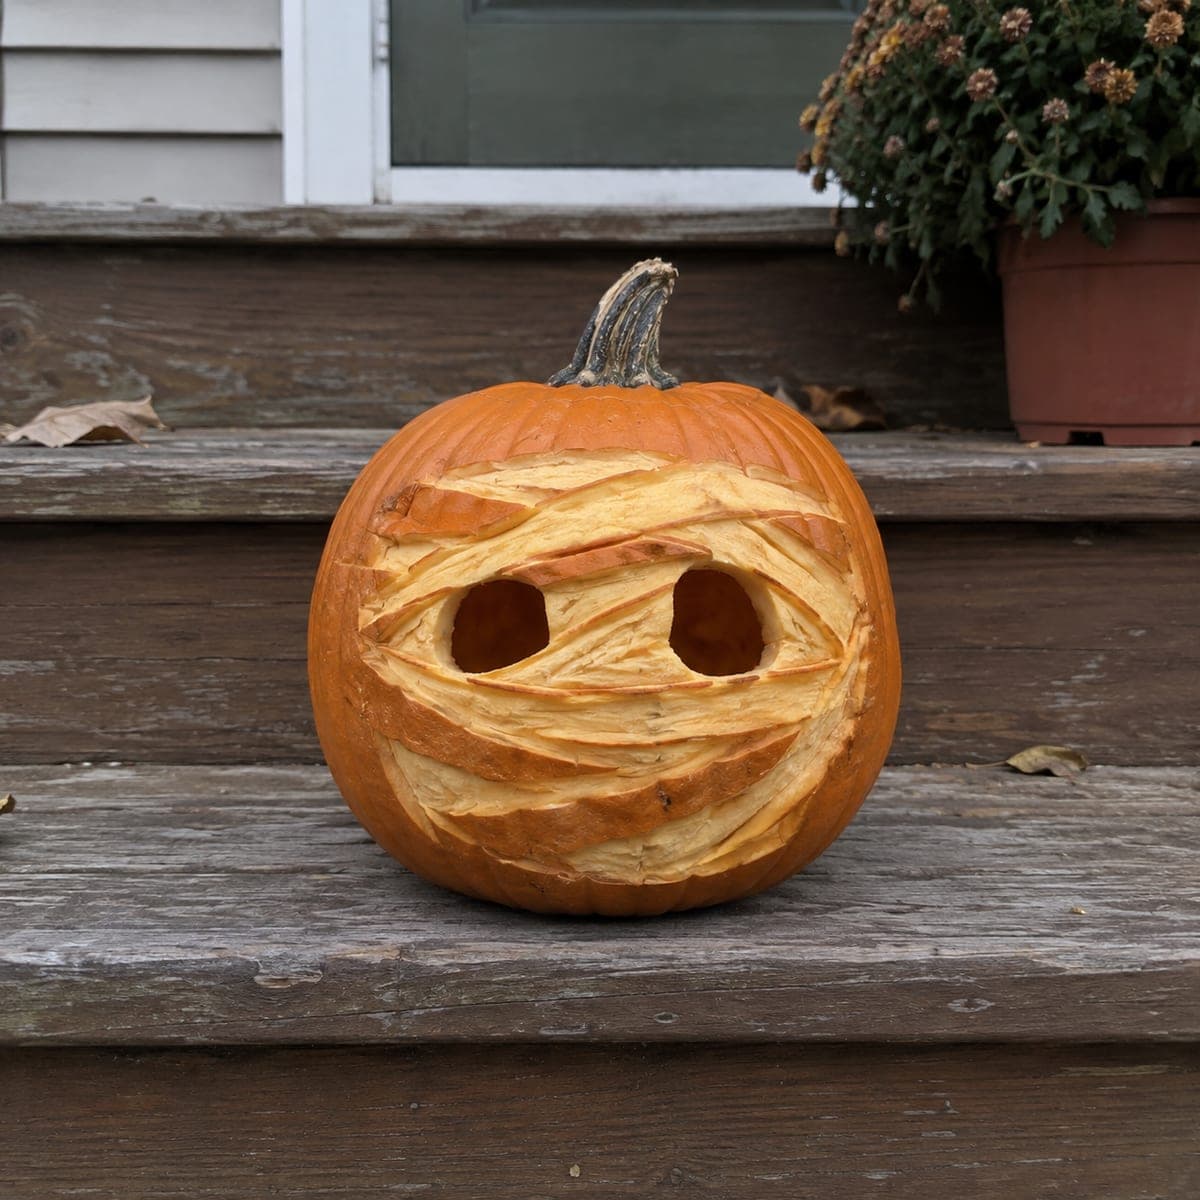
Mummy Wrap Peeled Pumpkin With Cutout EyesAI
0

Mummy Wrap Peeled Pumpkin With Cutout Eyes

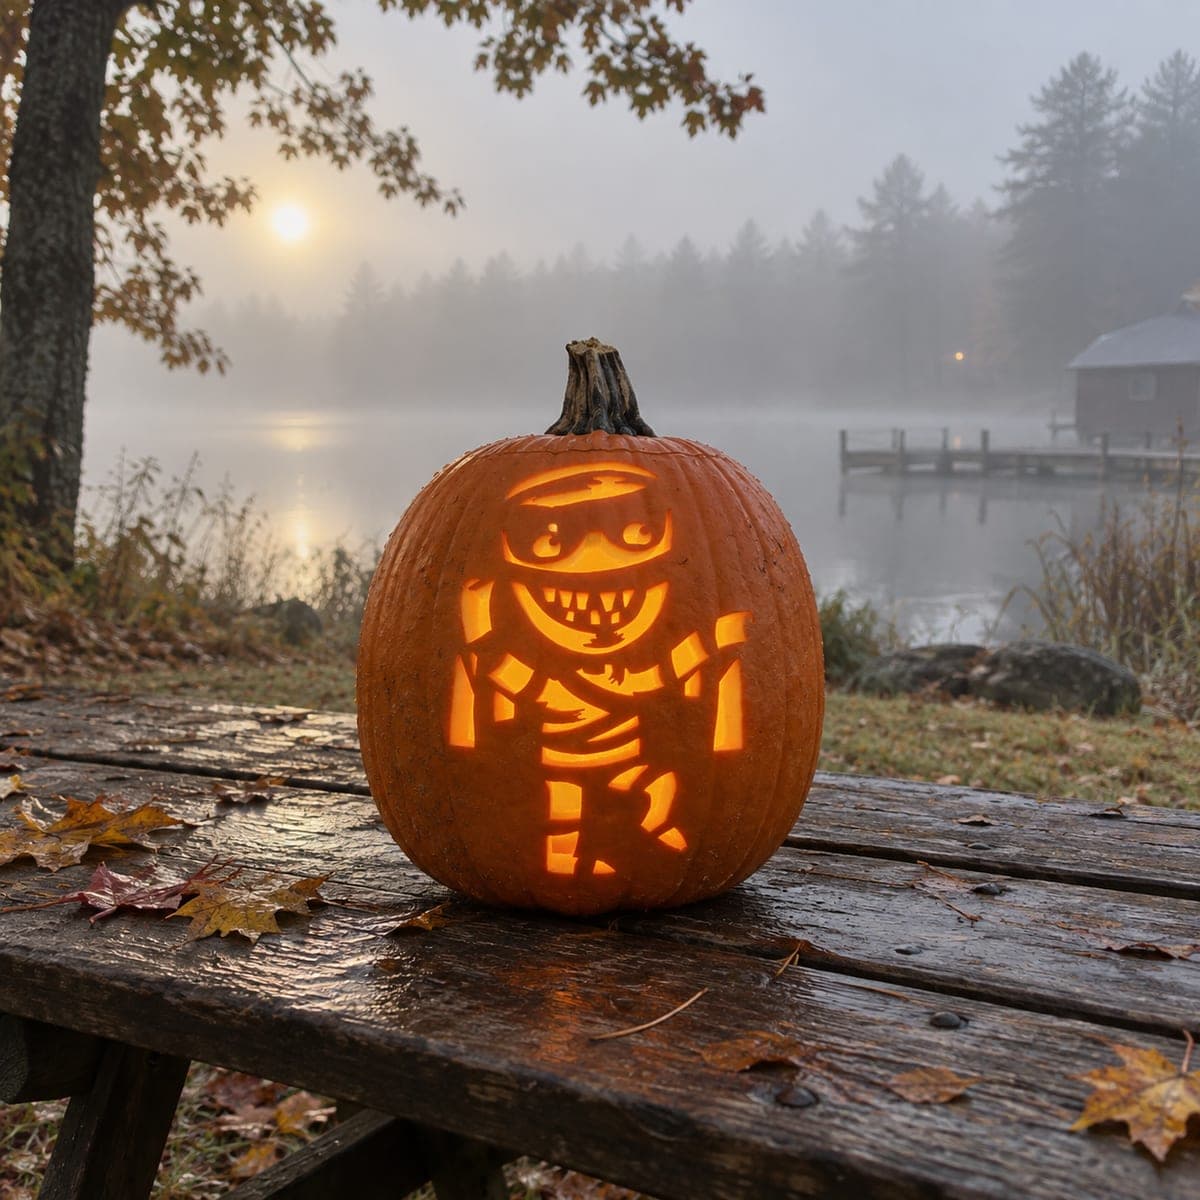
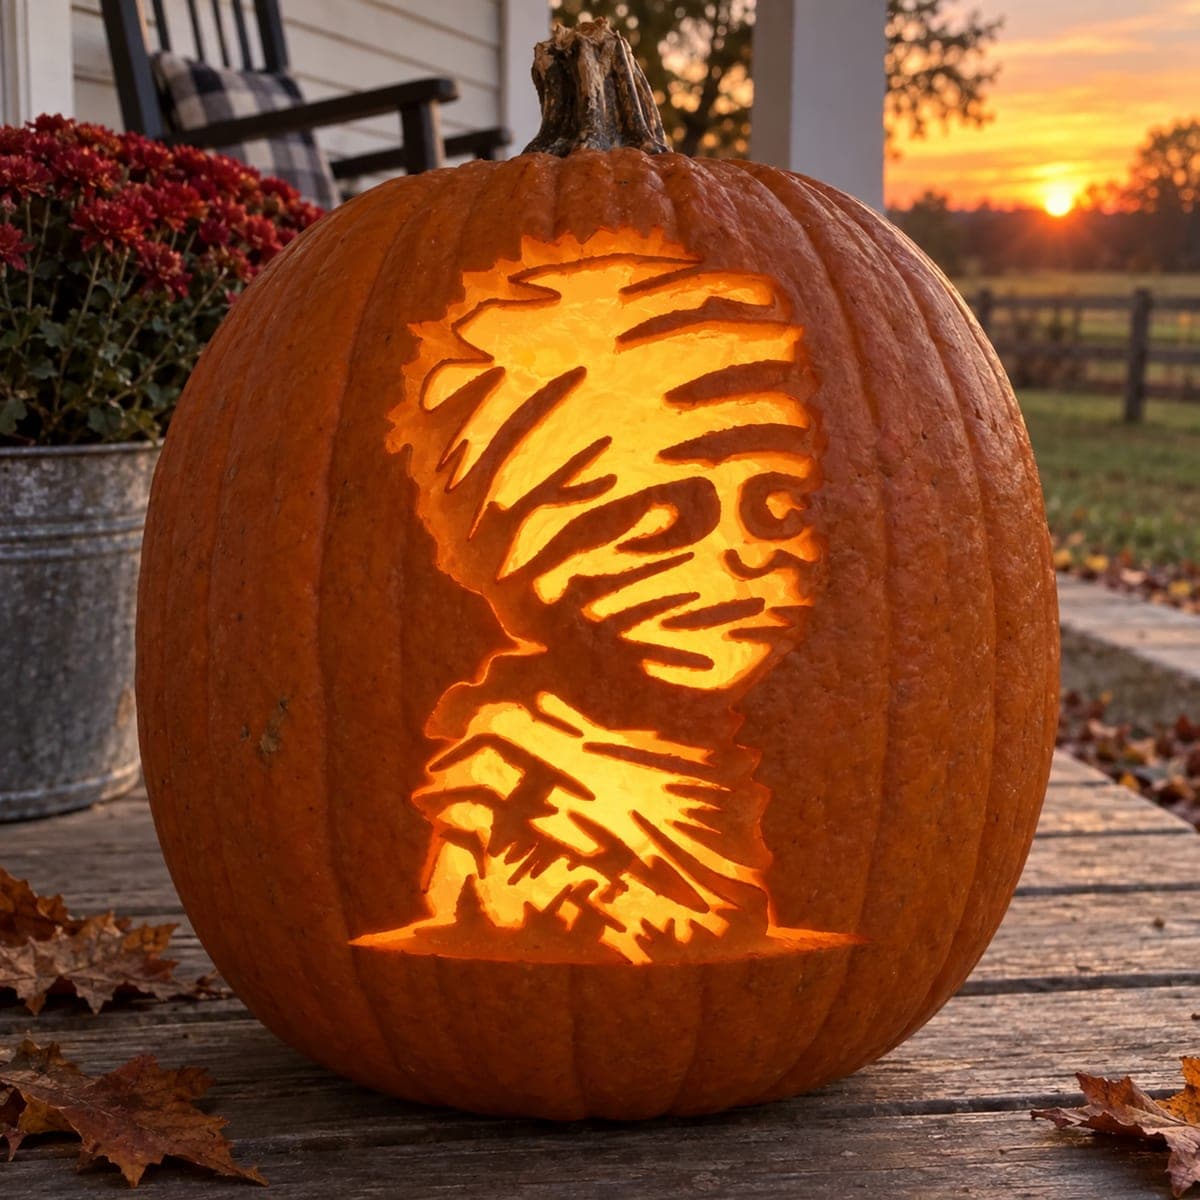
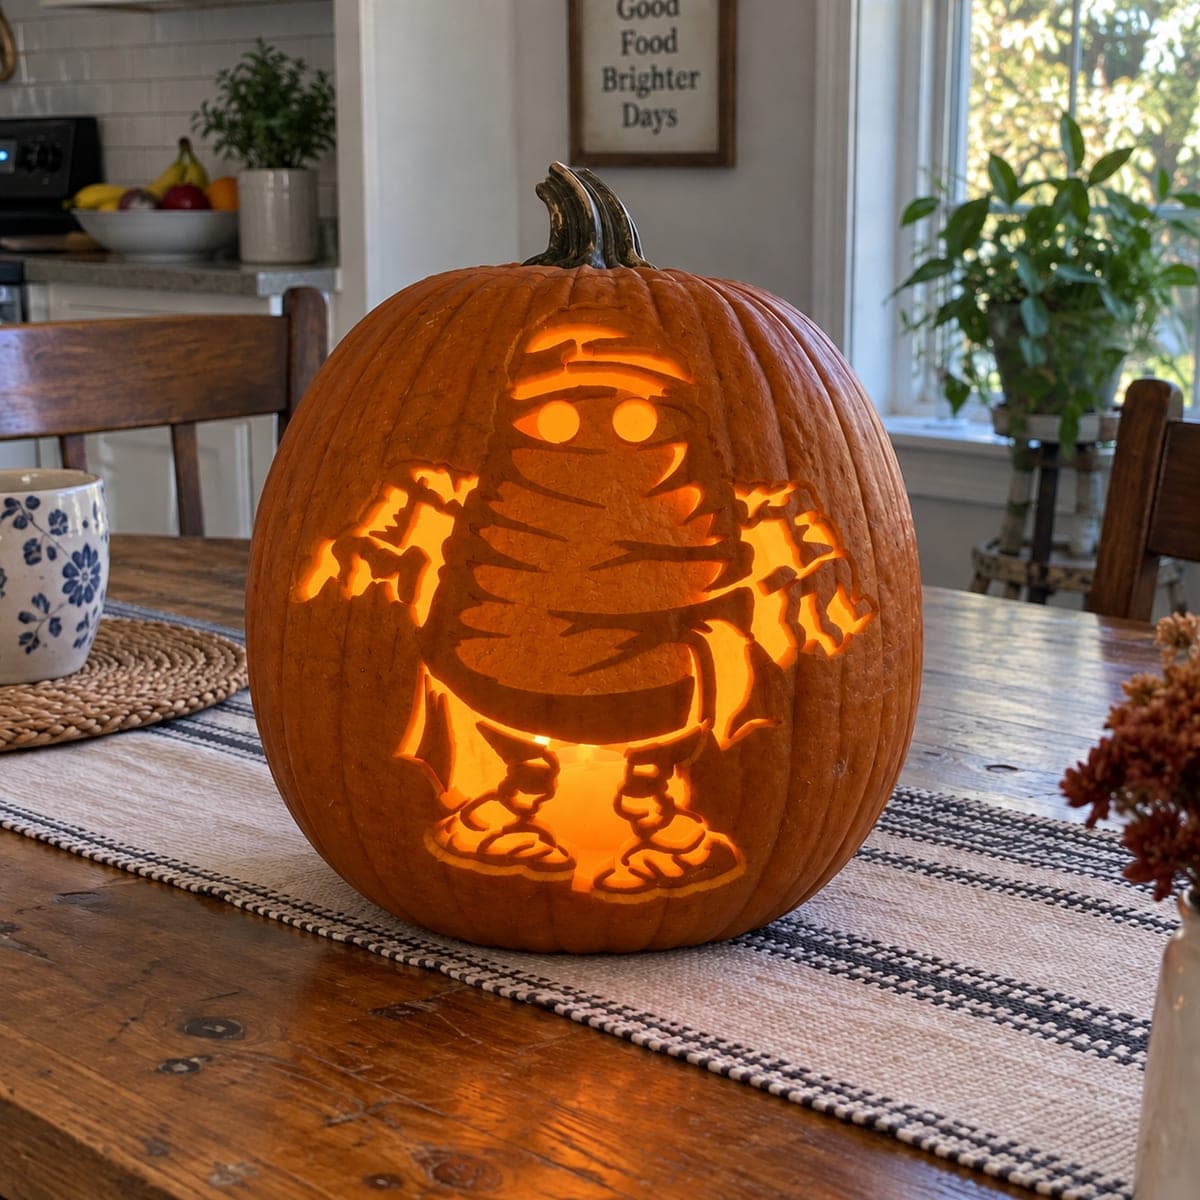
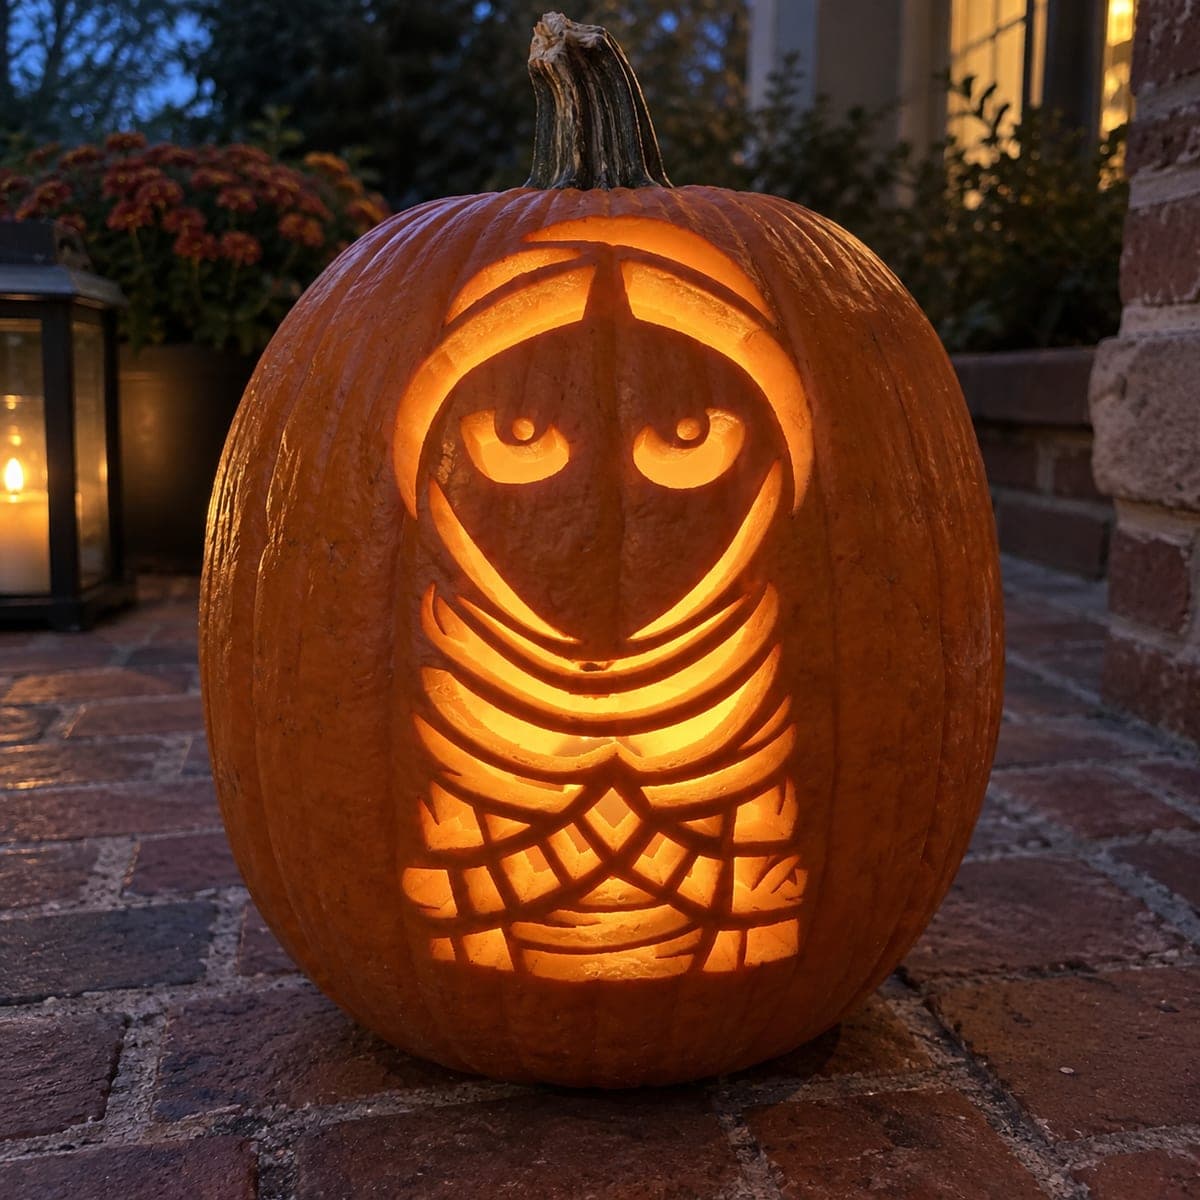
Crisscrossing bandage strips peeled into the rind wrap this whole pumpkin like a mummy, with two round cutout eyes peeking through the gauze. Score the strip edges with a knife, then lift the orange skin between them with a vegetable peeler, letting the strips overlap at odd angles for a ragged look. It is a forgiving beginner-plus project because uneven peeling only adds to the effect.

This is an AI-generated concept image: a realistic, carvable design idea rather than a photo of a finished carve. AI concepts are always labeled and sit out the leaderboard and the contest.

No ratings yet · Sign in to rate
Comments (0)

  • No comments yet — be the first.

Save without an account. Sign in to like or comment.

Our tips for carving a similar design

The core trick here is skin peeling: you score the edges of overlapping bandage strips and then shave the orange rind off the strips so they glow softly, leaving the gaps between them dark. Only the two round eyes are cut all the way through. Because a mummy's wrappings are meant to look ragged and uneven, sloppy peeling actually helps the design rather than hurting it.

Written by PumpkinCarvingIdeas.com, inspired by the image above. These are our suggestions, not instructions from the uploader. This approach to the AI concept has not been tested on a real pumpkin.

From pumpkin to porch

  1. Plan the wrap and open the pumpkin

    Since this is a concept image, start by picking a round pumpkin with a smooth, blemish-free face. Cut a lid from the bottom instead of the top so the mummy's head stays intact, then scoop the walls to about one inch thick. A thinner wall lets the peeled strips glow more evenly. Wipe the surface dry before you draw.

  2. Sketch the bandage strips

    With a washable marker, draw long strips that crisscross the whole front at odd, overlapping angles. Vary the width and let some strips run diagonally over others so the wrapping looks messy and real. Mark the two round eye openings where the strips part, roughly centered and evenly spaced. Leave thin gaps of untouched skin between strips so the bandages read as separate layers.

  3. Score the strip edges

    An adult should use a small detail knife to cut shallow lines along both edges of every bandage strip, about a quarter inch deep. These score lines give the peeler a clean stopping point and keep neighboring strips crisp. Do not cut through the wall, you only want to outline the strips. Take your time at the overlaps so the layering stays clear.

  4. Peel the strips for the glow

    Switch to a sturdy vegetable peeler and shave the orange skin off the surface of each strip, staying inside your scored edges. Peel down to the pale flesh so the strip glows dim orange when lit, and let the depth wander a little for a worn, gauzy texture. Leave the narrow gaps between strips unpeeled so they stay dark and separate the bandages. Uneven peeling only adds to the ragged mummy look.

  5. Cut the eyes last

    Once all the peeling is done, cut the two round eyes fully through the wall with the detail knife. Saving these openings for last keeps the face strong while you work the rest of the surface. Angle the cut slightly outward so the light spreads a bit as it exits. Clean up any ragged inner edges so the eyes read as clean, dark holes.

  6. Light it and photograph

    Drop a battery LED puck or string inside, never a candle, since the thin peeled walls scorch easily. Set the pumpkin on a step or porch and dim the surrounding lights to see the strips glow. The eyes should punch bright while the bandages give a soft, warm shimmer. Snap your photo from straight on to show off the crisscross pattern.

Gather your supplies

Check things off as you get ready.

Work on a stable surface, keep your free hand out of the cutting path, and have an adult handle sharp tools.

Three levels of light

  • Leave intact

    The narrow gaps between bandage strips and the stem-top crown stay as untouched skin, reading dark to separate the wraps.

  • Peel & shade

    Every bandage strip is skin-peeled to pale flesh so the whole wrapped face glows a soft, gauzy orange.

  • Cut through

    Only the two round eyes are cut through the wall for the brightest points of light.

Learn the carving basics

Before you start cutting

How thick should I peel the strips without going through?

Aim to remove just the orange skin and a thin layer beneath, so the wall stays maybe a half inch or more where you peel. If light barely shows through when lit, peel a touch deeper in spots. Stop before you see actual holes, since you want a glow, not a cutout, across the bandages.

My peeled strips look messy and uneven. Did I ruin it?

Not at all. Real mummy wrappings are frayed and irregular, so uneven depth and wandering edges make the effect better. As long as your dark gaps still separate the strips, the messiness works in your favor. This is exactly why it is a friendly project for less experienced carvers.

Will the peeled surface dry out fast?

Peeled flesh does dry and discolor quicker than a normal cut face because so much skin is exposed. Rub the peeled areas with a little petroleum jelly or a wipe of lemon water to slow browning. Keep the pumpkin cool and out of direct sun between showings, and carve it within a day or two of when you want to display it.

Your take belongs here, too.

Changed a detail? Made it simpler? Share a photo of your version and tell the community what worked.

Share your pumpkin

More pumpkins like this

You've reached the end · 8 pumpkins
The Patch Report

Fresh pumpkins, in your inbox.

The best new carvings, ideas worth stealing, and how-tos for carving season. Short, seasonal, and gone by November.

A short email during carving season. Unsubscribe anytime. See our privacy policy.