Halloween Pumpkin Carving Contest · Starts October 1st · $500 in prizes
← Back to ideas
@ai_concepts
Sep 25, 2026
Ornamental Surprised Jack-O-Lantern With Teardrop HaloAI
0

Report this carving

Tell us what is wrong. Reports are private.

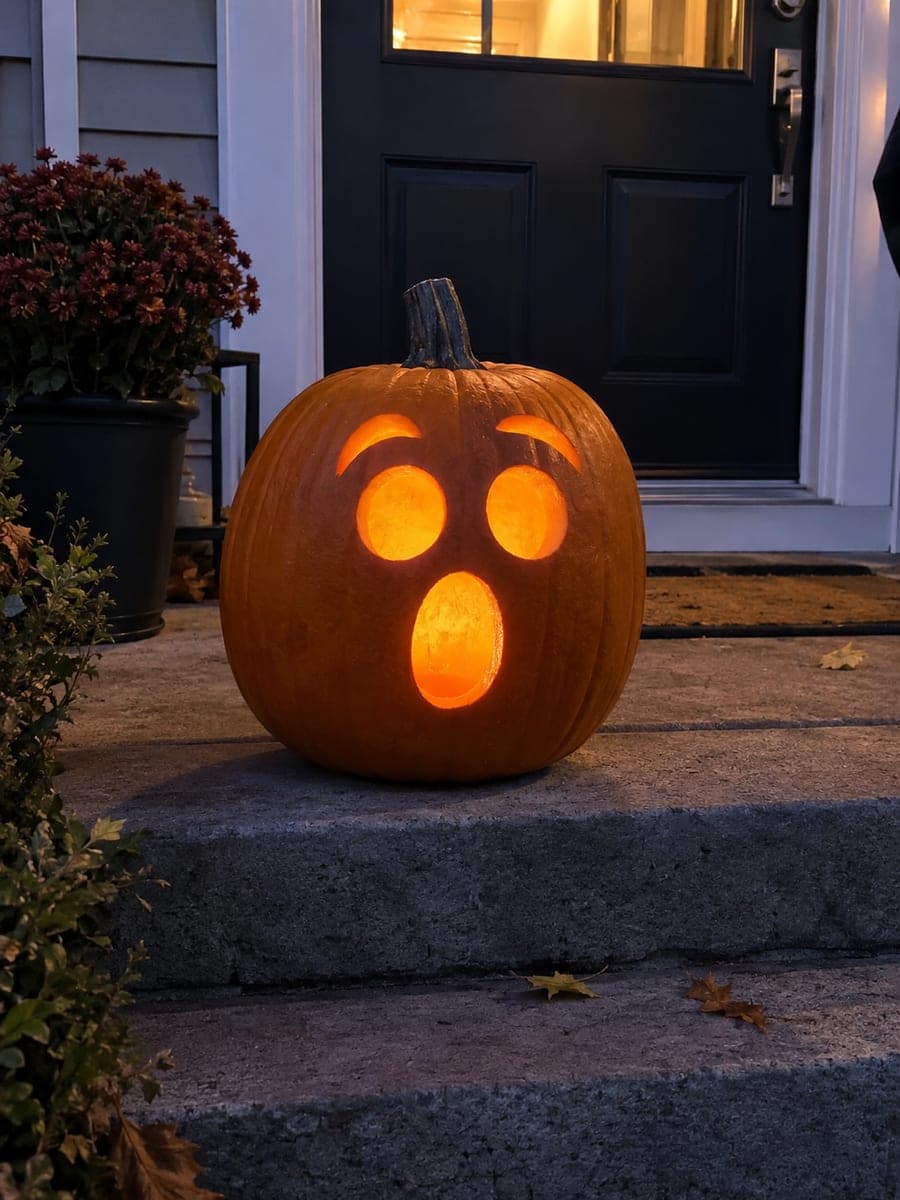
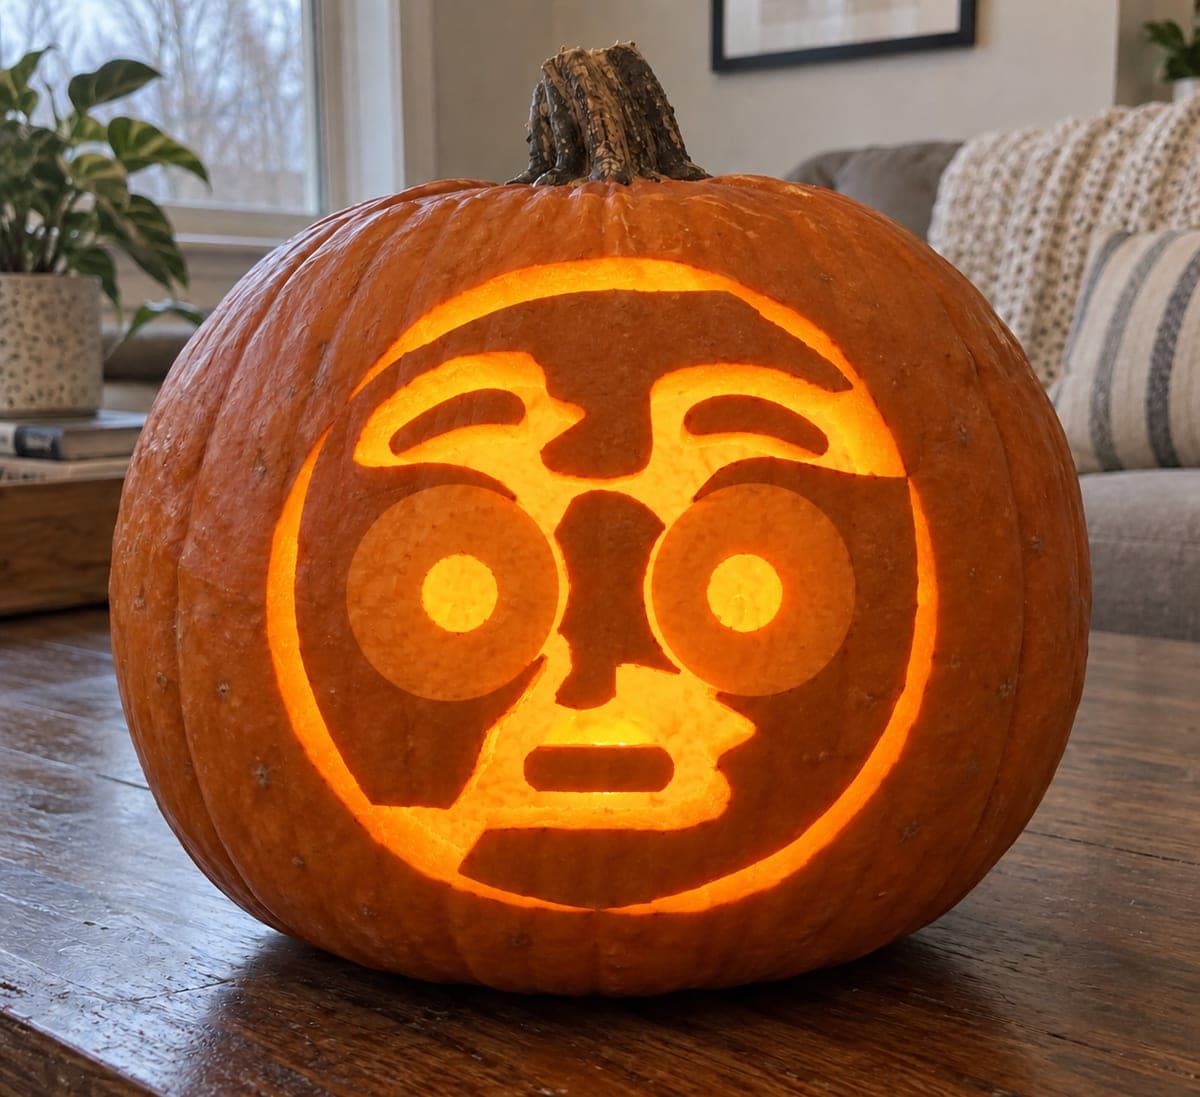
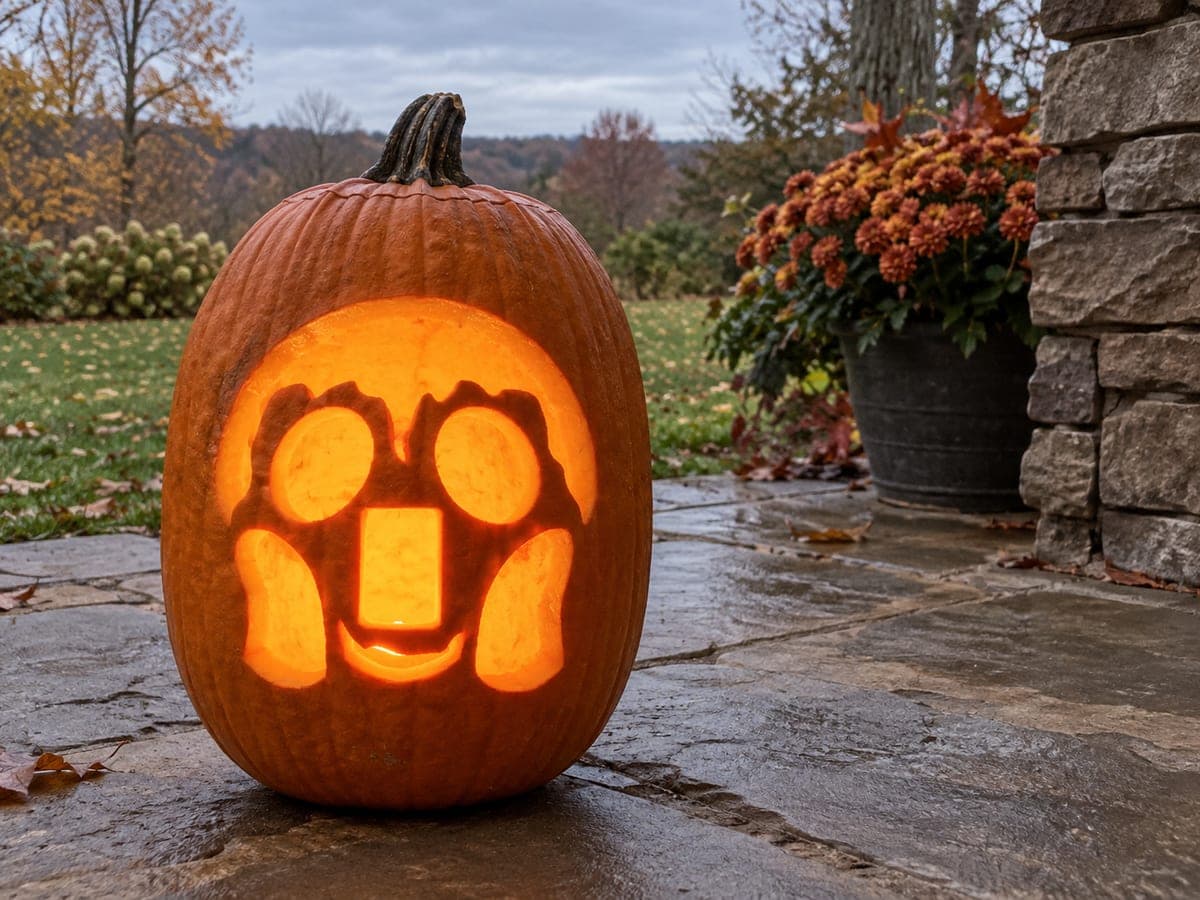
Ornamental Surprised Jack-O-Lantern With Teardrop Halo

Oval eye windows each crossed by two substantial vertical rind bars, three pairs of curved raised forehead wrinkle holes, two nostrils, a large empty O mouth, and twenty-four separate teardrop and diamond holes framing the face create a showpiece expert surprised pumpkin face of near-ceremonial complexity. Two rind bars per eye means four structural vertical pieces that must all meet minimum 12mm width before adjacent cuts weaken them. Work outward from the center: face features first, wrinkles second, teardrop halo last. The teardrop and diamond halo glows like an illuminated manuscript border when lit from within.

No ratings yet · Sign in to rate

Comments (0)

  • No comments yet — be the first.

Save without an account. Sign in to like or comment.

Our tips for carving a similar design

Two rind bars per eye window means four critical vertical pieces that each must reach minimum 12 mm width before adjacent cuts weaken them. Work strictly outward from the center: face features first, then wrinkles, then the teardrop and diamond halo last. The halo glows like an illuminated border when lit from within.

From pumpkin to porch

  1. Prepare and plan

    Hollow from the back and thin the wall to 1.8 cm throughout. Before transferring, draw the entire design on paper and confirm every bridge is at least 12 mm. Pay special attention to the four double-bar positions, which must all pass the minimum width check before any cutting begins.

  2. Transfer the complete design

    Transfer all elements with a poking tool: both oval eye windows with two vertical bar positions each, three pairs of curved forehead wrinkle holes, two nostril positions, the large O mouth boundary, and all twenty-four teardrop and diamond halo positions. Re-measure every bridge on the actual pumpkin after transfer.

  3. Cut the face features

    Cut the two oval eye window outer frames first, then remove the rind on either side of each of the four vertical bars, keeping all bars at minimum 12 mm. Cut both nostrils with a detail blade. Cut the large O mouth in short segments around its circumference.

  4. Cut the forehead wrinkles

    Work through the three pairs of curved forehead wrinkle holes. These curved cuts benefit from a flexible thin-bladed detail saw. Leave the outer bridge between each pair intact.

  5. Cut the teardrop and diamond halo

    Start the halo from the top center and work outward symmetrically, alternating between left and right sides so the shell stress remains balanced. Pierce each shape with an awl before using the detail blade to cut the full outline.

  6. Light and display

    Insert a bright LED lantern. Place on a high mantle or shelf so the full halo surrounds the face visually. The teardrop and diamond border glows like a carved frame around the surprised interior expression.

Written with AI to match this design

Gather your supplies

Check things off as you get ready.

Work on a stable surface, keep your free hand out of the cutting path, and have an adult handle sharp tools.

Three levels of light

  • Leave intact

    All four vertical eye bars, the rind borders between halo elements, and the bridges between wrinkle holes stay dark.

  • Peel & shade

    None.

  • Cut through

    Both oval eye windows (with two vertical bars each retained), both nostrils, the large O mouth, all six wrinkle hole openings, and all twenty-four teardrop and diamond halo holes are cut through.

Learn the carving basics

Before you start cutting

Two bars per eye sounds very fragile. At what point should I accept that four bars is too many for my pumpkin?

If your pumpkin wall is thinner than 1.8 cm or has any soft spots, reduce each eye to one bar rather than two. A single bar per eye is still a distinctive design detail, and a pumpkin that survives display for several nights is more successful than a technically complete carving that collapses on day one.

How do I keep the teardrop halo symmetrical on a round pumpkin?

Wrap the printed template around the pumpkin surface with relief cuts so it conforms to the curve, tape it in place, then transfer using a poking tool. This transfers the actual curve-adjusted spacing rather than the flat-paper geometry.

The forehead wrinkle holes are curved and my saw blade keeps drifting. How do I control it?

Use a thin, flexible detail saw blade and cut in very short strokes, repositioning your grip every 5 mm to follow the curve deliberately. Alternatively, pierce each wrinkle hole at its widest point with an awl, then use a fine detail blade rather than a saw to cut the outer curve in short angled passes.

Your take belongs here, too.

Changed a detail? Made it simpler? Share a photo of your version and tell the community what worked.

Share your pumpkin

More pumpkins like this

You've reached the end · 8 pumpkins
The Patch Report

Fresh pumpkins, in your inbox.

The best new carvings, ideas worth stealing, and how-tos for carving season. Short, seasonal, and gone by November.

A short email during carving season. Unsubscribe anytime. See our privacy policy.