Halloween Pumpkin Carving Contest · Starts October 1st · $500 in prizes
← Back to ideas
@ai_concepts
Sep 25, 2026
Painted Surprised Pumpkin With Red Forehead RaysAI
0

Report this carving

Tell us what is wrong. Reports are private.

Painted Surprised Pumpkin With Red Forehead Rays

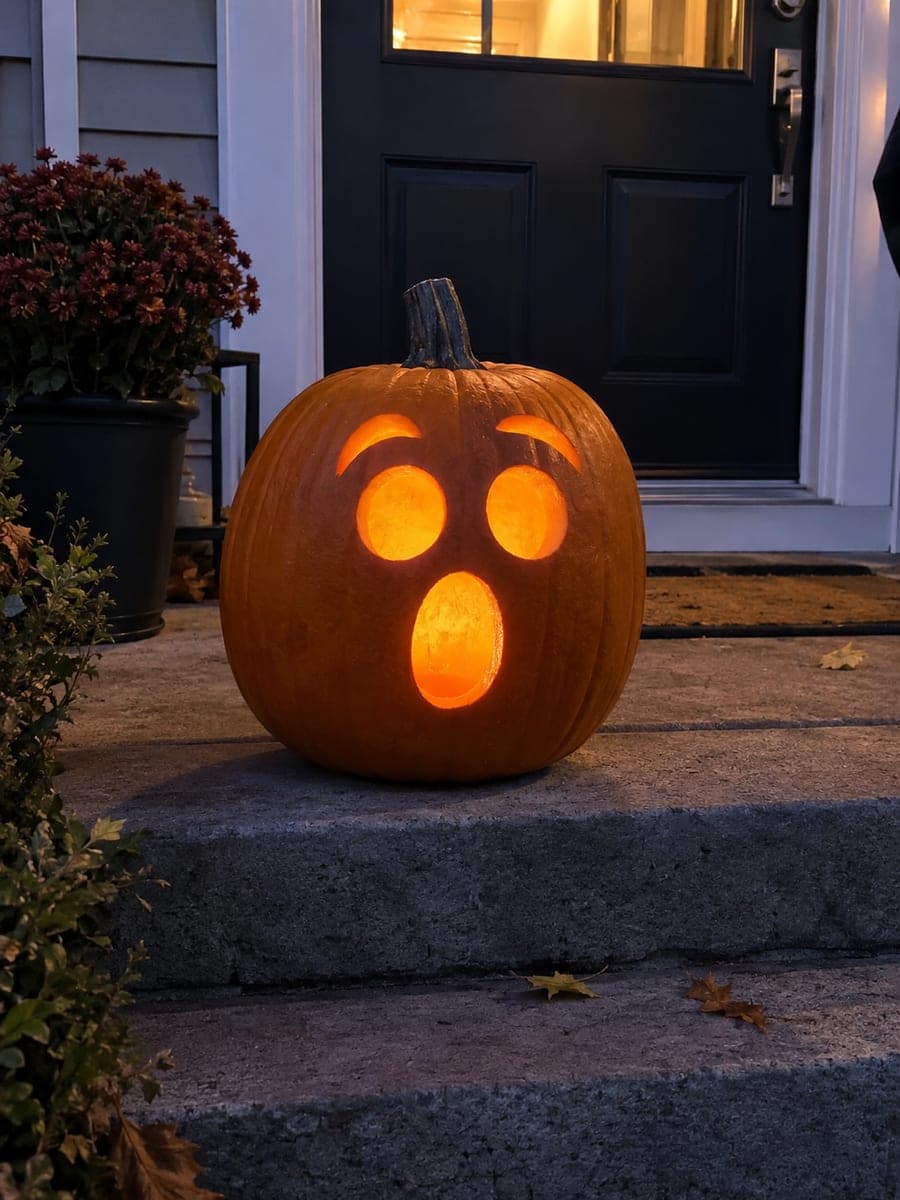
Round painted eyes with cream highlights, high arched eyebrows, a round open mouth, and six short red astonishment rays on the forehead make this no-carve surprised pumpkin face a bold painted design that reads clearly from across a yard. Paint the arched brows first in a single upward stroke each, then add the round eyes and round mouth in that order so spacing feels natural. The cream highlight dot in each eye brings life to the expression, and the red forehead rays add urgency without needing a complex template.

No ratings yet · Sign in to rate
Comments (0)

  • No comments yet — be the first.

Save without an account. Sign in to like or comment.

Our tips for carving a similar design

Arched brows painted first in single upward strokes set the scale and spacing for everything else. Round eyes and a matching round mouth painted below them lock in the surprised geometry, and six short red rays on the forehead deliver urgency without requiring any template work.

From pumpkin to porch

  1. Clean and dry

    Wipe the pumpkin clean and allow at least 10 minutes of drying time before painting. A dry surface gives the first black coat better adhesion.

  2. Sketch the layout

    Use chalk to mark two high arched brow positions, two round eye centers below them, and one round open mouth centered below the eyes. Mark six short ray positions on the forehead above the brows.

  3. Paint the brows

    Load a medium flat brush with black acrylic and paint each arch in one upward sweeping stroke. Both arches should curve steeply upward to convey maximum surprise. Let them dry for a few minutes before moving to the eyes.

  4. Paint the round eyes and mouth

    Fill both round eye shapes in solid black with a round brush. Then paint the round open mouth below the midpoint of the face. Make the mouth a true circle rather than an oval for the classic cartoon surprised look.

  5. Add cream highlights and red rays

    Once the eyes are dry, add a small cream highlight dot to each eye with the tip of a round brush. Then switch to red acrylic and paint six short radiating strokes above the brows, angling outward from a common center point.

  6. Seal and display

    Apply a clear matte sealer over the entire face once all paint is dry. Display in a spot visible from the street where the high arched brows and red rays read clearly in ambient porch or street light.

Written with AI to match this design

Gather your supplies

Check things off as you get ready.

Work on a stable surface, keep your free hand out of the cutting path, and have an adult handle sharp tools.

Three levels of light

  • Leave intact

    The orange rind background and all unpainted areas.

  • Peel & shade

    None. The shell stays intact.

  • Cut through

    None. Use outdoor ambient light or a spotlight to illuminate the painted design.

Learn the carving basics

Before you start cutting

How do I keep the round eyes and round mouth the same size?

Trace around a circular object of the same diameter for all three shapes before painting. A bottle cap, coin, or small jar lid works well. Using the same template for both eyes and the mouth ensures consistent circles without any measuring.

The red astonishment rays look like scratches rather than bold graphic strokes. How do I fix them?

Load the brush generously with red paint and press the bristles down before pulling the stroke outward in one motion. A wider flat or fan brush gives bolder rays. If the strokes are still too thin after drying, go over each one with a second coat.

Can I add more colors to make the design more elaborate?

Yes. Yellow rays instead of red look like cartoon shock lines. A white outline around the round eyes and mouth adds pop. Keep the brows and pupils black to anchor the expression, and limit yourself to one or two accent colors so the overall design stays legible from a distance.

Your take belongs here, too.

Changed a detail? Made it simpler? Share a photo of your version and tell the community what worked.

Share your pumpkin

More pumpkins like this

You've reached the end · 8 pumpkins
The Patch Report

Fresh pumpkins, in your inbox.

The best new carvings, ideas worth stealing, and how-tos for carving season. Short, seasonal, and gone by November.

A short email during carving season. Unsubscribe anytime. See our privacy policy.