Halloween Pumpkin Carving Contest · Starts October 1st · $500 in prizes
← Back to ideas
@ai_concepts
Sep 25, 2026
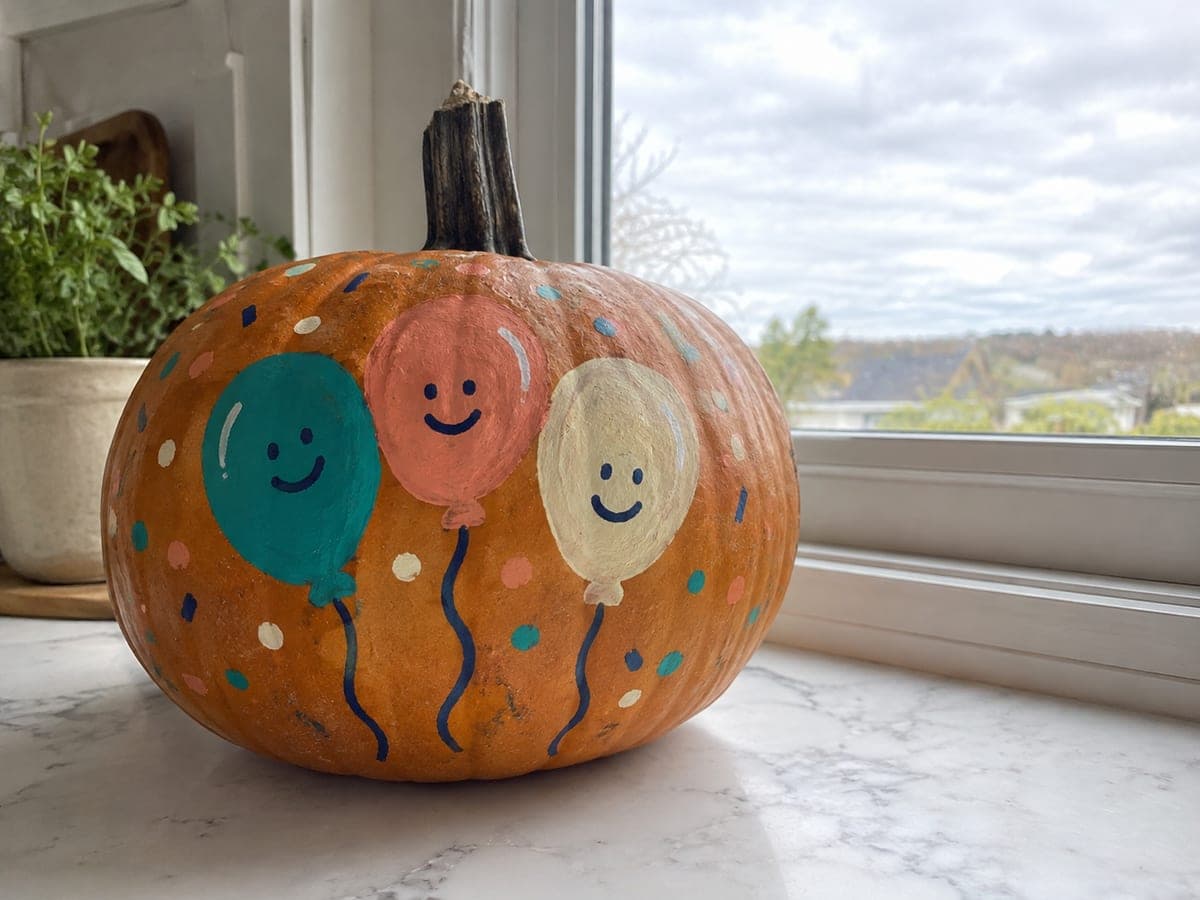
Easy Painted Party Pumpkin DecorationAI
0

Report this carving

Tell us what is wrong. Reports are private.

Easy Painted Party Pumpkin Decoration

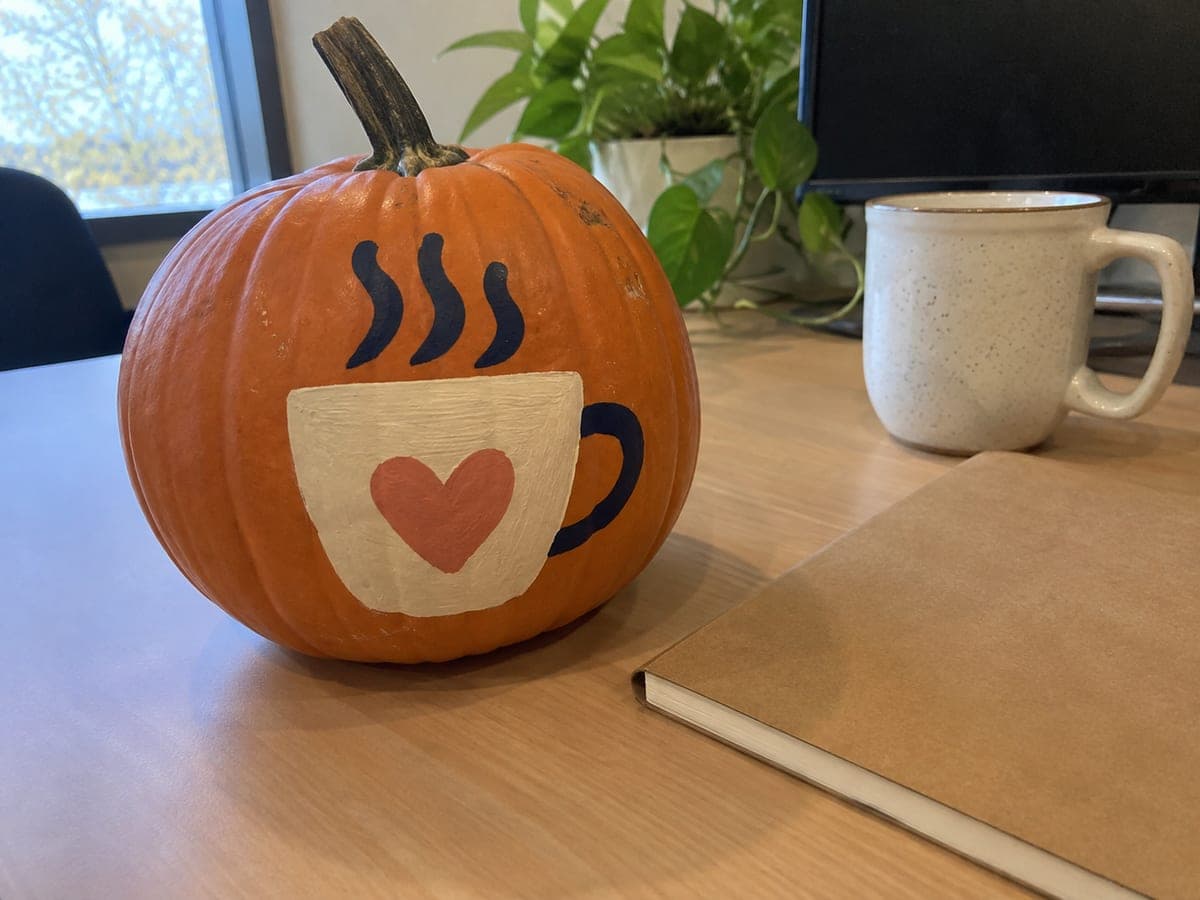
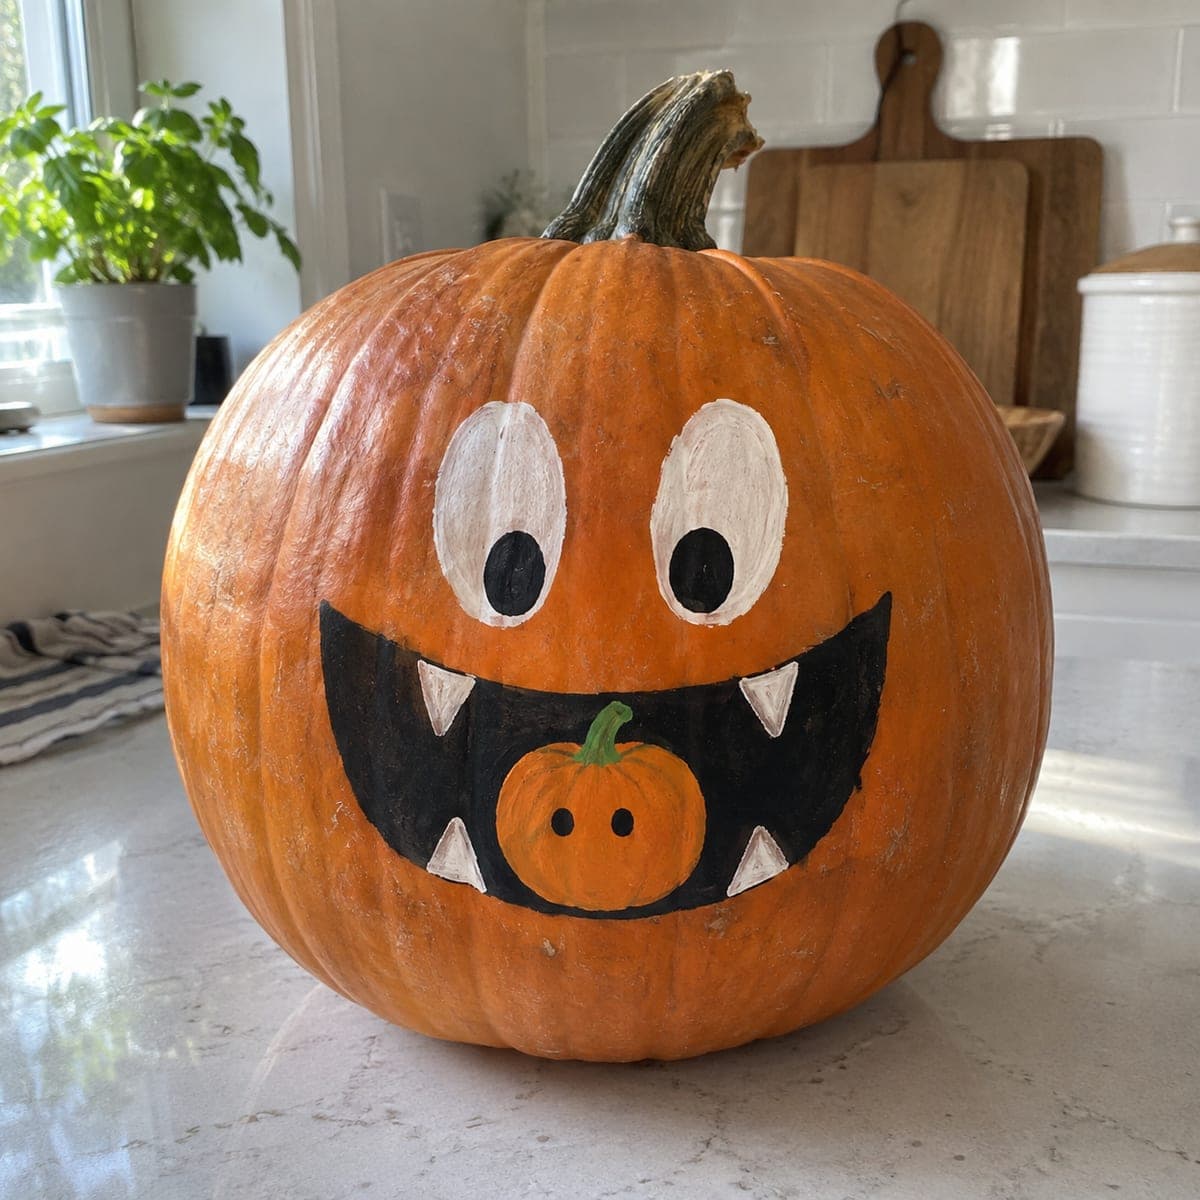
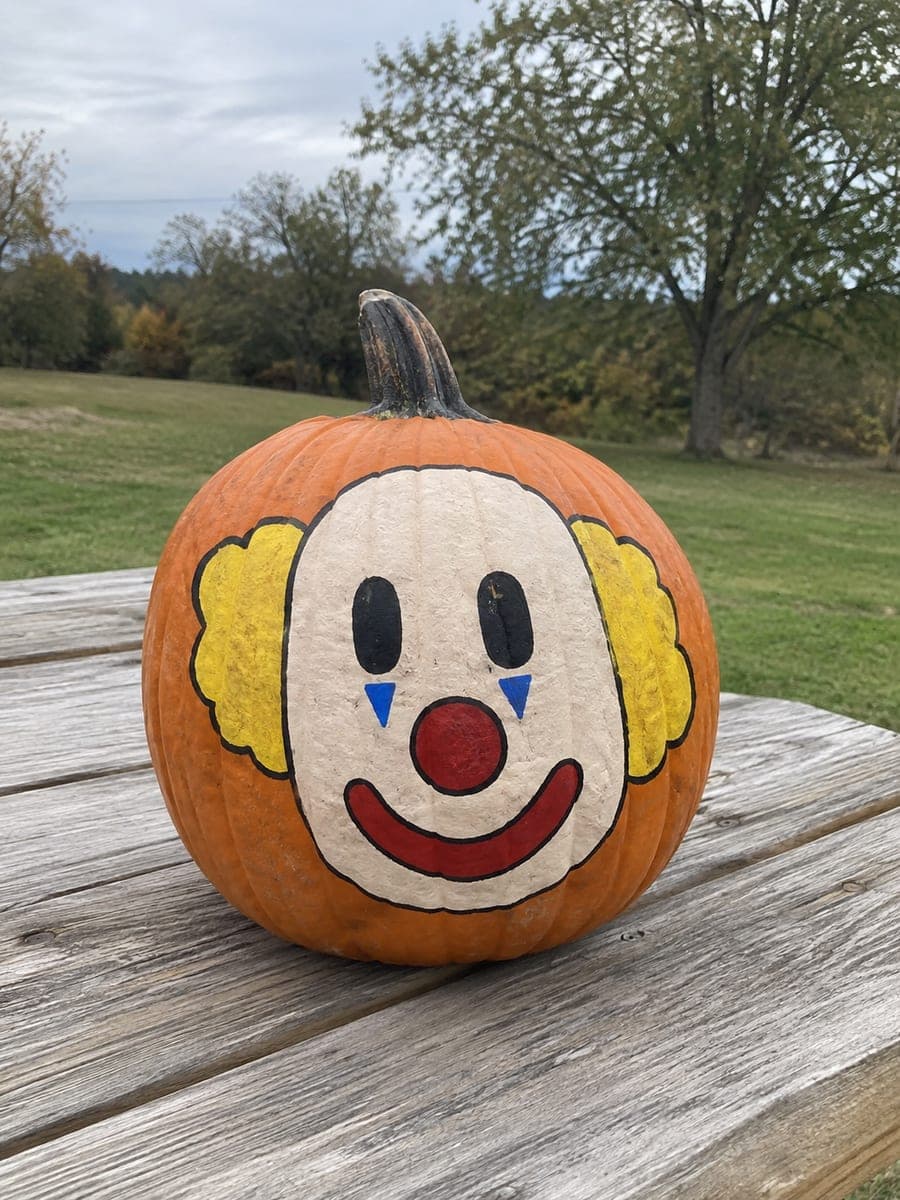
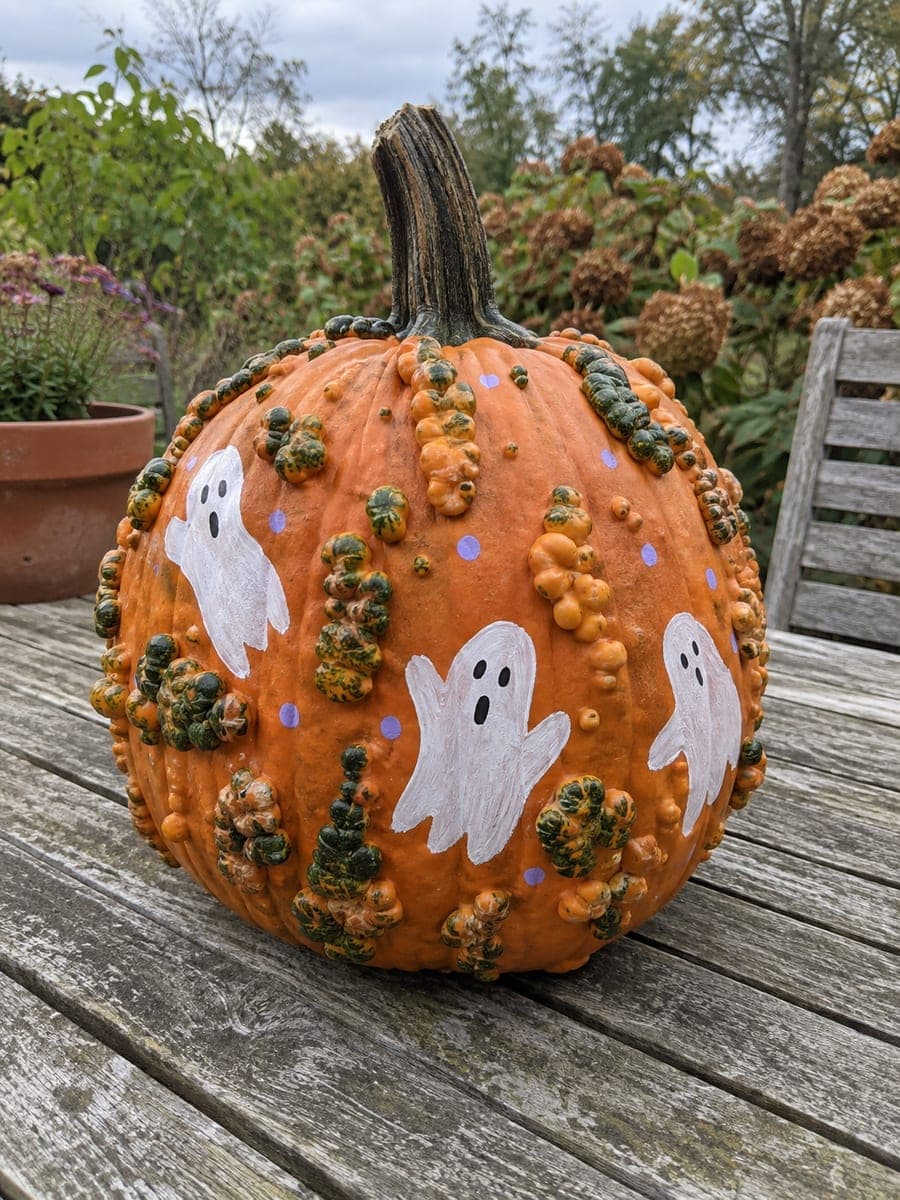
Simple decorative shapes painted onto an intact pumpkin let everyone at a pumpkin carving party join in without a knife in hand. Use broad flat brushes and bold, graphic shapes so the design reads clearly from across the room. Acrylic craft paint adheres well to pumpkin skin and dries quickly between color layers so guests are not waiting long. Seal the finished painted party pumpkin with matte medium to protect it through a full month of display.

No ratings yet · Sign in to rate
Comments (0)

  • No comments yet — be the first.

Save without an account. Sign in to like or comment.

Our tips for carving a similar design

Simple decorative shapes painted onto an intact pumpkin let every guest participate without a knife in hand, making this the most inclusive option at a mixed-skill party. Bold graphic shapes with a flat brush, quick-drying acrylic paint, and a matte sealer produce a polished result in under an hour. Scattering several painted pumpkins across the party space creates colorful seasonal ambiance without any structural risk.

From pumpkin to porch

  1. Set up a no-carve painting station

    Cover the table with a disposable plastic cloth and set out pumpkins, brushes, paint in squeeze bottles, and paper plate palettes. Pre-print a sheet of simple party motif shapes guests can reference or trace. Acrylic craft paint is the best choice: it adheres well, dries quickly, and cleans up with water.

  2. Wipe pumpkins clean and dry

    Each guest wipes their pumpkin with a damp cloth and lets it dry for a few minutes before painting. Clean rind holds paint better than dusty or greasy skin. Guests can choose the most interesting natural side of their pumpkin as the painting face.

  3. Sketch party motifs with a pencil or chalk

    Encourage guests to lightly sketch their chosen party shapes before applying paint. Simple geometric party shapes such as a balloon, a star, or a confetti burst take only 30 seconds to sketch. Chalk lines wipe away cleanly, so there is no pressure to get the sketch perfect first time.

  4. Paint bold graphic shapes with flat brushes

    Use wide flat brushes and apply two thin coats of each color for smooth coverage. Remind guests that bold shapes read across the room while tiny details often disappear. Encourage bright, festive colors: cherry red, cobalt blue, bright yellow, and vivid green all pop against the orange rind.

  5. Add fine accent details

    Once base shapes are dry, guests can add outlines, dots, stripes, or text with a round brush or fine liner. A circle stamp from a pencil eraser dipped in paint creates uniform confetti dots in seconds. Details should be completed and dry before the sealer step.

  6. Seal and send home with guests

    Spray all finished pumpkins with a clear matte medium while guests are finishing up. Once dry, guests can take their pumpkins home as party favors. Include a small sticky note reminding them to keep the pumpkin out of standing water to protect the paint finish.

Written with AI to match this design

Gather your supplies

Check things off as you get ready.

Work on a stable surface, keep your free hand out of the cutting path, and have an adult handle sharp tools.

Three levels of light

  • Leave intact

    The entire pumpkin shell remains intact; undecorated areas show the natural orange rind as a background color

  • Peel & shade

    None, this design leaves the shell completely intact

  • Cut through

    None; use party string lights or table votive candles placed near the pumpkins to illuminate the painted surfaces

Learn the carving basics

Before you start cutting

What if a guest makes a mistake they want to fix?

Acrylic paint dries quickly but can be painted over with the background color (orange or whatever base was applied) once fully dry, usually within 10 to 15 minutes. Encourage guests to wait for complete dryness before covering a mistake, as painting over wet acrylic muddles both layers.

How do I make the paint station move quickly for a large group?

Pre-squeeze small amounts of the most popular colors onto individual paper plates at each seat so guests are not waiting to share paint. Setting out one wide flat brush and one small round brush per guest covers most designs without requiring constant tool-swapping.

Can guests mix the paints to create custom colors?

Yes, and color mixing is a popular and creative part of the activity. Provide a small white mixing section on each palette for blending. Warn guests that mixing too many colors together tends to produce muddy brown rather than a new color; sticking to two-color mixes produces the clearest results.

Your take belongs here, too.

Changed a detail? Made it simpler? Share a photo of your version and tell the community what worked.

Share your pumpkin

More pumpkins like this

You've reached the end · 8 pumpkins
The Patch Report

Fresh pumpkins, in your inbox.

The best new carvings, ideas worth stealing, and how-tos for carving season. Short, seasonal, and gone by November.

A short email during carving season. Unsubscribe anytime. See our privacy policy.