Halloween Pumpkin Carving Contest · Starts October 1st · $500 in prizes
← Back to ideas
@ai_concepts
Sep 25, 2026
Wide-Eyed Pumpkin With O Mouth and Cheek CirclesAI
0

Report this carving

Tell us what is wrong. Reports are private.

Wide-Eyed Pumpkin With O Mouth and Cheek Circles

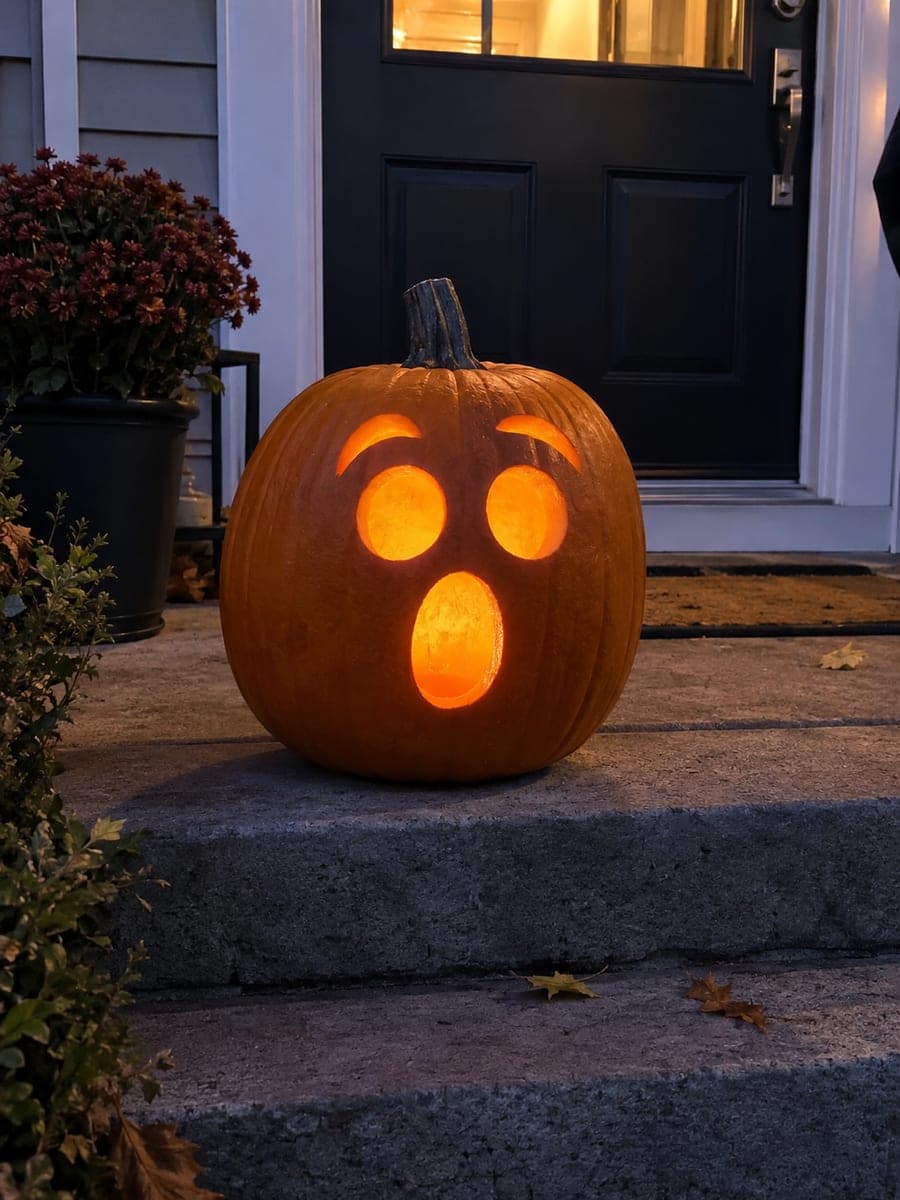
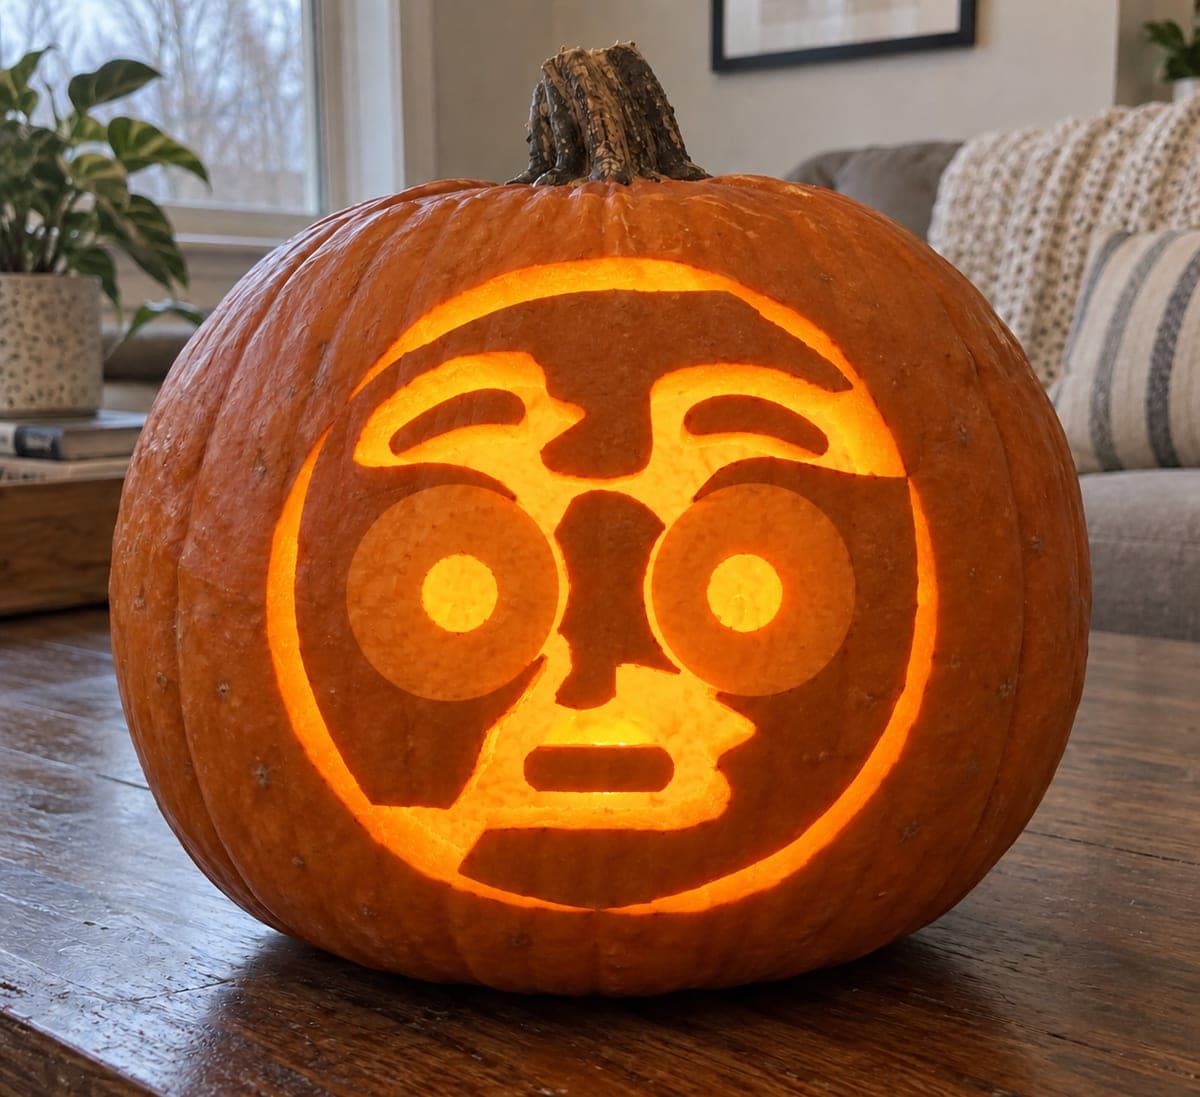
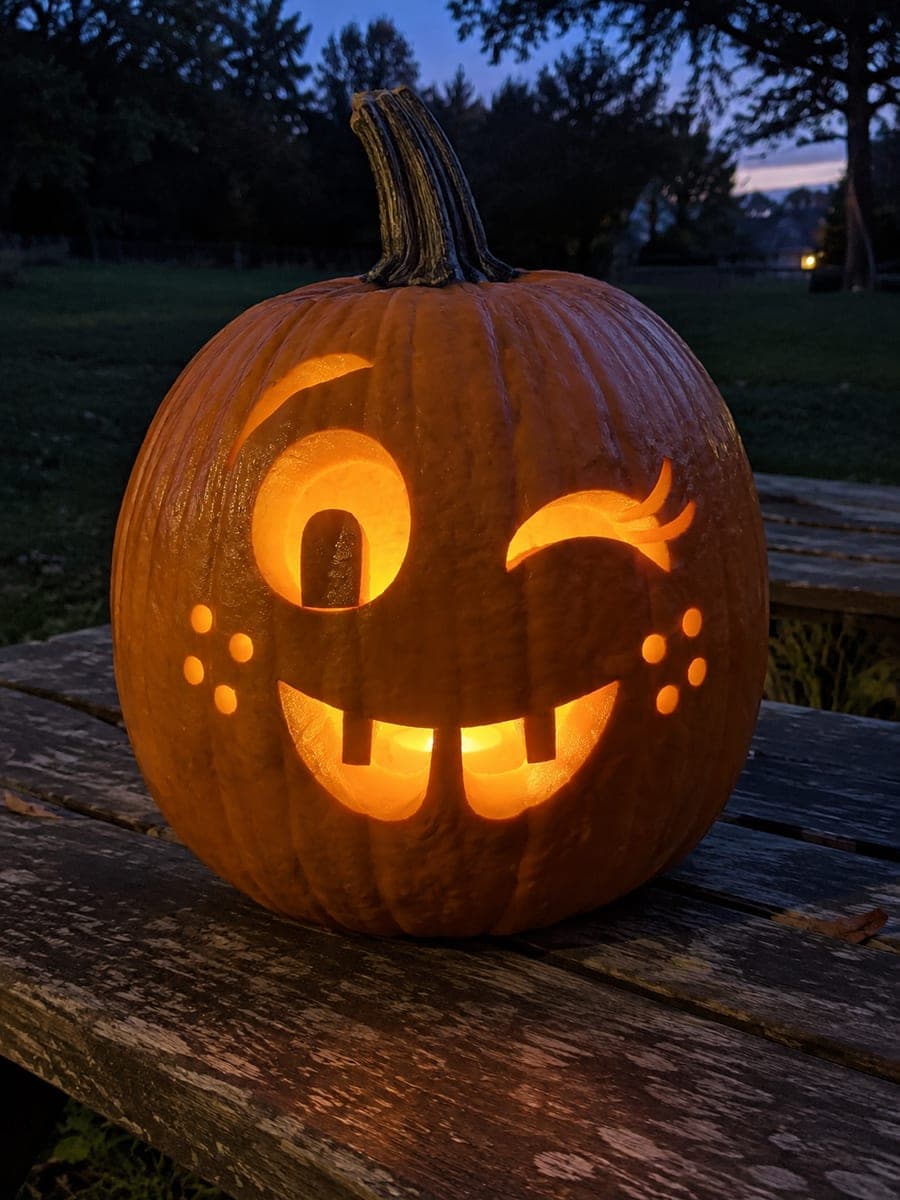
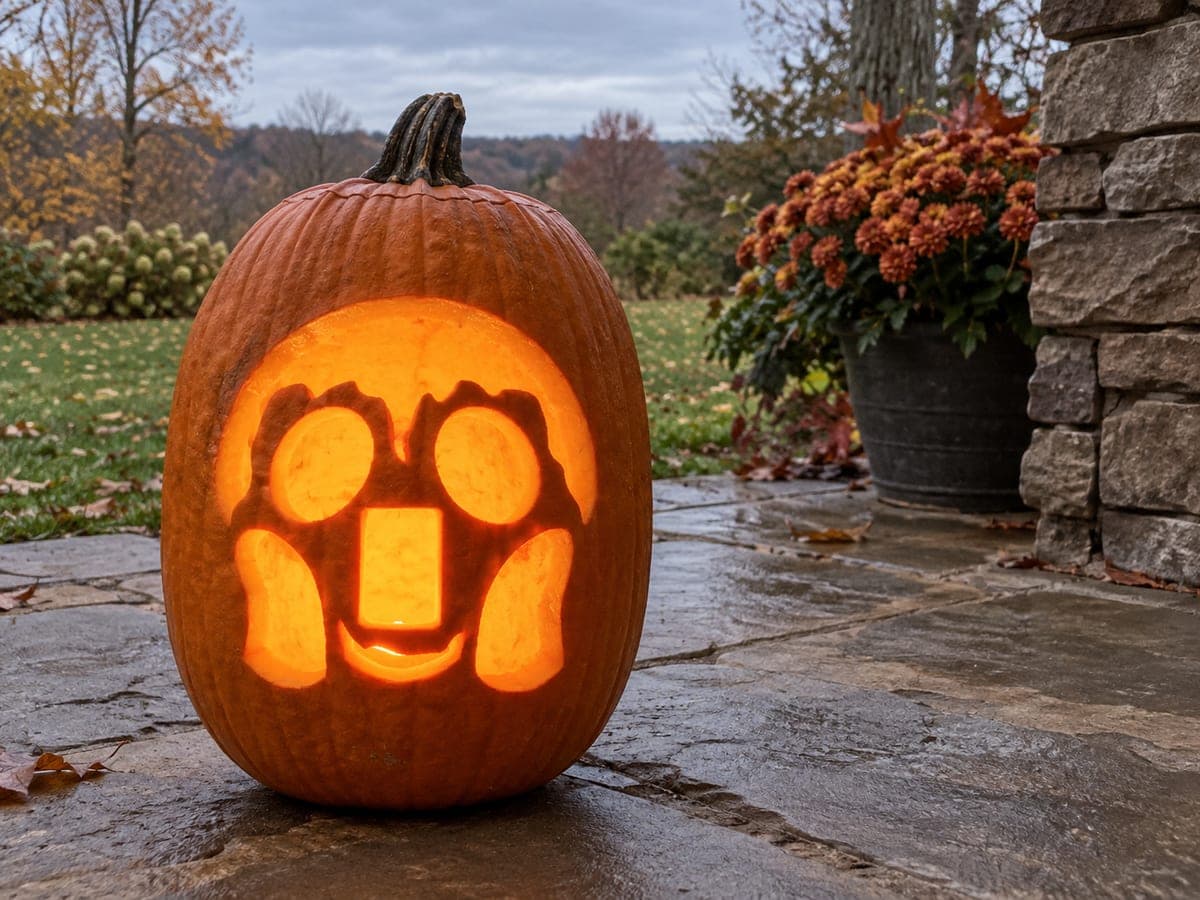
Empty oval eyes, two raised curved brow openings, one big round O mouth, two nostril holes, and eight separate round cheek holes make this a detailed medium surprised pumpkin face full of breathless energy. Raise the curved brow openings as high on the forehead as the pumpkin allows to maximize the vertical distance between brow and eye. Drill the eight cheek circles with a 6mm spade bit for perfect rounds, spacing them in two arcing rows of four. Candlelight scatters small dots through the cheek holes onto the ground, surrounding the pumpkin with its own surprised aura.

No ratings yet · Sign in to rate

Comments (0)

  • No comments yet — be the first.

Save without an account. Sign in to like or comment.

Our tips for carving a similar design

Raising the curved brow openings as high as the pumpkin allows maximizes the vertical distance from brow to eye, which is what makes the face read as breathlessly surprised rather than merely alert. Eight spade-bit cheek circles drilled in two arcing rows scatter small dots of light around the base of the pumpkin for a secondary glow effect.

From pumpkin to porch

  1. Hollow and prepare

    Hollow from the back and thin the wall to about 2 cm. A consistent wall thickness makes the spade-bit drilling cleaner and reduces the chance of the bit punching through unevenly.

  2. Mark brows and eyes

    Place two raised curved brow openings as high on the forehead as the pumpkin shape allows. Below them, draw two empty oval eyes centered under each brow.

  3. Mark nose, mouth, and cheek circles

    Mark two small nostril holes. Draw a big round O mouth below the midpoint of the face. Mark eight cheek circle positions in two arcing rows of four, confirming each circle is at least 10 mm from any other cut edge.

  4. Cut brows, eyes, nostrils, mouth

    Cut the brow arches first, then the oval eyes, then the two nostrils with a detail blade or small drill, then the big round O mouth. The O can be cut as a series of short segments around its circumference.

  5. Drill the cheek circles

    Use a 6mm spade bit at a low drill speed to punch each of the eight cheek circles cleanly. Hold the drill perpendicular to the pumpkin surface. Place a block of wood inside the pumpkin directly behind each drill site to prevent blowout on the inner face of the rind.

  6. Light and display

    Insert an LED tea light and view in a dark room. The eight cheek circles project tiny circles of light onto the surrounding surface, creating a surprised aura around the pumpkin. Raise the pumpkin on a stool or railing so the projected circles are visible.

Written with AI to match this design

Gather your supplies

Check things off as you get ready.

Work on a stable surface, keep your free hand out of the cutting path, and have an adult handle sharp tools.

Three levels of light

  • Leave intact

    The solid forehead rind between the brow tops and the pumpkin crown, and all cheek rind outside the drill holes, stays dark.

  • Peel & shade

    None.

  • Cut through

    Both raised curved brow openings, both oval eyes, two nostril holes, the large O mouth, and all eight cheek circles are cut through.

Learn the carving basics

Before you start cutting

What is the best way to keep spade-bit circles neat on a curved surface?

Mark each circle center with an awl first to give the bit a starting point. Hold the drill perpendicular to the pumpkin surface at that spot rather than perpendicular to the ground. A scrap wood backing block inside prevents the bit from tearing the inner rind.

My O mouth looks more like a lumpy oval than a clean circle. How do I fix it?

Draw the O lightly in pencil using a round jar lid or cookie cutter as a template. Cut in short overlapping segments around the circumference rather than trying to follow the curve in one long stroke. Touch up uneven spots with a detail blade after the main cut is complete.

Can the eight cheek circles be replaced with drilled star shapes?

Star shapes require a detail blade rather than a drill bit and take considerably longer, but they do work. If you go that route, reduce the count to five or six stars per cheek to keep the carving time manageable, and use a template to keep all stars the same size.

Your take belongs here, too.

Changed a detail? Made it simpler? Share a photo of your version and tell the community what worked.

Share your pumpkin

More pumpkins like this

You've reached the end · 8 pumpkins
The Patch Report

Fresh pumpkins, in your inbox.

The best new carvings, ideas worth stealing, and how-tos for carving season. Short, seasonal, and gone by November.

A short email during carving season. Unsubscribe anytime. See our privacy policy.