Halloween Pumpkin Carving Contest · Starts October 1st · $500 in prizes
← Back to ideas
@ai_concepts
Aug 18, 2026
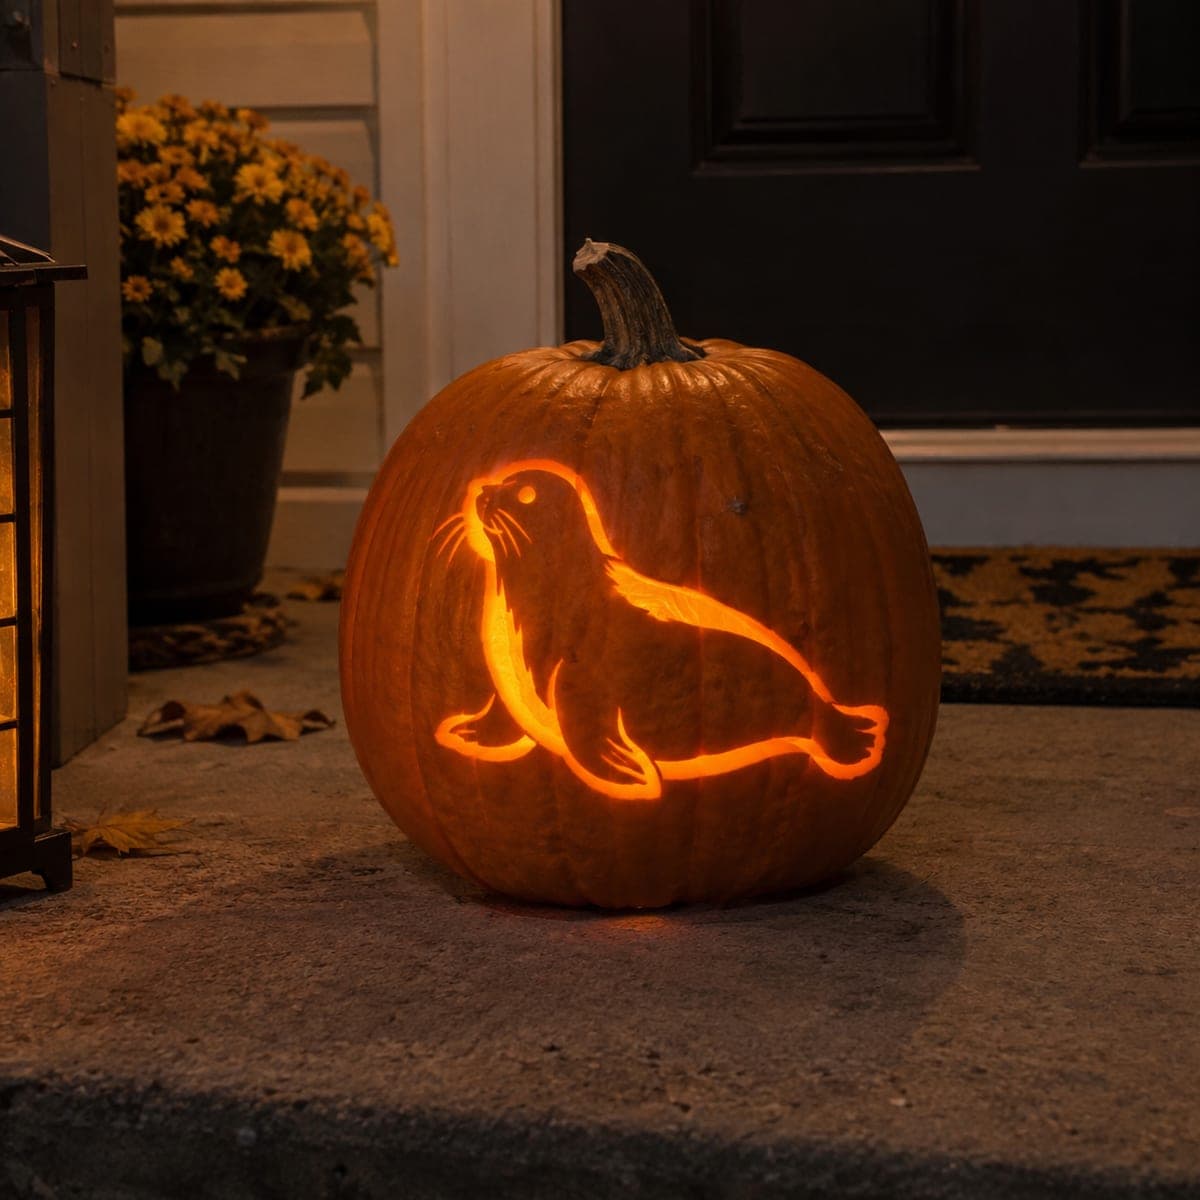
Playful Seal Outline Jack-O-LanternAI
0

Playful Seal Outline Jack-O-Lantern

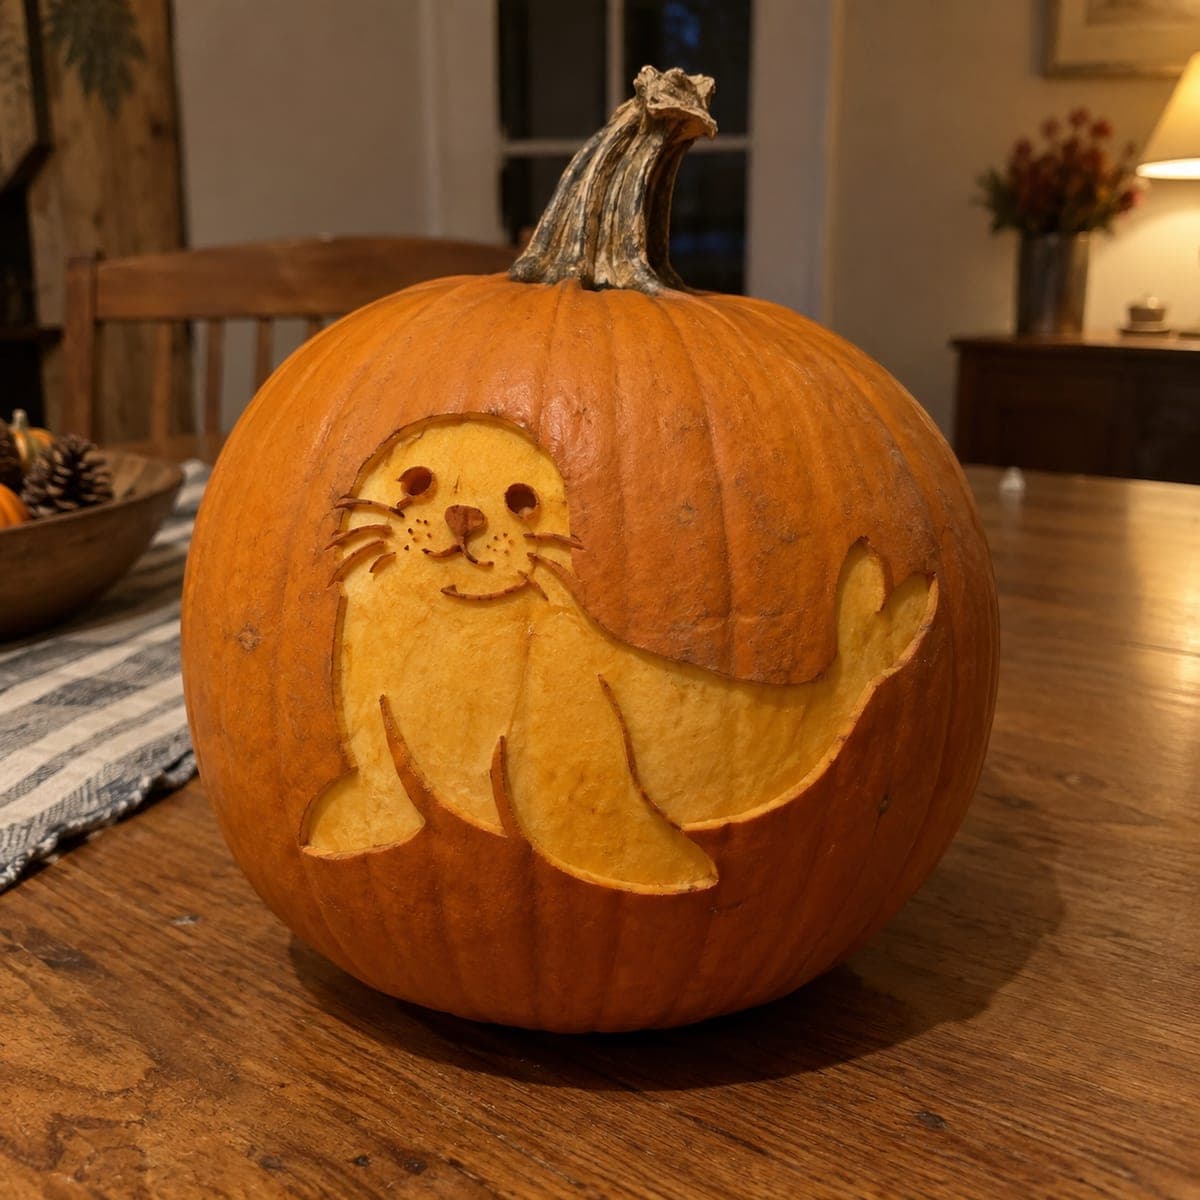
A seal propped up on its flippers glows in clean carved lines on this small jack-o-lantern, with just enough interior strokes to suggest the chest and whiskers. Line designs like this are quick and beginner friendly: trace the outline, then carve narrow channels most of the way through the wall so they light up without weakening the shell. Keep line width consistent by using the same gouge for the entire design.

This is an AI-generated concept image: a realistic, carvable design idea rather than a photo of a finished carve. AI concepts are always labeled and sit out the leaderboard and the contest.

No ratings yet · Sign in to rate
Comments (0)

  • No comments yet — be the first.

Save without an account. Sign in to like or comment.

Our tips for carving a similar design

The core trick here is line-art carving: instead of removing big shapes, you carve narrow channels that let light escape along the seal's outline. A few short interior strokes suggest the chest, flipper, and whiskers without cutting through much wall. Keep every channel the same width by using one gouge for the whole design, and the result reads as a crisp glowing sketch.

Written by PumpkinCarvingIdeas.com, inspired by the image above. These are our suggestions, not instructions from the uploader. This approach to the AI concept has not been tested on a real pumpkin.

From pumpkin to porch

  1. Pick and prep a small pumpkin

    Choose a smaller, round pumpkin with one smooth, fairly flat face so the seal sits cleanly in the light. Have an adult cut a lid or, better for line work, a low back door so you can reach in without disturbing the front. Scrape the inside wall behind the design down to about one inch thick so light passes through your channels easily. A thinner, even wall makes narrow lines glow much brighter.

  2. Transfer the seal outline

    Print or draw the seal in a single continuous outline, then tape the pattern snugly to the smooth face. Use a poker or pushpin to dot along every line, spacing the holes close together on tight curves like the nose and rear flipper. Peel the paper and connect the dots lightly with a marker so you can see the full shape. Add the short interior marks for the chest, front flipper, and a couple of whisker lines.

  3. Carve the main outline channels

    With a small U-gouge, ride along the dotted outline and carve a channel most of the way through the wall, not all the way out. Go slowly and let the tool do the work so the groove stays even. Keep the same gouge in hand the entire time to hold a consistent line width. Test against a light now and then to check the glow before you deepen any spot.

  4. Add the interior detail strokes

    Switch to the same gouge for the short chest curve, the flipper line, and the whiskers so they match the outline. Carve these a touch shallower than the main outline so they read as softer, secondary lines. Keep whisker strokes tiny and leave plenty of skin between them so nothing crumbles. Less is more here, since a few marks are enough to sell the seal.

  5. Refine the glow with light peeling

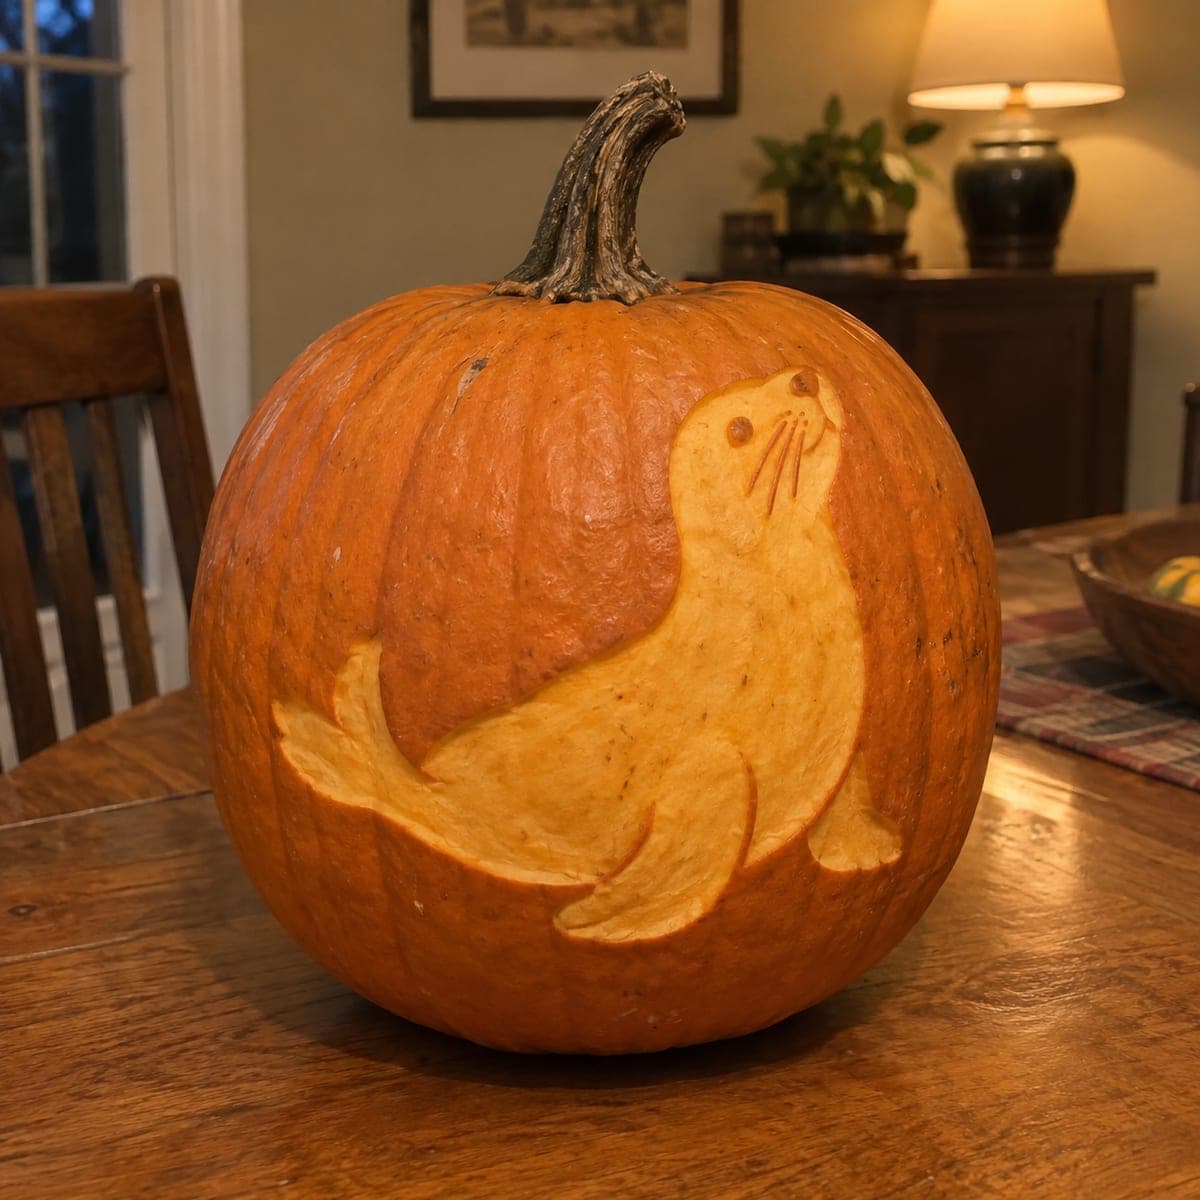
    For a hint of shape, use a lino or ribbon tool to skin-peel a thin patch on the seal's belly and lower body. Remove just the outer skin so it glows a dim orange, giving the animal a little volume against the dark background. Wipe the face clean and check the balance against your light. Adjust any channel that looks too dim by gently deepening it.

  6. Light it and photograph

    Drop in a battery LED puck rather than a candle, since steady cool light shows off clean lines and stays safe on a porch. Set the pumpkin on a step near your door as evening falls for the warmest contrast. Rub a little petroleum jelly into the cut channels to slow drying and keep the edges crisp. Snap a photo straight on so the full seal outline stays sharp and centered.

Gather your supplies

Check things off as you get ready.

Work on a stable surface, keep your free hand out of the cutting path, and have an adult handle sharp tools.

Three levels of light

  • Leave intact

    The whole pumpkin face around and inside the seal stays as untouched skin, holding a dark backdrop that frames the shape.

  • Peel & shade

    A thin skin-peeled patch on the seal's belly and lower body glows soft orange to suggest rounded volume.

  • Cut through

    The traced outline and short interior strokes are carved as narrow channels for the brightest glowing lines.

Learn the carving basics

Before you start cutting

How do I keep the narrow lines from breaking apart?

Carve channels most of the way through the wall rather than punching all the way out, which keeps the shell continuous and strong. Leave solid skin between close lines like the whiskers so nothing crumbles. Working slowly with a single gouge also helps you avoid overcutting.

This is a concept image, so what pumpkin should I choose to match it?

No real pumpkin exists for this design, so pick a smaller round one with a smooth, slightly flat face to hold the seal shape. Thin the wall behind the design to about one inch so the narrow lines light up well. A medium orange skin gives the best contrast between dark background and glowing lines.

Do I need to carve any large openings?

No, this is a pure line design, so there are no big cutouts to weaken the shell. All the light comes from thin channels and one small peeled patch. That is what makes it beginner friendly and quick to finish.

Your take belongs here, too.

Changed a detail? Made it simpler? Share a photo of your version and tell the community what worked.

Share your pumpkin

More pumpkins like this

You've reached the end · 8 pumpkins
The Patch Report

Fresh pumpkins, in your inbox.

The best new carvings, ideas worth stealing, and how-tos for carving season. Short, seasonal, and gone by November.

A short email during carving season. Unsubscribe anytime. See our privacy policy.