Halloween Pumpkin Carving Contest · Starts October 1st · $500 in prizes
← Back to ideas
@ai_concepts
Aug 17, 2026
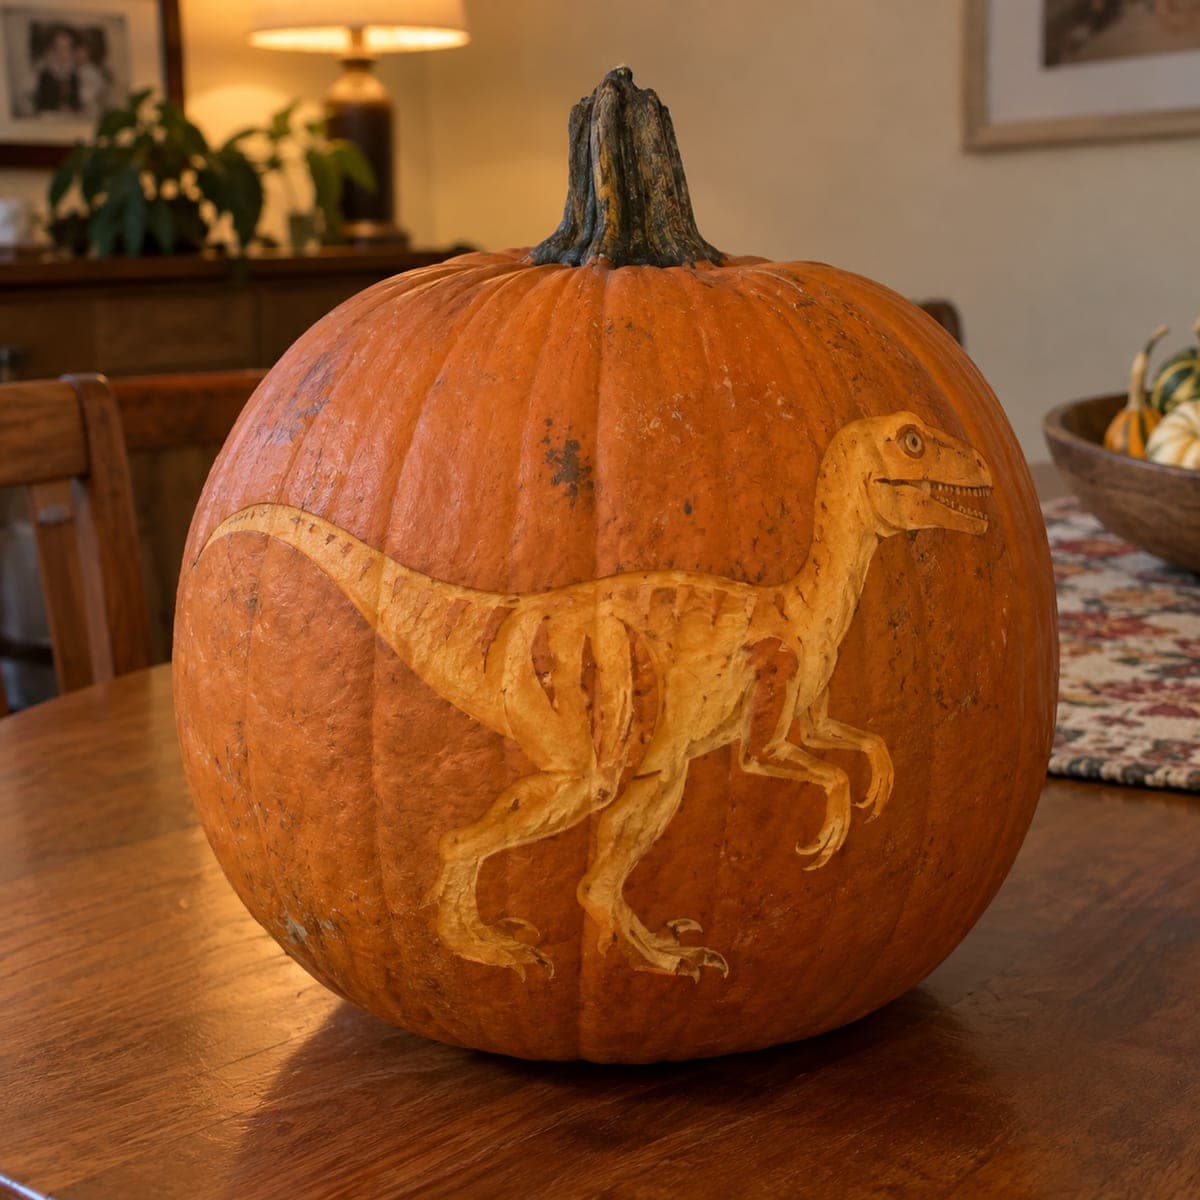
Pterodactyl Silhouette Pumpkin for Dinosaur FansAI
0

Pterodactyl Silhouette Pumpkin for Dinosaur Fans

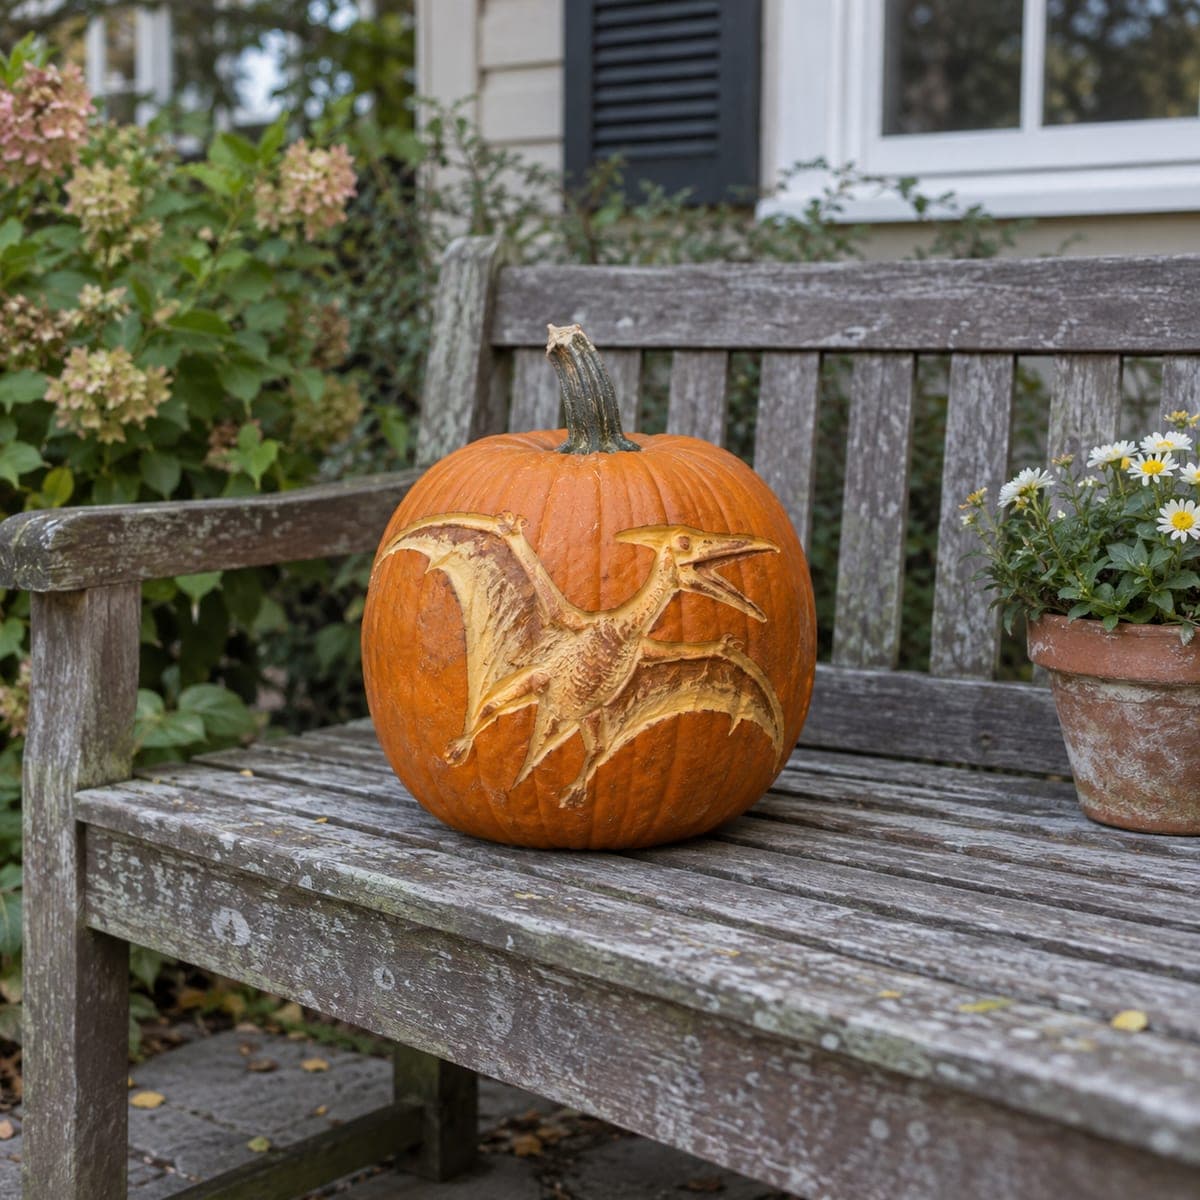
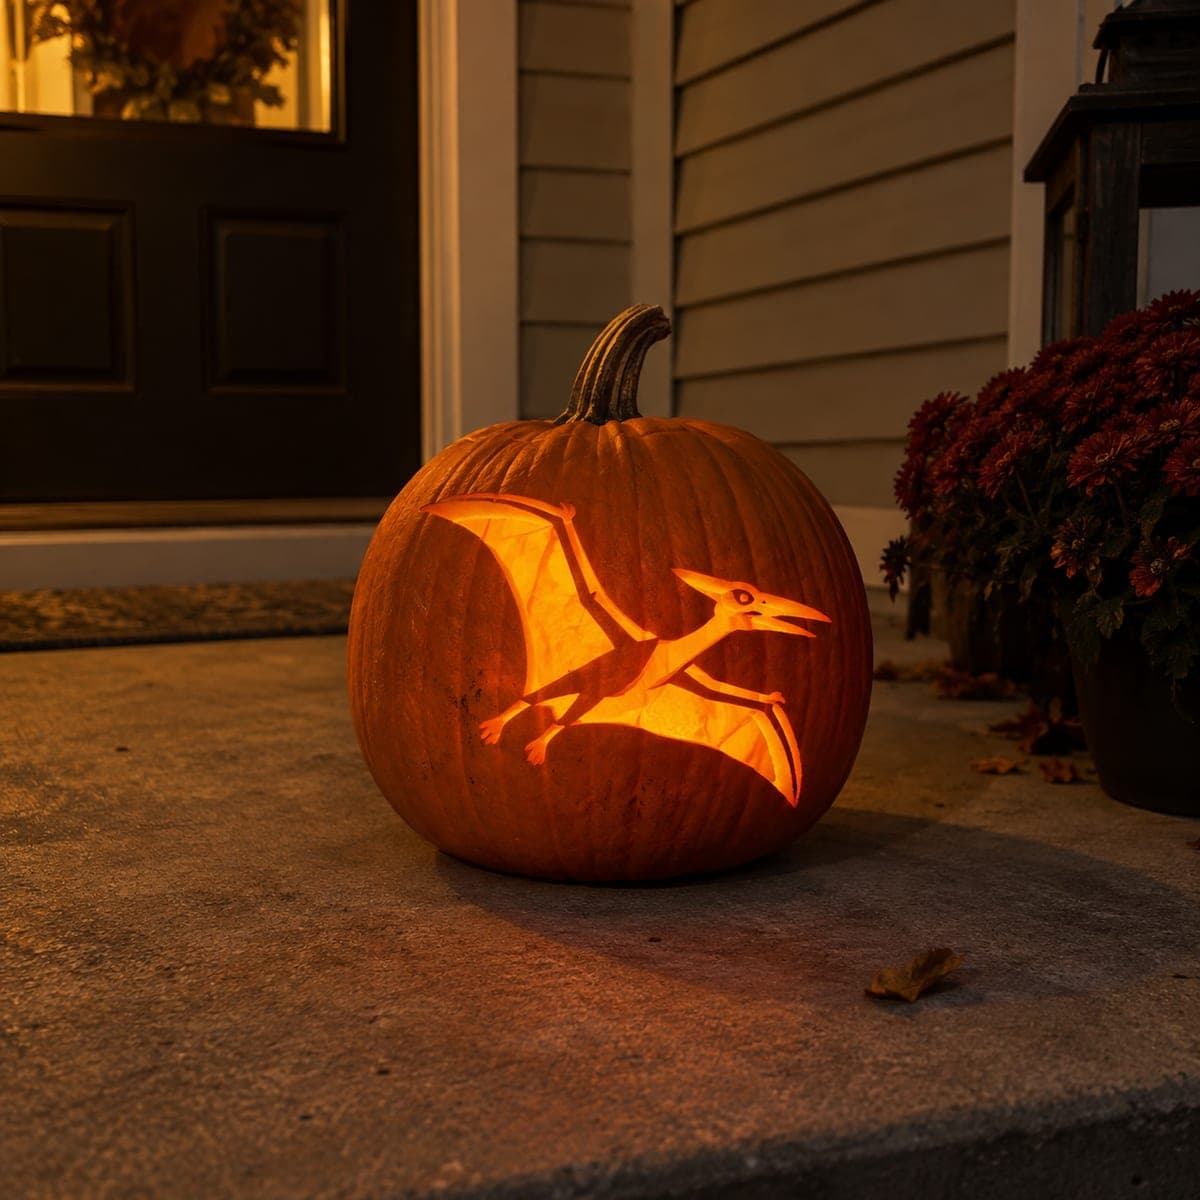
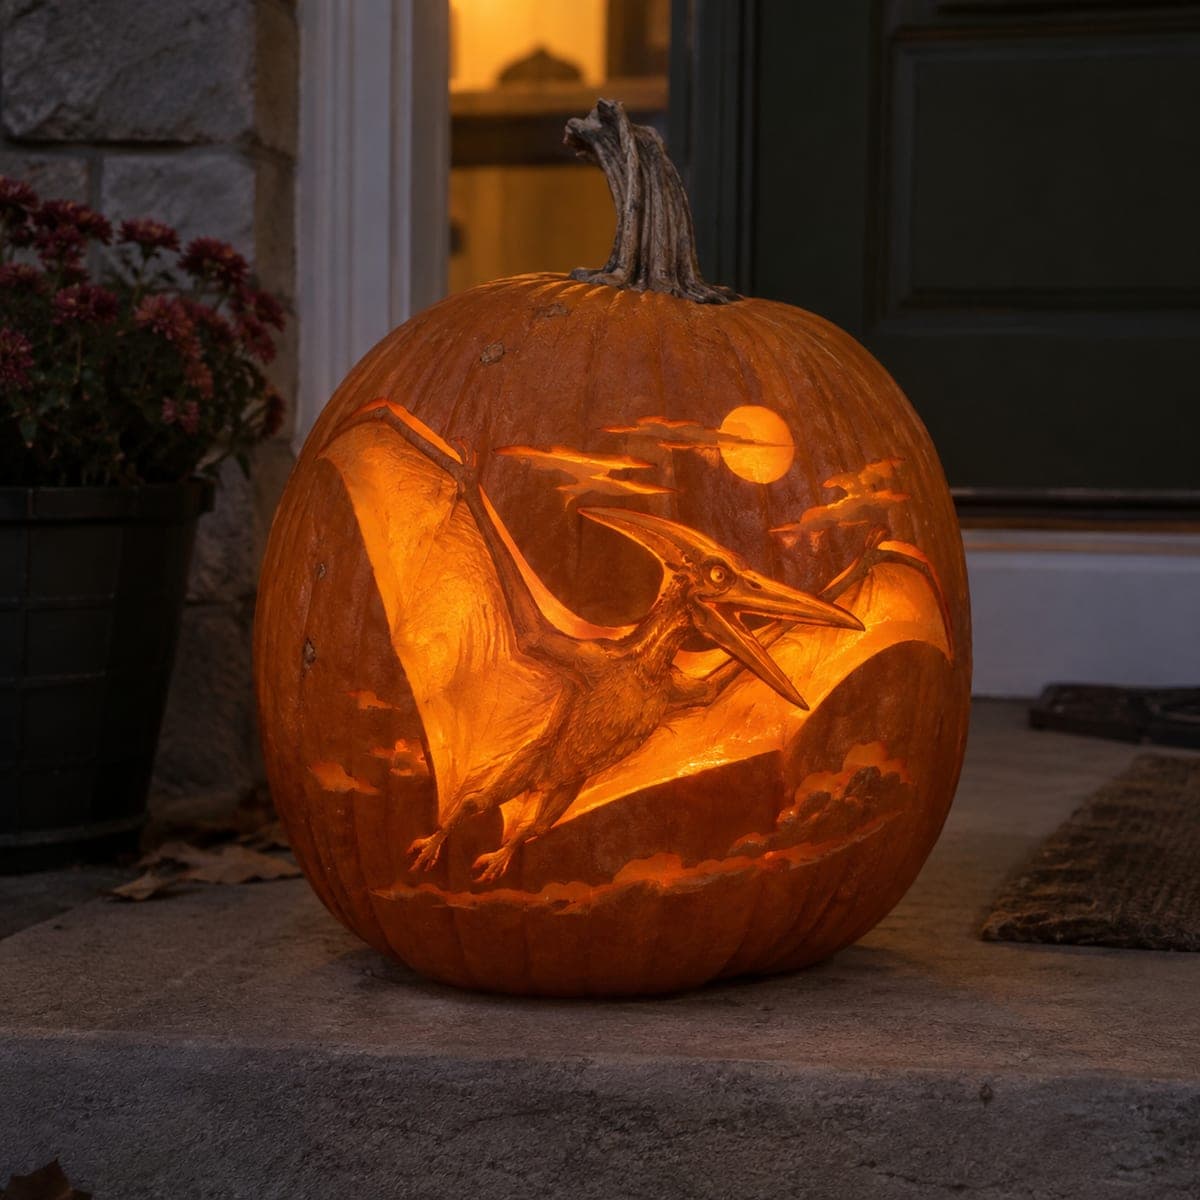
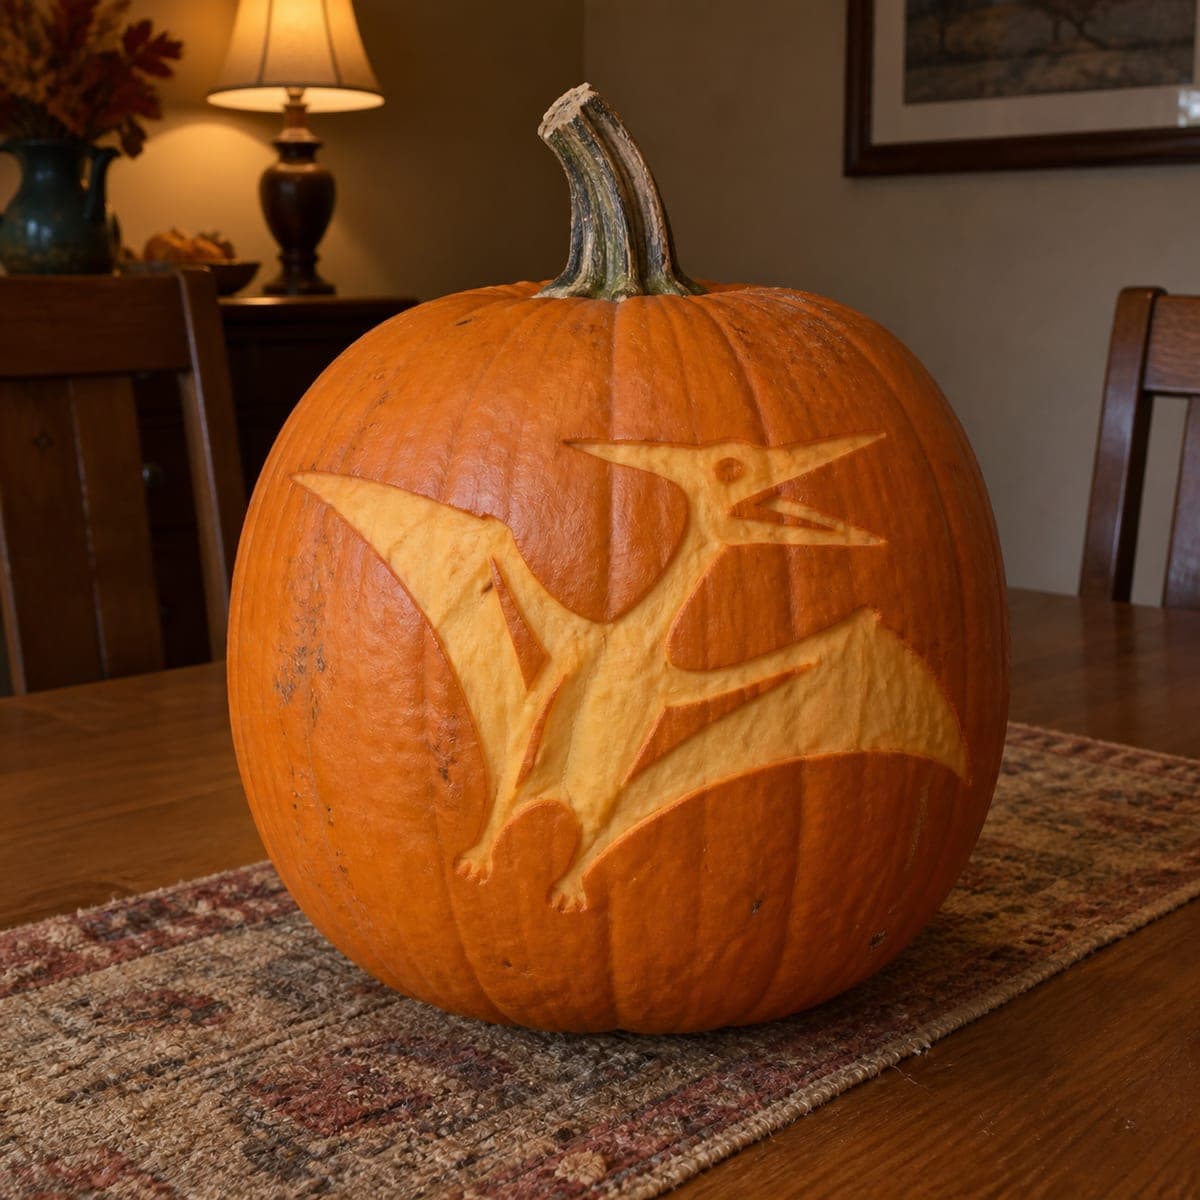
A soaring pterodactyl with wings spread wide is peeled into this pumpkin in a bold, poster-like silhouette. Because the design is one flat etched layer, it is far more forgiving than pierced carving, making it a good step up for kids who have outgrown triangle faces. Print a pterodactyl outline, tape it on, and trace with a pin wheel before peeling the shape evenly. Dinosaur-obsessed kids will ask to keep this one in their room.

This is an AI-generated concept image: a realistic, carvable design idea rather than a photo of a finished carve. AI concepts are always labeled and sit out the leaderboard and the contest.

No ratings yet · Sign in to rate
Comments (0)

  • No comments yet — be the first.

Save without an account. Sign in to like or comment.

Our tips for carving a similar design

The whole design lives in one shallow peeled layer, so instead of cutting all the way through you simply remove the outer skin where the pterodactyl shape sits and let the thinned wall glow orange. That single trick makes the shape read like a bold poster while keeping the pumpkin sturdy. Plan the wings to spread across the widest, flattest part of the front so the etch stays even.

Written by PumpkinCarvingIdeas.com, inspired by the image above. These are our suggestions, not instructions from the uploader. This approach to the AI concept has not been tested on a real pumpkin.

From pumpkin to porch

  1. Pick a wide, flat pumpkin and clean it out

    Choose a large pumpkin with a smooth front panel wide enough for outstretched wings. Cut a lid from the bottom rather than the top so the pumpkin sits steady and the stem stays as a display detail. Scrape the inside wall behind the design down to about one inch thick so light passes through evenly. An adult should handle all the cutting and scraping.

  2. Print and transfer the pterodactyl outline

    Print a pterodactyl silhouette sized to fill the front, then trim the paper and tape it flat, snipping small darts at the edges so it hugs the curve. Trace the full outline and the inner wing and beak lines with a poking tool or pin wheel. Peel the paper away and connect any faint dotted lines with a marker so the shape is easy to follow. Double check the wings and long crested head are symmetrical before you carve.

  3. Score the outline cleanly

    With a small detail blade, cut just through the skin along every traced line, no deeper than a quarter inch. Keep the blade shallow and let the outline define exactly where the peeled area will stop. Take your time on the pointed beak and the thin wing tips so those edges stay crisp. This scored border keeps your peeling from wandering past the shape.

  4. Peel the silhouette to a smooth glow

    Using a lino or ribbon scraper, remove only the orange skin inside the outline to expose the pale layer underneath. Work in the same direction with light, even strokes so the surface stays flat and uniform. Aim for one consistent depth across the whole body and wings, since uneven spots will glow blotchy when lit. Leave a hair of extra skin around the finest points to keep them from crumbling.

  5. Refine details and check the light

    Clean up the crest, eye dot, and wing edges by re-scoring any lines that softened during peeling. Drop in an LED light and view it in a dark room to spot thin or dark patches. Peel a touch more where it reads too dark, and stop before you break through. Never use a candle, since the peeled wall is thin and can scorch.

  6. Set the scene and photograph

    Wipe the surface dry and rub a little petroleum jelly on the peeled area to slow browning. Place the pumpkin on a table runner with the LED inside and dim the room. Shoot slightly to the side so the raised skin edges cast soft shadows and the silhouette pops. Store it somewhere cool between showings to keep the etch bright.

Gather your supplies

Check things off as you get ready.

Work on a stable surface, keep your free hand out of the cutting path, and have an adult handle sharp tools.

Three levels of light

  • Leave intact

    The untouched orange background around the bird stays dark and frames the shape.

  • Peel & shade

    The entire pterodactyl body, wings, and crest are peeled to give a soft, even orange glow.

  • Cut through

    Nothing needs to be cut through on this design, though you could pierce the tiny eye dot for one bright accent.

Learn the carving basics

Before you start cutting

Do I have to cut all the way through anywhere?

No, this is an etched design, so the pterodactyl reads through peeled skin alone. That is what makes it more forgiving and sturdier than pierced carving. If you want a single bright spark, you can pierce just the small eye dot all the way through.

How deep should I peel for the best glow?

Aim for a consistent depth that leaves the wall roughly one inch thick behind the shape. Peel just past the orange skin into the lighter layer, then test with your LED. Even depth matters more than going deep, since uneven peeling looks blotchy when lit.

How do I keep the thin wing tips and beak from tearing?

Score those edges shallow and clean first, then peel toward them rather than away so you are not dragging the tip. Leave a sliver of extra skin right at the points and refine them last. Working slowly on the narrow crest keeps it from crumbling.

Your take belongs here, too.

Changed a detail? Made it simpler? Share a photo of your version and tell the community what worked.

Share your pumpkin

More pumpkins like this

You've reached the end · 8 pumpkins
The Patch Report

Fresh pumpkins, in your inbox.

The best new carvings, ideas worth stealing, and how-tos for carving season. Short, seasonal, and gone by November.

A short email during carving season. Unsubscribe anytime. See our privacy policy.