Halloween Pumpkin Carving Contest Β· Starts October 1st Β· $500 in prizes
← Back to ideas
@ai_concepts
Jul 28, 2026
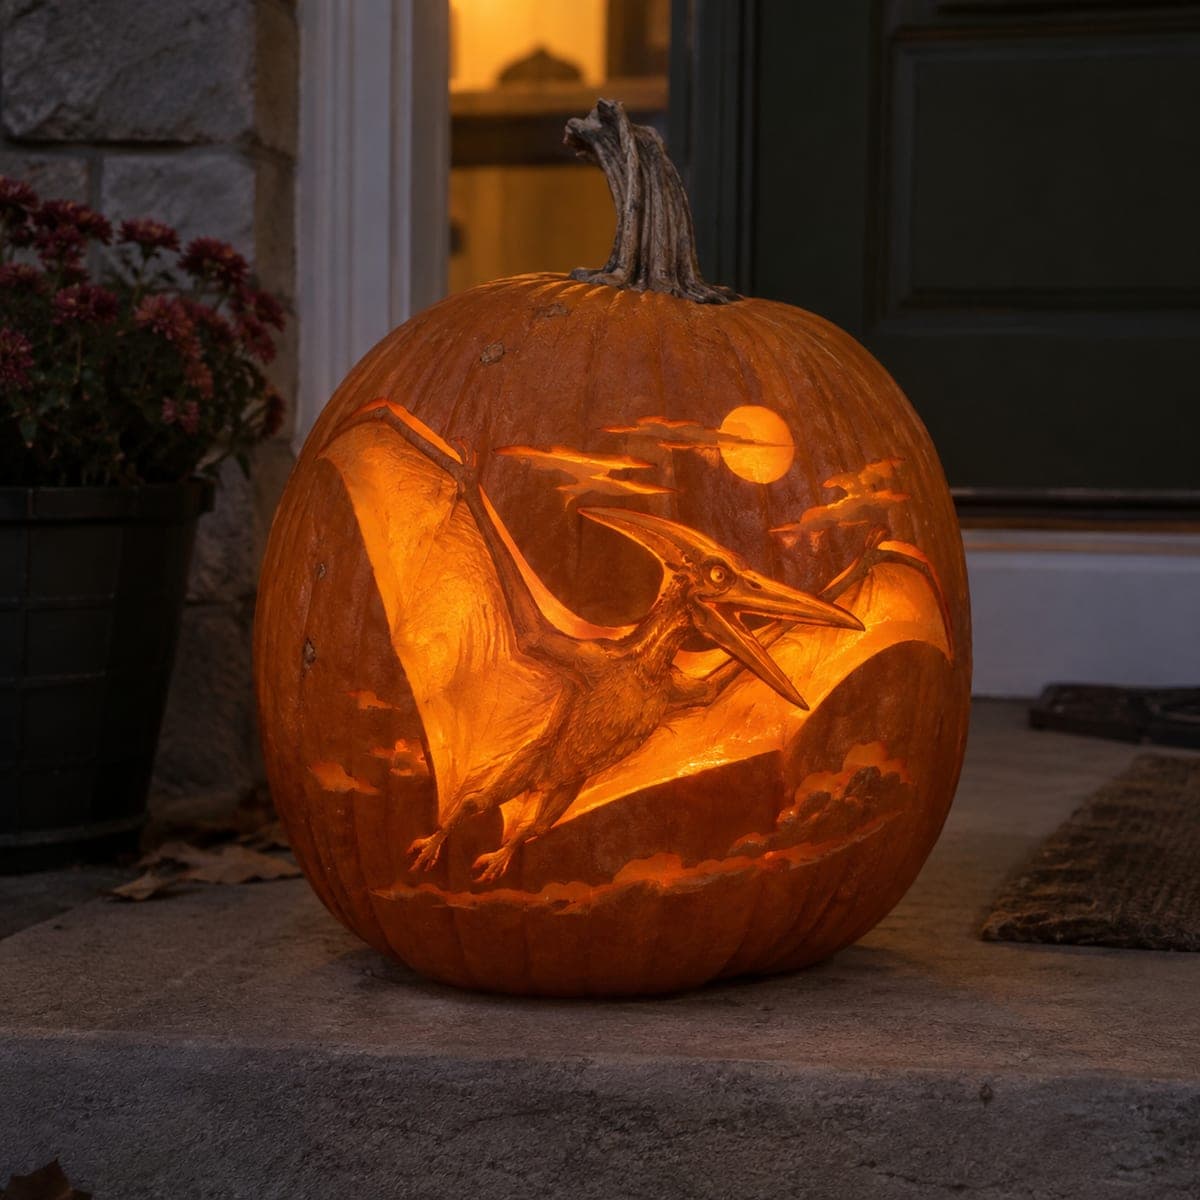
Pterodactyl Night Sky Dinosaur Pumpkin SceneAI
0

Pterodactyl Night Sky Dinosaur Pumpkin Scene

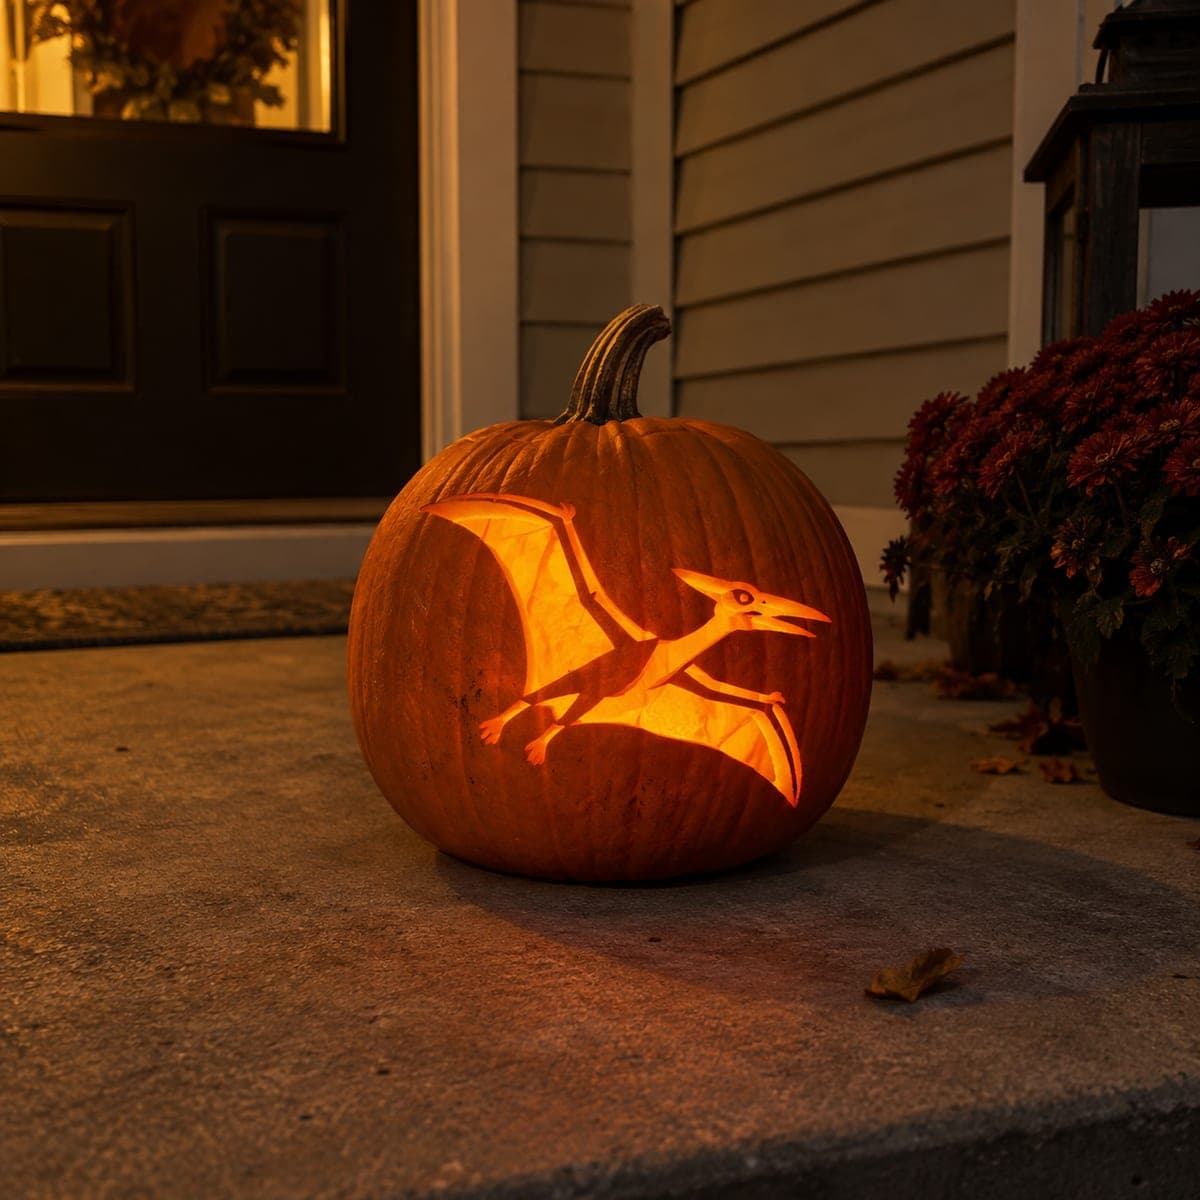
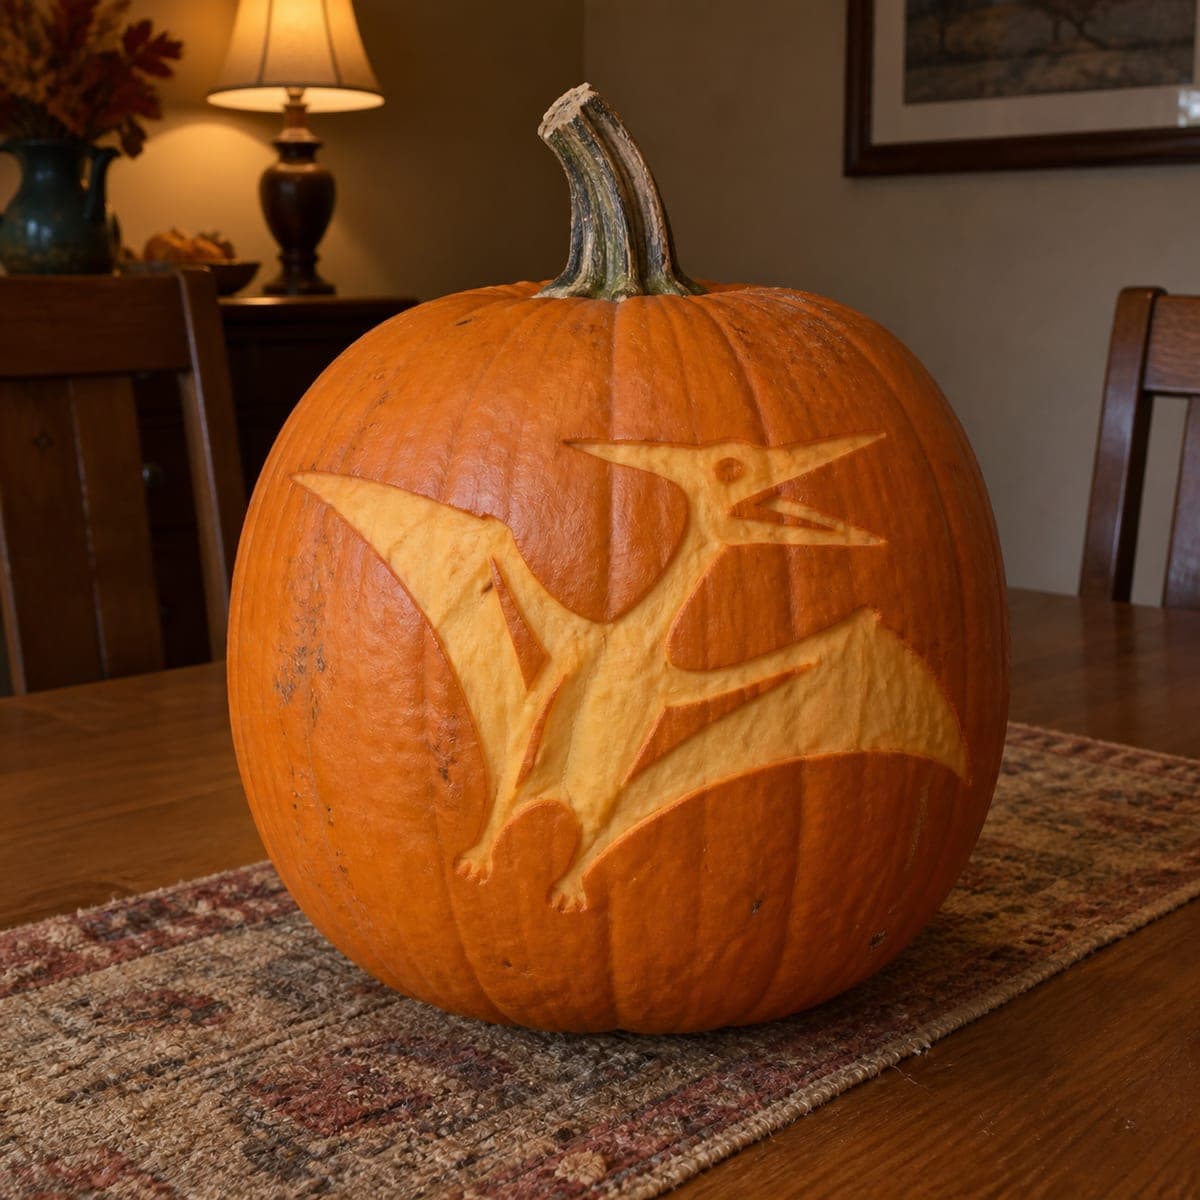
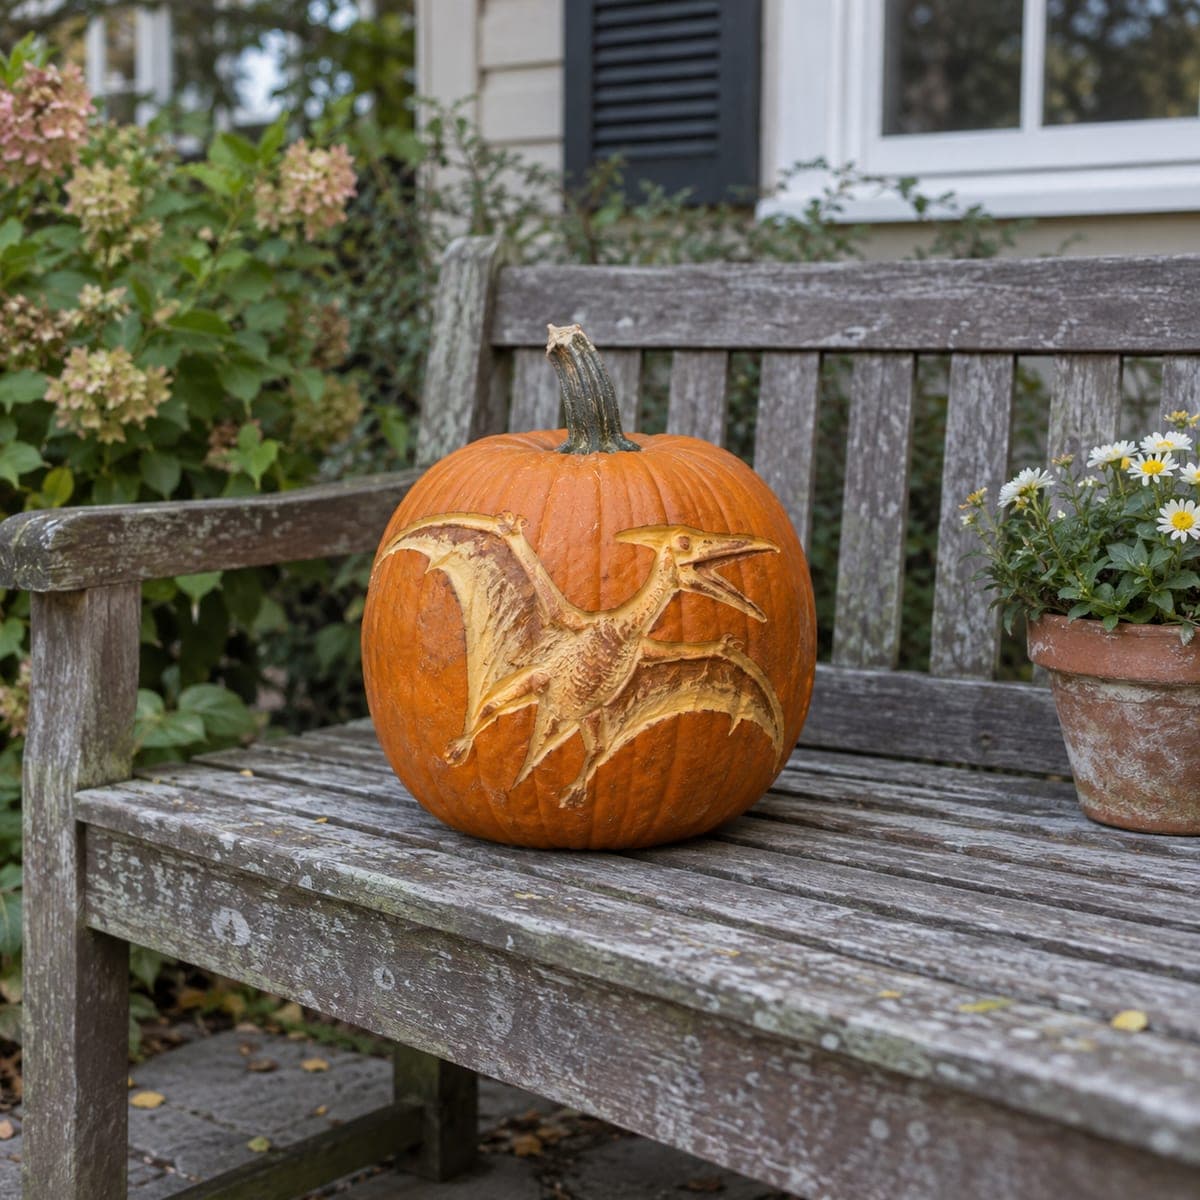
A pterodactyl swoops across this pumpkin with wings spread wide, soaring past a full moon and etched cloud banks in a complete prehistoric scene. Varied peeling depths do the storytelling: the moon is shaved brightest, the clouds mid-tone, and the flying reptile's wing membranes are outlined in deeper cuts. Dinosaur fans get a showpiece that still reads clearly from the curb, especially with a bright LED placed low so light rakes up through the sky.

This is an AI-generated concept image: a realistic, carvable design idea rather than a photo of a finished carve. AI concepts are always labeled and sit out the leaderboard and the contest.

No ratings yet Β· Sign in to rate

Comments (0)

  • No comments yet β€” be the first.

Save without an account. Sign in to like or comment.

Our tips for carving a similar design

This design leans on depth rather than open cutouts: the whole scene is built by peeling skin to different thicknesses so light glows through in layers. The core trick is treating the pterodactyl's body and wing membranes as shaded relief while the moon reads brightest and the clouds sit in the middle. Plan your light zones before you touch a blade so the flyer stays dark and detailed against a glowing sky.

Written by PumpkinCarvingIdeas.com, inspired by the image above. These are our suggestions, not instructions from the uploader. This approach to the AI concept has not been tested on a real pumpkin.

From pumpkin to porch

  1. Prep the pumpkin and transfer the scene

    Pick a large pumpkin with a broad, smooth front and cut a wide access hole in the bottom, not the top, so the shell stays strong. Scrape the inside wall behind your design down to about one inch so light passes through evenly. Tape your pterodactyl-and-moon stencil to the front and poke the outlines with a pin or a transfer tool. Step back and check that the wingspan fits before you start cutting.

  2. Shave the moon first

    Use a ribbon or loop tool to peel the moon area down to a thin, even layer so it will glow the brightest. Keep the circle clean and consistent in depth so it reads as a full moon from the curb. Do not cut all the way through; a thin skin diffuses the light into a soft disc. Blend the edge slightly so it looks luminous rather than stamped on.

  3. Peel the wing membranes and sky to a mid tone

    Shave the large wing membranes and the open sky to a medium depth, thinner than raw skin but thicker than the moon. This gives the wings a warm, translucent glow while keeping them structurally solid. Leave narrow ridges of deeper skin where wing bones and the trailing edges sit so the anatomy stays visible. Work slowly and check the light often by holding an LED behind the shell.

  4. Detail the body and head in deeper relief

    Keep the pterodactyl's body, legs, and crested head darker by peeling them only lightly, so the flyer reads as a silhouette with texture against the bright sky. Carve the long beak and head crest as connected shapes rather than separate thin pieces, leaving small bridges of skin so nothing snaps off. Add fine surface scratches for feathery or leathery texture instead of cutting through. The goal is a dark, detailed creature over a glowing background.

  5. Cut the cloud banks and add the finishing accents

    Save any true cutouts for last. Cut a few thin cloud streaks near the moon and the low cloud bank along the bottom all the way through so they throw the sharpest light. Keep these openings narrow so the surrounding shell stays rigid. Clean up ragged edges with a detail knife and brush away loose pulp from inside.

  6. Light it low and photograph

    Set a bright battery LED near the bottom of the cavity so the light rakes upward through the sky and moon. Rotate the light until the moon glows strongest and the flyer stays shadowed and defined. Shoot your photo in near darkness at dusk for the best contrast. Rub a little petroleum jelly on cut edges to slow drying and keep the scene crisp for a few days.

Gather your supplies

Check things off as you get ready.

Work on a stable surface, keep your free hand out of the cutting path, and have an adult handle sharp tools.

Three levels of light

  • Leave intact

    The pterodactyl's body, legs, and crested head stay as untouched or lightly shaved skin so the flyer reads dark and detailed.

  • Peel & shade

    The wing membranes and open sky get skin-peeled to a mid glow, with the moon shaved thinnest for the brightest disc.

  • Cut through

    Only the thin cloud streaks near the moon and the low cloud bank are cut through for full light.

Learn the carving basics

Before you start cutting

How do I keep the long beak and head crest from breaking off?

Carve them as shaded relief rather than cutting them free from the pumpkin. Leave the beak and crest connected to the surrounding shell with small bridges of skin, and darken them by shading instead of cutting through. This keeps the thin shapes supported while still reading clearly when lit.

This is a lot of shading. Can I simplify it?

Yes. Focus your best shading on the moon and the wings, which carry the scene, and let the body stay as plain dark skin. You can also reduce the number of cloud streaks. The design still reads from the curb as long as the bright moon and glowing wingspan are clear.

Why light it from low in the pumpkin?

A low LED sends light raking upward through the thin sky and moon, which makes the full moon glow strongest and the flyer stand out in shadow. A centered or high light flattens the effect. Try a few positions before your final photo and pick the one with the most contrast between the dark creature and the bright sky.

Your take belongs here, too.

Changed a detail? Made it simpler? Share a photo of your version and tell the community what worked.

Share your pumpkin

More pumpkins like this

You've reached the end Β· 8 pumpkins
The Patch Report

Fresh pumpkins, in your inbox.

The best new carvings, ideas worth stealing, and how-tos for carving season. Short, seasonal, and gone by November.

A short email during carving season. Unsubscribe anytime. See our privacy policy.