Halloween Pumpkin Carving Contest · Starts October 1st · $500 in prizes
← Back to ideas
@ai_concepts
Sep 3, 2026
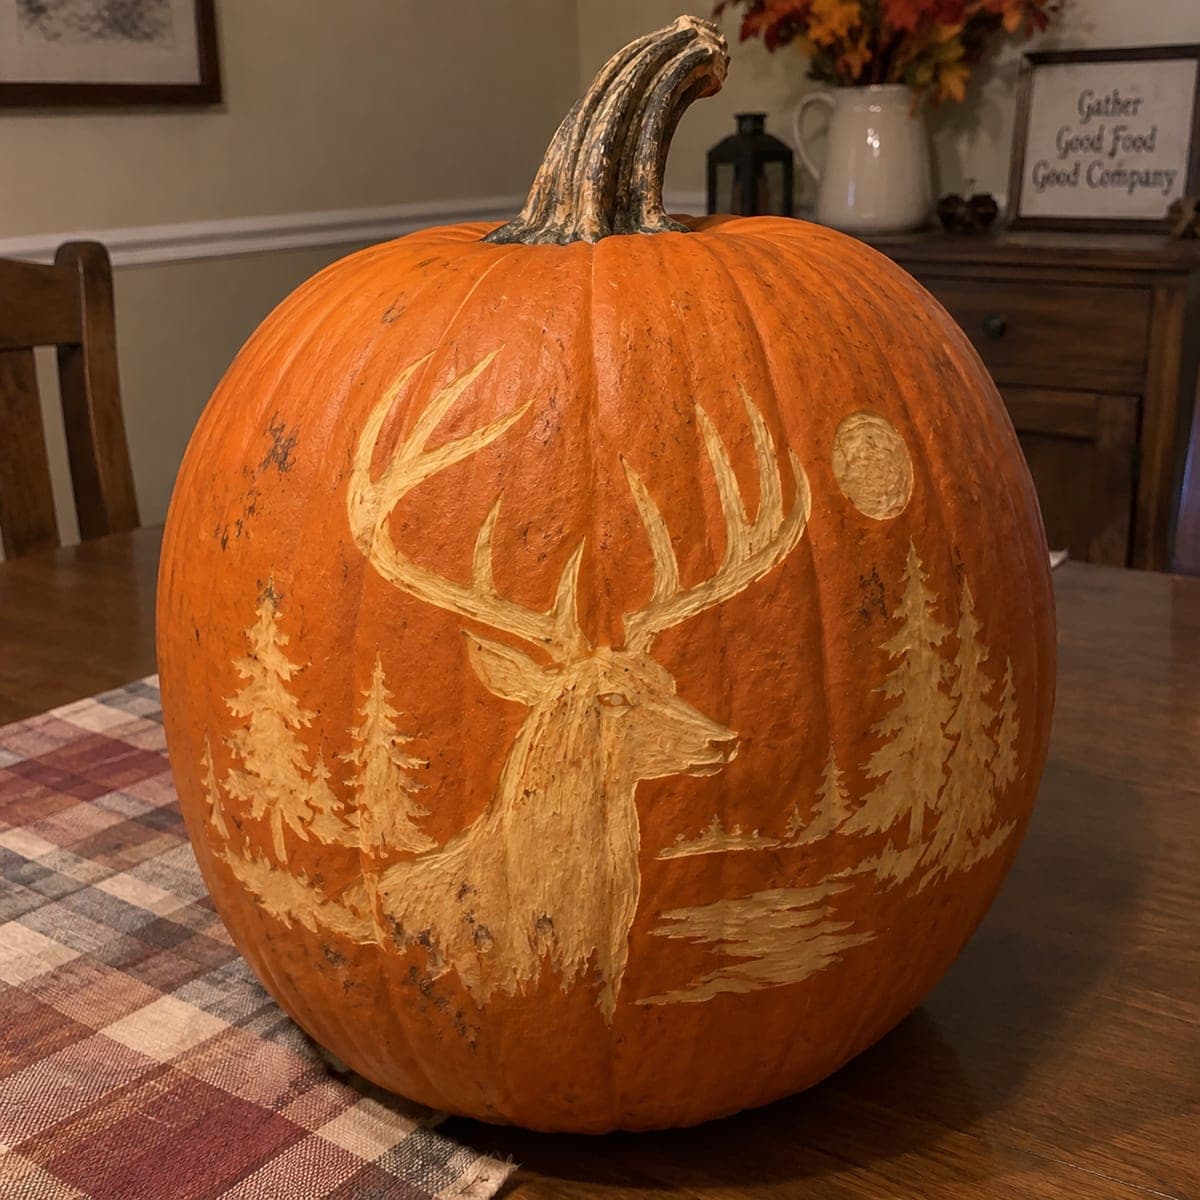
Whitetail Buck and Pine Forest Etched PumpkinAI
0

Whitetail Buck and Pine Forest Etched Pumpkin

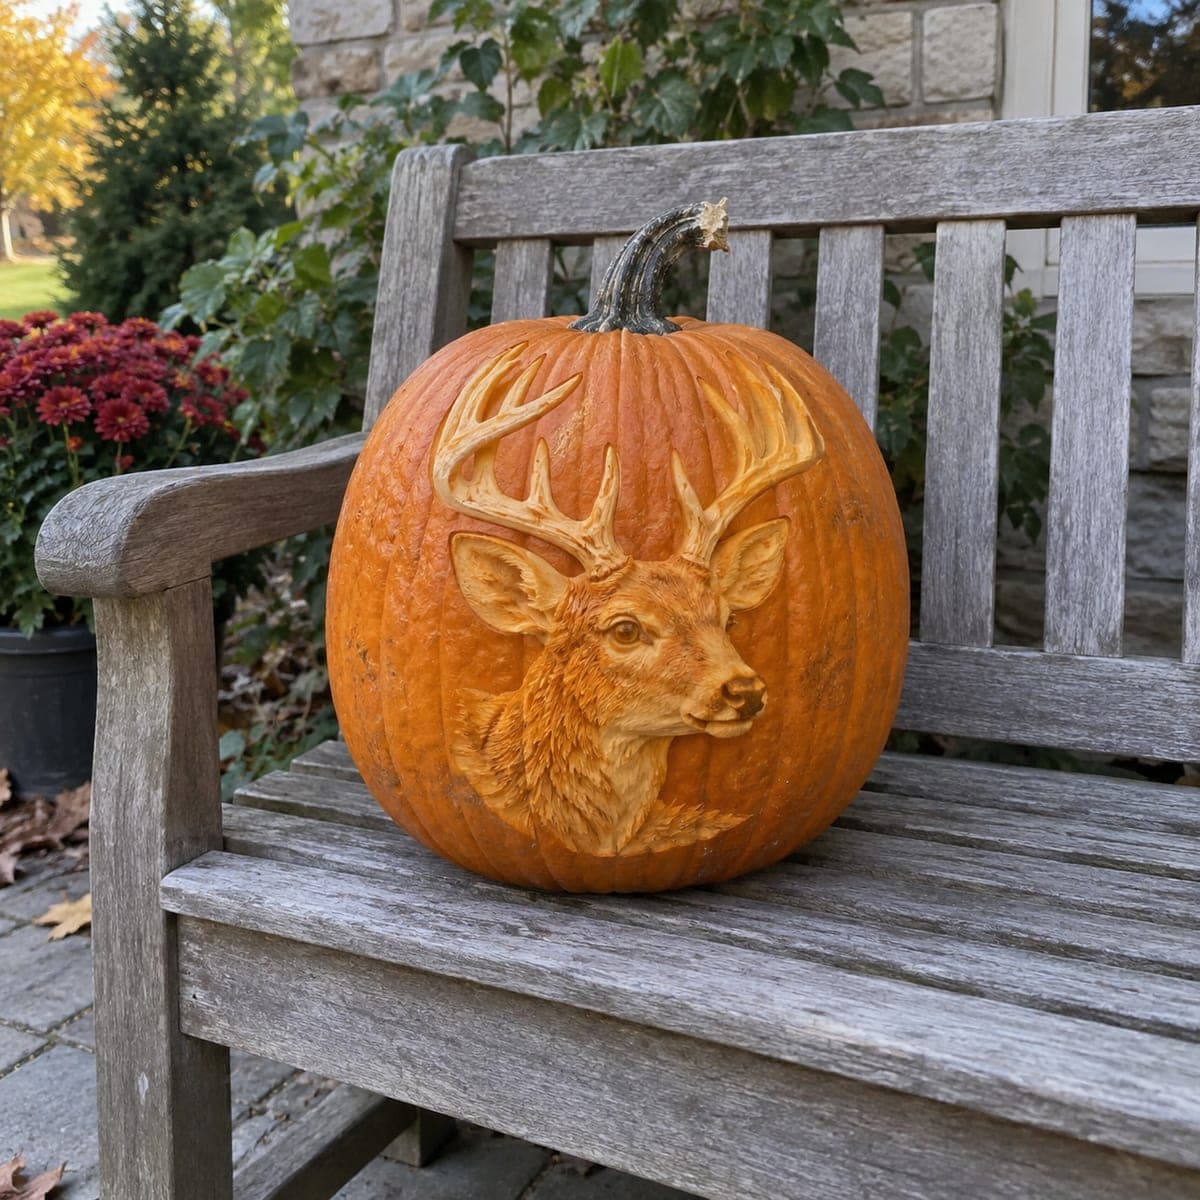
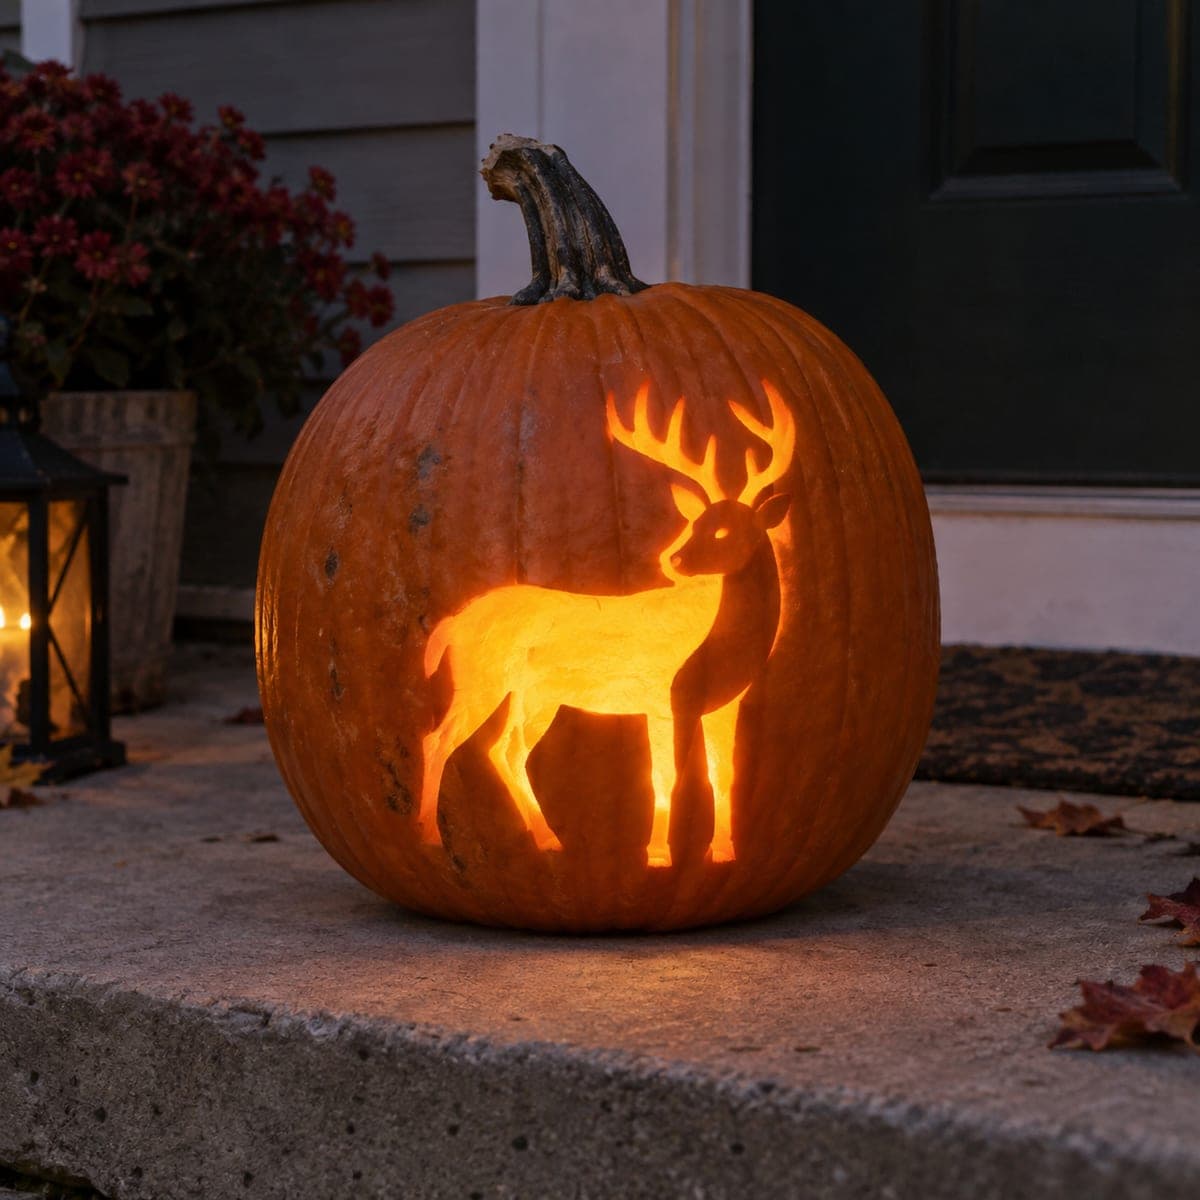
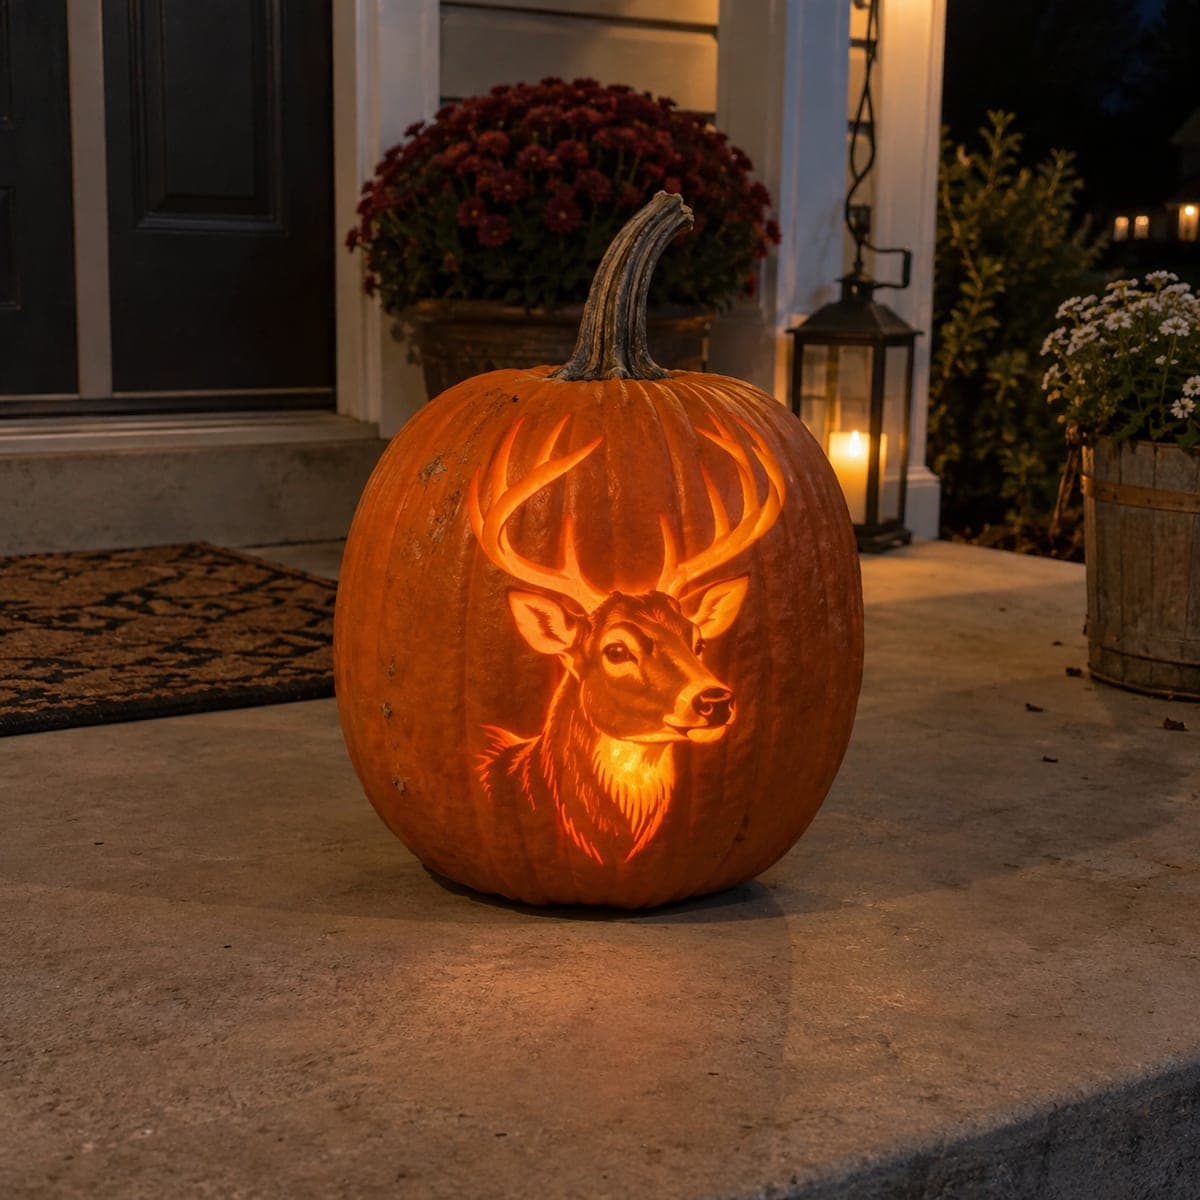
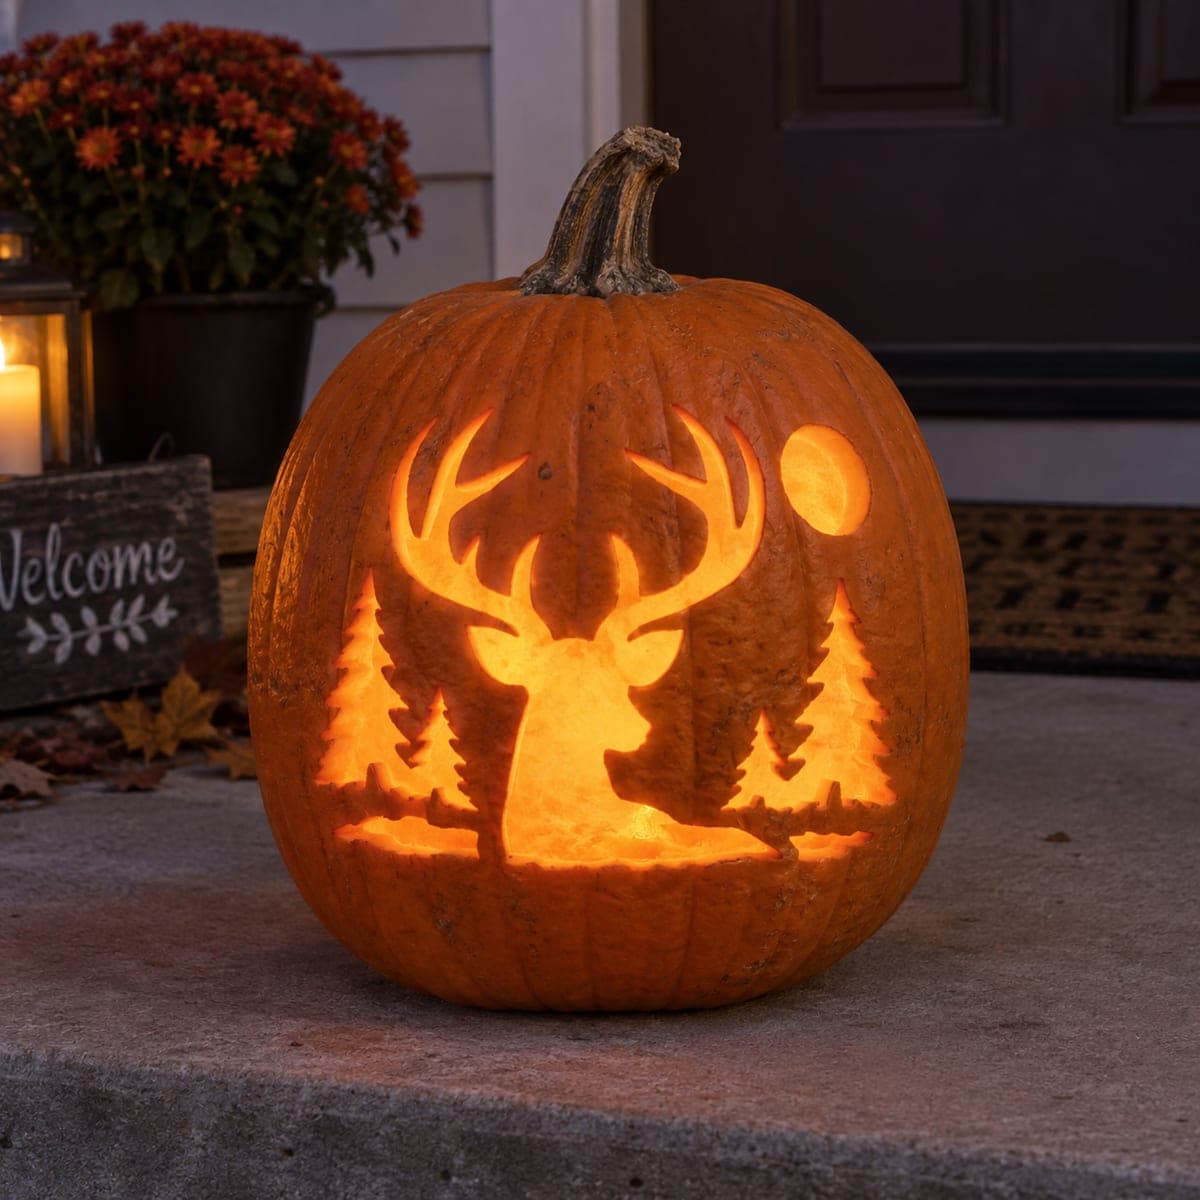
A whitetail buck with a full antler rack stands before etched pine trees and a round moon in this wraparound hunting-cabin scene. The entire design is surface carved, so it displays beautifully unlit on a dining table as fall decor. Sketch the buck first and place the trees to fill the curve of the pumpkin, keeping the moon high for balance. Rub the exposed flesh with petroleum jelly to slow drying.

This is an AI-generated concept image: a realistic, carvable design idea rather than a photo of a finished carve. AI concepts are always labeled and sit out the leaderboard and the contest.

No ratings yet · Sign in to rate
Comments (0)

  • No comments yet — be the first.

Save without an account. Sign in to like or comment.

Our tips for carving a similar design

The core trick here is shading with skin peels rather than full cutouts, so the buck and pines glow softly against dark orange skin. Plan the buck's head and antlers as the centerpiece, then wrap the pine trees around the pumpkin's curve and drop a round moon up high for balance. Because everything is surface work, this piece looks just as good sitting unlit on a table as it does with a light inside.

Written by PumpkinCarvingIdeas.com, inspired by the image above. These are our suggestions, not instructions from the uploader. This approach to the AI concept has not been tested on a real pumpkin.

From pumpkin to porch

  1. Pick a smooth pumpkin and transfer the scene

    Choose a tall pumpkin with a broad, blemish-free front so the antlers have room to spread. Tape your buck stencil in the center, then arrange separate pine tree and moon stencils around the sides, following the curve of the pumpkin. Poke through the outlines with a pin or trace them with a washable marker. Step back and check the buck sits centered with the moon high and the trees anchoring the bottom edge.

  2. Outline everything with a shallow score

    Using a small detail knife or a fine gouge, trace all your lines with a light scoring cut, no more than a quarter inch deep. Do not cut through the wall. This outline locks in the shape of the antlers, the buck's profile, the tree edges, and the moon before you start removing skin. Take the antler tips slowly since they are thin and easy to over-cut.

  3. Peel the buck and shade the fur

    With a ribbon or looped clay tool, scrape away only the outer skin inside the buck's body, face, and antlers so the flesh shows through as a dim glow. Vary your pressure to suggest fur and muscle, peeling deeper on highlights and leaving thin skin in shadow areas. Keep antler edges crisp by peeling right up to your scored lines. This shading step is where the design comes alive, so work patiently.

  4. Etch the pines and the moon

    Skin-peel the pine trees the same way, keeping the layered branch shapes by leaving narrow ridges of untouched skin between them. Scrape the round moon evenly so it reads as a soft disc. Suggest water at the base with a few short horizontal peels below the trees. Leave the background sky as untouched skin so the pale shapes stand out.

  5. Slow the drying and choose your light

    Rub petroleum jelly over all the exposed flesh to seal in moisture and slow browning. If you want to light it, cut a small access hole in the back or bottom and set a battery LED inside, never a candle. Because the walls are still thick, the glow will be gentle and warm. Store it in a cool spot when it is not on display.

  6. Style and photograph it

    Set the pumpkin on a plaid runner or a rustic table for that hunting-cabin feel. Photograph it once unlit to show off the etched detail, then again with the LED on to see the soft moonlit effect. Shoot in low, warm room light so the peeled areas glow without harsh glare. A slight side angle shows the wraparound trees best.

Gather your supplies

Check things off as you get ready.

Work on a stable surface, keep your free hand out of the cutting path, and have an adult handle sharp tools.

Three levels of light

  • Leave intact

    The open sky, the space between antler tines, and the gaps between tree branches stay as untouched dark skin.

  • Peel & shade

    The buck's body, face, antlers, the pine trees, the moon, and the water ripples are skin-peeled for a soft dim glow.

  • Cut through

    Nothing needs a full cutout on this etched design, though you could pierce a small back access hole for an LED.

Learn the carving basics

Before you start cutting

This is an AI concept, so can a real pumpkin actually hold this much antler detail?

Yes, because the antlers are etched into the surface rather than cut all the way through. Surface shading keeps the wall intact, so even the thin tines stay strong. Just score them lightly and peel up to the lines instead of cutting through.

How do I keep the shading from looking flat?

Vary how deep you scrape the skin. Peel more aggressively on highlights like the buck's back and antler edges, and leave thinner peels in shadowed areas like under the jaw. That range of tone is what gives the fur and trees dimension.

Will an etched pumpkin last long enough to display?

Etched pumpkins dry out faster than deep cuts because so much skin is exposed. Rubbing petroleum jelly over the peeled flesh slows browning, and storing it somewhere cool overnight helps. Plan to display it within a week of carving for the best look.

Your take belongs here, too.

Changed a detail? Made it simpler? Share a photo of your version and tell the community what worked.

Share your pumpkin

More pumpkins like this

You've reached the end · 8 pumpkins
The Patch Report

Fresh pumpkins, in your inbox.

The best new carvings, ideas worth stealing, and how-tos for carving season. Short, seasonal, and gone by November.

A short email during carving season. Unsubscribe anytime. See our privacy policy.