Halloween Pumpkin Carving Contest · Starts October 1st · $500 in prizes
← Back to ideas
@ai_concepts
Aug 1, 2026
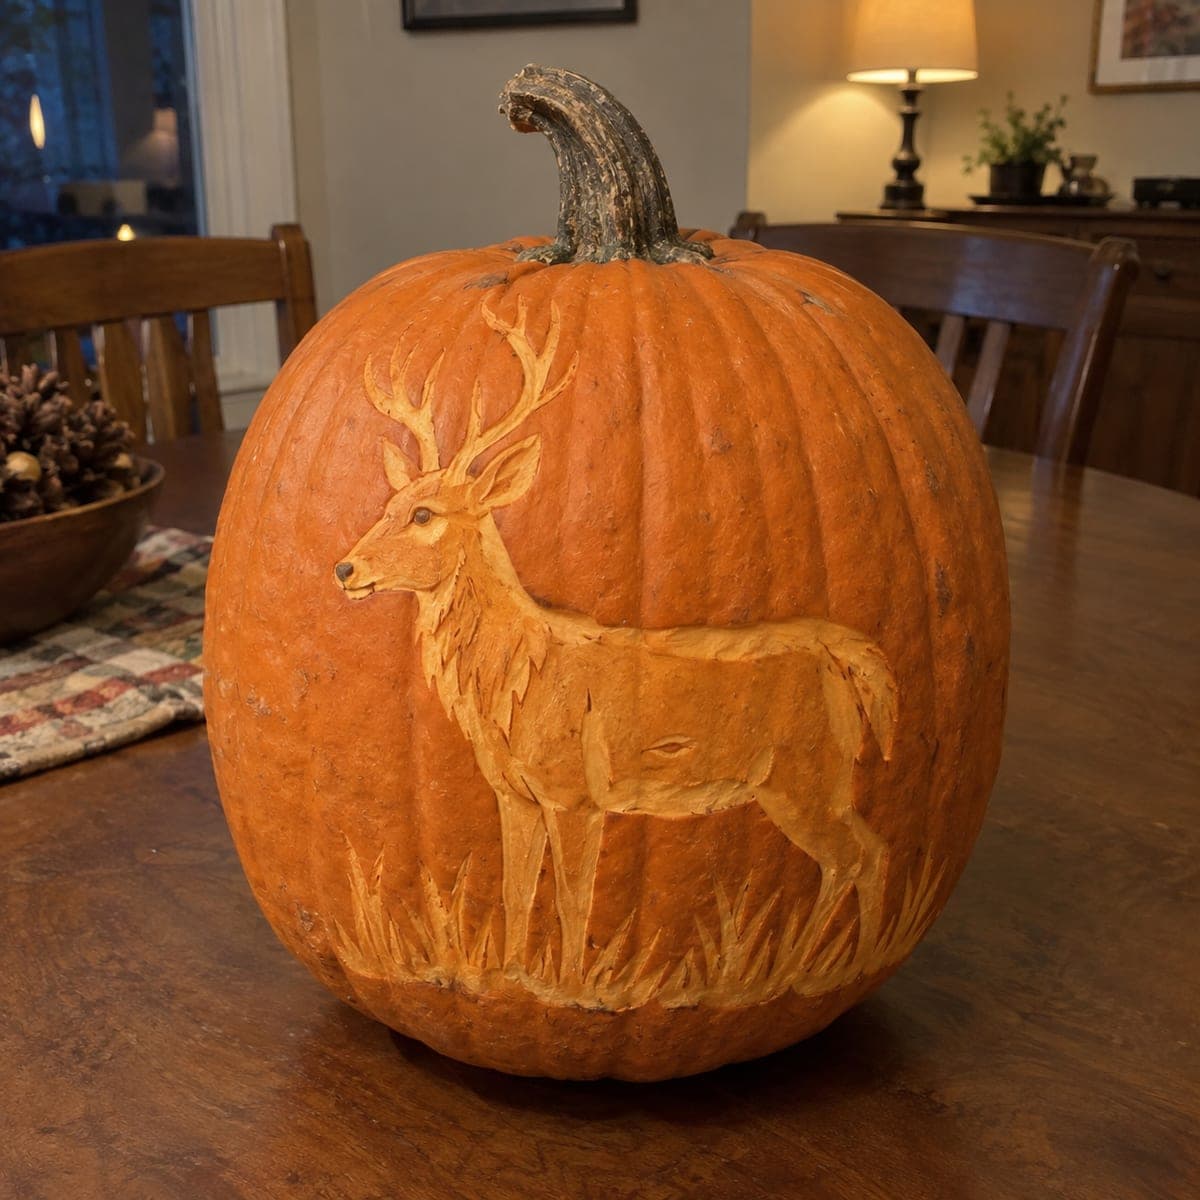
Standing Whitetail Buck Deer Pumpkin CarvingAI
0

Standing Whitetail Buck Deer Pumpkin Carving

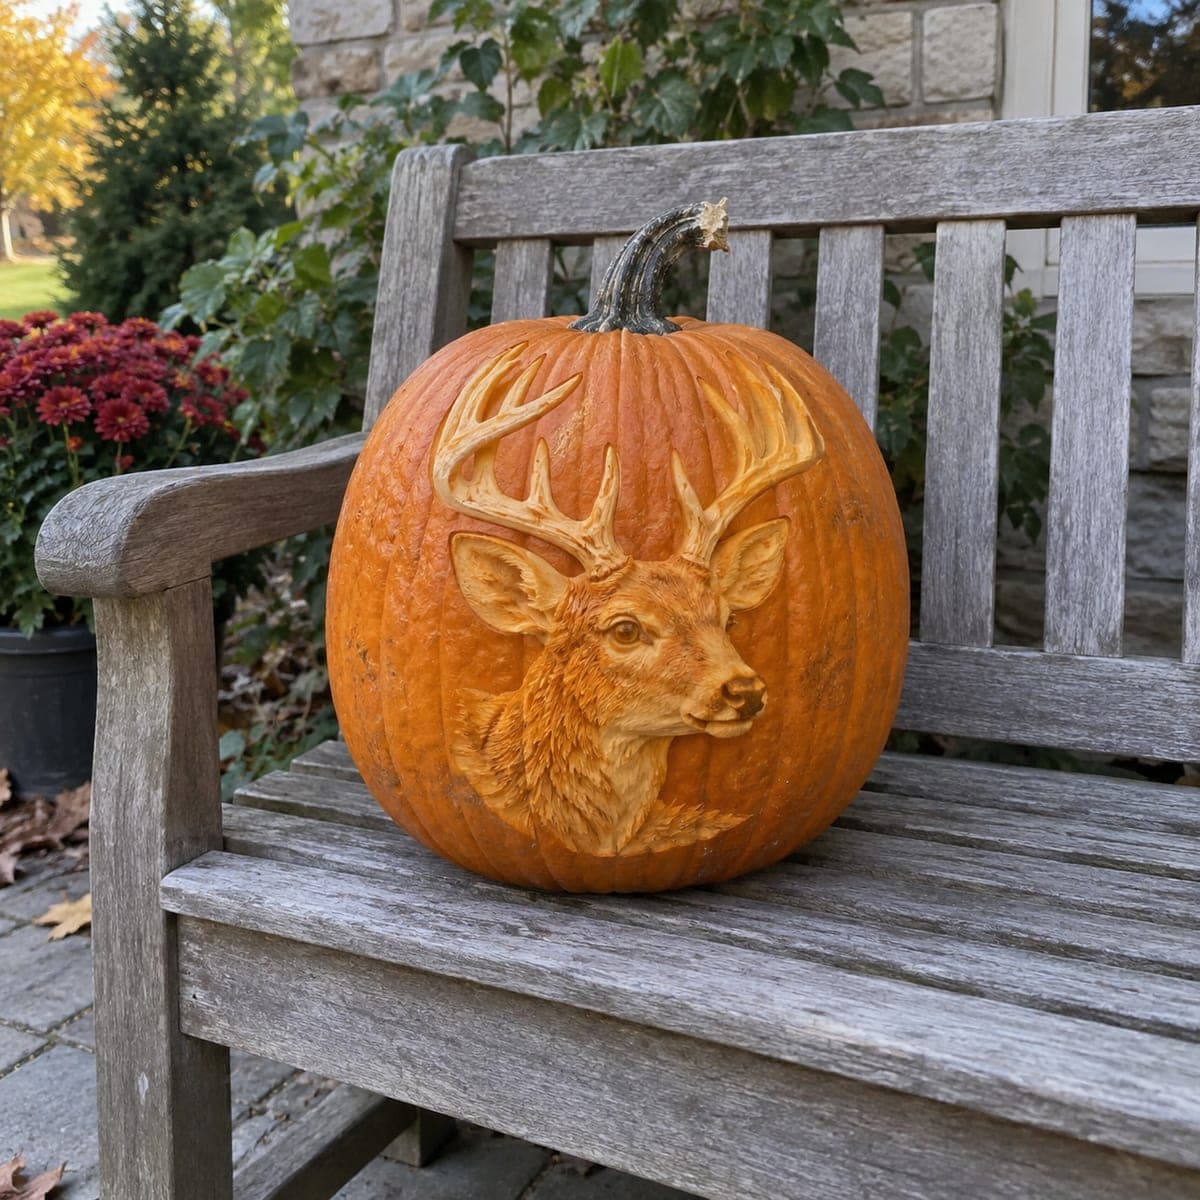
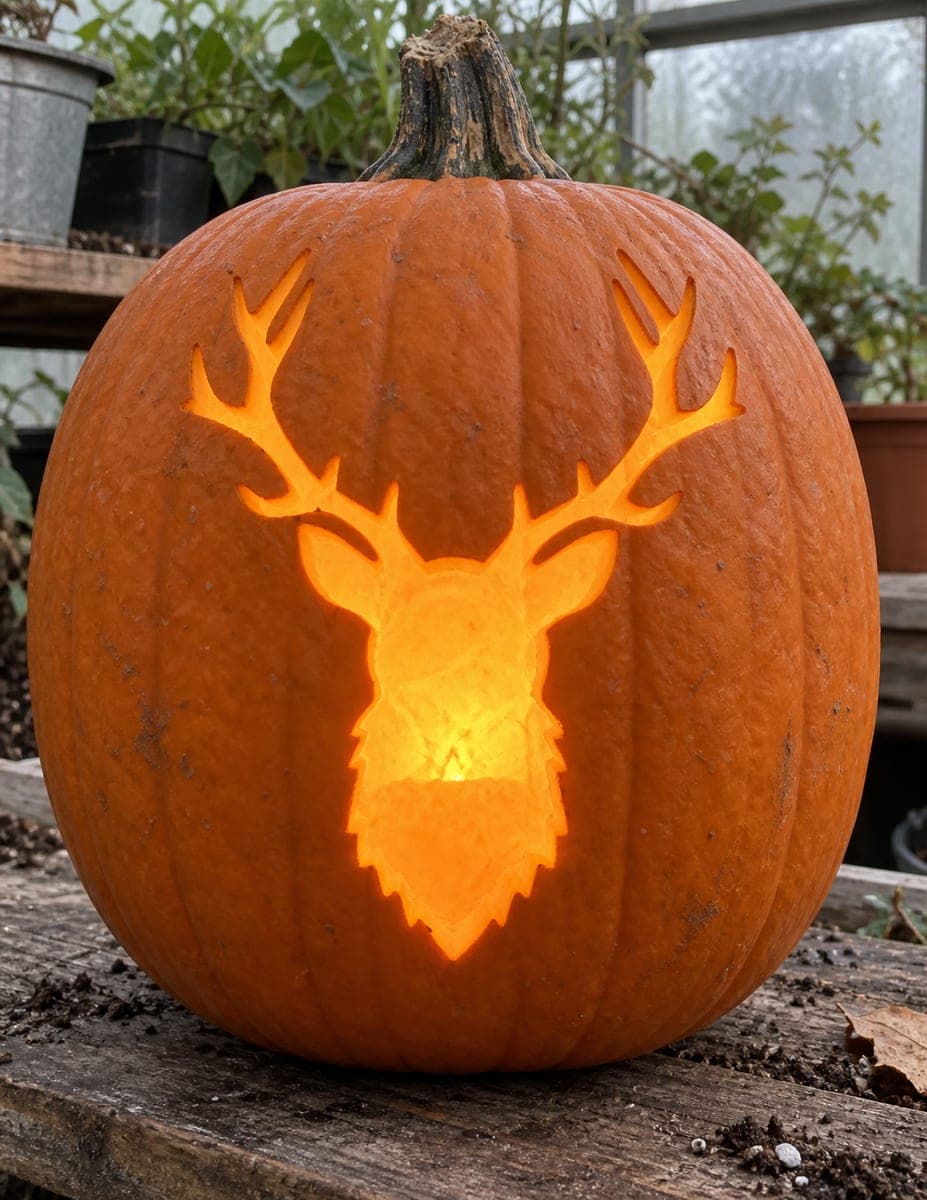
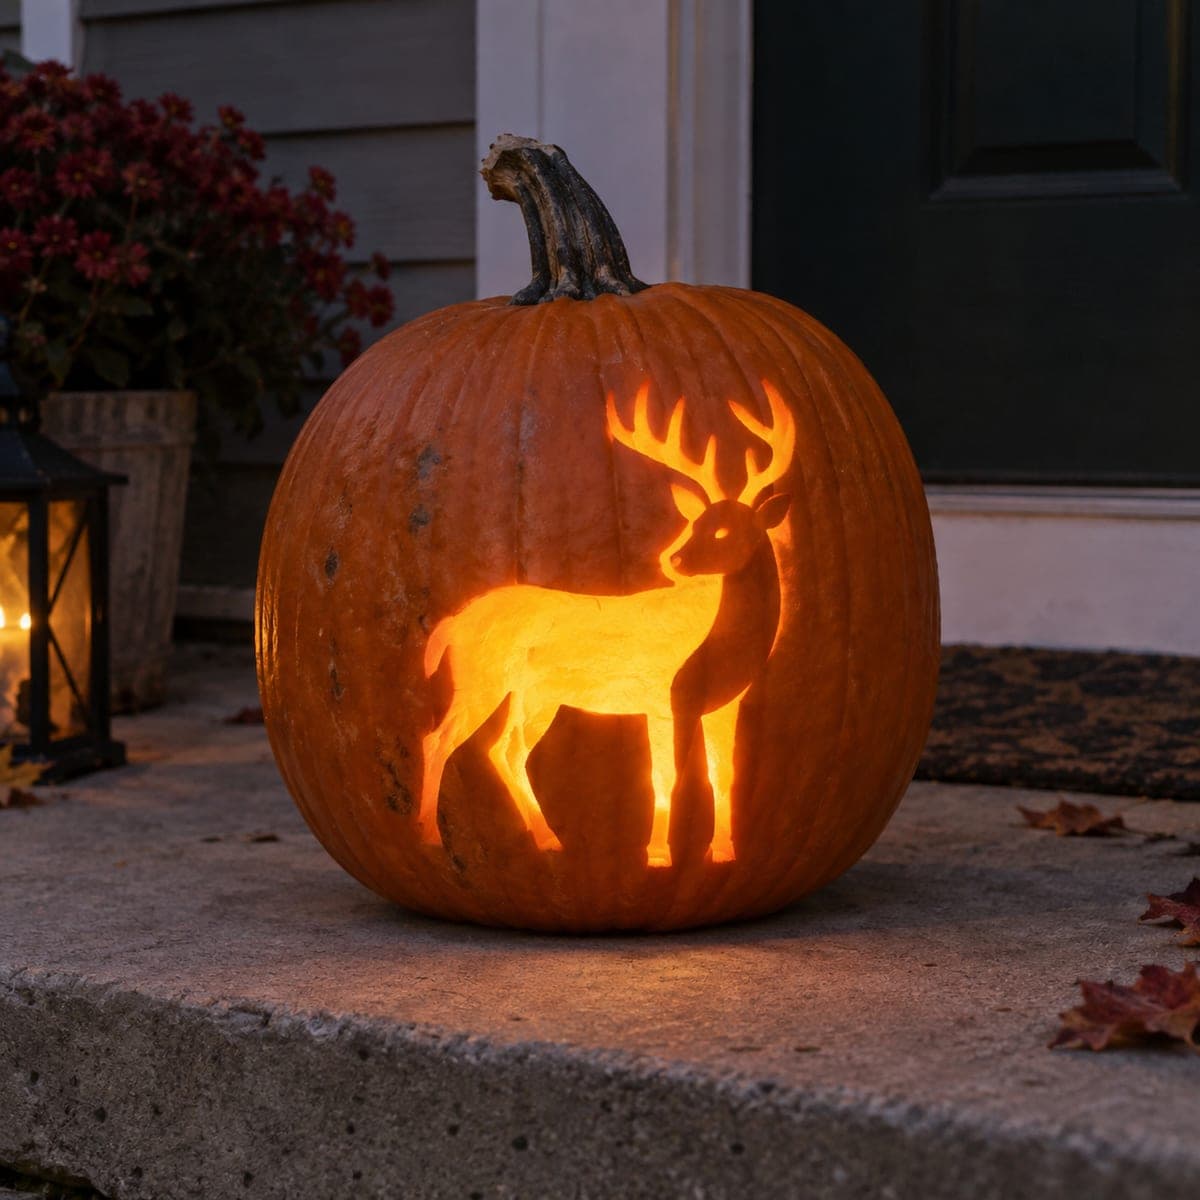
A whitetail buck stands broadside in tall etched grass on this pumpkin, its antlers branching up toward the stem and its coat peeled in smooth, even relief. The design suits a hunting camp or rustic dining table and needs no candle to look finished. Rough out the body before the antlers, keep each tine wide at the base so it will not crumble, and etch the grass last in quick upward flicks.

This is an AI-generated concept image: a realistic, carvable design idea rather than a photo of a finished carve. AI concepts are always labeled and sit out the leaderboard and the contest.

No ratings yet · Sign in to rate
Comments (0)

  • No comments yet — be the first.

Save without an account. Sign in to like or comment.

Our tips for carving a similar design

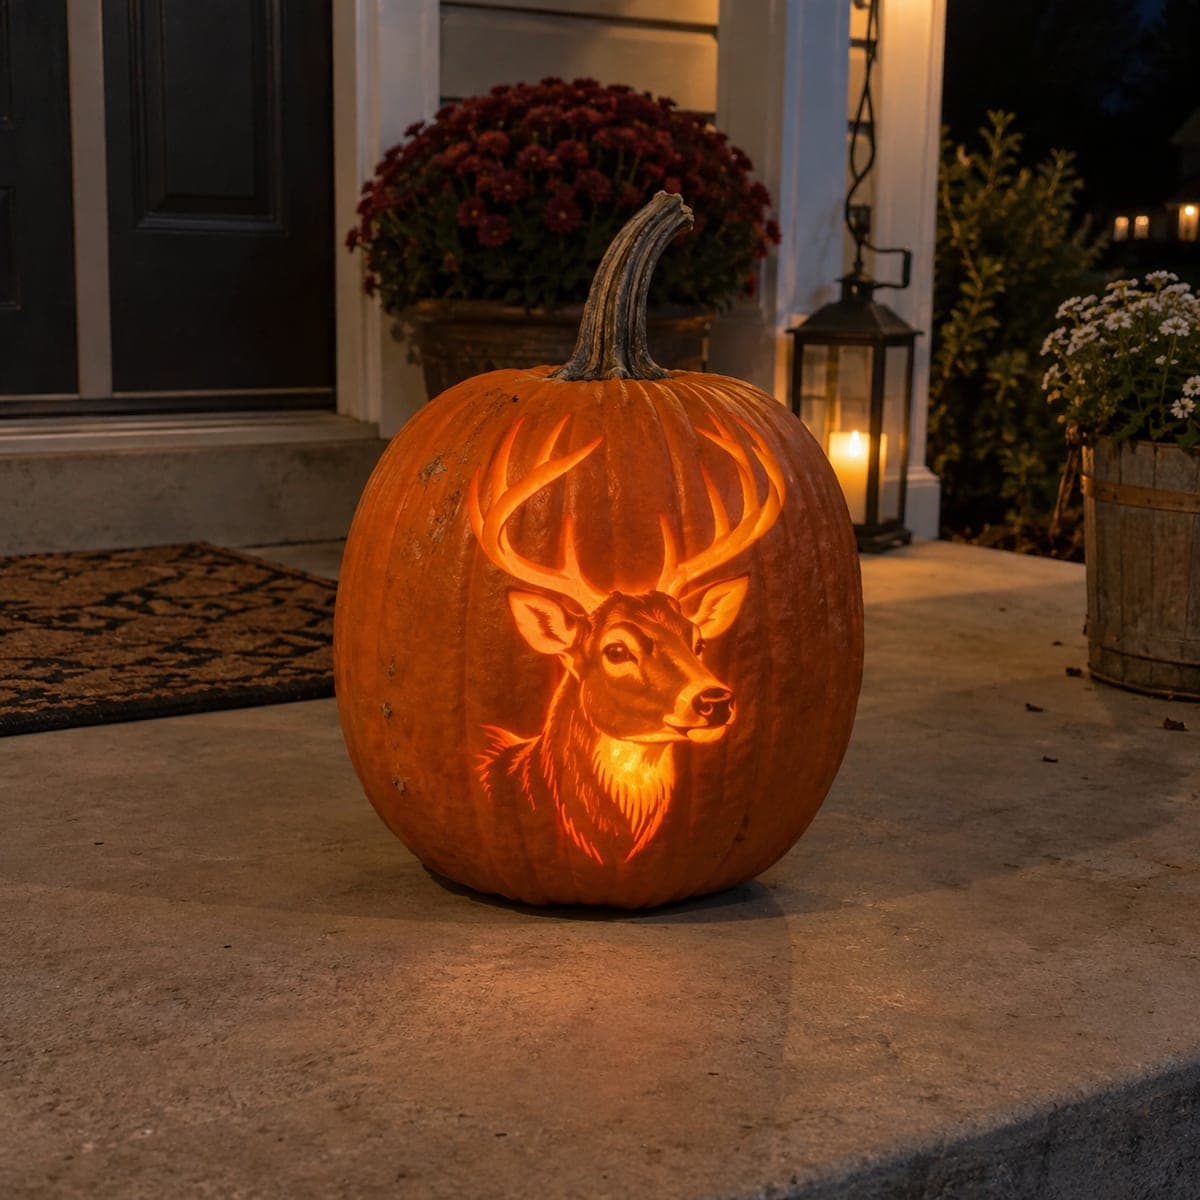
The whole effect here comes from shading rather than cutting through the shell, so the deer glows in warm relief instead of throwing light. You peel away just the top skin at different depths to build the coat, face, and antlers, then etch the grass with quick shallow flicks at the very end. Because nothing is cut fully through, this design reads well in daylight and needs only a small LED inside to warm it up.

Written by PumpkinCarvingIdeas.com, inspired by the image above. These are our suggestions, not instructions from the uploader. This approach to the AI concept has not been tested on a real pumpkin.

From pumpkin to porch

  1. Transfer the pattern and plan your depths

    Tape a buck stencil onto the smoothest front face of the pumpkin, centering the antlers below the stem. Poke the outlines with a transfer tool or push pins so the shape shows on the skin. Before any cutting, decide which areas stay dark skin, which get peeled, and where the grass will sit along the bottom. A quick mental map keeps you from over cutting the antler tines later.

  2. Open a lid and thin the wall

    Have an adult cut a lid in the base or the back, not the top, so the stem stays intact as shown. Scoop the pulp and scrape the inside wall behind the deer down to about one inch thick. A thinner wall makes shading much easier and lets the LED glow evenly through the peeled skin. Keep the front face clean and dry before you start carving.

  3. Rough out the body coat

    Using a shallow gouge or ribbon loop, peel the top skin off the deer's body to expose the lighter flesh underneath. Work in smooth even passes following the direction of the fur, going a little deeper on the chest and belly for soft shadow. Leave the outline crisp so the animal stands out from the dark background. Save the legs and face for finer, more careful passes.

  4. Carve the antlers wide and attached

    Peel the antlers as raised relief, keeping each tine wide at the base so it will not crumble as it dries. Do not cut fully around any tine or thin it to a point. Let the branches stay connected to the surrounding skin like ridges rather than free standing spikes. Shade the beam a touch deeper than the tips so the rack reads three dimensional.

  5. Detail the face and legs

    Switch to your smallest gouge or a detail knife for the eye, muzzle, and slim legs. Leave a tiny island of dark skin for the eye and nose so they hold definition. Carve the legs as narrow peeled shapes but keep plenty of shell around them for strength. Soften the join where the belly meets the legs with a light scoop.

  6. Etch the grass and light it

    Last, etch the tall grass along the bottom in quick upward flicks with a lino tool or V gouge, varying the height so it looks natural. Keep these strokes shallow so the blades stay part of the surface. Drop in a warm LED, replace the lid, and photograph the buck in low room light to show off the relief. A little side lighting from a lamp makes the shading pop.

Gather your supplies

Check things off as you get ready.

Work on a stable surface, keep your free hand out of the cutting path, and have an adult handle sharp tools.

Three levels of light

  • Leave intact

    The background field around the deer and the eye and nose stay as untouched dark skin.

  • Peel & shade

    The buck's body, antlers, face, and legs are skin-peeled for a soft even orange glow.

  • Cut through

    Nothing is cut fully through on this design, so the etched grass lines are just shallow peels for the brightest touches.

Learn the carving basics

Before you start cutting

How do I keep the thin antler tines from breaking?

Treat the antlers as raised relief instead of cutouts. Keep each tine wide where it meets the beam and never cut all the way around it. Peeling only the skin leaves the tine backed by solid shell, so it stays strong as the pumpkin dries.

Will this look finished without a candle?

Yes. The whole design relies on shading, so the peeled coat and antlers show up clearly in normal room light. A small LED inside just adds a warm glow behind the deer and makes the relief a bit softer. Skip real candles since they can scorch the thin wall.

Should I carve the antlers or the body first?

Rough out the body first so you can set the overall depth and outline. Once the deer's shape is established, come back and shade the antlers to match. This order keeps the delicate tines from getting bumped while you do the heavier peeling.

Your take belongs here, too.

Changed a detail? Made it simpler? Share a photo of your version and tell the community what worked.

Share your pumpkin

More pumpkins like this

You've reached the end · 8 pumpkins
The Patch Report

Fresh pumpkins, in your inbox.

The best new carvings, ideas worth stealing, and how-tos for carving season. Short, seasonal, and gone by November.

A short email during carving season. Unsubscribe anytime. See our privacy policy.