Halloween Pumpkin Carving Contest · Starts October 1st · $500 in prizes
← Back to ideas
@ai_concepts
Aug 25, 2026
Playful Painted Pterodactyl Dinosaur PumpkinAI
0

Playful Painted Pterodactyl Dinosaur Pumpkin

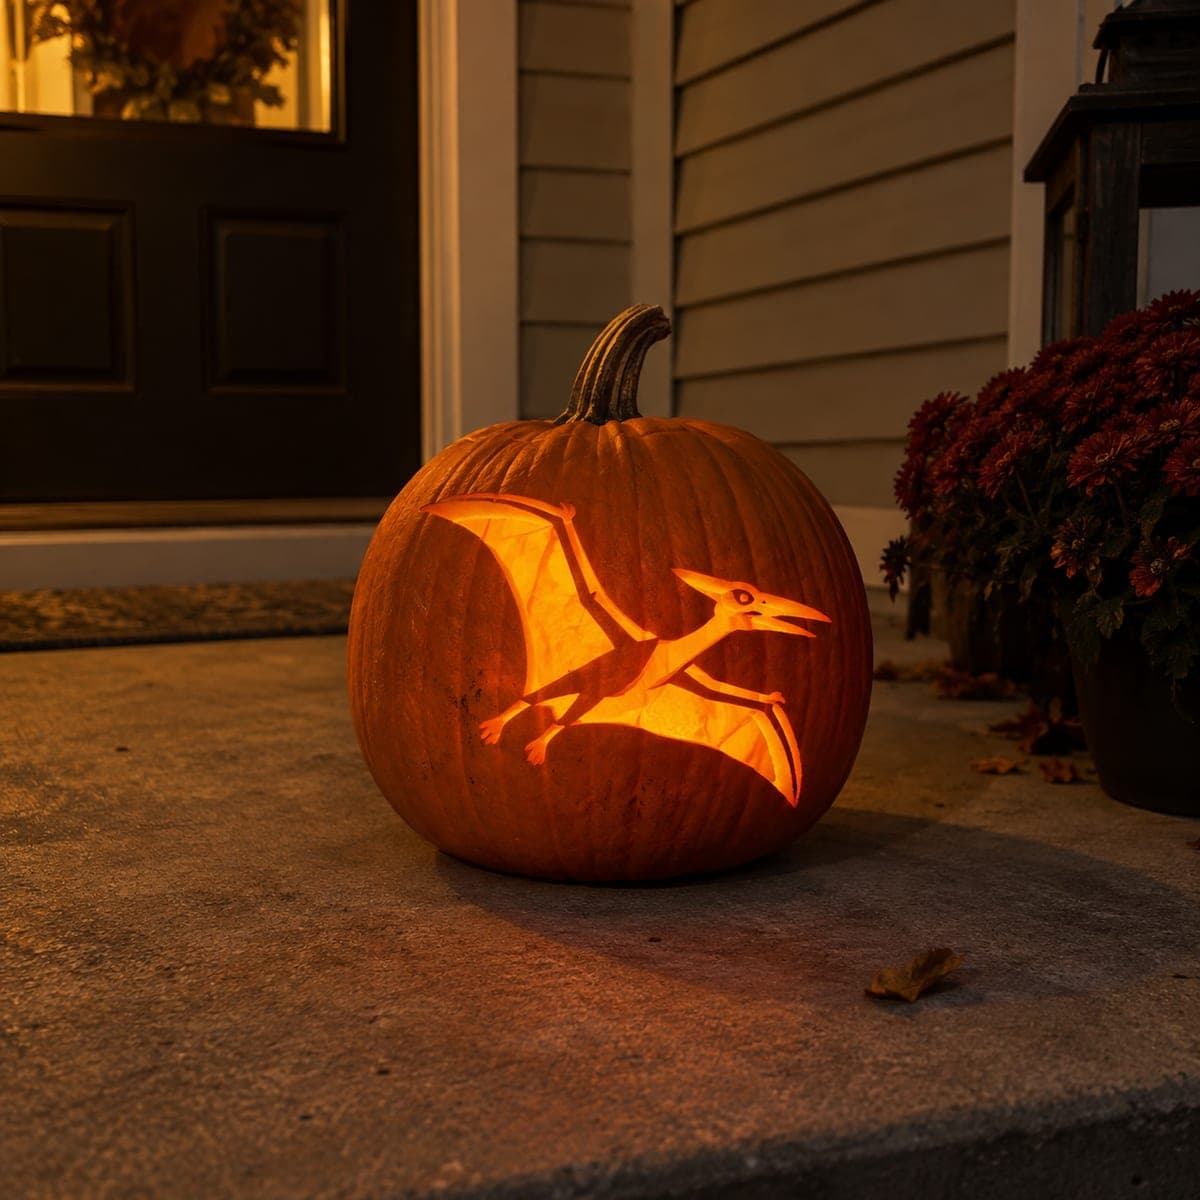
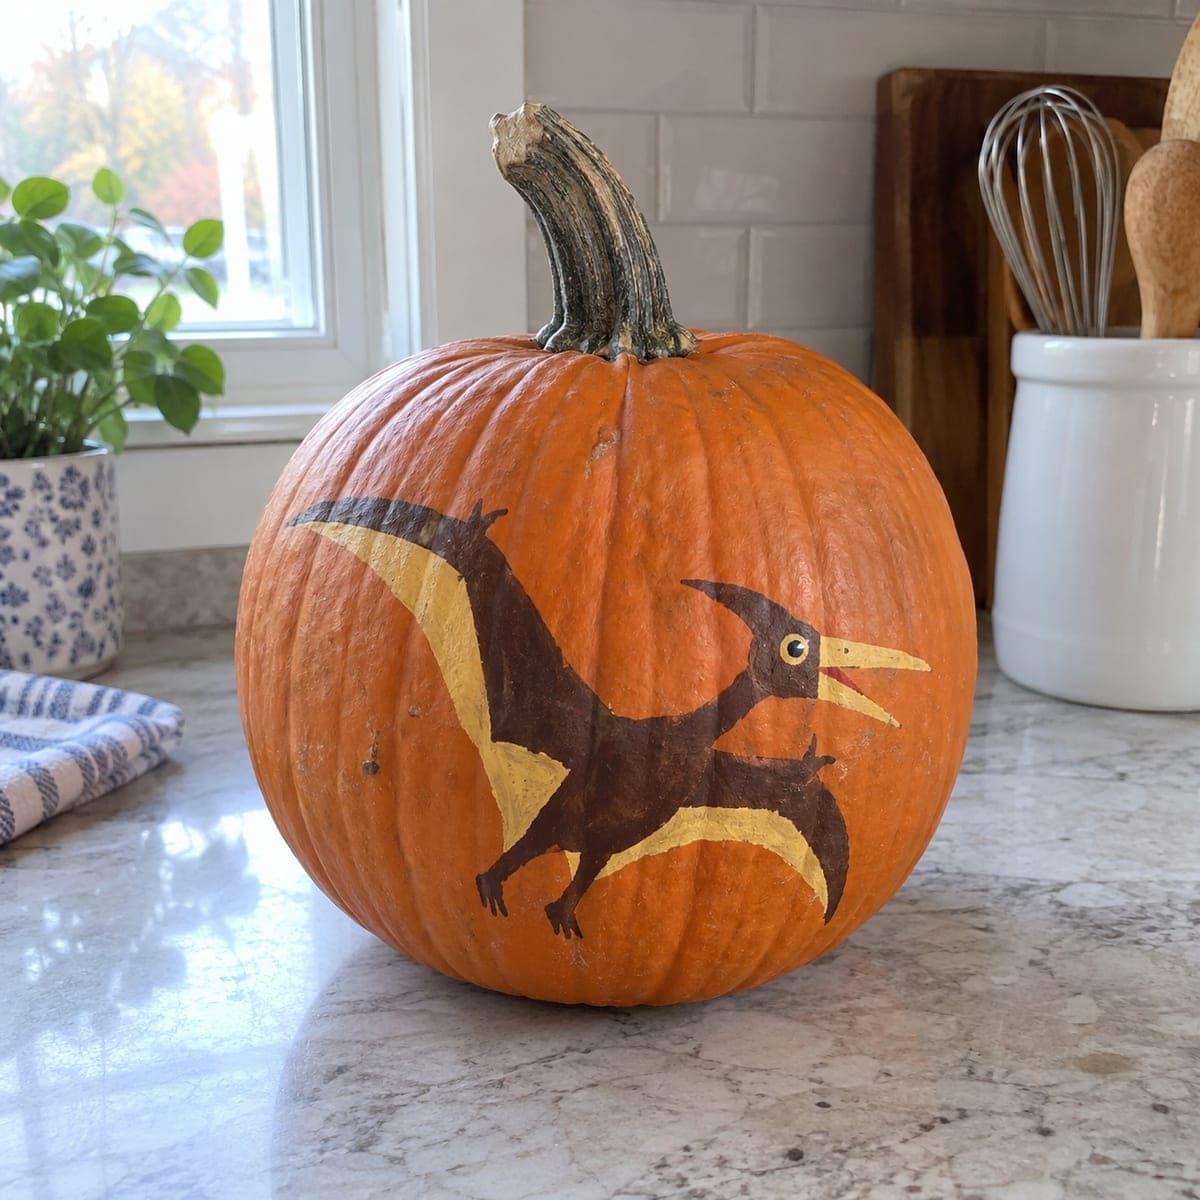
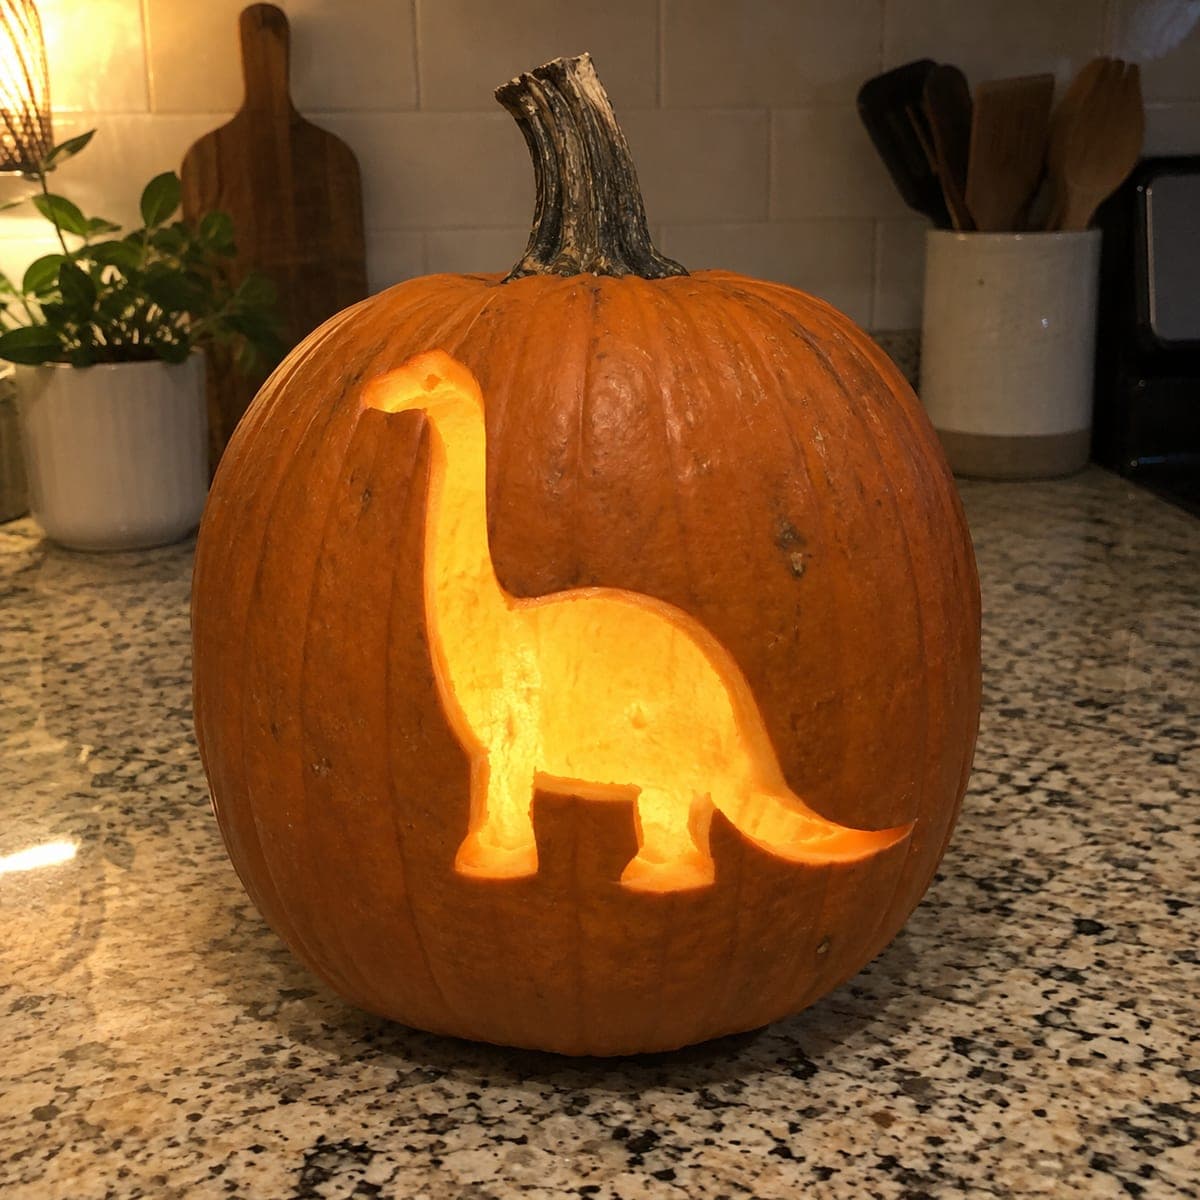
A cartoon pterodactyl with wide cream wings and an open beak swoops across this painted pumpkin, a fun pick for the dinosaur-obsessed kid in your house. Just two paint colors build the whole design: block in the cream wing undersides first, then layer the brown body and head over them. No cutting means little hands can help, and this no-carve pumpkin lives happily on a kitchen counter.

This is an AI-generated concept image: a realistic, carvable design idea rather than a photo of a finished carve. AI concepts are always labeled and sit out the leaderboard and the contest.

No ratings yet · Sign in to rate
Comments (0)

  • No comments yet — be the first.

Save without an account. Sign in to like or comment.

Our tips for carving a similar design

The whole trick here is layering just two paint colors so a cartoon pterodactyl reads clearly from across the room: cream goes down first for the wing undersides, then brown lays over the top for the body, head, and wing edges. Because nothing gets cut, this is a friendly project for little helpers, and the pumpkin can sit safely on a counter. Since this is an AI concept image, treat it as a plan you could follow on a real pumpkin.

Written by PumpkinCarvingIdeas.com, inspired by the image above. These are our suggestions, not instructions from the uploader. This approach to the AI concept has not been tested on a real pumpkin.

From pumpkin to porch

  1. Prep and pick your pumpkin

    Choose a smooth, tall pumpkin with a broad flat-facing side so the dinosaur has room to stretch out. Wipe the skin clean and dry it fully so paint grips well. A real pumpkin works, but a craft foam pumpkin will let this design last for years. Set it on a towel to keep it from rolling while you work.

  2. Sketch the pose lightly

    Use a soft pencil or a washable marker to rough in the pterodactyl: a long beak and crested head on one side, the body angling down, and two big wings spreading up and back. Keep the lines loose since you will cover them with paint. Step back often to check that the shape sits centered on the front. Erase and adjust before any paint touches the surface.

  3. Block in the cream wings first

    Load a flat brush with cream acrylic and fill the wide wing-underside shapes and the pale belly stripe. Paint these light areas fully first so the brown has a clean base to overlap. Let this layer dry completely before moving on, otherwise the darker color will smear into it. Two thin coats look better than one thick one.

  4. Layer the brown body and head

    Switch to brown acrylic and paint the head crest, beak outline, back, legs, and the leading edges of the wings right over the dried cream. Let the brown define the wing bones so the cream reads as membrane between them. Keep your edges crisp with a smaller round brush where the two colors meet. Allow it to dry before adding fine detail.

  5. Add the face and finishing marks

    With a fine detail brush, add a small round eye, a dot of pink or red inside the open beak, and thin claw lines on the feet. These tiny touches give the cartoon its personality, so take your time and keep them small. A dab of white in the eye adds a lively glint. Let everything dry, then brush on a clear acrylic sealer to protect the paint.

  6. Style and photograph

    Once sealed and dry, set the pumpkin on a kitchen counter or shelf where the dino faces out. Because there is no flame, it is safe near towels and plants. Snap your photo in soft daylight to keep the cream and brown colors true. Share it with the dinosaur fan in your house.

Gather your supplies

Check things off as you get ready.

Work on a stable surface, keep your free hand out of the cutting path, and have an adult handle sharp tools.

Three levels of light

  • Leave intact

    The orange pumpkin skin all around the dinosaur stays bare as the natural background.

  • Peel & shade

    If you want a glow version, lightly peel the cream wing membranes so they shine dim orange.

  • Cut through

    For a lit take, a fully cut opening at the open beak or the round eye would throw the brightest light.

Learn the carving basics

Before you start cutting

Do I really not need to cut anything?

Correct, this is a no-carve painted design, so no blade touches the pumpkin. That makes it safe for kids to help with the painting steps while an adult handles the sealer. If you later want light, you could carve small accents like the eye, but it is not required.

What if my two paint colors bleed together?

Bleeding almost always means the first layer was still wet. Let the cream wings dry fully, ideally an hour or more, before laying brown over them. Acrylic dries faster in a warm room, and a hair dryer on low can speed things along.

How do I keep the painted pumpkin looking good all season?

Seal the finished paint with a clear acrylic coat to guard against scuffs and moisture. Keep a real pumpkin out of direct sun and off damp surfaces so it does not soften early. A foam pumpkin will hold the design for many Halloweens.

Your take belongs here, too.

Changed a detail? Made it simpler? Share a photo of your version and tell the community what worked.

Share your pumpkin

More pumpkins like this

You've reached the end · 8 pumpkins
The Patch Report

Fresh pumpkins, in your inbox.

The best new carvings, ideas worth stealing, and how-tos for carving season. Short, seasonal, and gone by November.

A short email during carving season. Unsubscribe anytime. See our privacy policy.