Halloween Pumpkin Carving Contest · Starts October 1st · $500 in prizes
← Back to ideas
@ai_concepts
Sep 14, 2026
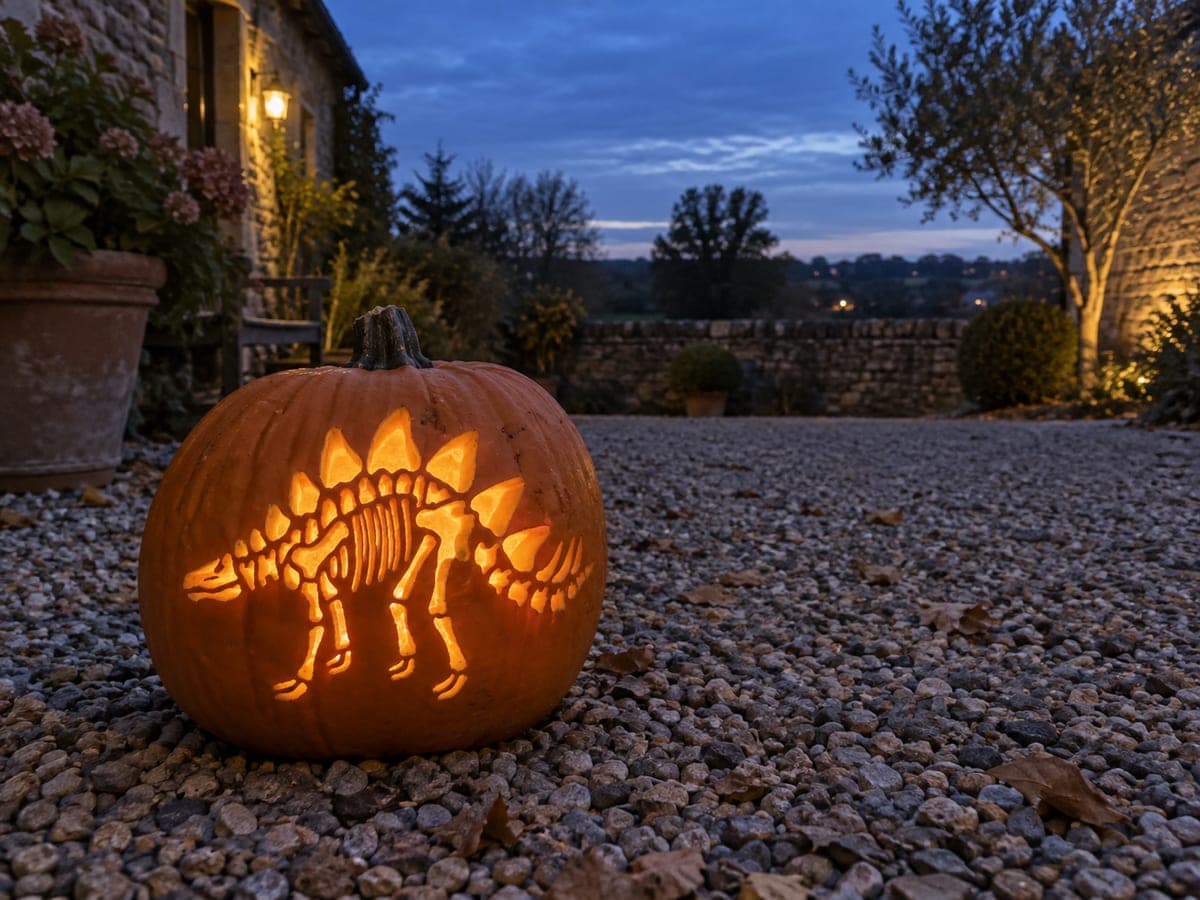
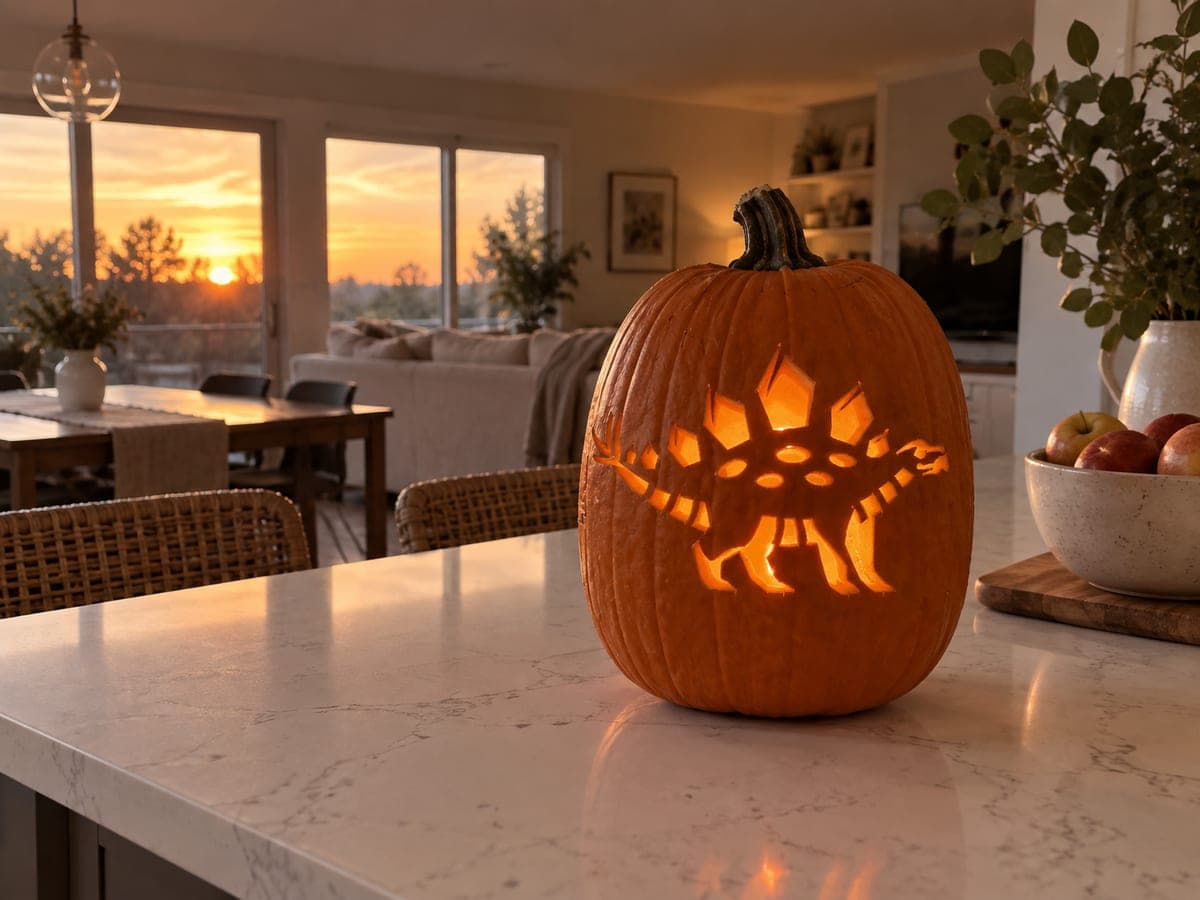
Cute Stegosaurus With Back Plates PumpkinAI
0

Cute Stegosaurus With Back Plates Pumpkin

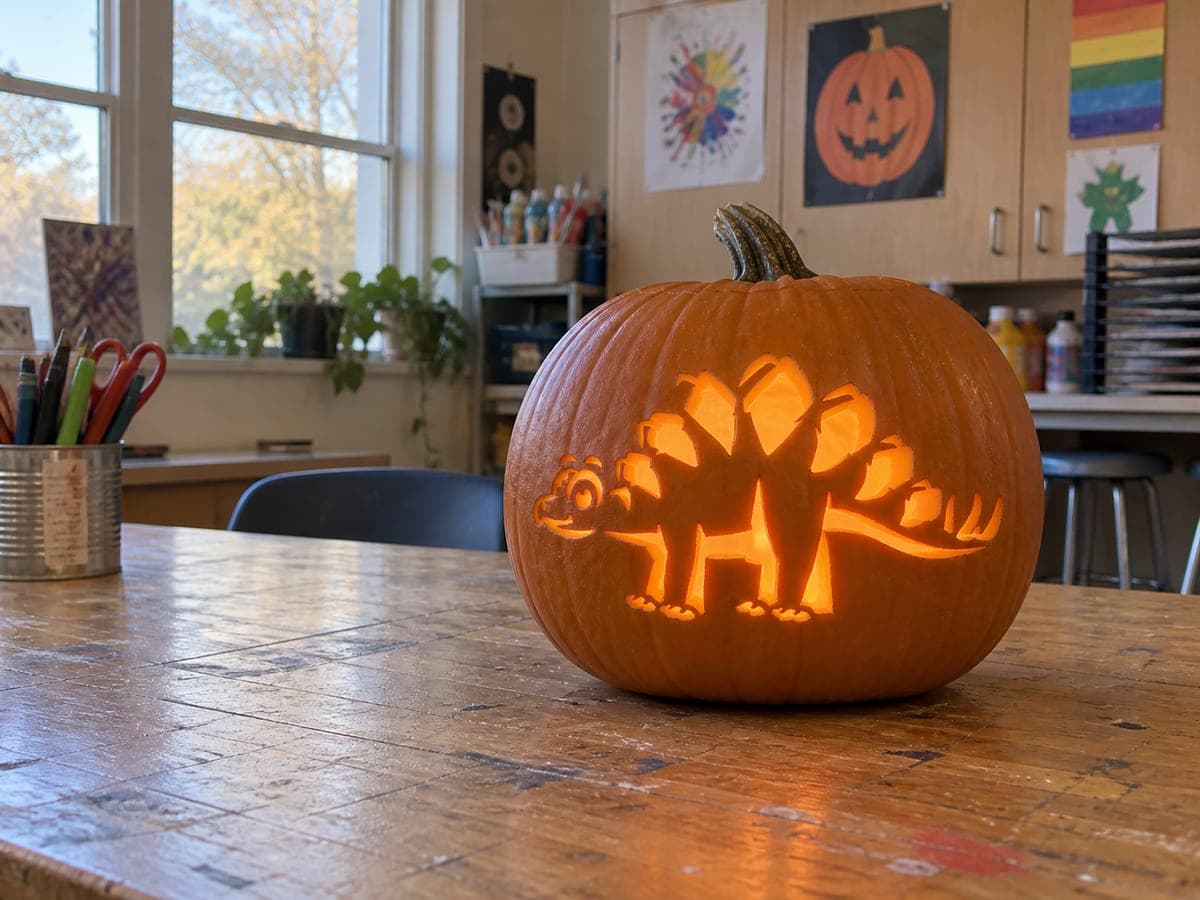
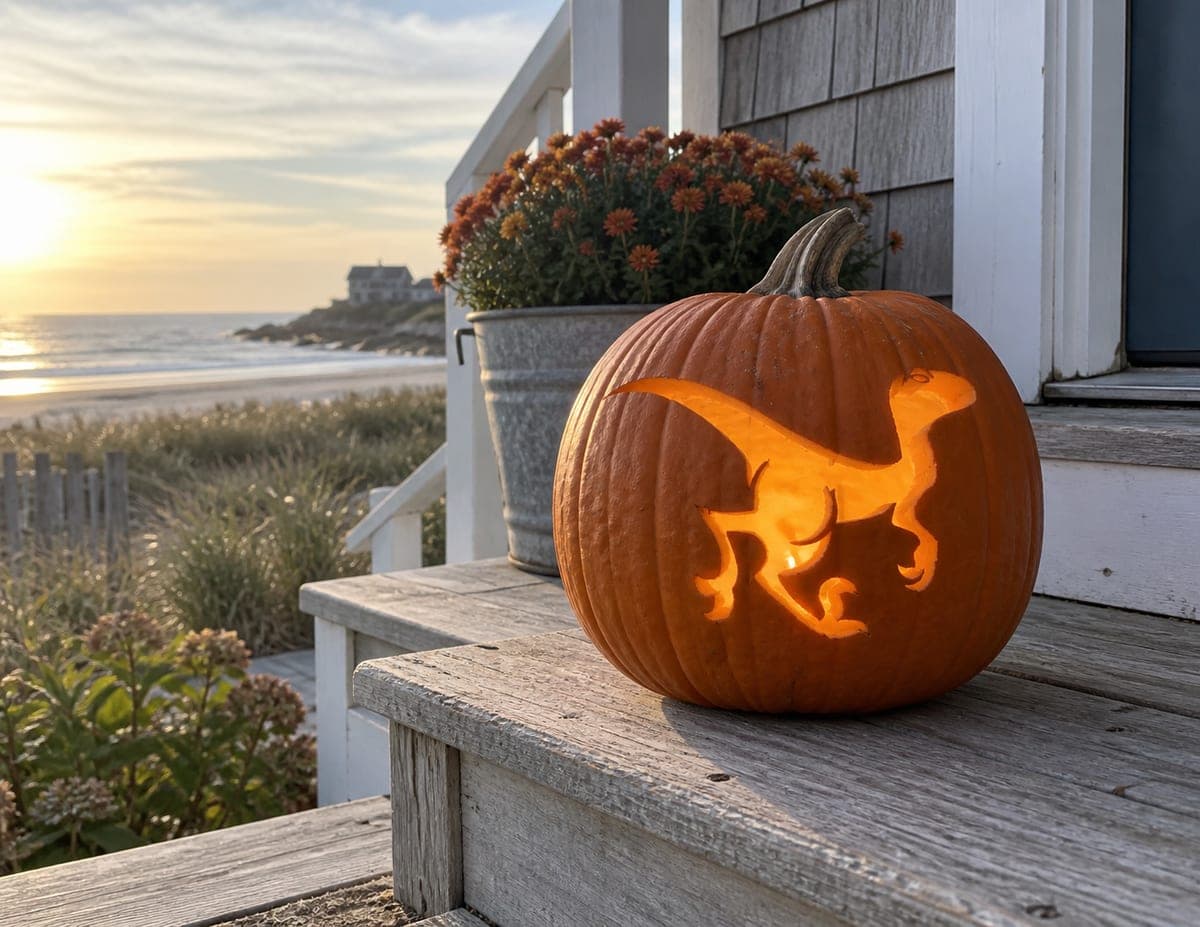
A cartoon stegosaurus walks with four stubby legs and a wide body while a row of tall triangular back plates fans upward above it, all cut through the rind in a chunky, kid-friendly style. The back plates are separate from each other at their tips, so each one is an individual narrow triangle that needs its own clean cut at the peak; use a short stab-cut at the top of each plate to get a crisp point without over-cutting into the next plate. This dinosaur jack-o-lantern carving idea looks especially bright with a small LED placed directly behind the main body opening.

This is an AI-generated concept image: a realistic, carvable design idea rather than a photo of a finished carve. AI concepts are always labeled and sit out the leaderboard and the contest.
No ratings yet · Sign in to rate

Comments (0)

  • No comments yet — be the first.

Save without an account. Sign in to like or comment.

Our tips for carving a similar design

The core trick here is a big open body cutout that throws light through the whole scene, topped by a row of separate triangular plates that each get their own crisp point. Cut the plates and the small leg gaps first while the shell is strong, then open the wide belly area last so the pumpkin does not sag. Keep short bridges of rind between plate tips so nothing collapses.

Written by PumpkinCarvingIdeas.com, inspired by the image above. These are our suggestions, not instructions from the uploader. This approach to the AI concept has not been tested on a real pumpkin.

From pumpkin to porch

  1. Prep and light-test

    Pick a wide, fairly flat pumpkin so the long stegosaurus profile fits across the front. Cut a lid from the bottom or the back rather than the top so the stem stays intact and the pumpkin sits steady. Scrape the inside wall behind your design down to about one inch thick so it is easy to cut through. Drop in an LED and confirm the brightest spot lands where the body will be.

  2. Transfer the outline

    Print or draw a chunky cartoon stegosaurus and tape the pattern smoothly onto the front. Poke the outline with a pushpin or a poking tool, spacing the dots close along the plates, legs, and tail spikes. Peel the paper and connect the dots lightly with a marker so you can see the full shape before any blade touches the rind.

  3. Carve the back plates

    Start with the row of tall triangular plates since they need the most control. Cut each plate as its own narrow triangle and use a short stab-cut at the very top to make a clean point. Do not drag the blade past the tip or you will slice into the next plate. Leave a small band of uncut rind between each plate so the row stays crisp and supported.

  4. Add the legs, tail, and face

    Cut the small gaps that define the four stubby legs and the notches along the tail spikes next. Keep these openings modest so the shell around them stays firm. For the face, make a tiny eye cutout and a short mouth line. Work slowly with a small detail blade and let the pumpkin rest on a towel to steady it.

  5. Open the wide body last

    Save the large belly opening for the end because it removes the most material. Cut it in sections rather than one long pass, easing the blade in and out to keep control. Push the piece inward and out so you do not stress the plates above. Clean the cut edges with the blade angled slightly outward so more light escapes.

  6. Light it and photograph

    Set a small LED directly behind the main body opening for the brightest glow, then add a second light if the tail end looks dim. Dab any drying edges with petroleum jelly to slow shrinking. Photograph in a dark room with the camera slightly below the pumpkin so the plates read as a bold silhouette. Refrigerate between showings to keep it fresh.

Gather your supplies

Check things off as you get ready.

Work on a stable surface, keep your free hand out of the cutting path, and have an adult handle sharp tools.

Three levels of light

  • Leave intact

    The surrounding skin and the pumpkin ridges stay untouched and dark to frame the dinosaur.

  • Peel & shade

    Skin-peel a thin outline around the body or a soft ground line under the feet for a dim orange halo.

  • Cut through

    Cut all the way through for the wide body, the plate triangles, the leg gaps, and the eye so they blaze brightest.

Learn the carving basics

Before you start cutting

How do I keep the back plates from breaking off?

Cut each plate as a separate triangle but leave a small band of solid rind between the tips instead of connecting the cuts. Those bands act as bridges that hold the whole row steady. Work from the center outward and avoid over-cutting past each point.

Should I cut the big body opening first?

No, save it for last. The wide belly cutout removes a lot of material and weakens the shell, so doing it early makes the plates and legs above wobble. Carve the small, delicate cuts while the pumpkin is still strong, then open the body at the end.

This is an AI concept, so can a real pumpkin look like this?

Yes, the design is realistic if you keep the plates chunky rather than needle-thin and leave bridges between them. Thin the inside wall so cuts go cleanly, and pick a pumpkin wide enough for the full profile. The look holds up well with a bright LED behind the body.

Your take belongs here, too.

Changed a detail? Made it simpler? Share a photo of your version and tell the community what worked.

Share your pumpkin

More pumpkins like this

You've reached the end · 8 pumpkins
The Patch Report

Fresh pumpkins, in your inbox.

The best new carvings, ideas worth stealing, and how-tos for carving season. Short, seasonal, and gone by November.

A short email during carving season. Unsubscribe anytime. See our privacy policy.