Halloween Pumpkin Carving Contest · Starts October 1st · $500 in prizes
← Back to ideas
@ai_concepts
Sep 25, 2026
Mother and Baby Stegosaurus Pumpkin Carving with Fern AccentsAI
0

Report this carving

Tell us what is wrong. Reports are private.

Mother and Baby Stegosaurus Pumpkin Carving with Fern Accents

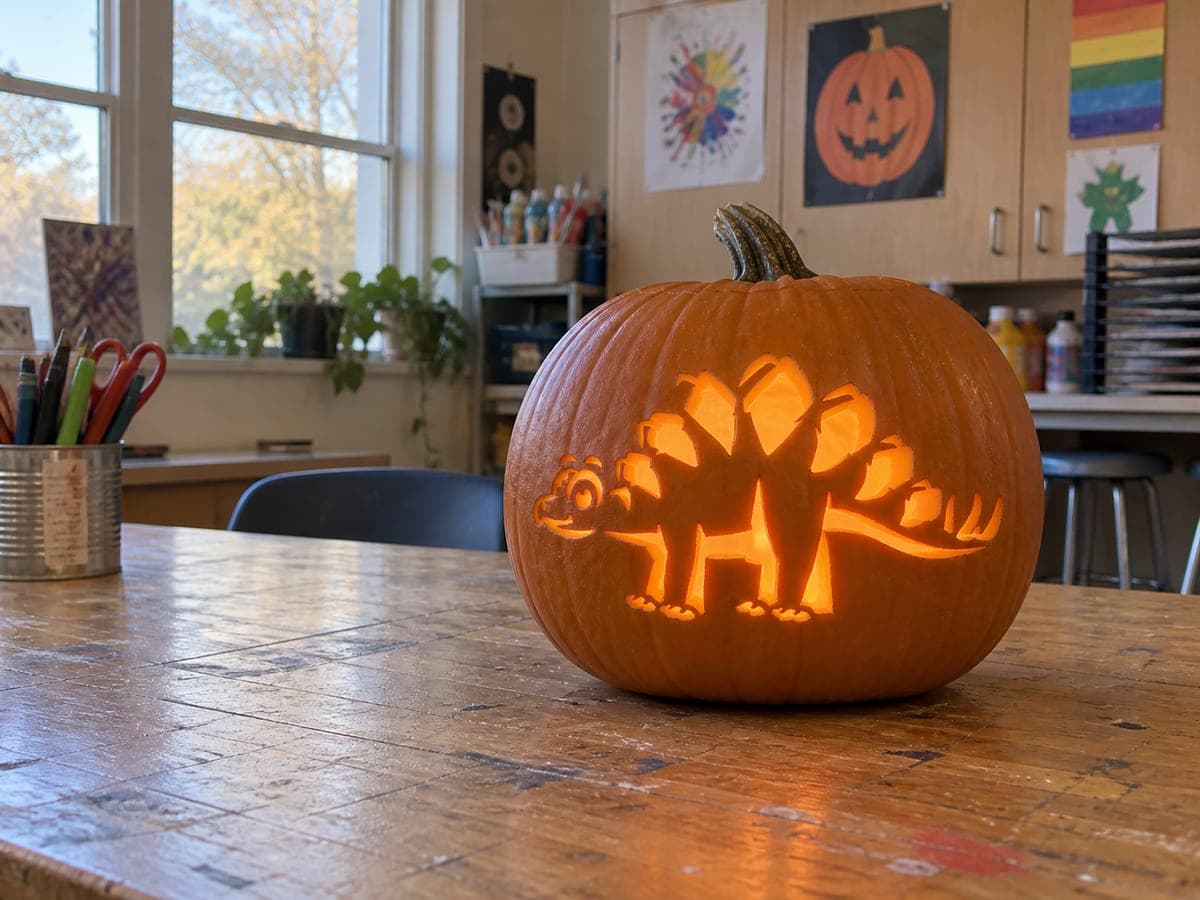
A larger and smaller stegosaurus walk side by side within a broad window on this expert stegosaurus pumpkin stencil carving, both figures rooted through thick legs into a shared ground strip while the mother's tail and the youngster's head touch opposite rims. Broad integral back plates, small eye holes, a row of spaced round body apertures, and separate fern-shaped holes above the window make this one of the more elaborate dinosaur pumpkin carving ideas in this set. Carve the ground strip and outer frame first to anchor the whole scene, then open the body apertures from the top down.

No ratings yet · Sign in to rate

Comments (0)

  • No comments yet — be the first.

Save without an account. Sign in to like or comment.

Our tips for carving a similar design

Two stegosaurus figures, a larger mother and a smaller juvenile, are held together inside a broad rectangular window by a shared ground strip along the bottom and by rim contacts at the tail end and the young dinosaur's head. Broad integral back plates, small eye holes, a row of spaced round body apertures, and separate fern-shaped holes above the window give this design its complexity, but each element is connected to something structural. The strategy is to build outward from the frame and ground strip before any detail holes are opened.

From pumpkin to porch

  1. Prep carefully

    Cut your access lid from the back of the pumpkin and thin the interior wall behind the planned window to about five-eighths of an inch for even light transmission. An overly thick wall will make small body apertures difficult to cut cleanly without forcing the blade.

  2. Transfer the full template

    Tape the template so the wide ground strip sits above the natural base curve of the pumpkin and the window top has a few inches of solid shell above it for the fern holes. Trace every element with deep poke marks: the window border, both stegosaurus bodies, eye holes, body apertures, and fern shapes.

  3. Carve the window frame and ground strip

    Cut the outer window border first, then remove all the surrounding waste shell, leaving the broad ground strip firmly attached at the bottom. This establishes the base that anchors all four sets of legs. Work the top and side waste areas before tackling anything inside the window.

  4. Open the outer fern holes

    The fern-shaped apertures above the window sit entirely within solid shell and can be carved next while the main window area is still intact. Use a detail blade to follow each fern outline carefully, as the pointed lobes are the thinnest shapes in the design.

  5. Open the body apertures and eye holes

    Working top to bottom through the window interior, cut the round body apertures along the mother's torso first, then the juvenile's, then the two small eye holes. Keep your hand braced against the opposite side of the pumpkin to prevent flexing the retained figures.

  6. Final check and display

    Insert a bright LED puck and view the design from three feet away. The two dinosaurs should read as clearly distinct sizes against the glow of the window. Position on a rustic stool beside a dark shed for maximum visual drama.

Written with AI to match this design

Gather your supplies

Check things off as you get ready.

Work on a stable surface, keep your free hand out of the cutting path, and have an adult handle sharp tools.

Three levels of light

  • Leave intact

    Both retained stegosaurus bodies, their integral back plates, the ground strip, the outer frame, and the rind bridges between body apertures all remain as dark, uncut rind.

  • Peel & shade

    None. All variation in light comes from cut-through openings.

  • Cut through

    The broad window opening, the row of round body apertures on each figure, both small eye holes, and the separate fern-shaped holes above the window are all cut fully through for full glow.

Learn the carving basics

Before you start cutting

How do I keep both figures stable while cutting the body apertures?

Complete all four rim contact points and the ground strip connections before opening any apertures. Once every anchor is in place, the figures behave like a rigid lattice. Always brace your free hand against the pumpkin's outer curve directly opposite the blade to resist flex.

The fern lobes are very thin on my printout. Can I simplify them?

Yes. Rounding the lobe tips and widening the base of each frond makes the fern shapes more carvable without losing the botanical silhouette. No viewer will compare your carving to a botanist's illustration; readability at arm's length is all that matters.

How do I keep the mother and juvenile looking like two different animals rather than one merged blob?

The height difference in the back plates is the main visual separator. Make sure the mother's plates are noticeably taller on your template and that there is a small gap of solid rind between the two bodies at chest height. Even a quarter-inch of dark rind between them reads as clear separation when backlit.

Your take belongs here, too.

Changed a detail? Made it simpler? Share a photo of your version and tell the community what worked.

Share your pumpkin

More pumpkins like this

You've reached the end · 8 pumpkins
The Patch Report

Fresh pumpkins, in your inbox.

The best new carvings, ideas worth stealing, and how-tos for carving season. Short, seasonal, and gone by November.

A short email during carving season. Unsubscribe anytime. See our privacy policy.