Halloween Pumpkin Carving Contest · Starts October 1st · $500 in prizes
← Back to ideas
@ai_concepts
Sep 25, 2026
Three Stegosaurus Holes Pumpkin Carving at Blue HourAI
0

Report this carving

Tell us what is wrong. Reports are private.

Three Stegosaurus Holes Pumpkin Carving at Blue Hour

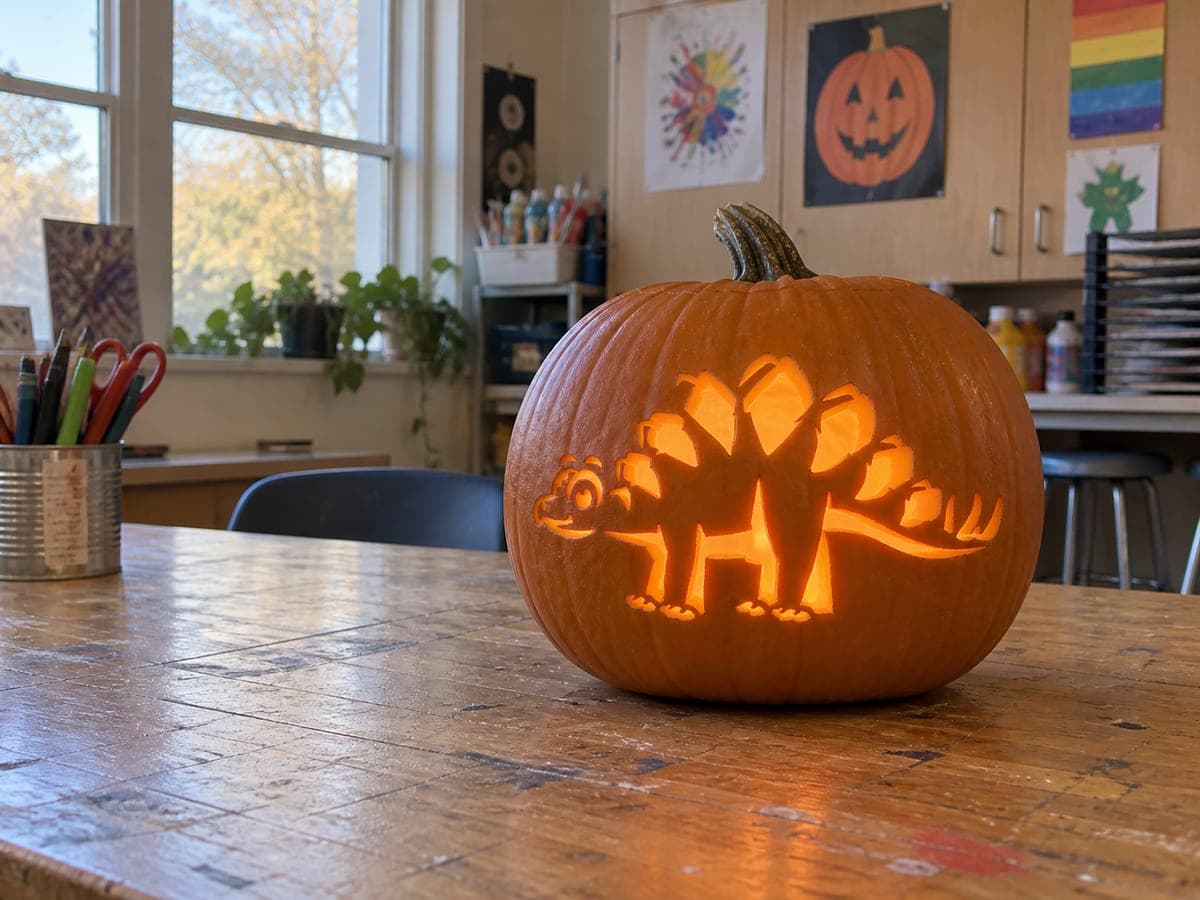
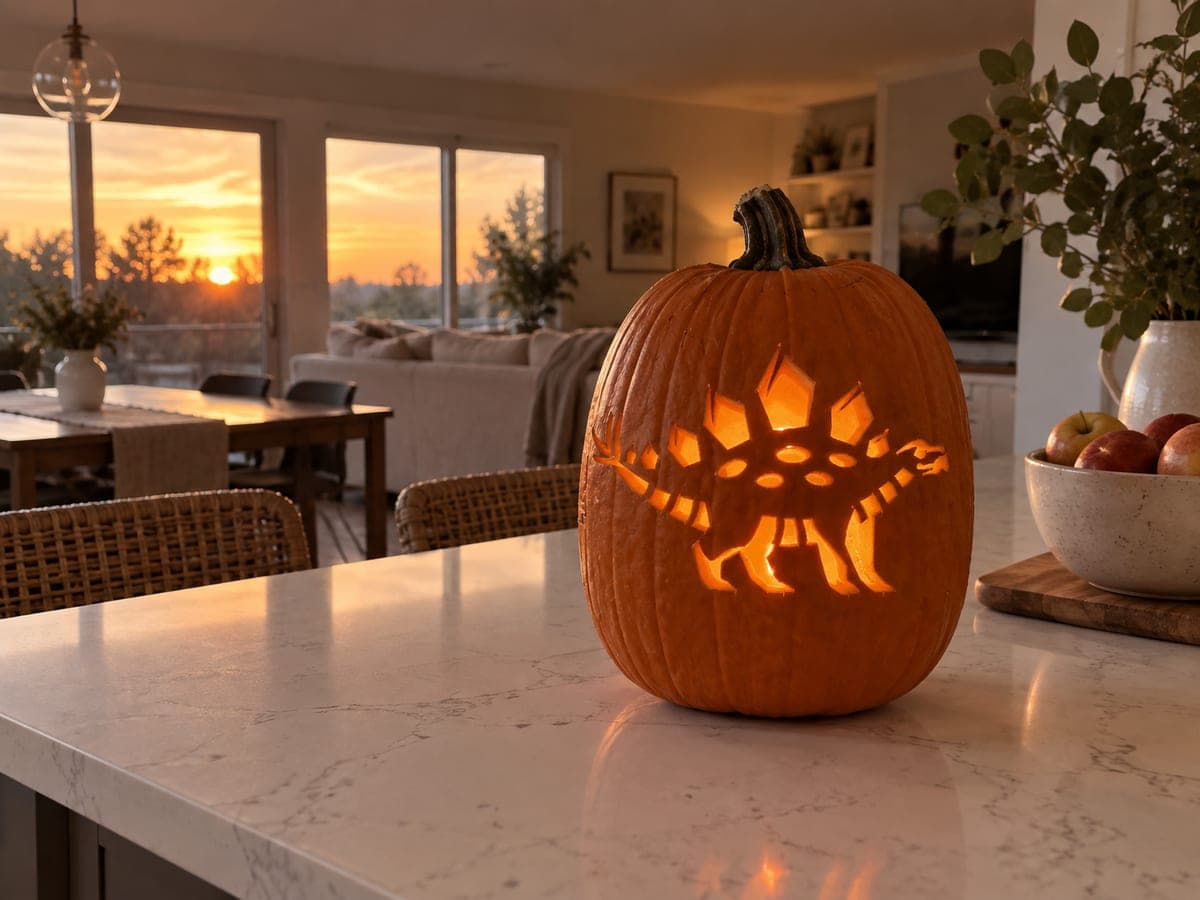
One large and two smaller stegosaurus-shaped openings glow across the face of this intermediate stegosaurus pumpkin stencil carving, each with broad bodies and four blunt back plates cut entirely through the shell. Generous untouched rind between the three holes keeps the pumpkin structurally sound even though a lot of material is removed. Space the templates evenly before committing, then cut the largest hole first to establish the composition. This pumpkin carving idea looks striking on a patio table with a fence visible in the background at blue hour.

No ratings yet · Sign in to rate

Comments (0)

  • No comments yet — be the first.

Save without an account. Sign in to like or comment.

Our tips for carving a similar design

One large and two smaller stegosaurus-shaped holes are cut entirely through the shell, leaving thick bands of untouched rind between each opening to keep the pumpkin structurally sound. The trio arrangement creates a satisfying sense of scale, as if a family of dinosaurs is crossing the face of the pumpkin. Cutting the largest hole first anchors the composition before the smaller two are positioned.

From pumpkin to porch

  1. Prepare the pumpkin

    Cut a lid from the back so the display side is unbroken. Scoop the interior until walls are an even inch thick, paying extra attention to the areas where all three holes will sit. A thinner wall there makes cutting easier without weakening the broad rind bridges.

  2. Plan hole placement

    Hold all three printed templates against the pumpkin before taping any down. You want at least an inch of solid shell between each stegosaurus shape and the edges of the pumpkin. Photograph the arrangement with your phone before committing so you can refer back during carving.

  3. Transfer and carve the large hole

    Tape the largest template first and trace its outline with a poking tool. Cut along the line with a detail saw, working around the body from the belly through the legs and then the back plates. Push the cutout inward gently once the line is closed.

  4. Carve the two smaller holes

    Transfer the medium and small templates to their planned positions. Cut each in the same sequence: belly, legs, plates, tail. Work one hole at a time and set each cutout aside rather than letting them fall inside, where they could block your saw angle.

  5. Refine the edges

    Use a small spoon to clean any ragged pulp from the inside of each aperture. Run your finger along each hole's inner edge to find thick spots, and thin them carefully so each shape glows with consistent brightness.

  6. Display on the patio

    Set the finished pumpkin on a dark table with a fence behind it at blue hour. Drop in a bright LED puck rather than a candle so the three holes read as three equally bright dinosaur silhouettes.

Written with AI to match this design

Gather your supplies

Check things off as you get ready.

Work on a stable surface, keep your free hand out of the cutting path, and have an adult handle sharp tools.

Three levels of light

  • Leave intact

    The broad rind bands between and around all three holes stay fully dark, which makes each glowing dinosaur shape stand out cleanly.

  • Peel & shade

    None. All three openings are full cut-throughs with no mid-glow peeling needed.

  • Cut through

    Each of the three stegosaurus-shaped holes, large, medium, and small, is cut entirely through the shell for full bright light.

Learn the carving basics

Before you start cutting

How much rind should I leave between the three holes?

At least three-quarters of an inch between any two holes is the practical minimum. An inch is safer. The more rind you keep between openings, the less likely the pumpkin is to sag or crack after a few days on display.

What order should I cut the holes if I am nervous about structural integrity?

Always cut the largest hole first, then the medium, then the small. Starting big gives you the most control when the shell is still rigid. Once the big hole is out, the remaining material is easier to manage because you can grip the pumpkin more securely.

My two smaller templates look very similar in size. Does the size difference matter much?

It does matter visually. Even a modest size difference, say one template at 70 percent and one at 45 percent of the large, reads as a convincing parent-and-offspring grouping. Matching sizes can look accidental rather than intentional.

Your take belongs here, too.

Changed a detail? Made it simpler? Share a photo of your version and tell the community what worked.

Share your pumpkin

More pumpkins like this

You've reached the end · 8 pumpkins
The Patch Report

Fresh pumpkins, in your inbox.

The best new carvings, ideas worth stealing, and how-tos for carving season. Short, seasonal, and gone by November.

A short email during carving season. Unsubscribe anytime. See our privacy policy.