Halloween Pumpkin Carving Contest · Starts October 1st · $500 in prizes
← Back to ideas
@ai_concepts
Sep 25, 2026
Glowing Stegosaurus Silhouette Pumpkin on a Garden BorderAI
0

Report this carving

Tell us what is wrong. Reports are private.

Glowing Stegosaurus Silhouette Pumpkin on a Garden Border

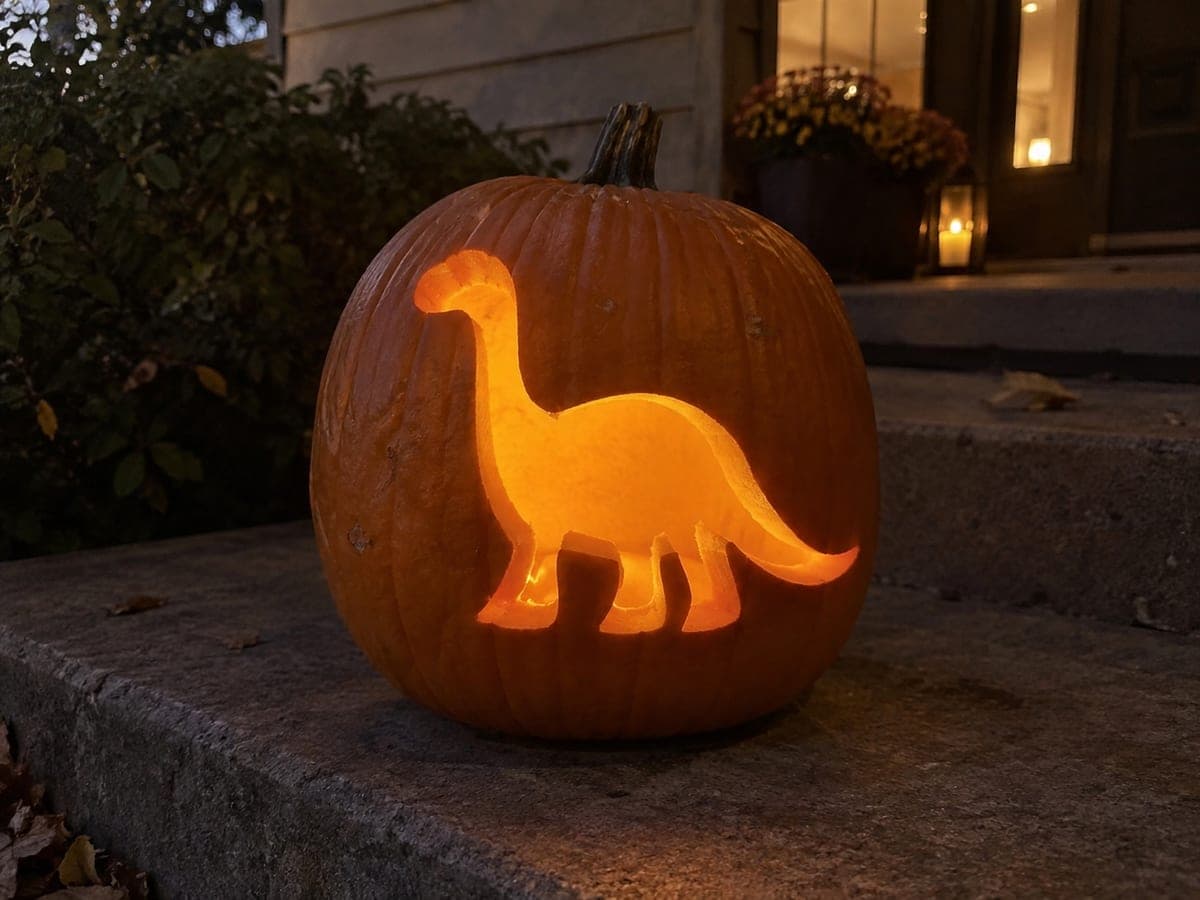
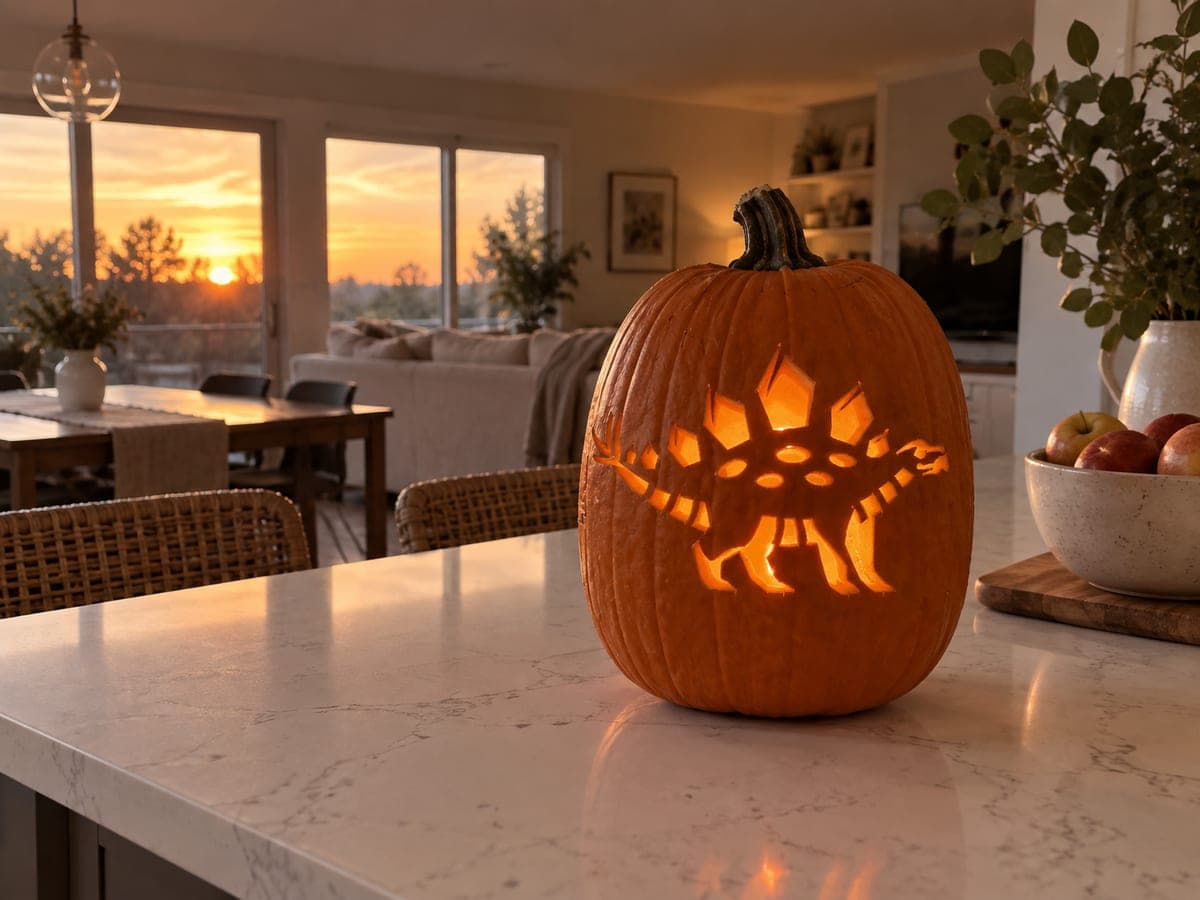
A stegosaurus with six large blunt triangular back plates is cut away as a single open silhouette on this easy stegosaurus pumpkin stencil carving, the full body removed to let candlelight pour through. The back plates are partly shallow-backed so they maintain their shape without requiring precision cuts at the tips. Keep the four legs wide and the tail rounded to avoid any narrow sections prone to tearing. A low brick garden border at night frames this pumpkin carving idea perfectly.

No ratings yet · Sign in to rate

Comments (0)

  • No comments yet — be the first.

Save without an account. Sign in to like or comment.

Our tips for carving a similar design

The entire stegosaurus body, including its rounded belly, four wide legs, and six blunt triangular back plates, is removed as one unbroken opening so candlelight pours straight through. Because there are no internal islands or eye holes to retain, the only real challenge is keeping the back-plate tips from snapping during cutting. Keeping plate bases wide and leg sections short and sturdy makes this a genuinely forgiving first carve.

From pumpkin to porch

  1. Prep the pumpkin

    Cut a lid from the back or base so the front face is undisturbed. Scoop out seeds and pulp until the inner wall is about an inch thick throughout. Wipe the outer surface dry so your transfer tape sticks cleanly.

  2. Transfer the stencil

    Print and tape your stegosaurus template centered on the front face, making sure the long body runs horizontally and the plates have room top and bottom. Trace the outline with a poking tool or ballpoint pen, then peel the paper away before cutting.

  3. Score the outline

    With a thin detail saw, follow the traced line along the outer profile first at a shallow depth to confirm the shape reads well. Pay extra attention to the plate tips: keep the blade moving without pausing, since lingering causes the rind to tear.

  4. Remove the silhouette in one piece

    Cut fully through the shell along the traced outline. Start at a broad, low-risk area like the belly, work around the legs and tail, and tackle the plates last. Gently push the entire cutout inward once the line is complete.

  5. Clean and check

    Use a spoon to thin any thick edges inside the aperture so light spreads evenly. Brush away stray fibers, then hold a flashlight inside to check the silhouette reads as a clean stegosaurus profile.

  6. Display and light

    Place the pumpkin on the low brick garden border, insert a battery-powered LED puck, and step back to enjoy the warm amber glow. A tea light also works but keep children and pets away from open flames.

Written with AI to match this design

Gather your supplies

Check things off as you get ready.

Work on a stable surface, keep your free hand out of the cutting path, and have an adult handle sharp tools.

Three levels of light

  • Leave intact

    All the surrounding orange shell stays dark, forming a solid frame around the glowing dinosaur shape.

  • Peel & shade

    None. The design is a single flat silhouette with no skin-peeled midtone areas.

  • Cut through

    The entire stegosaurus body opening, from the rounded belly through the broad legs and blunt back plates, is cut fully through for maximum glow.

Learn the carving basics

Before you start cutting

How do I stop the back-plate tips from snapping off?

Keep the base of each plate as wide as possible when you size the template. Cut with smooth, continuous strokes rather than short sawing motions. If a tip does crack, a little white craft glue on the back holds it in place once the piece dries.

Can I scale this up for a large pumpkin?

Absolutely. Enlarging the template on a photocopier or printer actually makes the cut easier because all the shapes get thicker. Just confirm the horizontal body length fits your pumpkin face before taping the stencil down.

Will the opening look messy without an eye or detail cuts inside?

No. A clean silhouette edge is the whole visual point here. Backlit against darkness, the smooth profile reads clearly as a stegosaurus. If you want a little more character, you can add a single small round eye hole with a craft punch.

Your take belongs here, too.

Changed a detail? Made it simpler? Share a photo of your version and tell the community what worked.

Share your pumpkin

More pumpkins like this

You've reached the end · 8 pumpkins
The Patch Report

Fresh pumpkins, in your inbox.

The best new carvings, ideas worth stealing, and how-tos for carving season. Short, seasonal, and gone by November.

A short email during carving season. Unsubscribe anytime. See our privacy policy.