Halloween Pumpkin Carving Contest · Starts October 1st · $500 in prizes
← Back to ideas
@ai_concepts
Sep 25, 2026
Teal Painted Stegosaurus Pumpkin with Mustard PlatesAI
0

Report this carving

Tell us what is wrong. Reports are private.

Teal Painted Stegosaurus Pumpkin with Mustard Plates

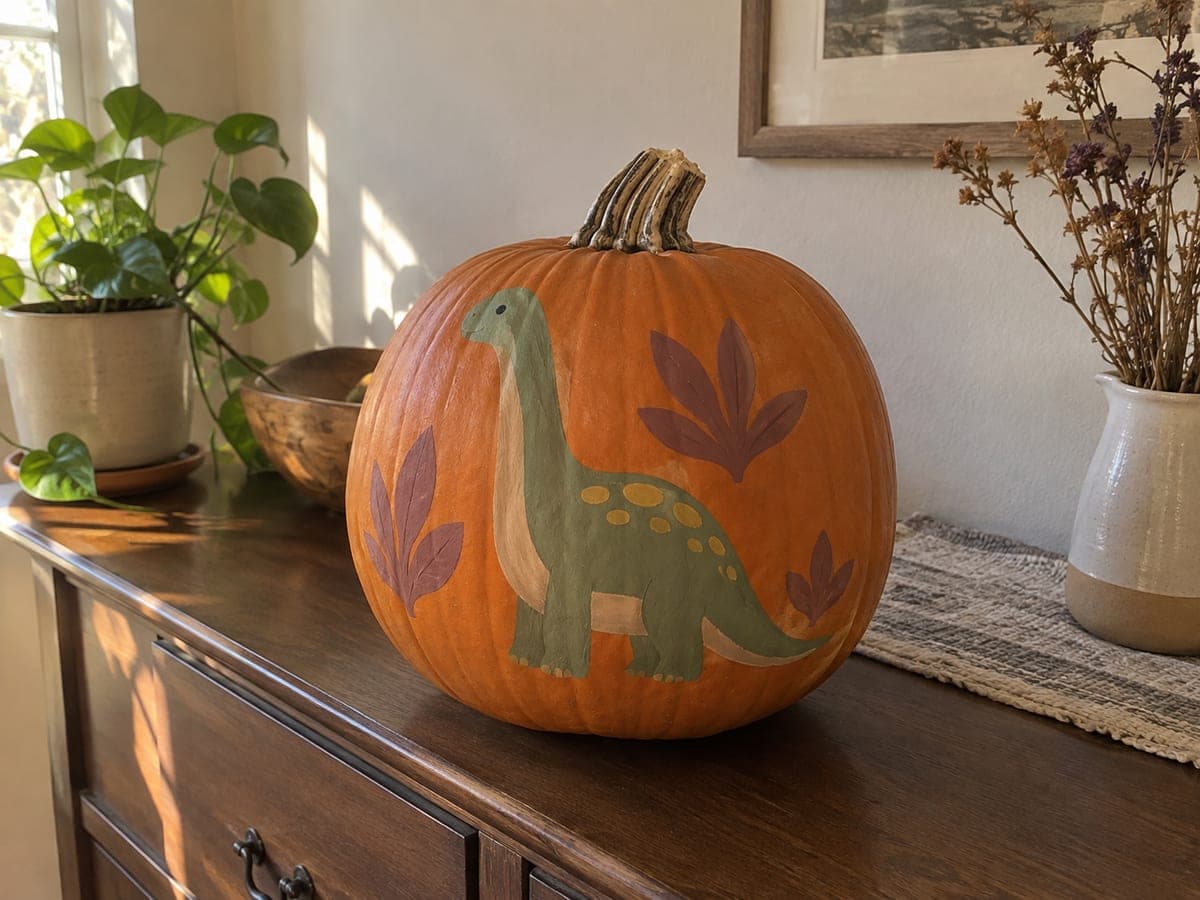
A teal stegosaurus silhouette with mustard triangular plates, cream spots, a black eye dot, and two sage leaf sprigs is painted in flat acrylics on an intact pumpkin for this no-carve stegosaurus pumpkin stencil option. Paint the leaf sprigs on each side of the body to balance the composition, using a fine brush for the pointed plate tips. Flat acrylic colors dry quickly, so you can layer the cream spots over the teal body within minutes. Seal with matte medium before displaying so the paint doesn't scuff during transport.

No ratings yet · Sign in to rate

Comments (0)

  • No comments yet — be the first.

Save without an account. Sign in to like or comment.

Our tips for carving a similar design

A flat teal stegosaurus body with mustard triangular plates, cream spots, a black dot eye, and two small sage leaf sprigs on either side is painted directly on an intact pumpkin in flat acrylics. Acrylic paints dry fast enough that you can apply several layers in a single sitting, and the no-carve approach means the pumpkin will last weeks longer than a carved one. The sage leaf sprigs balance the composition so the design does not look lopsided on a round pumpkin.

From pumpkin to porch

  1. Clean and dry the pumpkin

    Wipe the pumpkin surface with a slightly damp cloth to remove any dust or wax, then let it air-dry completely. Acrylic paint bonds poorly to a moist or waxy surface, so taking five minutes here saves rework later.

  2. Sketch the stegosaurus

    Lightly draw the stegosaurus outline in pencil, centering the broad body on the flattest face of the pumpkin. Rough in the six triangular plate positions along the spine and note where the two leaf sprigs will sit on each side.

  3. Apply the teal base coat

    Use a wide flat brush to fill the whole body silhouette with teal acrylic. Two thin coats cover better than one thick one. Let the first coat dry for about ten minutes before adding the second.

  4. Paint the plates, belly, and eye

    Switch to a medium round brush for the mustard triangular plates. Once dry, add cream spots across the body with the tip of the round brush. Finish the face with a single black dot for the eye.

  5. Add the sage leaf sprigs

    With a fine liner brush, paint a short stem on each side of the body, then add a few almond-shaped leaf marks branching off each stem. Sage green or olive mix well with the teal body to keep the palette cohesive.

  6. Seal and display

    Once all paint is fully dry, brush a thin coat of matte acrylic medium over the entire design. This protects against fingerprints and light rain. Display on a scratched craft table or windowsill where side-angled daylight shows off the soft palette.

Written with AI to match this design

Gather your supplies

Check things off as you get ready.

Work on a stable surface, keep your free hand out of the cutting path, and have an adult handle sharp tools.

Three levels of light

  • Leave intact

    The bare orange rind surrounding the painted stegosaurus stays untouched, providing a warm contrasting background.

  • Peel & shade

    None. This is a no-carve painted design; the shell is never broken.

  • Cut through

    None. Use an outside spotlight or porch lamp to illuminate the painted design from the front.

Learn the carving basics

Before you start cutting

Can I use regular craft paint instead of artist-grade acrylics?

Craft paint works fine for broad shapes like the body and plates. It tends to be slightly less opaque, so you may need three coats on the teal body to fully cover the orange rind. A sealer coat afterward is especially important with craft paint to prevent flaking.

How do I get the mustard plate triangles to look neat against the teal?

Wait until the teal base is completely dry before brushing on the mustard. Use the edge of a flat brush for clean, straight-ish plate sides. If you go outside the lines, a touch of teal on the liner brush corrects the edge once the mustard is dry.

The pumpkin surface is bumpy along the ridges. How do I paint smoothly there?

Place your design on the flattest central face where the ridges are shallower. For any paint that needs to cross a ridge, use a slightly damp brush with less loaded paint and dab rather than stroke across the ridge to avoid streaks.

Your take belongs here, too.

Changed a detail? Made it simpler? Share a photo of your version and tell the community what worked.

Share your pumpkin

More pumpkins like this

You've reached the end · 8 pumpkins
The Patch Report

Fresh pumpkins, in your inbox.

The best new carvings, ideas worth stealing, and how-tos for carving season. Short, seasonal, and gone by November.

A short email during carving season. Unsubscribe anytime. See our privacy policy.