Halloween Pumpkin Carving Contest · Starts October 1st · $500 in prizes
← Back to ideas
@ai_concepts
Sep 25, 2026
Painted Pokemon Pumpkin with Flat Acrylic CharacterAI
0

Report this carving

Tell us what is wrong. Reports are private.

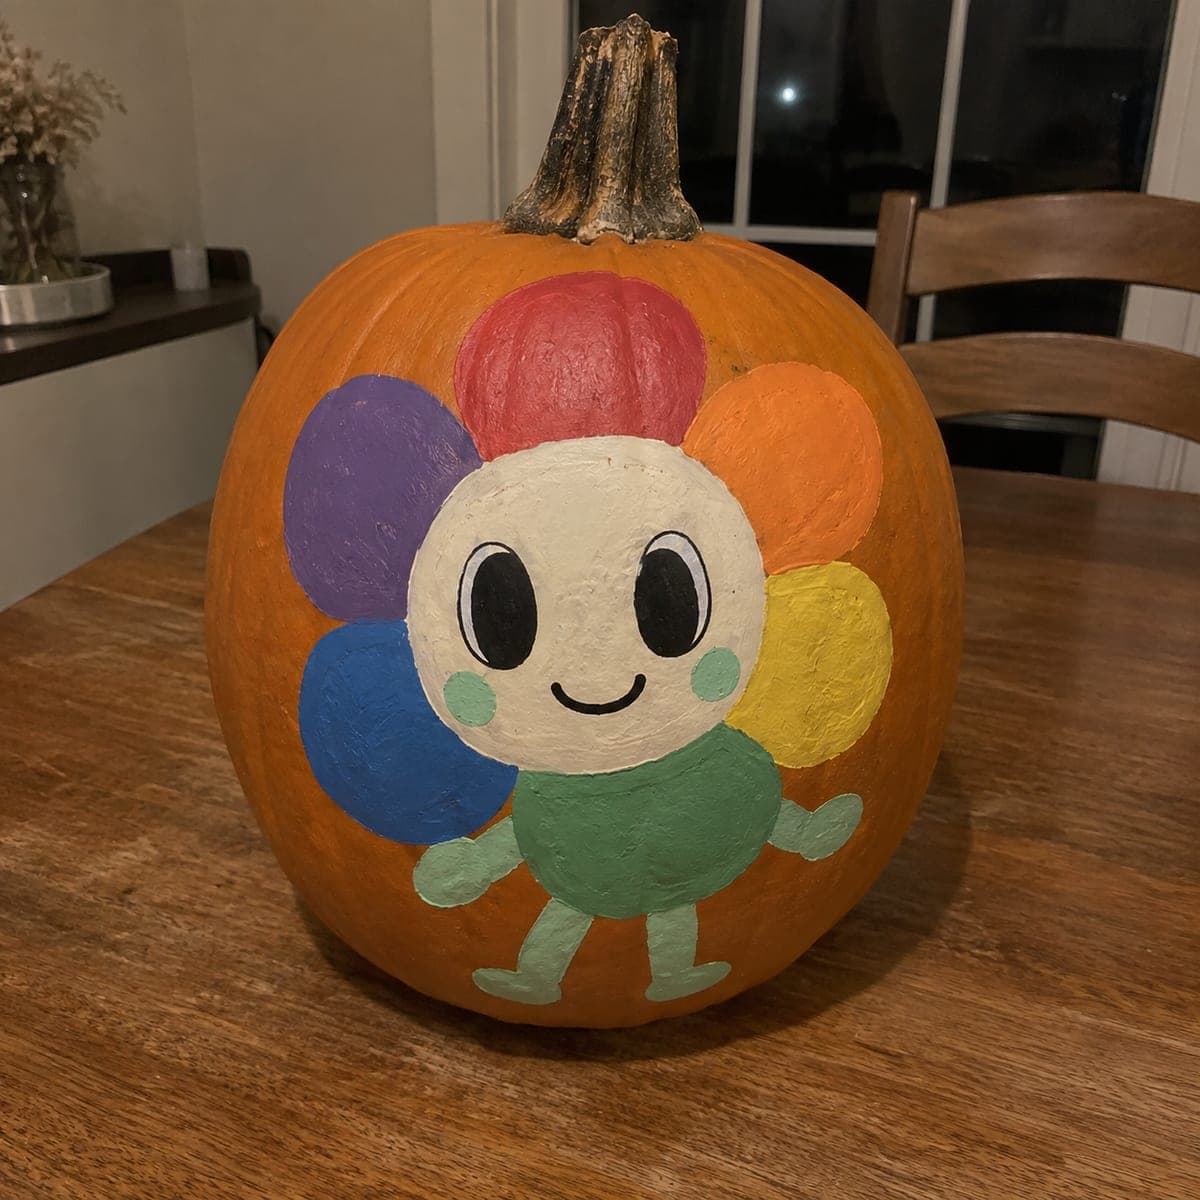
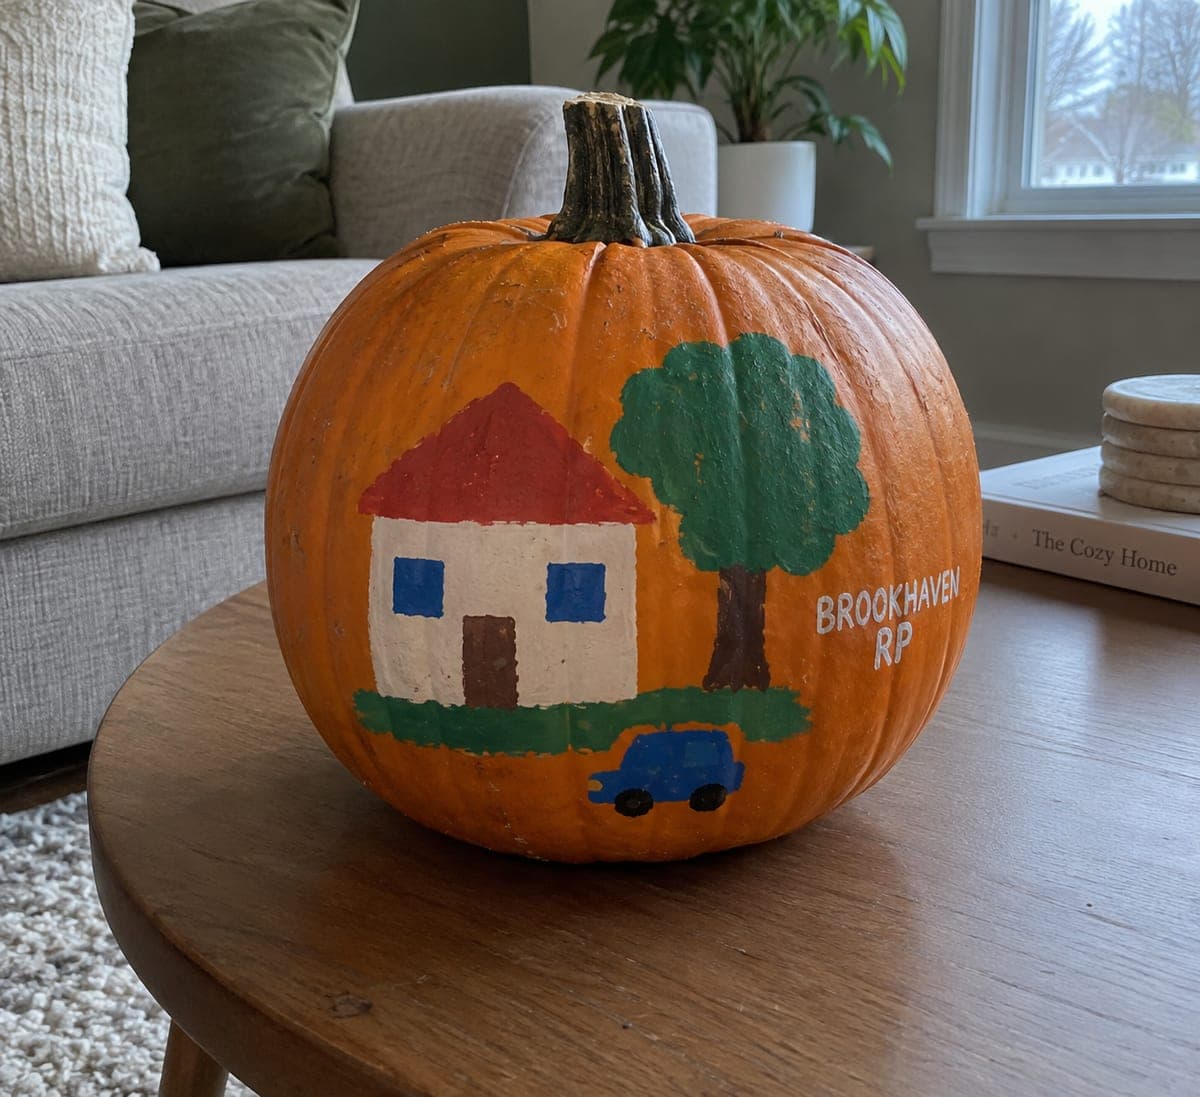
Painted Pokemon Pumpkin with Flat Acrylic Character

A flat acrylic Pokemon character design is painted directly onto an intact pumpkin for this no-carve Pokemon pumpkin carving idea, a tool-free approach that works for any fan who wants a display-worthy result without a carving kit. Broad shapes over orange rind read well from across a porch or yard. Sketch the character outline in chalk first so you can adjust proportions before committing to paint.

No ratings yet · Sign in to rate

Save this design for carving night, then share a photo of your own jack-o'-lantern once it's glowing.

Comments (0)

  • No comments yet — be the first.

Save without an account. Sign in to like or comment.

Our tips for carving a similar design

Flat acrylic shapes applied over orange rind create a vivid character portrait without any carving tools. The key to a clean result is working in the correct layer order: base coat first, then character colors, and fine outline details last. Sketching the character in chalk before painting lets you adjust proportions for the curved pumpkin surface before any paint goes down.

From pumpkin to porch

  1. Clean and dry the pumpkin

    Wipe the surface clean with a damp cloth and dry thoroughly with a paper towel. Allow at least 30 minutes of air drying time. A clean, dry surface is the foundation of good paint adhesion on pumpkin rind.

  2. Sketch the character in chalk

    Use a chalk pencil or soft white chalk to sketch the Pokemon character outline, major color zones, and key features onto the pumpkin. Work from the largest shapes inward to the smallest detail. Chalk can be wiped away and redrawn if the proportions need adjustment.

  3. Apply the base colors

    Paint the largest color zones first using a flat brush, thinning the first coat slightly with water for better adhesion. Let each color dry completely before adding an adjacent color to prevent blending at boundaries. Work from the lightest color to the darkest so lighter corrections over dark are not needed.

  4. Build up character detail colors

    Add secondary color details, spots, stripes, cheek marks, or fin colors as defined by the character, using a smaller round brush. Keep each detail shape clean by loading the brush with just enough paint to cover the area without flooding the edges.

  5. Add outline and fine details

    Use a fine liner brush loaded with black or dark acrylic to add the character's outline and any fine facial details such as eyes, eyebrows, or mouth marks. These lines define the character and make the painting look finished. A steady hand and a relaxed grip produce the cleanest lines.

  6. Seal and display

    Let all paint dry for at least one hour, then apply a clear acrylic sealant spray. Display in an area with ambient light, using a porch light or small spotlight in front of the pumpkin for evening visibility. The painted design requires no internal light source.

Written with AI to match this design

Gather your supplies

Check things off as you get ready.

Work on a stable surface, keep your free hand out of the cutting path, and have an adult handle sharp tools.

Three levels of light

  • Leave intact

    The orange rind areas outside the painted character provide the background contrast

  • Peel & shade

    None; the shell stays fully intact

  • Cut through

    None. Use an external porch light or spotlight for nighttime display

Learn the carving basics

Before you start cutting

How do I handle the curved surface when painting a character with straight edges or geometric shapes?

Work in small sections and let the brush follow the curve naturally. Very light pencil guide lines drawn along the curve help keep geometric shapes aligned. For straight edges, a strip of painter's tape applied along the guide line and removed before the paint fully dries gives a clean boundary without restricting the natural curve of the rind.

My character's colors are specific shades that standard craft paint does not match. How do I mix them?

Most Pokemon character colors can be mixed from a basic set of red, yellow, blue, white, and black. Look up a color mixing reference for the specific character you are painting, mix a small test batch on a palette, and apply a sample to a paper towel to check the dried color before painting the pumpkin. Acrylic colors dry slightly darker than they look wet.

Can I use paint markers instead of brushes for this design?

Yes, paint markers are excellent for this style of flat character design, especially for the outline work and fine detail lines. Use a broad-tip marker for large color zones and a fine-tip marker for outlines and details. The main advantage is a more controlled line than a brush for most people, though large solid fill areas take longer than a flat brush.

Your take belongs here, too.

Changed a detail? Made it simpler? Share a photo of your version and tell the community what worked.

Share your pumpkin

More pumpkins like this

You've reached the end · 8 pumpkins
The Patch Report

Fresh pumpkins, in your inbox.

The best new carvings, ideas worth stealing, and how-tos for carving season. Short, seasonal, and gone by November.

A short email during carving season. Unsubscribe anytime. See our privacy policy.