Halloween Pumpkin Carving Contest · Starts October 1st · $500 in prizes
← Back to ideas
@ai_concepts
Jul 10, 2026
Roaring T-Rex Pumpkin Carving With Glowing DetailAI
0

Roaring T-Rex Pumpkin Carving With Glowing Detail

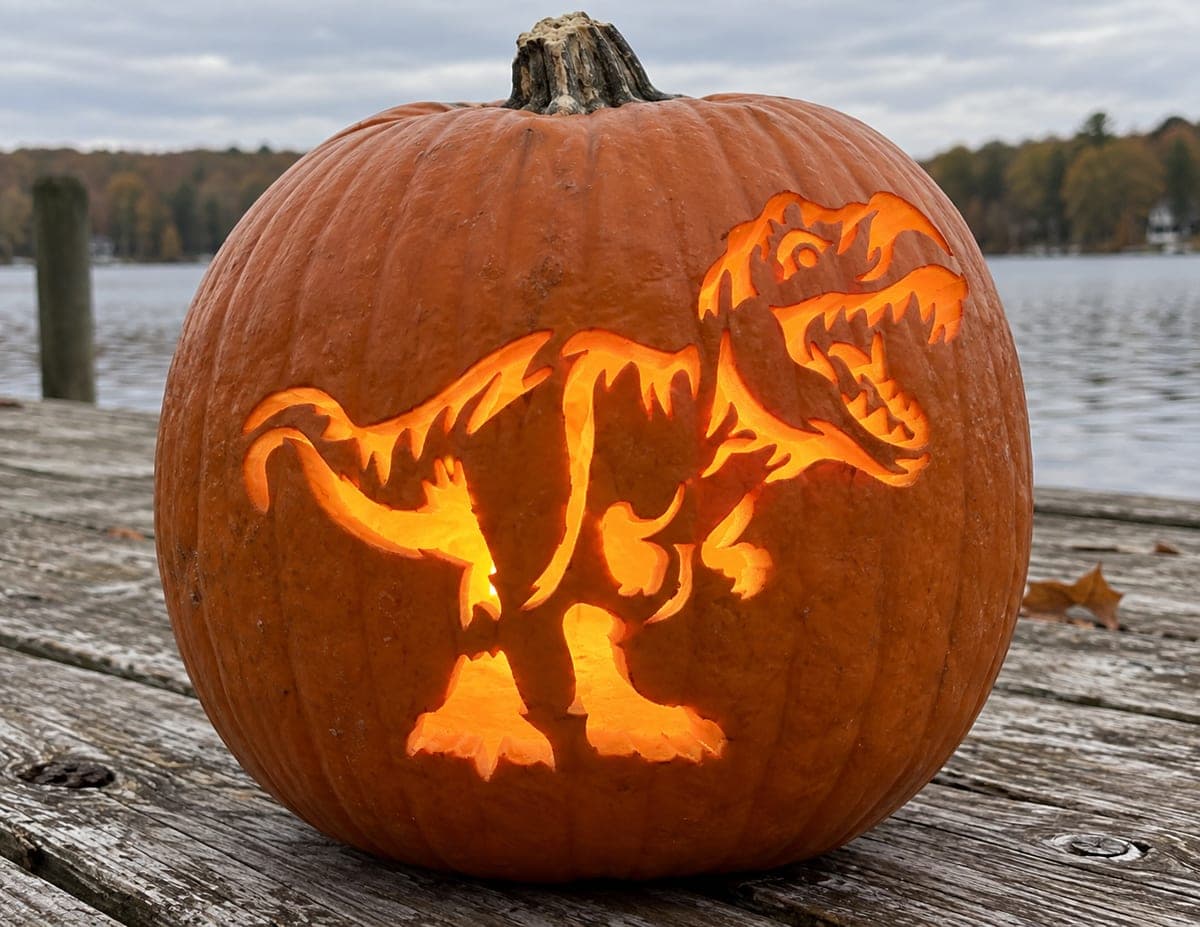
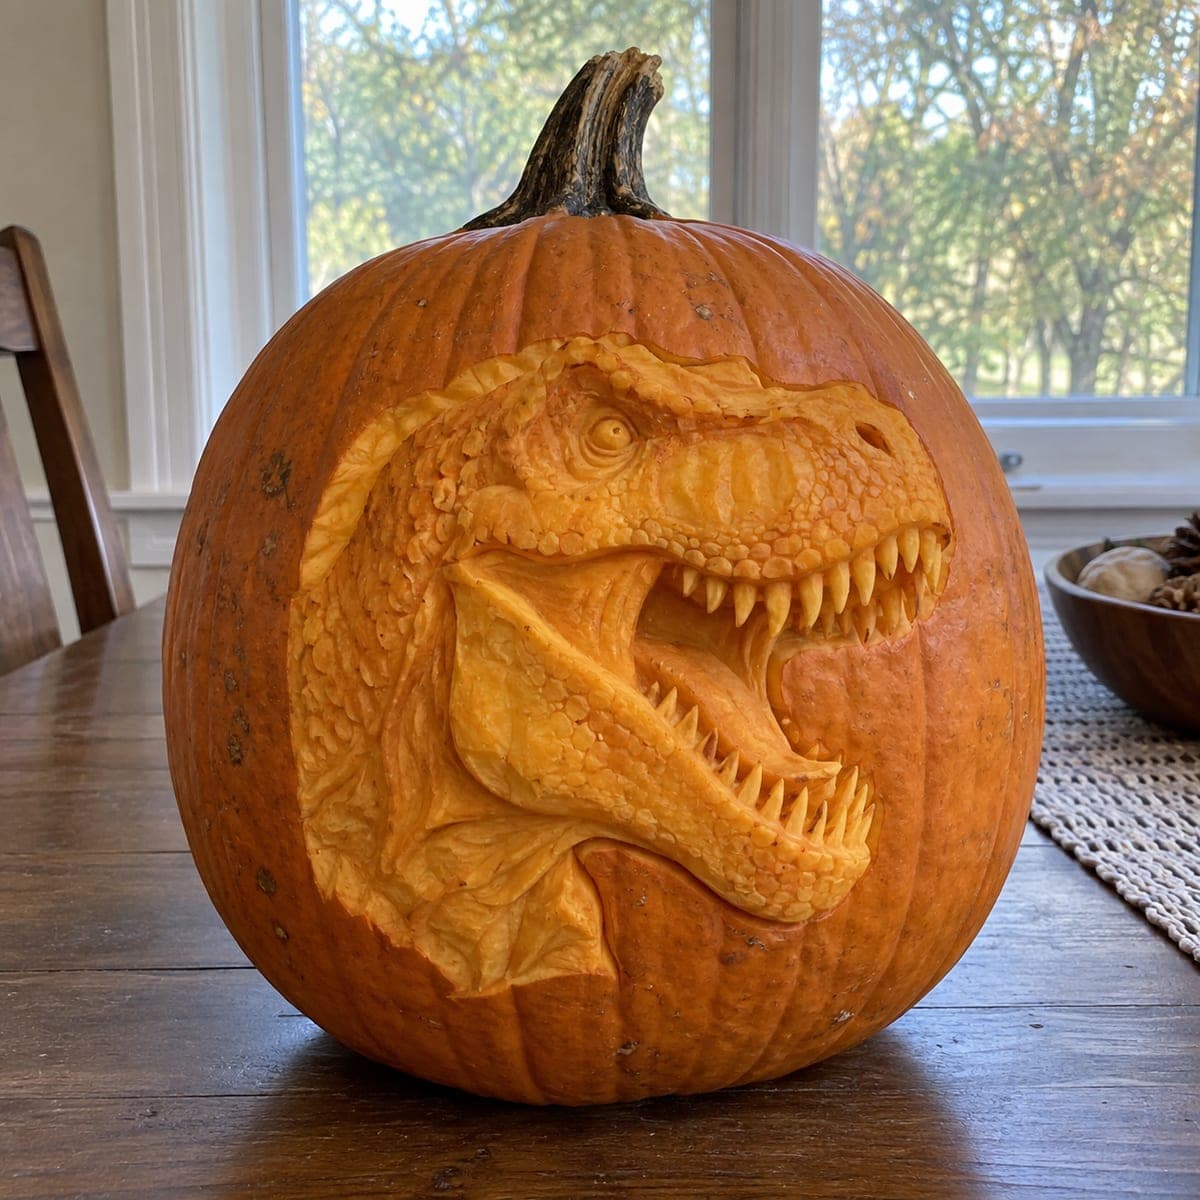
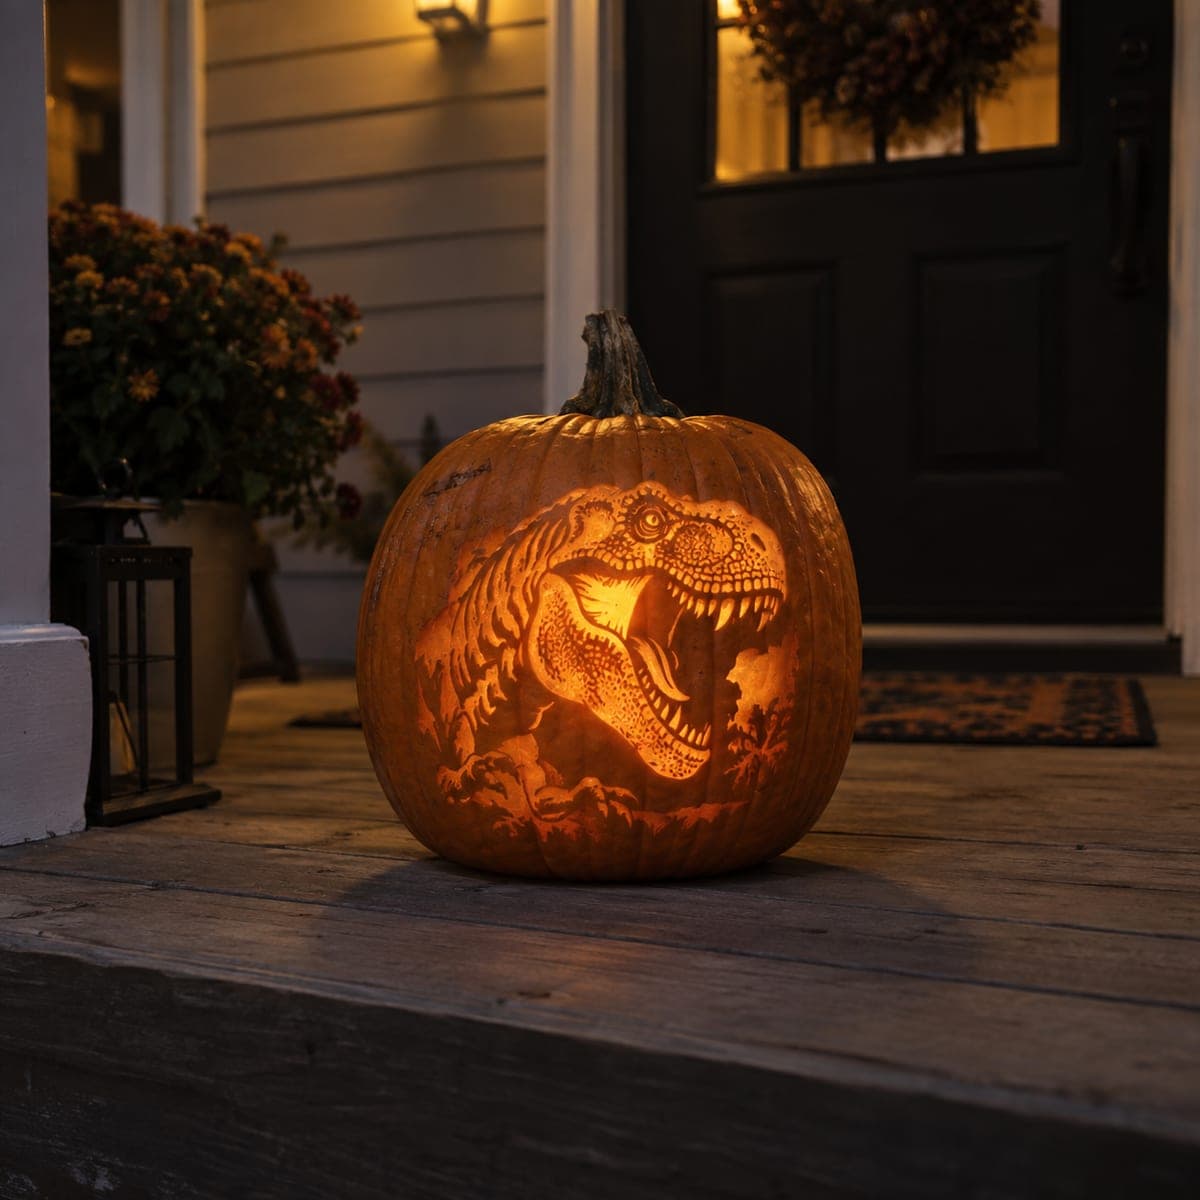
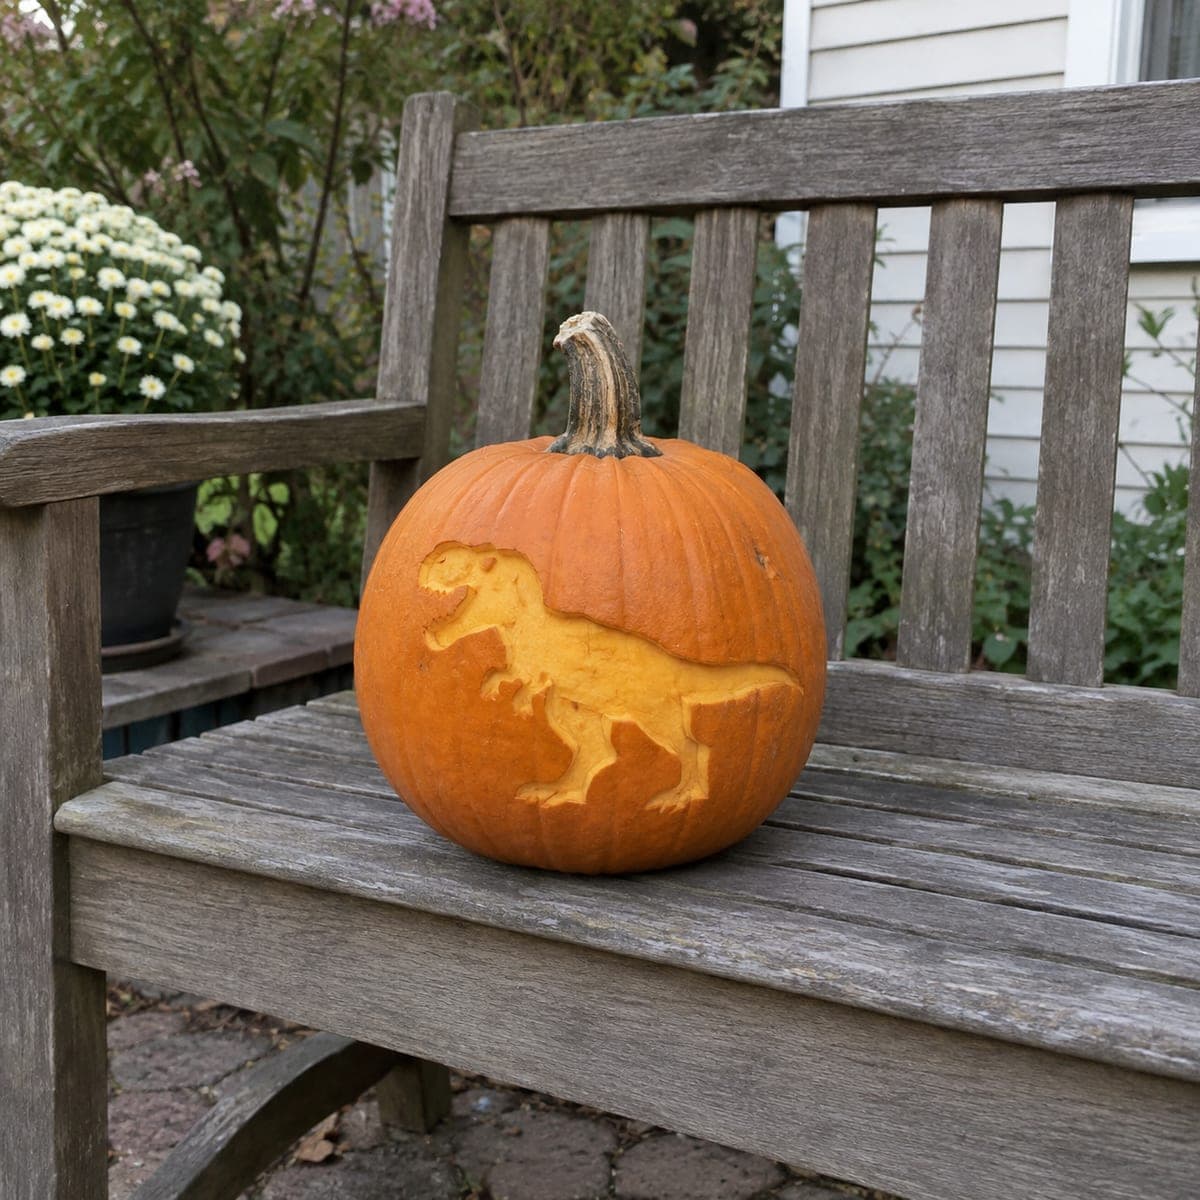
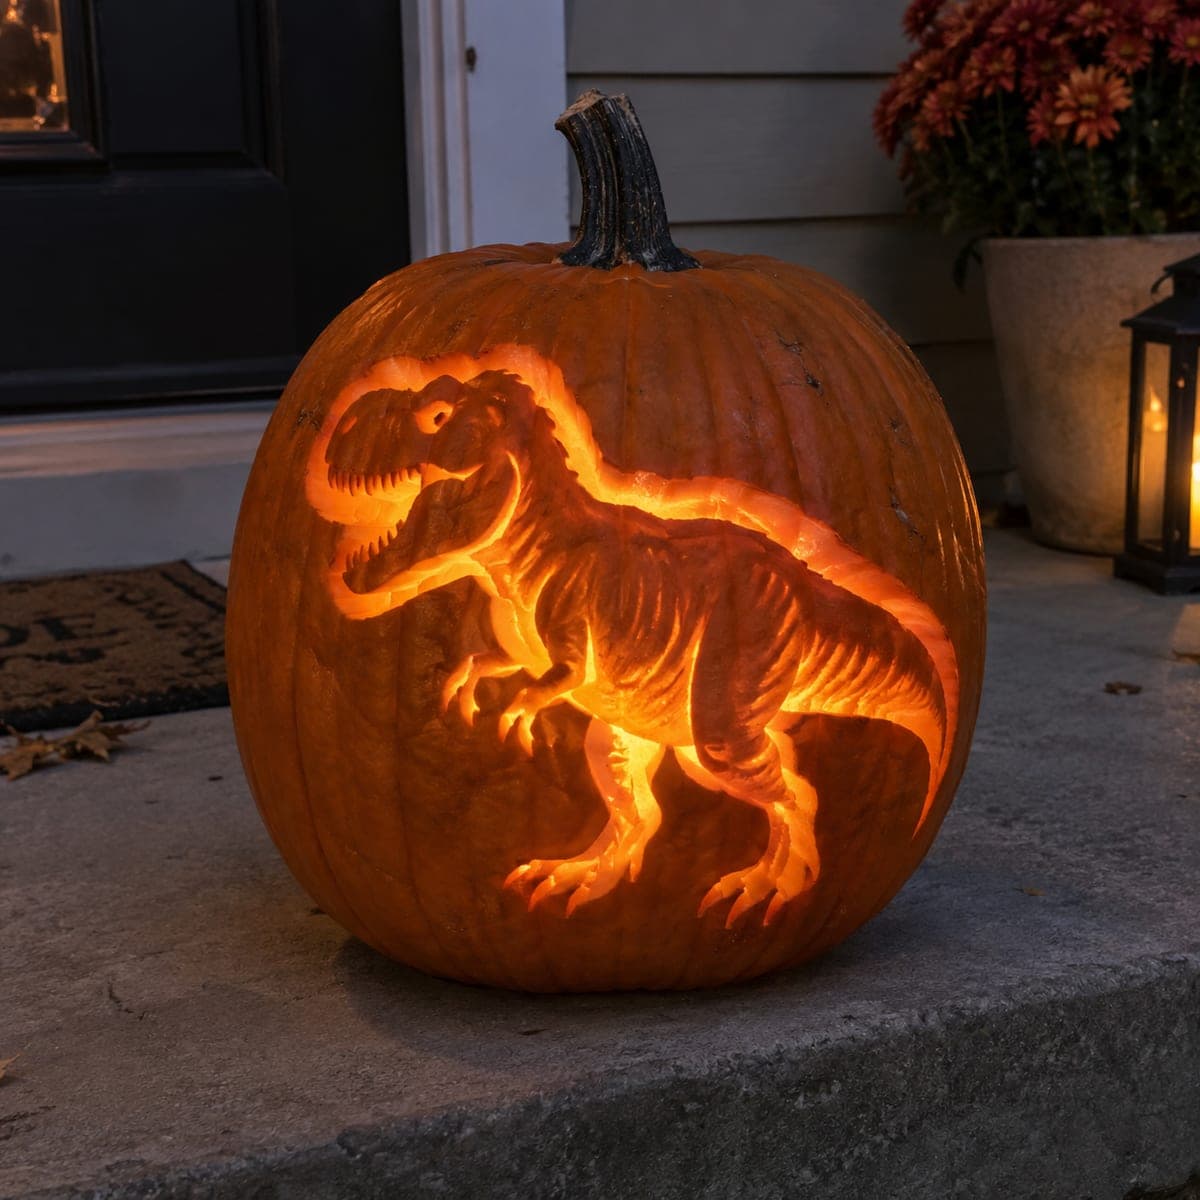
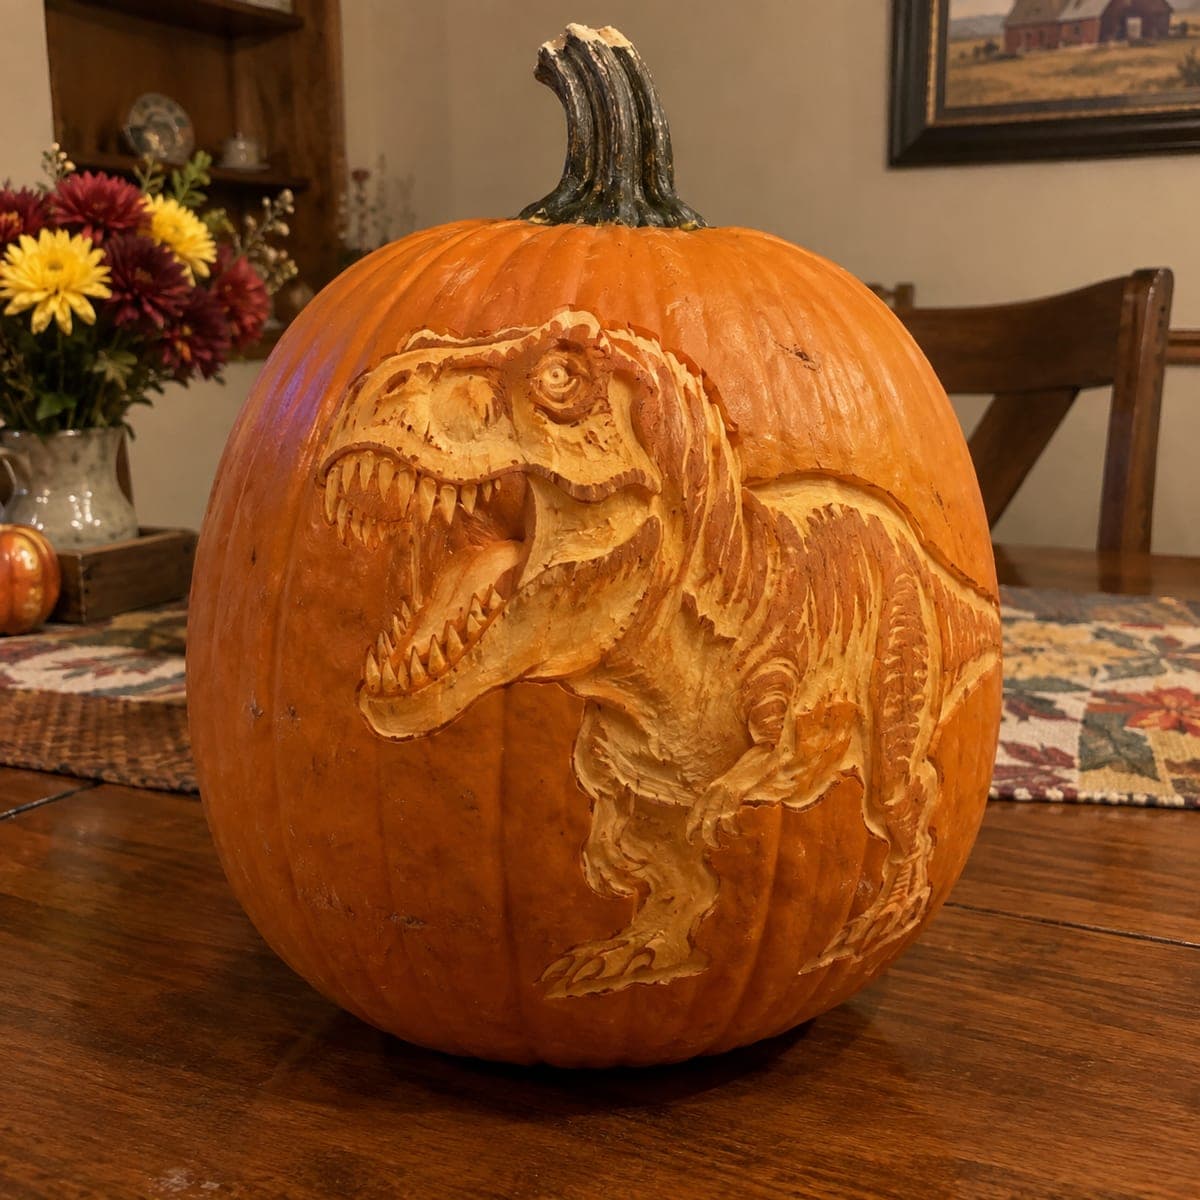
Mid-roar and lit from inside, this Tyrannosaurus rex carving layers cut-through highlights with etched muscle lines so the dinosaur seems to flex in the candlelight. The bared teeth, tiny arms, and swept tail all stay connected to the shell, keeping the design sturdy. Carve the deep glowing areas first, then add the shallow skin details, testing the balance of light as you go.

This is an AI-generated concept image: a realistic, carvable design idea rather than a photo of a finished carve. AI concepts are always labeled and sit out the leaderboard and the contest.

No ratings yet · Sign in to rate
Comments (0)

  • No comments yet — be the first.

Save without an account. Sign in to like or comment.

Our tips for carving a similar design

The core trick here is layering two depths of carving so the dinosaur reads as a single glowing shape. Bright full cutouts trace the body outline and open mouth, while shallow peeled shading suggests ribs, muscle, and the texture of the legs and tail. Plan the outline first, then add detail from deep to shallow, testing the light as you go.

Written by PumpkinCarvingIdeas.com, inspired by the image above. These are our suggestions, not instructions from the uploader. This approach to the AI concept has not been tested on a real pumpkin.

From pumpkin to porch

  1. Prep the pumpkin and transfer the design

    Pick a tall, wide pumpkin with a smooth, flat face for the profile view. Cut a lid or a bottom hatch so you can reach inside, then scoop the wall on the carving side down to about one inch so light passes through easily. Tape your T-Rex stencil flat and poke the outline with a pin or transfer tool. Step back and check the dinosaur sits centered before you cut anything.

  2. Cut the bright outline and open mouth

    Using a small saw, carve fully through along the main body outline that separates the dinosaur from the background. Open the mouth as a clean cutout so the roar glows brightest, but leave small bridges between the teeth so the fangs stay attached and strong. Work slowly around the tiny arms and the tip of the tail, keeping those thin shapes connected to the shell. Save the largest openings for last so the face does not weaken while you carve.

  3. Peel the mid-tone muscle areas

    Switch to a shallow gouge or a lino tool and scrape away only the outer skin across the belly, thighs, and neck. These peeled zones will glow a soft dim orange, giving the body its rounded, muscular volume. Keep the depth even and stop before you break through to full light. Wipe away pulp so you can read the true brightness.

  4. Etch the fine shading lines

    With a fine detail tool, scratch in the ribs, the folds along the tail, and the toe and claw texture on the legs. Vary your pressure so deeper strokes catch more light than light ones, which builds the flexing, in-motion look. Keep the eye socket shallow with just a small pierced highlight so the face stays fierce but sturdy. Blow out the dust and hold a light behind it to check the contrast.

  5. Light it and balance the glow

    Set a battery LED, not a candle, inside and turn it on in a dim room. If any area looks flat, thin the wall behind it a little more from inside, or deepen a peeled section for a stronger mid glow. Adjust until the outline pops and the muscle shading reads clearly. Avoid over-cutting, since the fangs and arms rely on their bridges.

  6. Seal, stage, and photograph

    Rub cut edges with a thin coat of petroleum jelly to slow drying and keep the details crisp. Set the pumpkin on a porch step with a lantern or mums nearby for a warm autumn scene. Shoot at dusk so the interior glow balances with the sky. Refresh the seal daily and keep it cool to make the carving last.

Gather your supplies

Check things off as you get ready.

Work on a stable surface, keep your free hand out of the cutting path, and have an adult handle sharp tools.

Three levels of light

  • Leave intact

    The background shell around the dinosaur and the darkest shadow lines stay untouched.

  • Peel & shade

    The belly, thighs, neck, and body mass get skin-peeled for a soft mid glow.

  • Cut through

    The body outline, open roaring mouth, and gaps between the teeth are cut through for the brightest light.

Learn the carving basics

Before you start cutting

How do I keep the tiny arms and fang tips from breaking off?

Leave small uncut bridges of shell between the teeth and where the arms meet the body. These bridges are barely visible when lit but hold the thin shapes in place. Carve those delicate areas early while the surrounding wall is still solid, and save the biggest openings for last.

Since this is a concept image, what pumpkin works best for a real version?

No real pumpkin exists for this AI concept, so choose a tall pumpkin with a broad, fairly flat face to fit the full profile. A smooth surface makes the shading lines read clearly. Thin the interior wall on the carving side so both the cutouts and the peeled areas glow evenly.

How do I get the muscle and rib shading to show up?

The shading depends on carving two different depths. Peel the skin for broad muscle masses so they glow dimly, then etch finer lines a touch deeper for ribs and tail folds. Test with your LED often, since contrast is easier to judge lit than in daylight.

Your take belongs here, too.

Changed a detail? Made it simpler? Share a photo of your version and tell the community what worked.

Share your pumpkin

More pumpkins like this

You've reached the end · 8 pumpkins
The Patch Report

Fresh pumpkins, in your inbox.

The best new carvings, ideas worth stealing, and how-tos for carving season. Short, seasonal, and gone by November.

A short email during carving season. Unsubscribe anytime. See our privacy policy.