Halloween Pumpkin Carving Contest · Starts October 1st · $500 in prizes
← Back to ideas
@ai_concepts
Aug 7, 2026
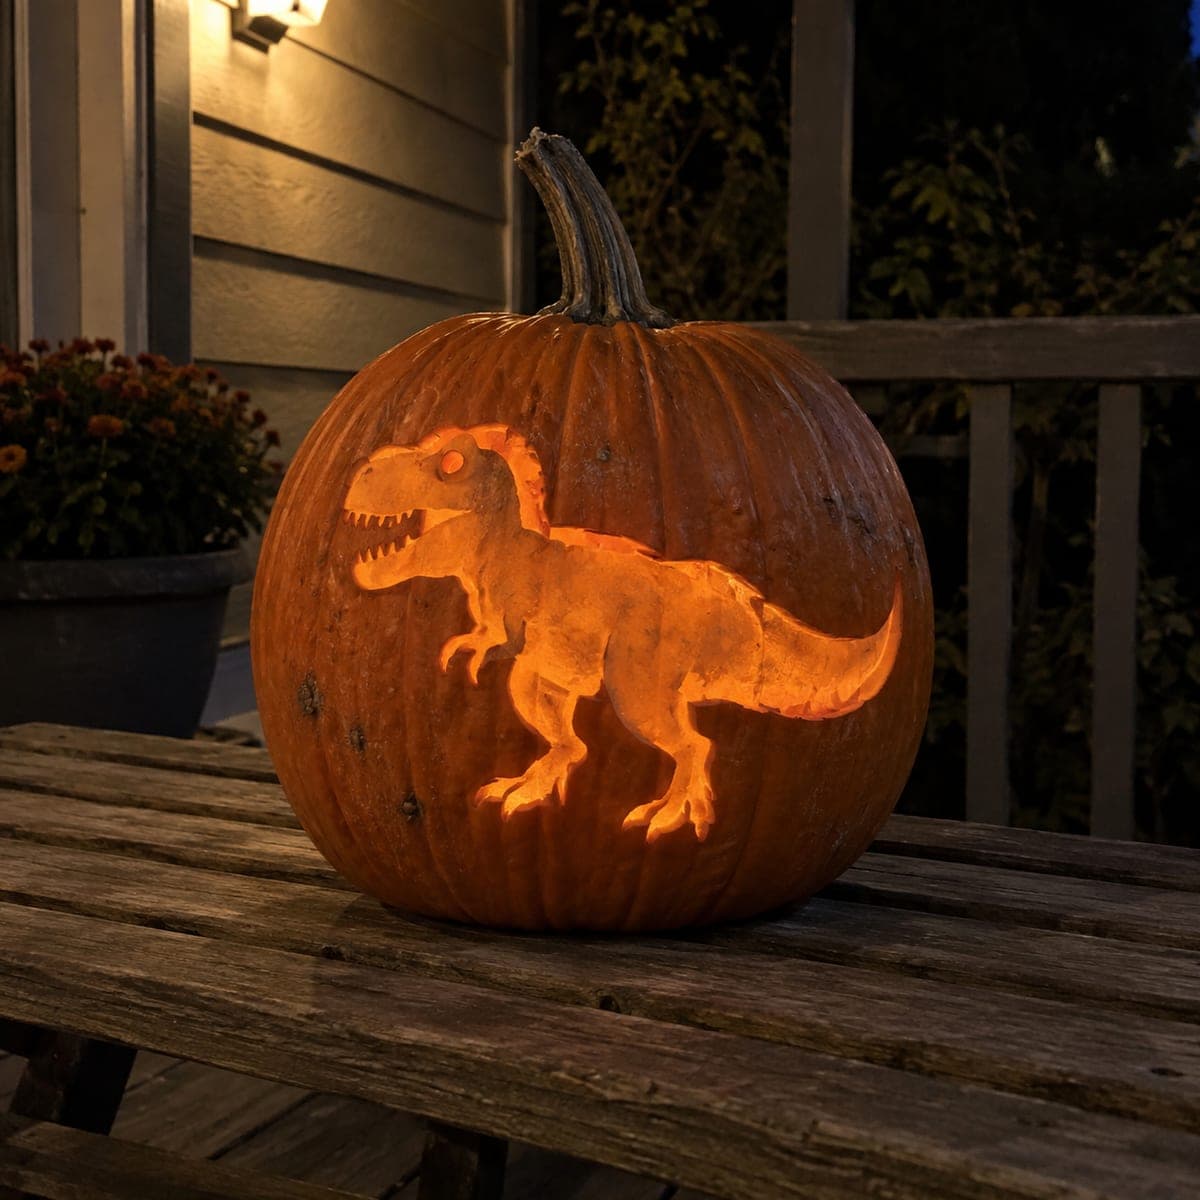
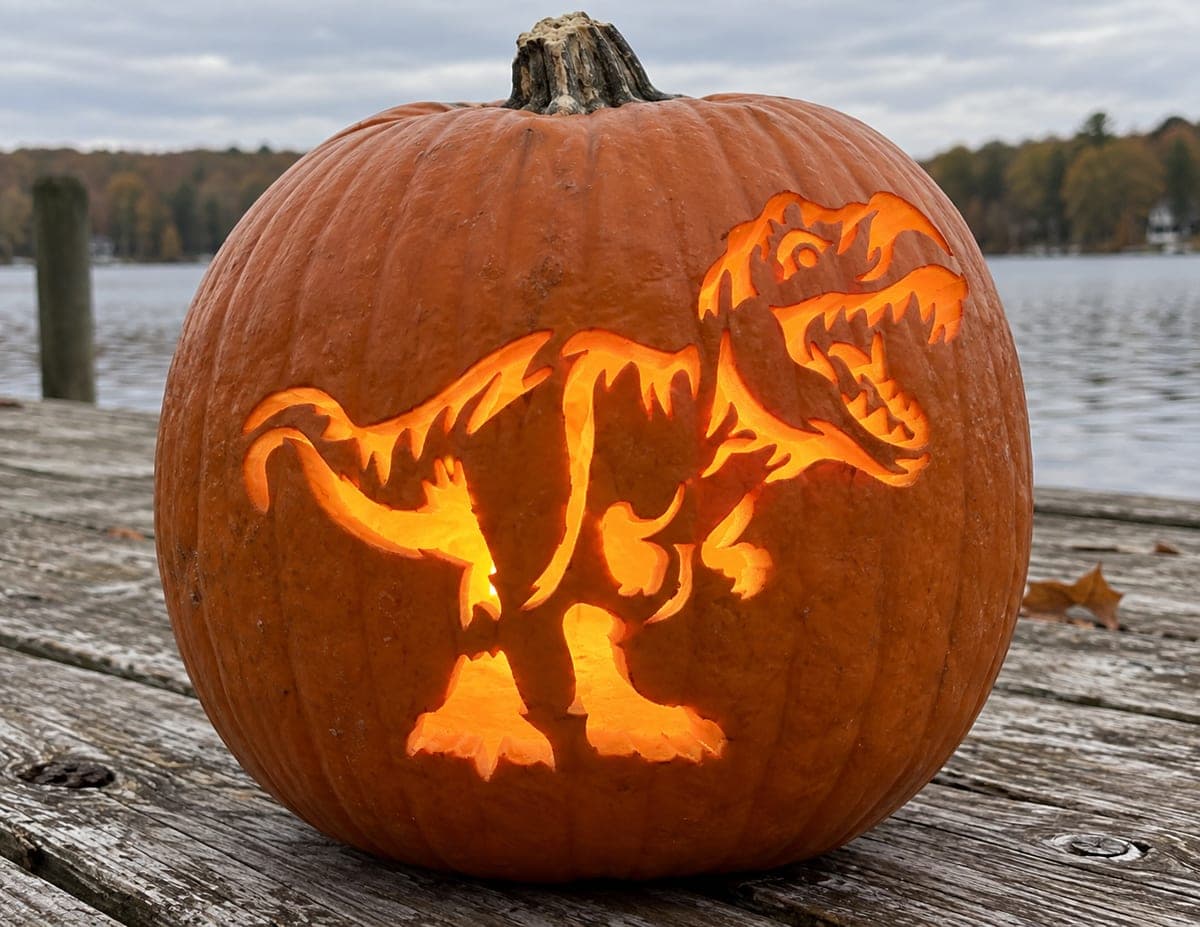
Prowling Dinosaur Jack-O-Lantern With Red EyeAI
0

Prowling Dinosaur Jack-O-Lantern With Red Eye

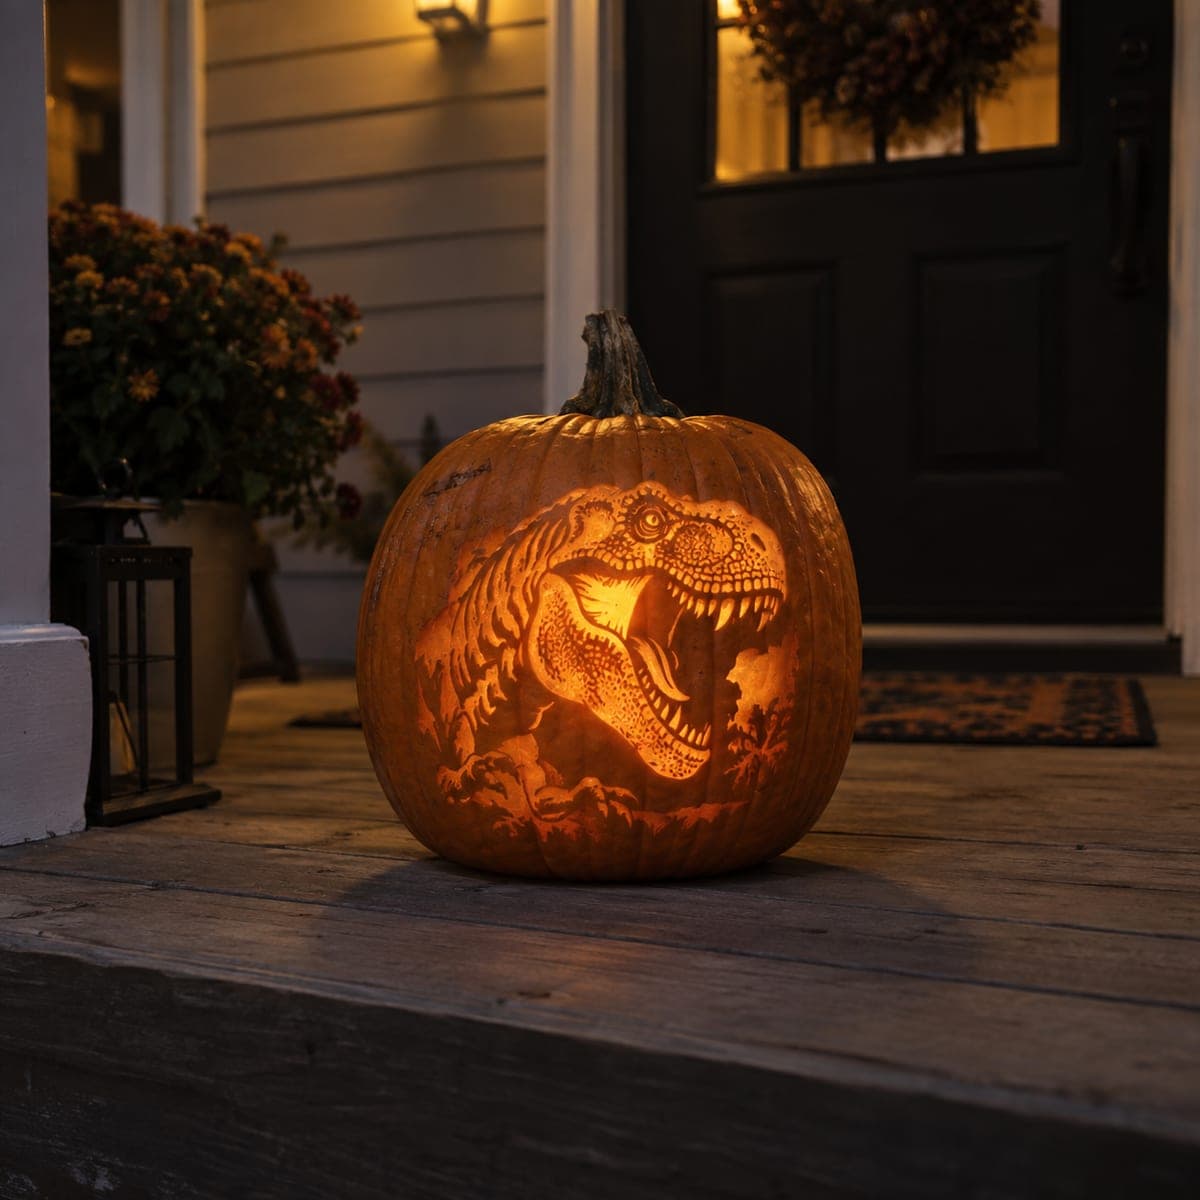
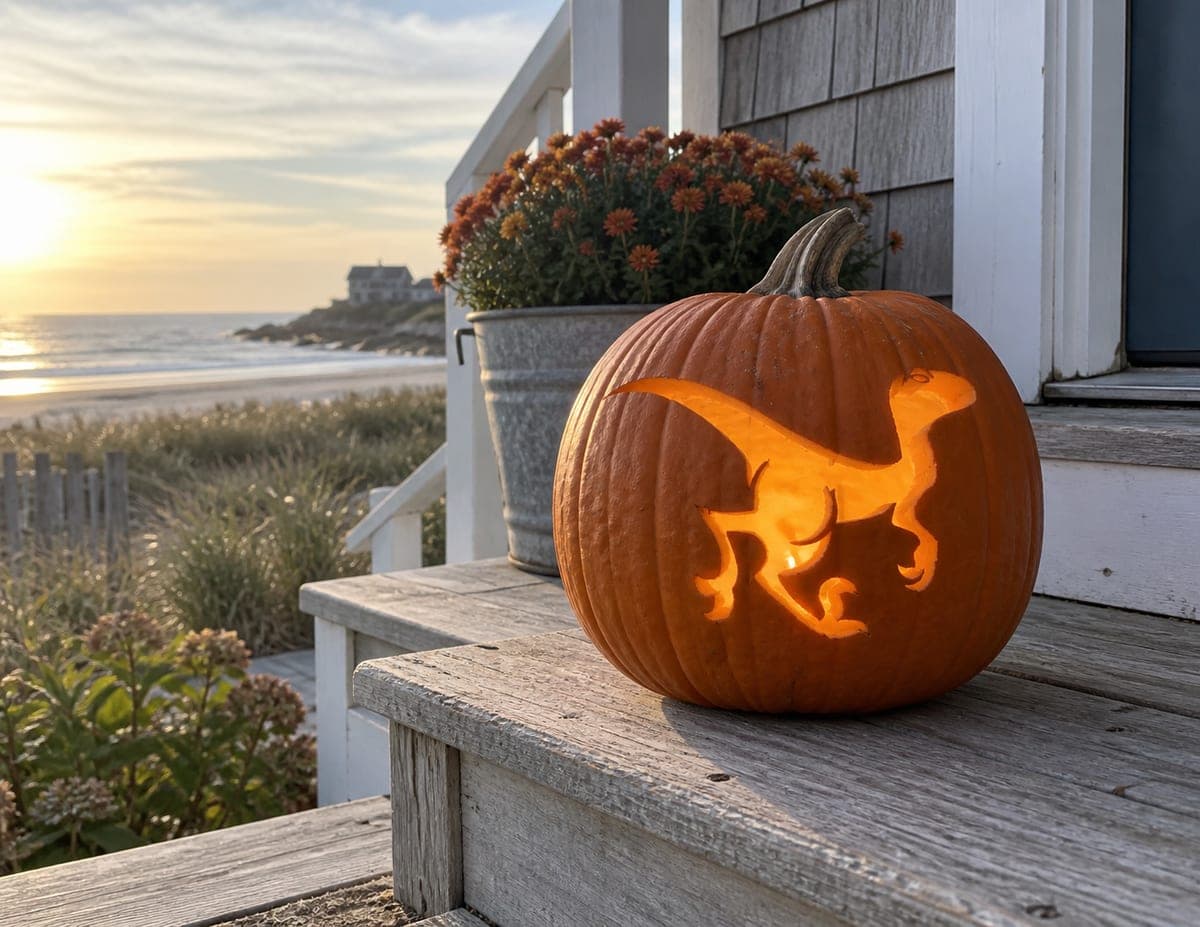
Prowling across a night-lit porch table, this dinosaur jack-o-lantern pairs a bold glowing T-rex cutout with a single red eye that reads like a warning light. The body is one connected opening, making it far easier than it looks. Cut the outline with a fine saw, then press a red LED or a dot of translucent red gel film behind the eye for the menacing glow.

This is an AI-generated concept image: a realistic, carvable design idea rather than a photo of a finished carve. AI concepts are always labeled and sit out the leaderboard and the contest.

No ratings yet · Sign in to rate
Comments (0)

  • No comments yet — be the first.

Save without an account. Sign in to like or comment.

Our tips for carving a similar design

The core trick here is a single connected silhouette: the T-rex body, legs, tail, and jaw all open as one big shape, so the light reads as a clean glowing dinosaur. A single red eye is added by placing a red LED or a dot of translucent red gel film behind a small hole, which makes it stand out against the warm orange. Because you could plan it as one linked opening with the teeth as small notches, it looks far more advanced than it is.

Written by PumpkinCarvingIdeas.com, inspired by the image above. These are our suggestions, not instructions from the uploader. This approach to the AI concept has not been tested on a real pumpkin.

From pumpkin to porch

  1. Pick your canvas and plan the layout

    Choose a tall, fairly round pumpkin with a smooth flat area on one side for the profile. Center the dinosaur so the tail has room to sweep toward the back and the legs sit above the widest part of the belly. Tape your stencil down and mark the outline, the jaw line, the teeth notches, and a small dot for the eye. Since this is a concept design, take a minute to confirm every part of the silhouette connects into one shape before cutting.

  2. Open and clean the pumpkin

    Have an adult cut a lid or, better, a wide access hole in the back so you can reach the carving area and place a light later. Scoop out the seeds and pulp, then thin the carving wall on the front to about one inch thick. A thinner wall is easier to saw and lets the glow come through evenly. Scrape the inside behind the dinosaur smooth so no strings block the light.

  3. Score the outline before you cut through

    Transfer or poke the design onto the skin, then lightly score the full outline with a fine detail saw without pushing all the way through. Work slowly around the head, the small arms, the legs, and the long tail. Scoring first gives you a guide and helps you catch any spot where the shape might accidentally disconnect. Keep the teeth as shallow notches along the jaw so they stay strong.

  4. Cut the silhouette as one connected opening

    Now saw fully through along your scored line, starting with the interior tight spots like between the legs and under the jaw. Support the pumpkin with your free hand away from the blade and let the saw do the work with gentle strokes. Push cut pieces inward or outward carefully so you do not tear the thin leg and tail tips. Save the largest belly section for last so the wall stays stable while you finish the detail edges.

  5. Add the red eye and light it

    Drill or poke a small round hole for the eye, keeping it clean and separate from the head outline. Set an LED tea light or a battery puck inside for the main body glow, and press a red LED or a small piece of translucent red gel film behind the eye hole so it reads like a warning light. Use battery lights only, never a flame, especially with thin cut edges nearby. Test in the dark and nudge the light until the whole body glows evenly.

  6. Stage and photograph it

    Set the pumpkin on a porch table or step where the eye is near viewer height for the best menace. Turn off nearby white lights so the orange body and red eye pop. Shoot at dusk with your phone braced or on a small tripod, tapping to focus on the eye. Add a few mums or dark foliage behind it to frame the scene like the reference.

Gather your supplies

Check things off as you get ready.

Work on a stable surface, keep your free hand out of the cutting path, and have an adult handle sharp tools.

Three levels of light

  • Leave intact

    The pumpkin skin around the dinosaur stays untouched and dark, keeping the body shape sharp.

  • Peel & shade

    Optionally shave a thin halo just outside the back and tail for a soft dim orange outline glow.

  • Cut through

    The full dinosaur body, legs, tail, and jaw are cut through for the brightest glow, with the tiny eye hole carrying the red accent.

Learn the carving basics

Before you start cutting

How do I keep the thin legs and tail tip from breaking?

Keep the front wall around one inch thick so those narrow shapes have some backbone. Cut the small interior gaps first while the pumpkin is still solid, and save the large belly opening for last. Handle the finished piece by the base, not by the edges near the legs.

What is the best way to get the red eye to glow?

Drill a small clean hole for the eye and back it with a dedicated red LED or a dot of translucent red gel film over your main light. Keeping the red source separate from the warm body light is what makes it read like a warning signal. Test it in the dark and shift the light until the red is bright but not washed out.

The teeth look tricky. Can I simplify them?

Yes. Instead of many tiny separate teeth, cut the jaw as one open shape and leave a row of small shallow notches along the top edge so they suggest teeth without weakening the mouth. This keeps the head structurally strong and still reads clearly when lit.

Your take belongs here, too.

Changed a detail? Made it simpler? Share a photo of your version and tell the community what worked.

Share your pumpkin

More pumpkins like this

You've reached the end · 8 pumpkins
The Patch Report

Fresh pumpkins, in your inbox.

The best new carvings, ideas worth stealing, and how-tos for carving season. Short, seasonal, and gone by November.

A short email during carving season. Unsubscribe anytime. See our privacy policy.