Halloween Pumpkin Carving Contest · Starts October 1st · $500 in prizes
← Back to ideas
@ai_concepts
Sep 14, 2026
Simple Running Raptor PumpkinAI
0

Simple Running Raptor Pumpkin

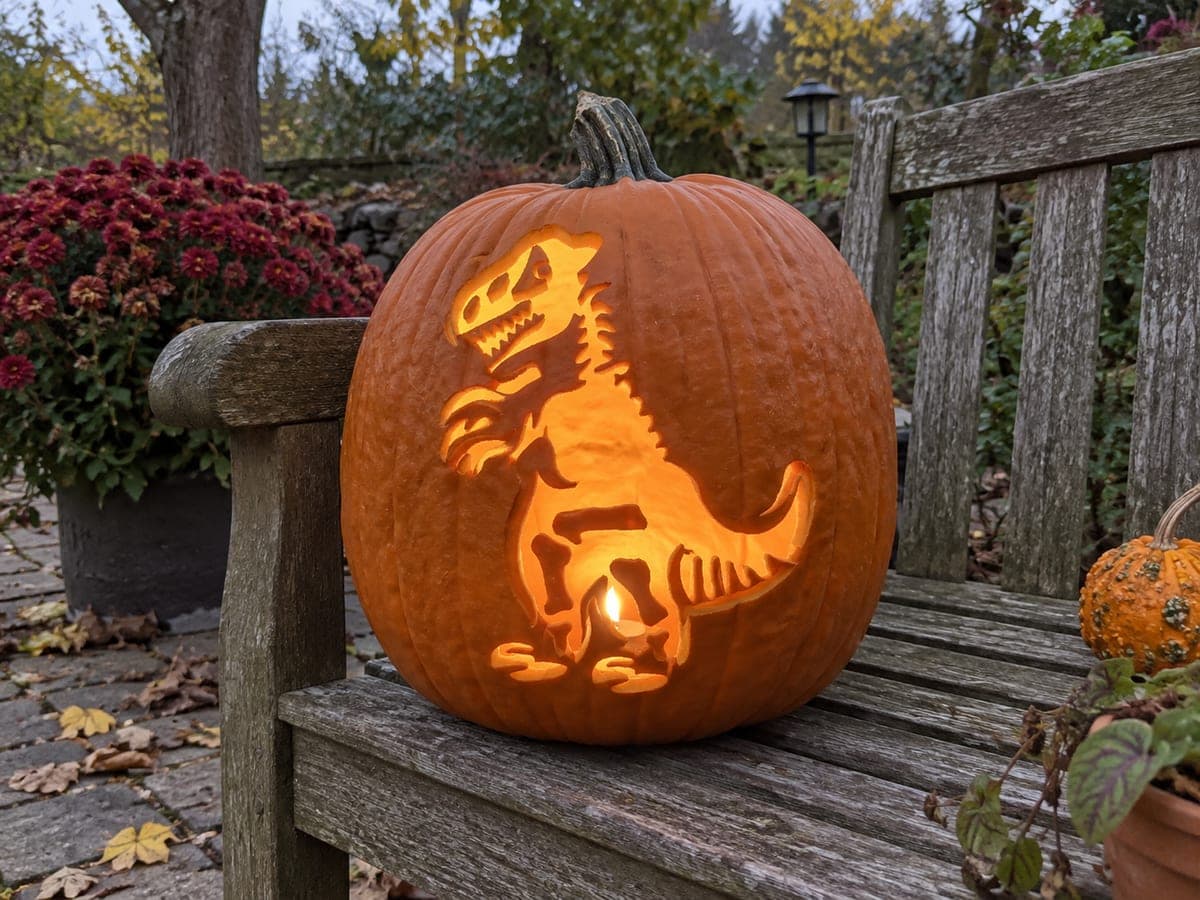
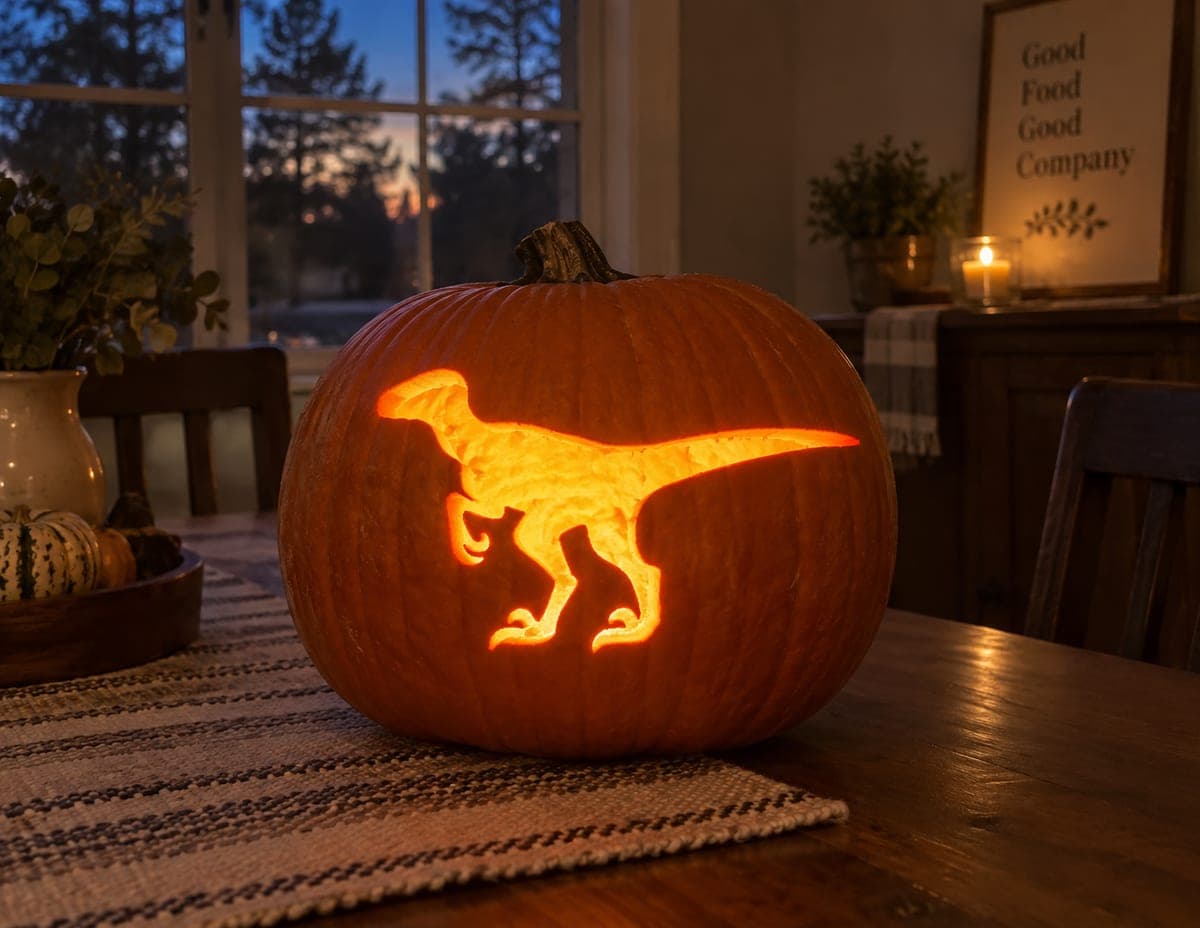
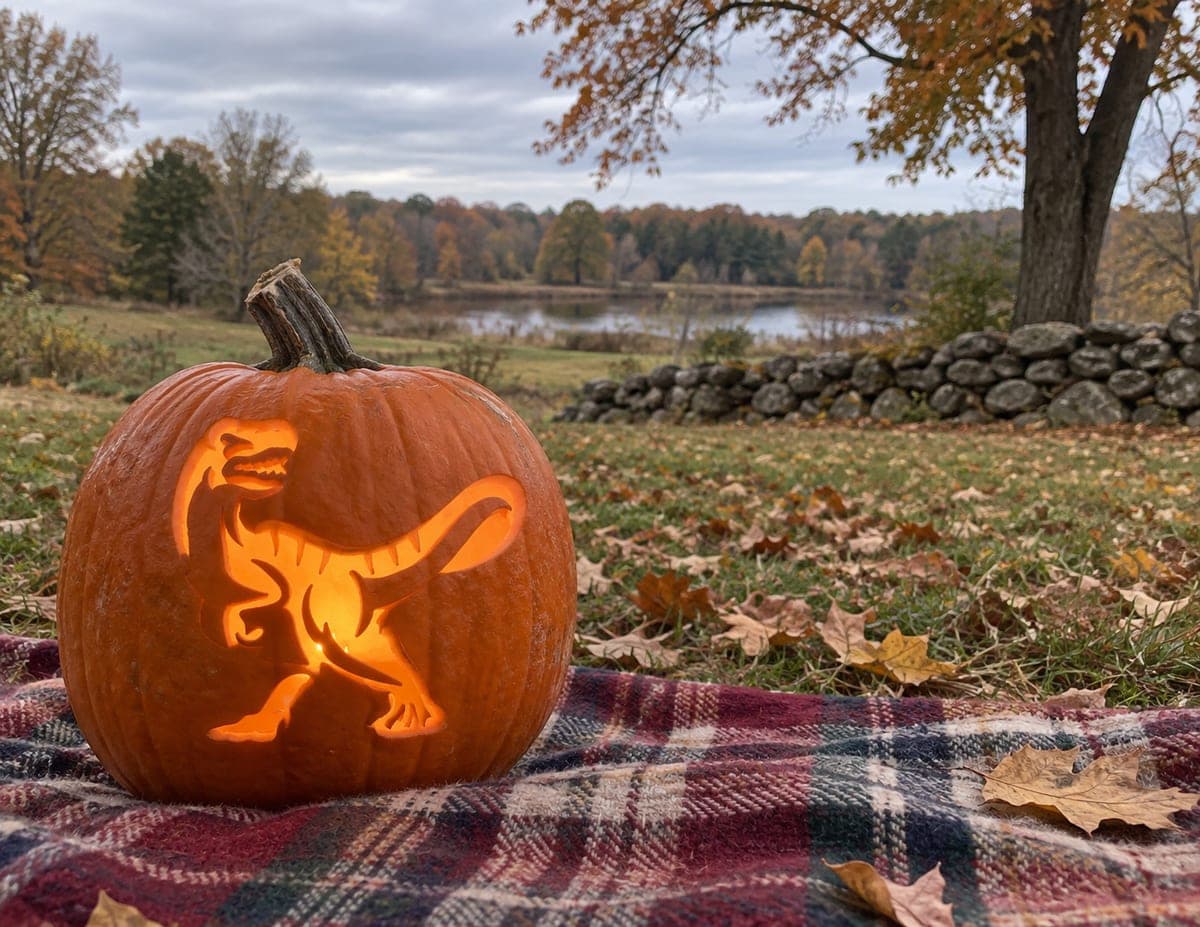
A sleek velociraptor silhouette sprints sideways across the pumpkin face, its long horizontal tail extending nearly to the edge, tiny arms raised, and clawed feet planted mid-stride, all cut through as one glowing shape. The silhouette technique means the entire raptor body is one connected opening, making this a simpler pumpkin carving idea than it first appears. Because the tail extends so far to one side, position the design slightly left of center on the pumpkin so the tip of the tail does not run into a deep rib where the skin is thicker and harder to pierce.

This is an AI-generated concept image: a realistic, carvable design idea rather than a photo of a finished carve. AI concepts are always labeled and sit out the leaderboard and the contest.
No ratings yet · Sign in to rate

Comments (0)

  • No comments yet — be the first.

Save without an account. Sign in to like or comment.

Our tips for carving a similar design

The whole trick here is that the raptor is one connected opening, so instead of many tiny cuts you carve a single sprinting silhouette. Plan the layout so the long tail runs across a smooth panel of the pumpkin rather than diving into a deep rib, and keep the raised arms and clawed feet as part of the same outline. Cut the entire body last as one steady pass so the light reads as a clean, glowing dinosaur.

Written by PumpkinCarvingIdeas.com, inspired by the image above. These are our suggestions, not instructions from the uploader. This approach to the AI concept has not been tested on a real pumpkin.

From pumpkin to porch

  1. Pick and prep the pumpkin

    Choose a pumpkin with one wide, smooth panel where the tail can stretch nearly to the edge without crossing a deep rib. Cut a lid from the bottom or the back rather than the top so the stem stays intact and the front face is clean. Scoop the inside until the wall on the carving side is about one inch thick. A thinner wall makes the single silhouette much easier to push through.

  2. Position the stencil left of center

    Tape your raptor stencil so the body sits slightly left of center, leaving room for the long tail to run to the right. Press the paper against the curve and add small relief cuts on the edges so it lies flat. Double check that the tail tip lands on smooth skin, not in a rib valley where the wall is thicker. Trace the full outline with a poker tool or fine marker.

  3. Score the outline before cutting

    With a small serrated carving saw, lightly score along the whole traced line first without going all the way through. This gives you a clean guide and lets you correct the shape before committing. Pay attention to the narrow spots like the raised arms and the gap between the legs so those thin sections stay supported by the surrounding skin. Adults should handle all the sharp tools.

  4. Carve the body as one opening

    Now cut fully through along your scored line, working from the interior details outward. Start with the smaller inner shapes such as the space under the belly and between the striding legs, then open the main body and head. Support the piece you are removing with your free hand so it does not tear as it releases. Keep the tail for last since it is the longest span.

  5. Clean the edges and thin the wall

    Trim any ragged edges with a paring knife so the silhouette reads crisply when lit. If parts of the raptor look dim, shave the inner wall around the opening a little thinner to spread the glow. Round the cut edges slightly so they catch light evenly. Wipe away pulp bits clinging to the openings.

  6. Light it and photograph

    Set a battery LED puck or a string of warm LEDs inside, never a candle, since the single large opening can vent heat and the thin wall dries out. Place the pumpkin so the raptor faces your best viewing angle and dim the room. Shoot at dusk with a little ambient light to keep the shape and the setting both visible. A second small light behind the pumpkin adds nice depth.

Gather your supplies

Check things off as you get ready.

Work on a stable surface, keep your free hand out of the cutting path, and have an adult handle sharp tools.

Three levels of light

  • Leave intact

    The pumpkin skin all around the raptor stays untouched and dark, framing the shape.

  • Peel & shade

    Skin peel a thin halo just outside the outline if you want a soft glow edge around the body.

  • Cut through

    The entire raptor body, tail, arms, and feet are cut fully through as one bright opening.

Learn the carving basics

Before you start cutting

How do I keep the long tail from breaking?

The tail is a slim span, so cut it last after the rest of the body is open. Keep the pumpkin wall around one inch thick there and score the line fully before pushing through. If the tip feels fragile, leave a hair more skin at the very end rather than cutting it razor thin.

Why cut everything as one shape instead of details?

A silhouette reads by its outline, so all the character comes from the edge of one connected opening. This means far fewer cuts than a portrait style pumpkin and no delicate bridges to manage inside. Just focus on a clean, confident outline and the raptor will pop.

Where should I put the light for the best glow?

Because the opening is large and low on the face, a single LED puck sitting on the pumpkin floor lights it well. Angle it slightly forward so the belly and legs are not shadowed. Add a second small LED near the tail end if that far edge looks dim.

Your take belongs here, too.

Changed a detail? Made it simpler? Share a photo of your version and tell the community what worked.

Share your pumpkin

More pumpkins like this

You've reached the end · 8 pumpkins
The Patch Report

Fresh pumpkins, in your inbox.

The best new carvings, ideas worth stealing, and how-tos for carving season. Short, seasonal, and gone by November.

A short email during carving season. Unsubscribe anytime. See our privacy policy.