Halloween Pumpkin Carving Contest · Starts October 1st · $500 in prizes
← Back to ideas
@ai_concepts
Sep 25, 2026
Retained Fish Pumpkin with Scale Holes in Oval FrameAI
0

Report this carving

Tell us what is wrong. Reports are private.

Retained Fish Pumpkin with Scale Holes in Oval Frame

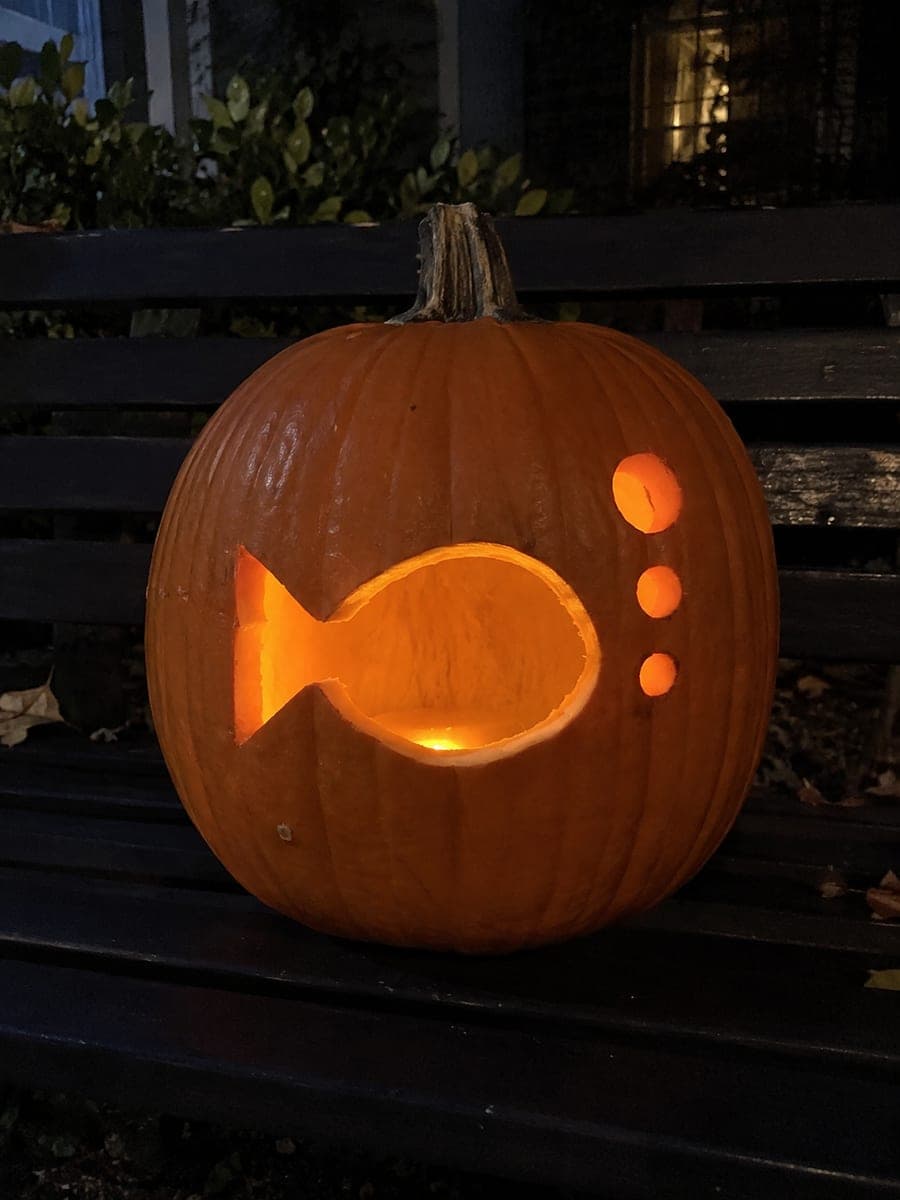
A broad retained fish sits inside an oval open window for this hard fishing pumpkin carving idea, tail joined to the left frame, nose to the right, and bottom fin to the lower rim keeping the piece firmly in place. One eye hole and five oval scale apertures separated by thick body ribs add realism. Carve the oval window outline first, then use a fine saw to cut the scale holes before clearing the background areas.

No ratings yet · Sign in to rate

Comments (0)

  • No comments yet — be the first.

Save without an account. Sign in to like or comment.

Our tips for carving a similar design

A broad fish is retained inside an oval window, connected at the tail to the left frame, at the nose to the right frame, and along the bottom fin to the lower rim. One eye hole and five oval scale apertures separated by thick rind ribs add realistic texture without weakening the retained body. Carving the oval window outline first establishes the frame before any internal detail cuts remove supporting rind.

From pumpkin to porch

  1. Choose a wide oval-shaped pumpkin

    A horizontally wide pumpkin suits a side-view fish much better than a tall round one. Hollow from the back to a wall thickness of about three-quarters of an inch and confirm the face is large enough for the oval plus an inch of rind border outside it.

  2. Transfer the stencil precisely

    Tape the stencil and perforate the oval outline, the fish silhouette, the eye hole, all five scale aperture outlines, and any fin line grooves. Mark the three connection points at tail, nose, and lower fin with a bold marker so they stay visible during cutting.

  3. Cut the oval window frame

    Saw around the complete oval, removing the outer rind. Move slowly and keep the blade vertical so the frame edge is perpendicular to the rind surface. Leave a clean edge at the three connection points by cutting just to the edge of each bridge rather than through it.

  4. Remove background panels around the fish

    Saw out the open water areas above and below the retained fish body, pushing each panel inward as it is freed. Confirm the tail, nose, and lower-fin connections remain intact after each panel is removed before proceeding to the next one.

  5. Cut the scale apertures and eye hole

    Use a fine saw or detail drill for the five oval scale holes. Drill entry corners, then connect with the saw in short strokes. The eye hole is a single round drill. Leave the scale ribs fully intact; do not allow adjacent scale cuts to merge.

  6. Add fin grooves if desired and light up

    If the stencil includes fin line grooves, score them with a gouge to about half the wall depth to suggest fin structure without cutting through. Insert an LED candle and display on a step at night for a close view that shows the scale detail clearly.

Written with AI to match this design

Gather your supplies

Check things off as you get ready.

Work on a stable surface, keep your free hand out of the cutting path, and have an adult handle sharp tools.

Three levels of light

  • Leave intact

    The retained fish body, scale ribs, tail, nose, and lower fin all stay solid and dark inside the glowing window

  • Peel & shade

    Fin lines may be scored as shallow grooves for a slight mid-glow effect if desired

  • Cut through

    The oval window background panels, five oval scale apertures, and the eye hole all glow at full brightness

Learn the carving basics

Before you start cutting

How do I make the five oval scale holes look like fish scales rather than random holes?

Arrange them in an overlapping staggered grid pattern, two holes in one row and three offset slightly above, mimicking how scales tile on a real fish. Make each oval slightly taller than wide and tilt them at a gentle upward angle from tail to nose. The offset rows create the overlapping scale impression.

The scale ribs between apertures look very thin on my stencil. Can I widen them?

Yes; redraw the scale apertures slightly smaller on the pumpkin rather than using the stencil exactly. A half-inch rib between scale holes is safer than a narrower one, and the visual impression of scale texture reads the same at any viewing distance greater than two feet.

Should I cut the lower fin connection or leave it as part of the lower oval rim?

Leave the lower fin merged with the lower oval rim as a solid connection. Cutting the fin free as a separate element would disconnect one of the three anchor points that hold the fish in place. The fin reads clearly as a fin shape even when it is visually connected to the lower frame.

Your take belongs here, too.

Changed a detail? Made it simpler? Share a photo of your version and tell the community what worked.

Share your pumpkin

More pumpkins like this

You've reached the end · 8 pumpkins
The Patch Report

Fresh pumpkins, in your inbox.

The best new carvings, ideas worth stealing, and how-tos for carving season. Short, seasonal, and gone by November.

A short email during carving season. Unsubscribe anytime. See our privacy policy.