Halloween Pumpkin Carving Contest · Starts October 1st · $500 in prizes
← Back to ideas
@ai_concepts
Sep 25, 2026
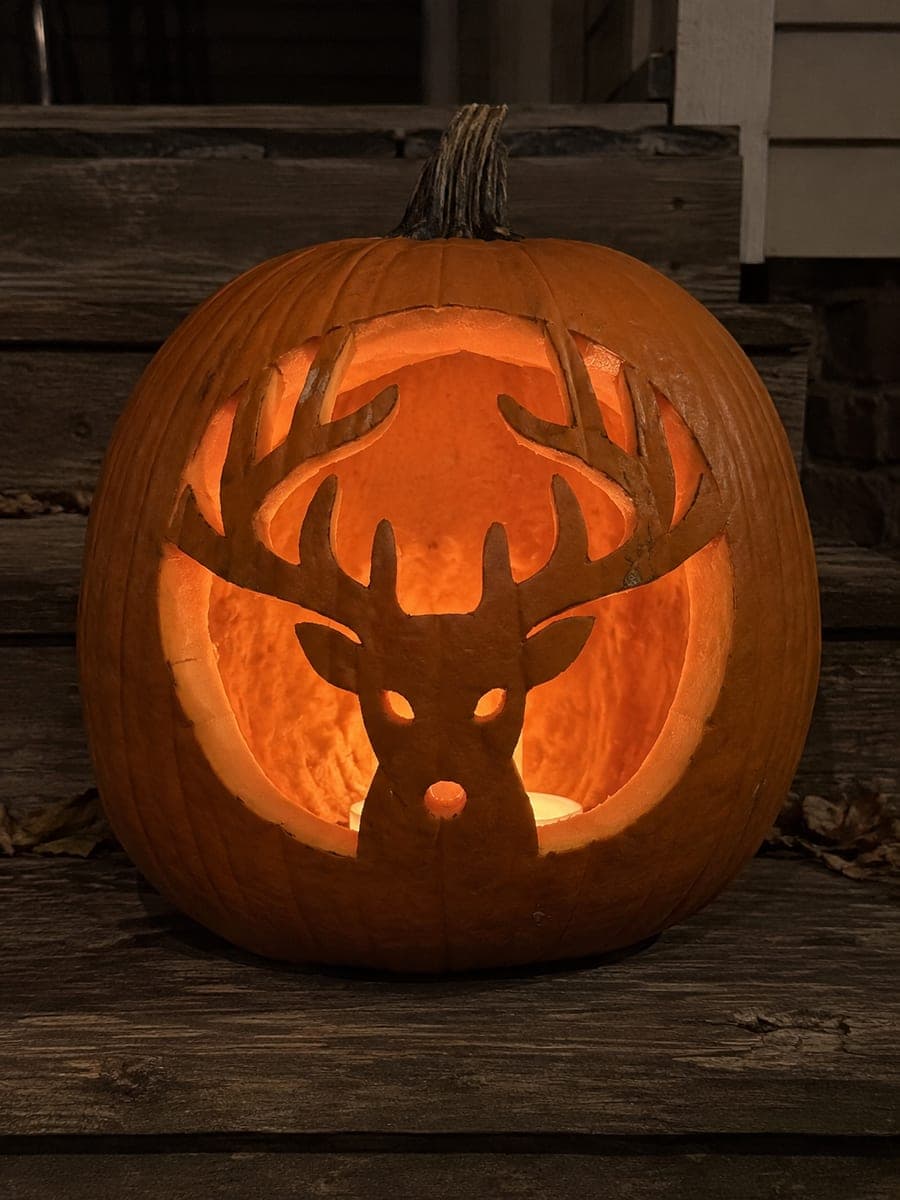
Retained Deer Head Pumpkin Inside a Round WindowAI
0

Report this carving

Tell us what is wrong. Reports are private.

Retained Deer Head Pumpkin Inside a Round Window

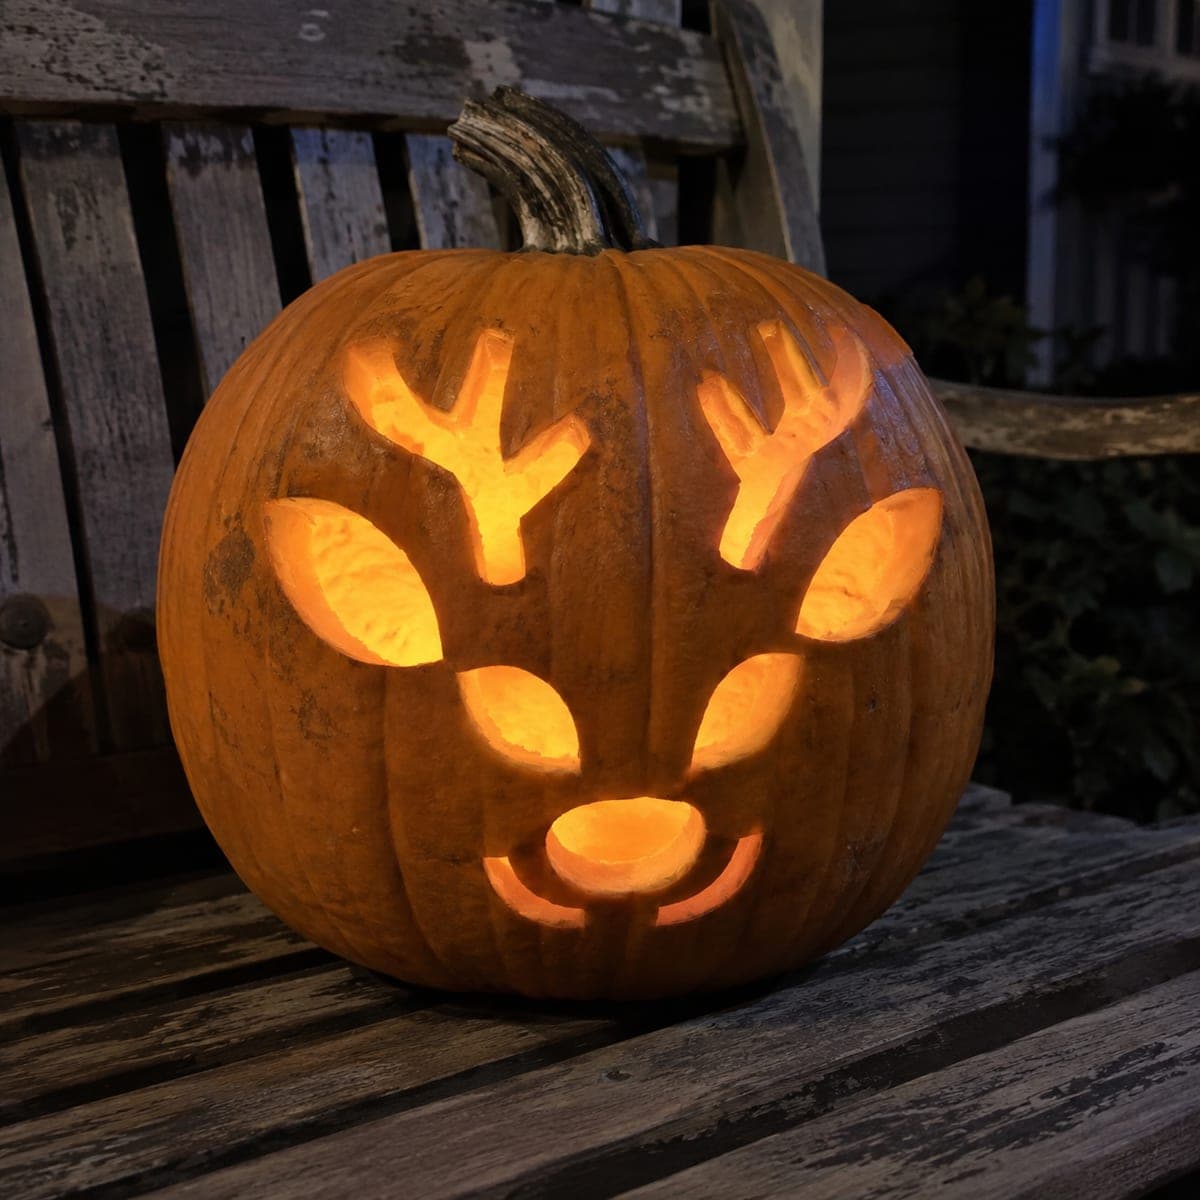
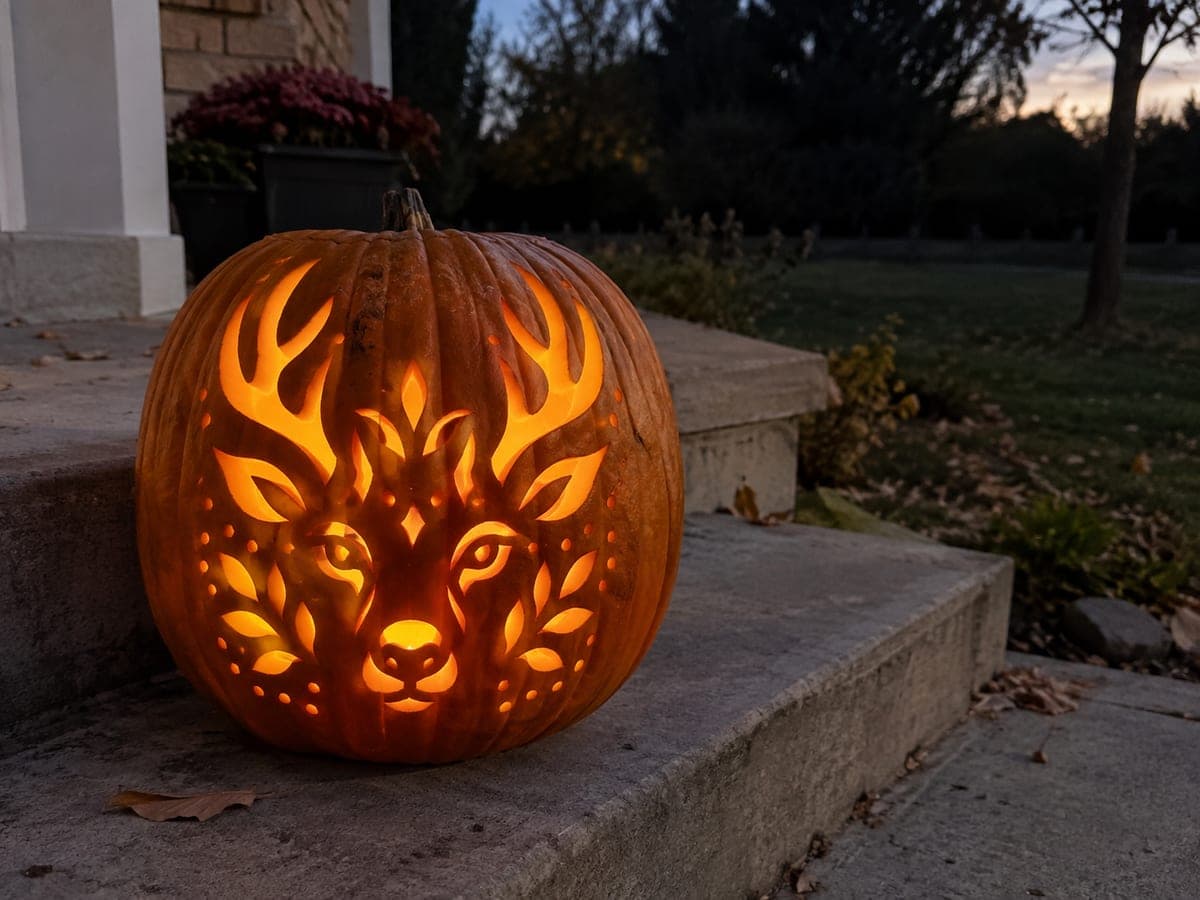
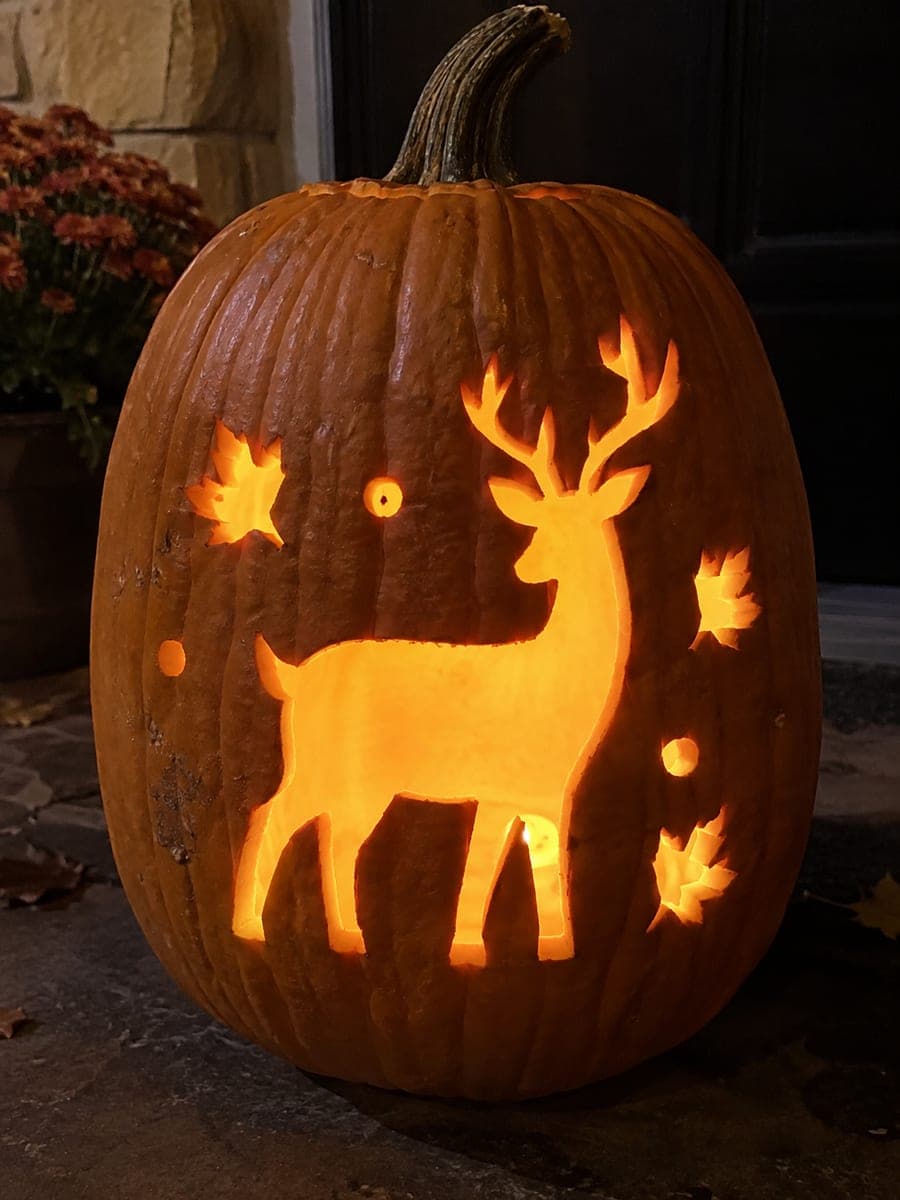
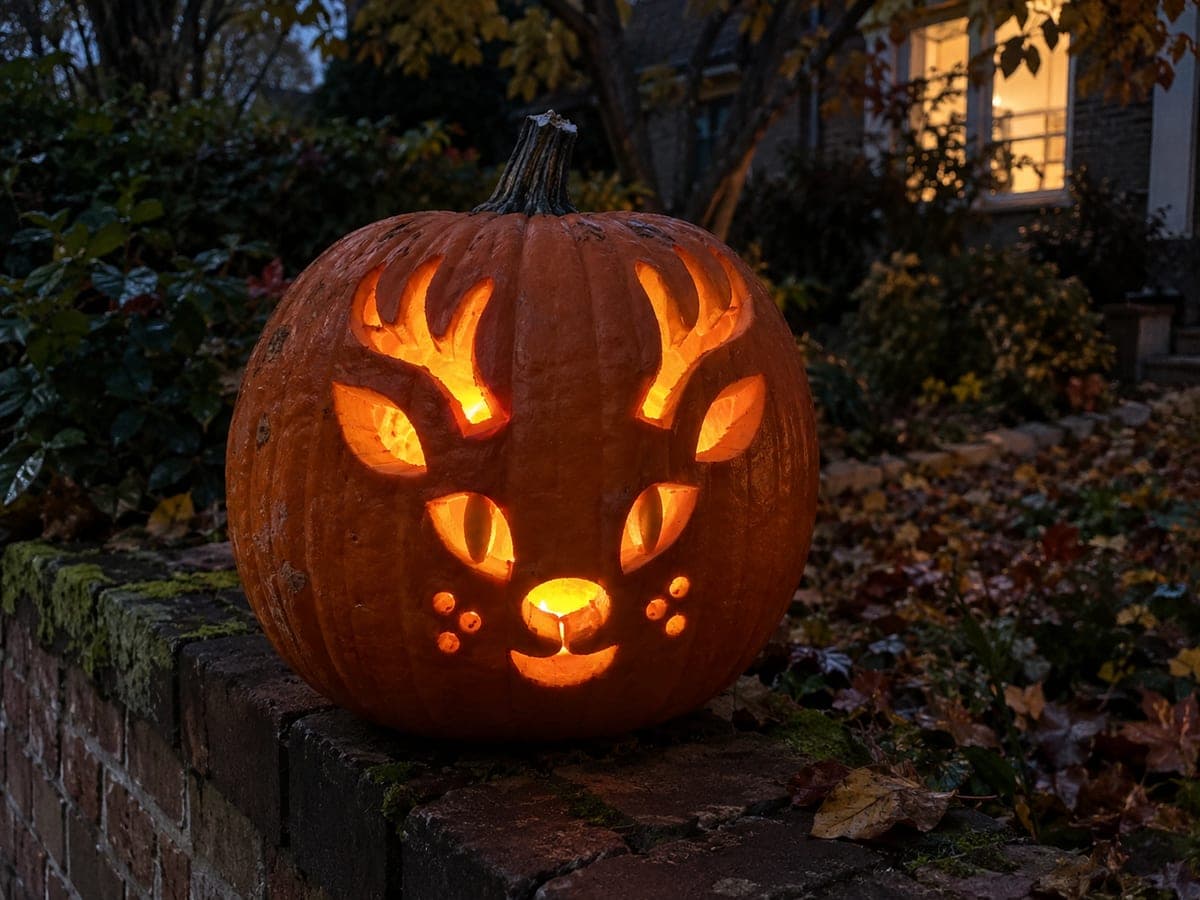
A retained deer head and antlers sit inside a round open window for this hard hunting pumpkin carving idea, the thick neck joined to the lower rim and each antler branch anchored to the top or side frame. Two small eye apertures and a nostril hole add fine detail without endangering the structure. Cut the round outer window first, then work inward to the face details once the frame is established.

No ratings yet · Sign in to rate
Comments (0)

  • No comments yet — be the first.

Save without an account. Sign in to like or comment.

Our tips for carving a similar design

The deer head and antlers are carved as a solid retained piece inside a round open window, with the thick neck joined to the lower rim and each antler branch anchored to the top or side frame for multiple secure contact points. Two small eye apertures and a nostril hole are added through the retained head once the outer frame is safely established. Cutting the round outer window first gives the retained piece its frame before any structural weakening begins.

From pumpkin to porch

  1. Hollow to consistent thickness

    Cut a back lid and scoop to a wall thickness of about three-quarters of an inch. Check the front face for flat areas that will help the stencil lie smooth during transfer, since the round window must be a true circle.

  2. Transfer the stencil and mark connections

    Perforate the full design including the round outer window, the deer silhouette, and the small interior holes. Mark each antler-to-frame connection and the neck-to-rim connection with a bold marker line to remind yourself not to cut through them.

  3. Cut the outer round window

    Saw around the outer circle, removing the rind outside the frame completely. Move slowly and keep the blade perpendicular to the rind so the frame edge is clean. A circle template traced in marker first makes the outer cut easier to follow.

  4. Remove background panels around the deer

    Saw out the open background areas visible around the retained deer inside the window. Work above the antlers, beside the ears, and below the chin, leaving all connection points untouched. Push each removed piece inward and extract from the back.

  5. Open eye and nostril holes

    Use a detail drill or fine saw to open the two small eye apertures and the nostril hole through the retained head. Keep both eye holes symmetric by measuring from the muzzle upward rather than placing them by eye. Adults handle all saw work close to the retained piece.

  6. Light and display at close range

    Place an LED candle inside and set the pumpkin on a low wooden step at night. The circular frame focuses the glow tightly, making the retained deer look like a woodcut medallion rather than a flat carving.

Written with AI to match this design

Gather your supplies

Check things off as you get ready.

Work on a stable surface, keep your free hand out of the cutting path, and have an adult handle sharp tools.

Three levels of light

  • Leave intact

    The retained deer head, antlers, and neck all stay solid and dark inside the glowing frame

  • Peel & shade

    None, all contrast is full-cut versus solid rind

  • Cut through

    The round outer frame, background panels around the deer, two eye apertures, and the nostril hole all glow

Learn the carving basics

Before you start cutting

How do I ensure each antler branch is actually connected to the frame?

Before transferring the stencil, draw the round outer circle and the deer silhouette in pencil and check that each antler tip visually meets the circle line. If a branch falls short, extend it on your drawing until it clearly overlaps the frame edge by at least a half inch, then redraw the stencil to match.

The nostril hole is tiny. Do I need a special tool?

A detail drill set to a small bit size makes a clean nostril hole in seconds. A pushpin twisted in progressively widening circles also works but takes more time to get a round result. Avoid using a saw inside the small nostril area, as the blade can catch and tear the surrounding rind.

After opening the background panels, the retained deer head wobbles slightly. Is that normal?

A small amount of flex in the retained piece is normal and does not indicate a problem, as long as all connection points are intact. If the wobble feels excessive, check whether an antler connection was cut partially through. A thin bead of craft glue in any partial cut re-bonds the joint once dry.

Your take belongs here, too.

Changed a detail? Made it simpler? Share a photo of your version and tell the community what worked.

Share your pumpkin

More pumpkins like this

You've reached the end · 8 pumpkins
The Patch Report

Fresh pumpkins, in your inbox.

The best new carvings, ideas worth stealing, and how-tos for carving season. Short, seasonal, and gone by November.

A short email during carving season. Unsubscribe anytime. See our privacy policy.