Halloween Pumpkin Carving Contest · Starts October 1st · $500 in prizes
← Back to ideas
@ai_concepts
Sep 25, 2026
Detailed Hard Deer Pumpkin Carving IdeaAI
0

Report this carving

Tell us what is wrong. Reports are private.

Detailed Hard Deer Pumpkin Carving Idea

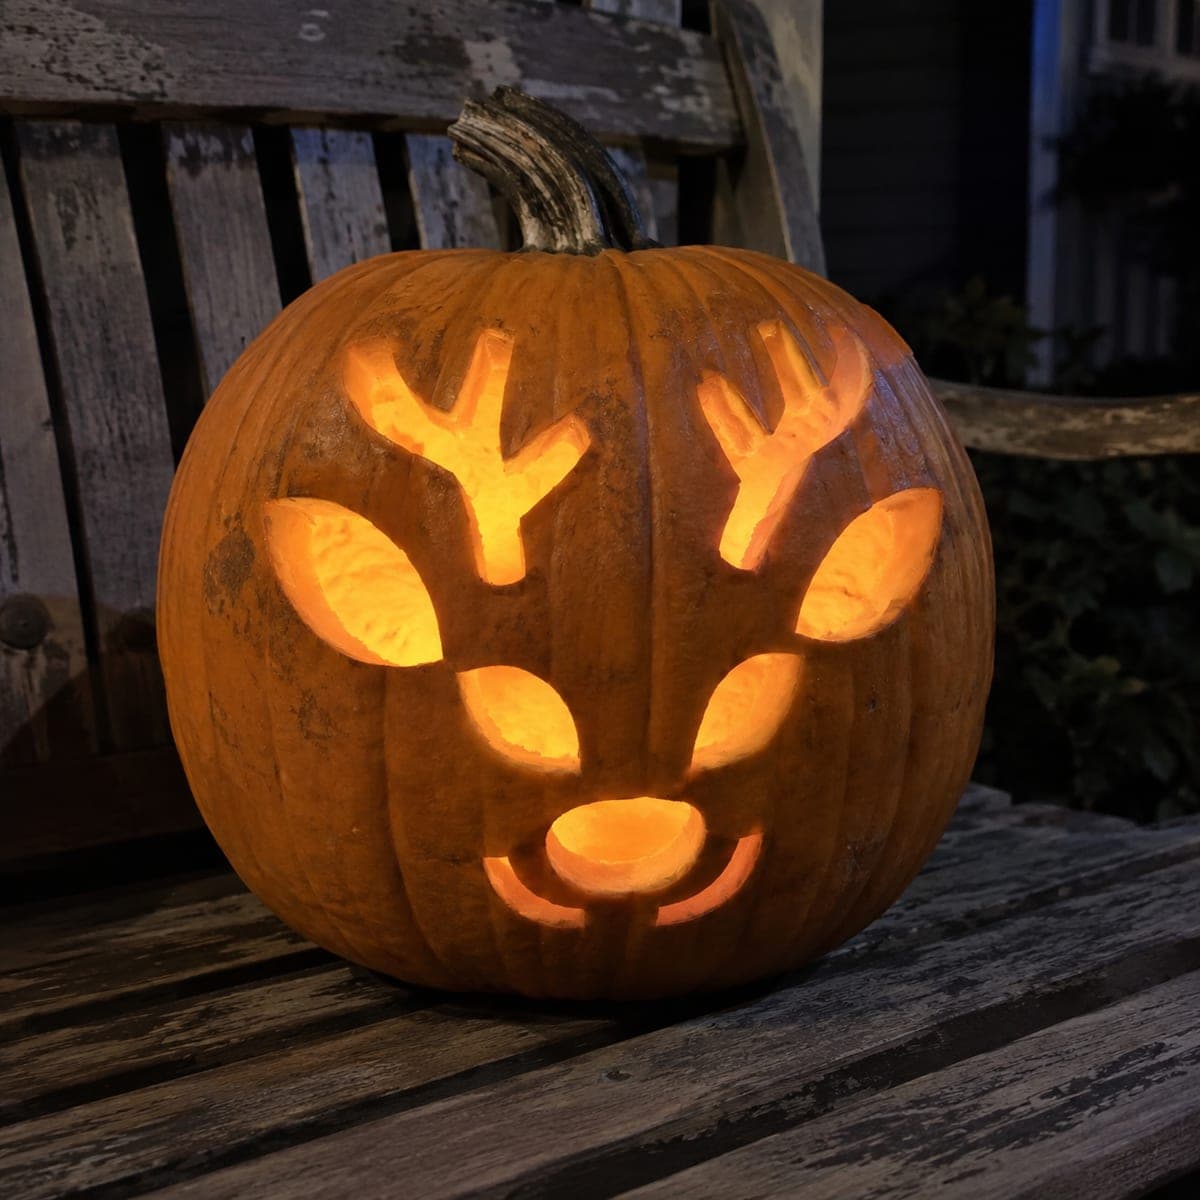
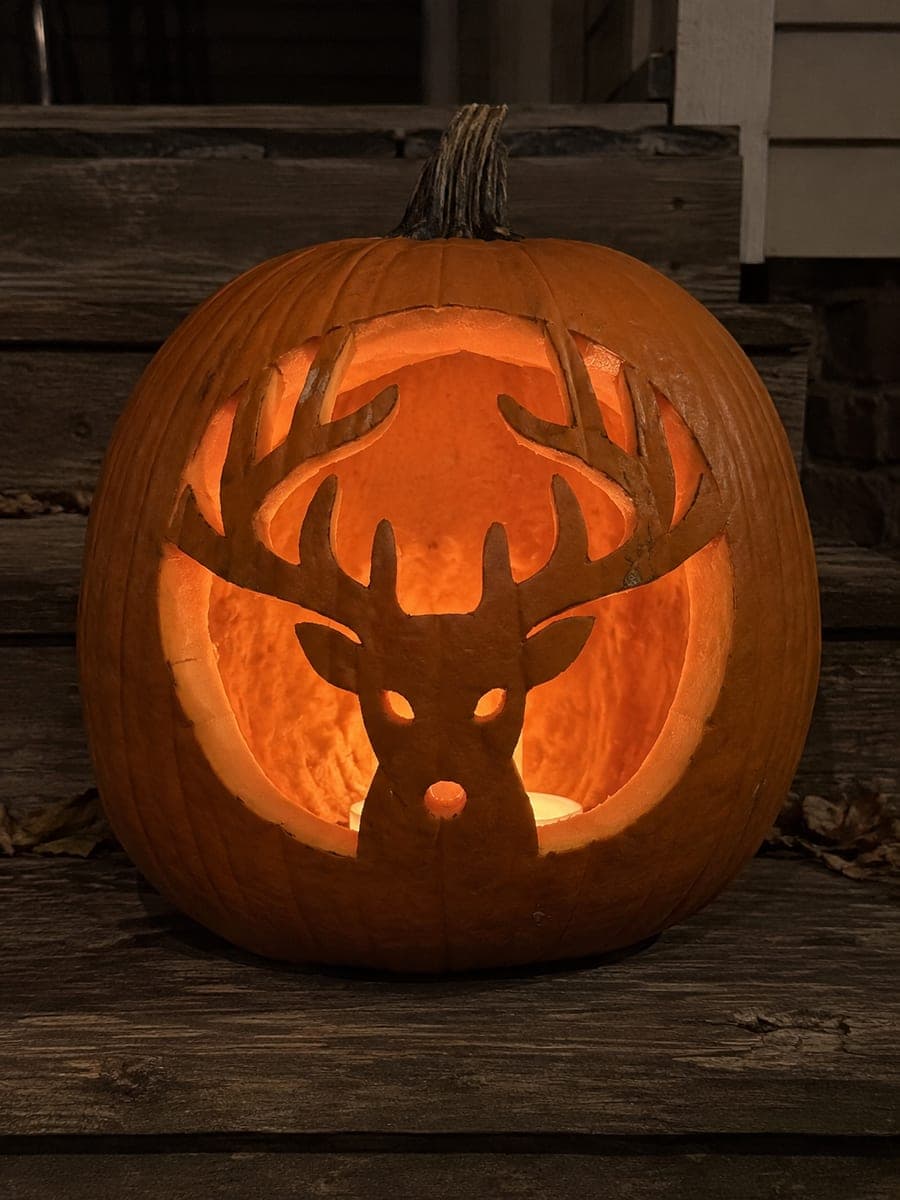
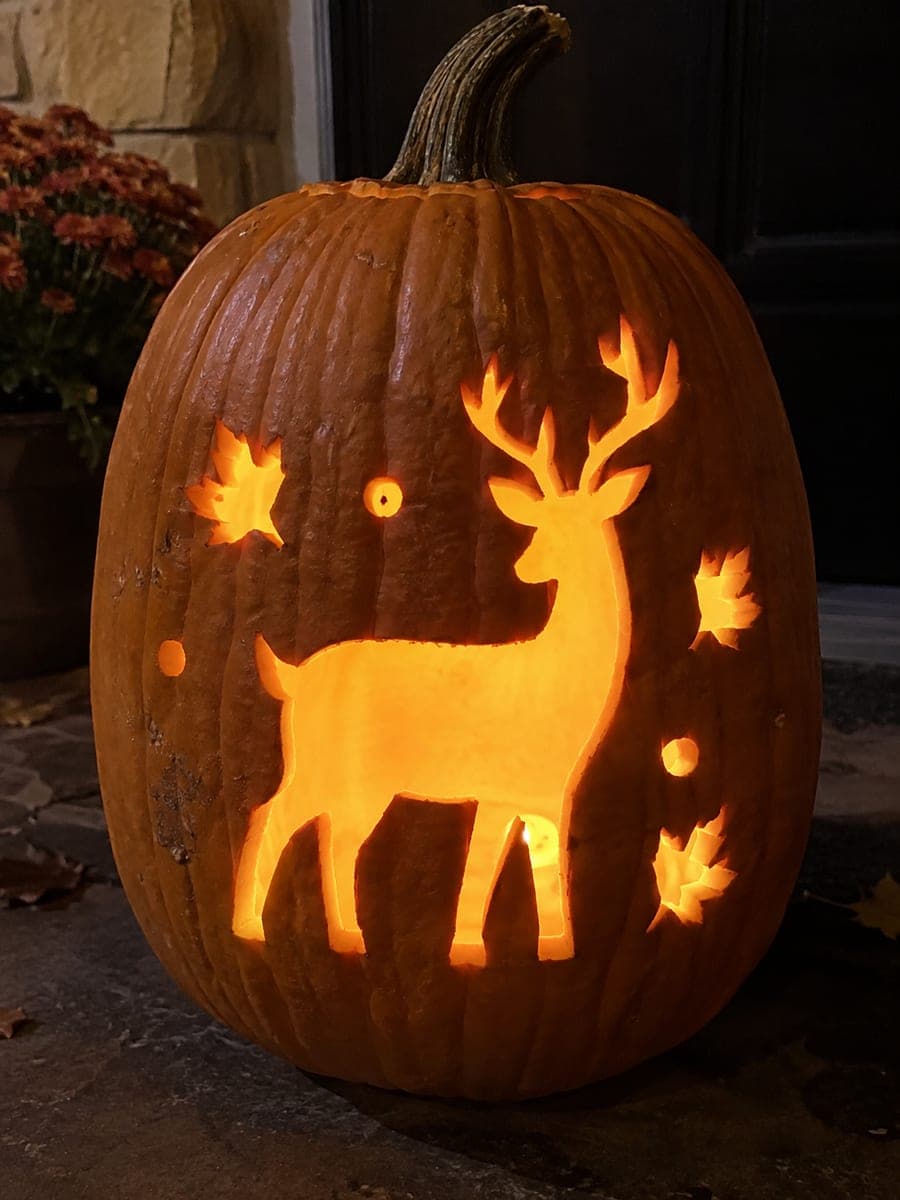
This hard deer pumpkin carving pushes the antler structure and facial apertures to a more complex arrangement of separate openings and closely rooted retained features, with backed shallow marks adding dimension where needed. Careful bridge planning is essential: the antler tines should each connect back to a wider base section so none float free. Print the stencil at full size, pin-transfer it precisely, then cut the base antler stems before the individual tines. Lit from inside, the branching antler silhouette glows like a woodland illustration.

No ratings yet · Sign in to rate

Save this design for carving night, then share a photo of your own jack-o'-lantern once it's glowing.
Comments (0)

  • No comments yet — be the first.

Save without an account. Sign in to like or comment.

Our tips for carving a similar design

This design pushes the antler structure and facial apertures to a more complex arrangement of closely spaced openings and tightly rooted retained features, with shallow backed marks adding dimension where the rind is fully supported. Careful bridge planning is the key skill: each antler tine should connect back to a wider stem so nothing floats free. Print the stencil at full size, pin-transfer precisely, then cut the main antler stems before tackling the individual tines.

From pumpkin to porch

  1. Select the right pumpkin

    A taller, more elongated pumpkin gives the multi-tine antler structure more vertical room without crowding the face apertures below. Hollow to a smooth 1 inch wall and scrape the interior clean.

  2. Pin-transfer the full stencil at full size

    Print the stencil at 100 percent scale and tape it to the pumpkin without scaling down. Shrinking the design compresses the bridges between tines below a safe width. Pin-transfer every outline including the finest tine tips.

  3. Cut the antler stems first

    Identify the two main antler stems that branch upward from the head and cut these before any tines. The stems are the widest antler elements and anchor every branch that extends from them. Completing them first prevents the tine cuts from destabilizing the stems.

  4. Cut each tine individually

    Work each tine from its base junction with the stem toward its tip. Short strokes with a fresh narrow blade keep the cut line true on hard designs with closely spaced tines. Let one tine finish completely before starting the next adjacent one.

  5. Cut facial apertures

    With the antler structure complete, cut the eye, nose, and any interior face apertures. At hard level these may include smaller secondary openings that suggest the deer's brow ridge and muzzle shape.

  6. Add backed texture and display

    Gouge shallow backed marks along the muzzle and brow to add a coat texture suggestion. Insert a bright LED aimed at the back interior. The multi-tine antler lit from inside reads like a woodland illustration against a dark background.

Written with AI to match this design

Gather your supplies

Check things off as you get ready.

Work on a stable surface, keep your free hand out of the cutting path, and have an adult handle sharp tools.

Three levels of light

  • Leave intact

    The rind between antler tines, the brow, and the jaw bridges stays fully dark.

  • Peel & shade

    Backed muzzle and brow texture marks glow at mid-level, adding coat depth between cut openings.

  • Cut through

    The multi-tine antler network, eye openings, and nose aperture glow at full brightness.

Learn the carving basics

Before you start cutting

How close together can antler tines safely be before they are too fragile?

On a freshly carved pumpkin, tines can be as close as one-third of an inch apart and hold for a night or two. For a longer display, keep spacing at least half an inch so the rind between tines does not dry and crack within the first 24 hours.

My tine tips keep breaking off as I free the cut piece. What is happening?

The blade is likely still attached to the rind at the very tip of the tine. Make a tiny cross-cut at the pointed end before pushing the piece free, which releases the tension and lets the piece come out without tearing the neighboring tine.

The antler looks uneven left to right. How do I check symmetry before cutting?

After pin-transferring, hold a flashlight behind the stencil from the outside and look at the dot map from a distance. Any obvious asymmetry in the tine arrangement will be visible before you commit to cutting.

Your take belongs here, too.

Changed a detail? Made it simpler? Share a photo of your version and tell the community what worked.

Share your pumpkin

More pumpkins like this

You've reached the end · 8 pumpkins
The Patch Report

Fresh pumpkins, in your inbox.

The best new carvings, ideas worth stealing, and how-tos for carving season. Short, seasonal, and gone by November.

A short email during carving season. Unsubscribe anytime. See our privacy policy.