Halloween Pumpkin Carving Contest · Starts October 1st · $500 in prizes
← Back to ideas
@ai_concepts
Sep 25, 2026
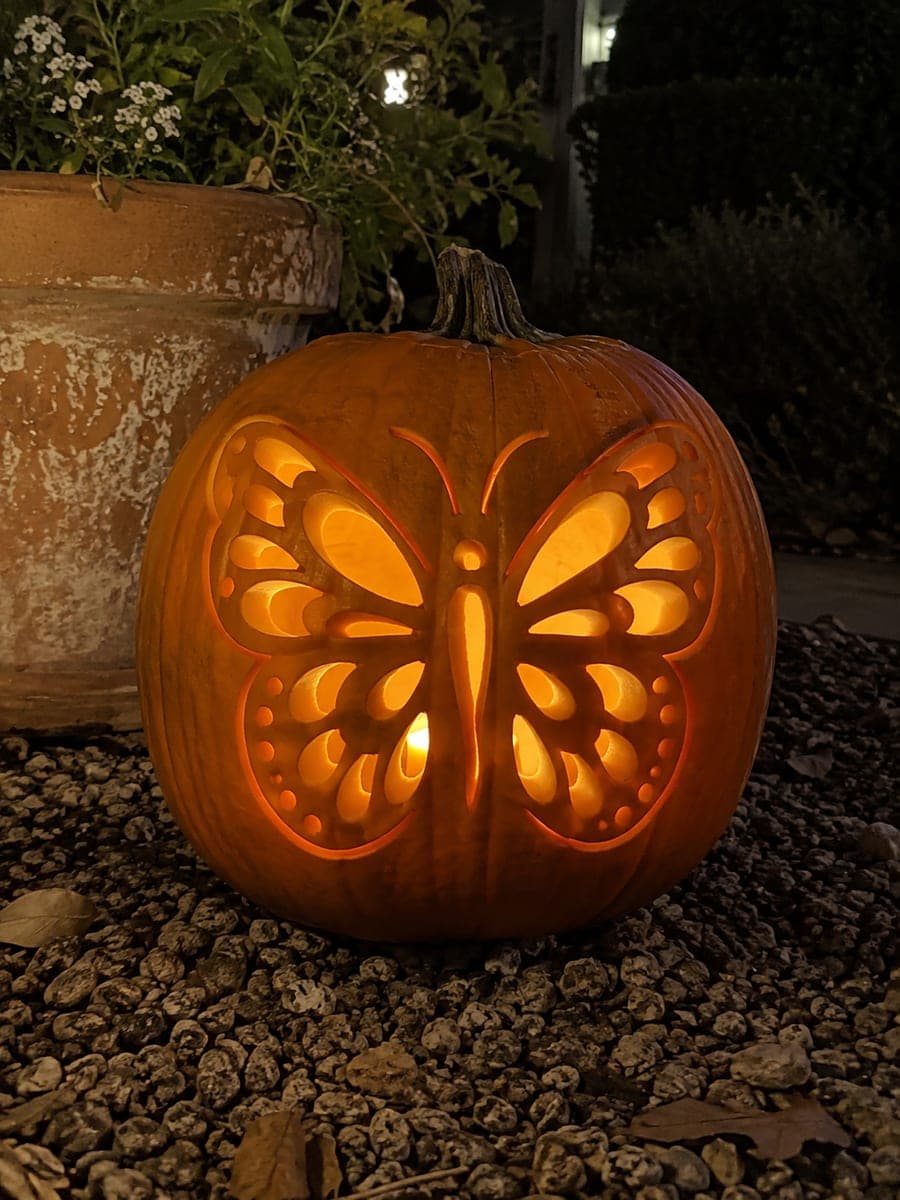
Hard Butterfly Pumpkin with Connected Rind Wing VeinsAI
0

Report this carving

Tell us what is wrong. Reports are private.

Hard Butterfly Pumpkin with Connected Rind Wing Veins

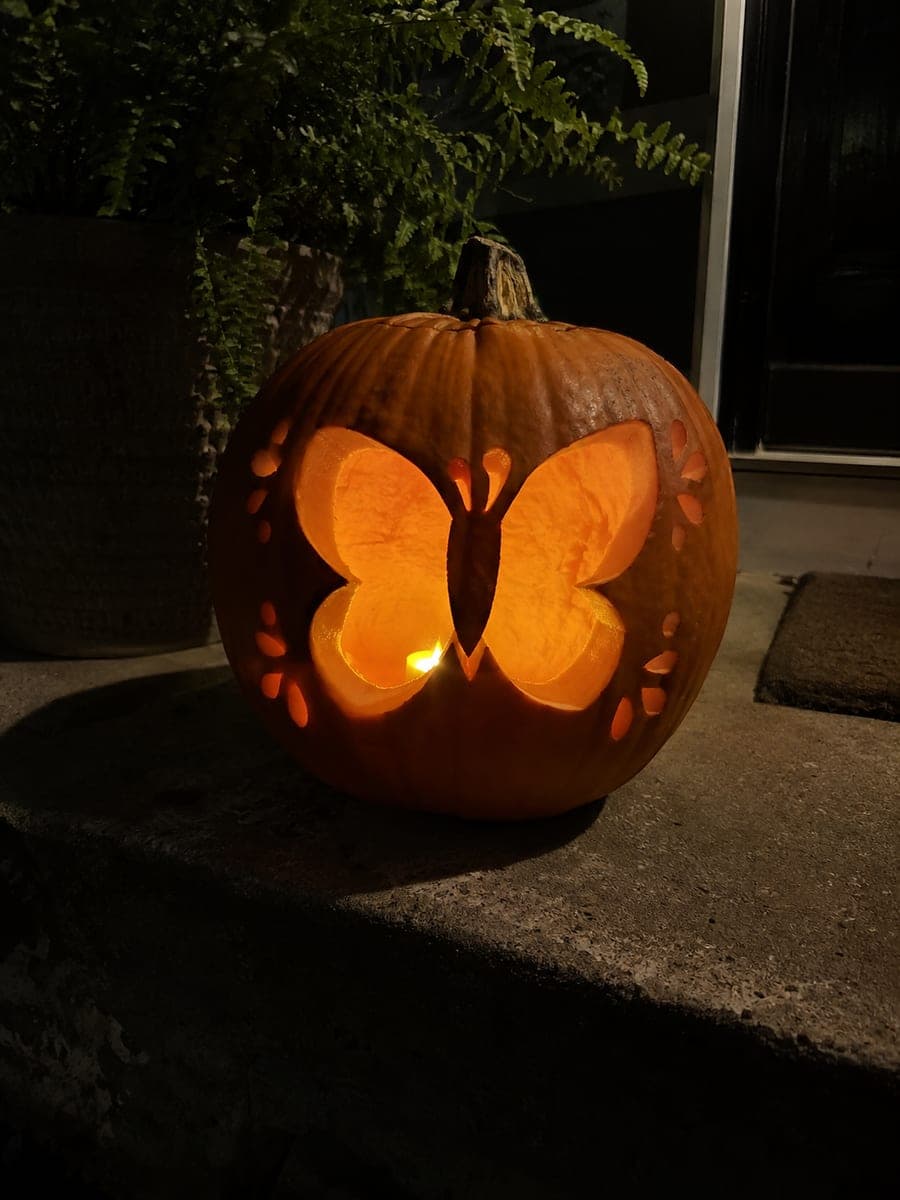
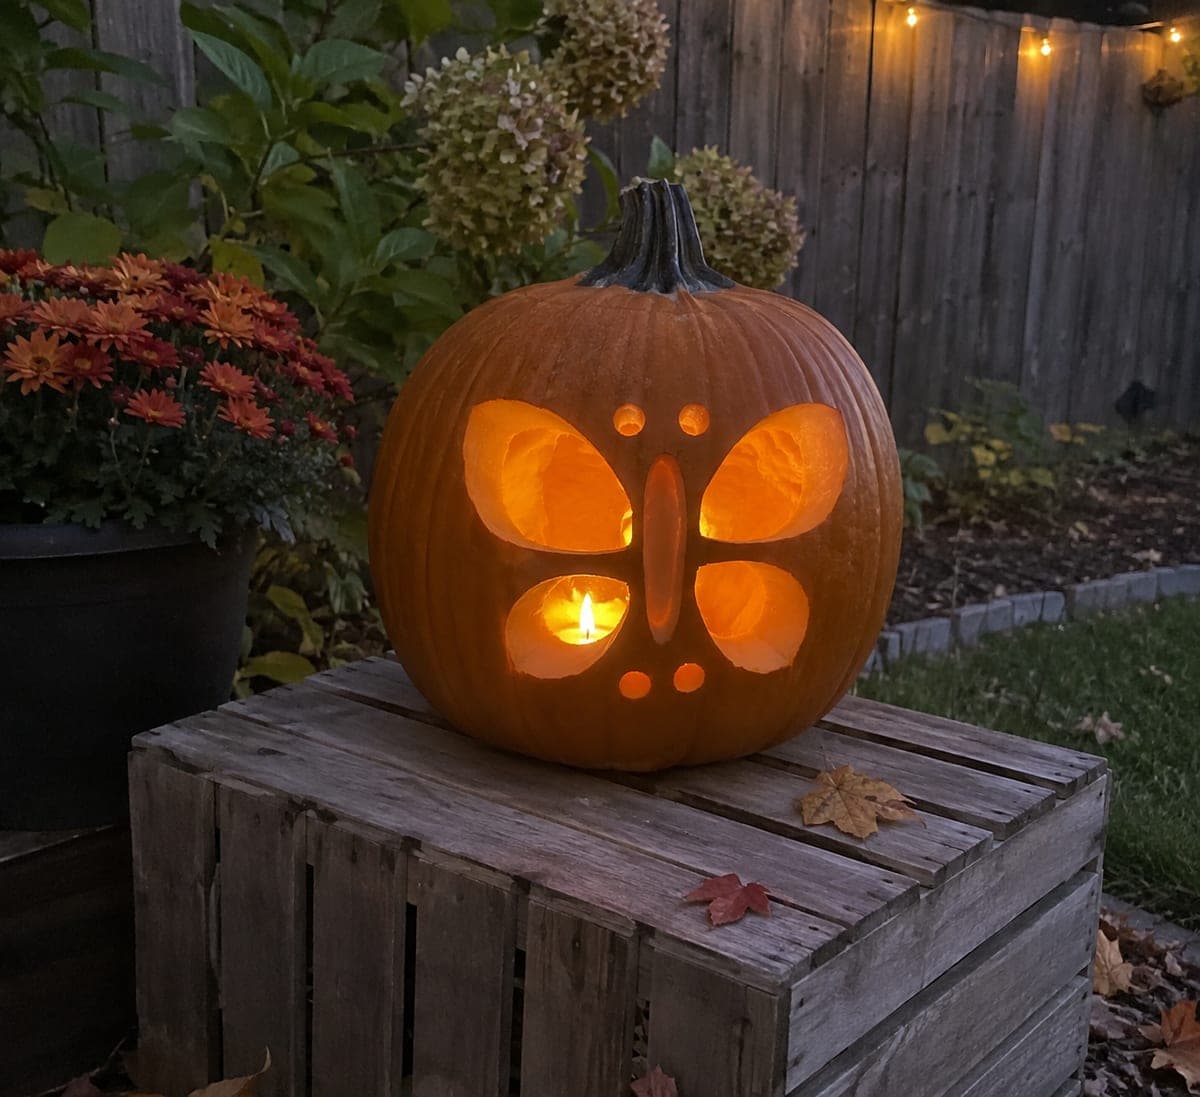
Large wing windows subdivided by broad connected rind veins create a stained-glass effect in this hard butterfly pumpkin carving, with a thick body joined to the top and bottom shell and six separate dot apertures along the lower wings. The outer wing rim includes shallow back-carved sections that frame the vein pattern. Cut the largest interior wing windows first, then refine the vein bridges, and finish with the outer backed rim. On a stone garden wall at night, the vein pattern casts an intricate stained-glass light pattern.

No ratings yet · Sign in to rate
Comments (0)

  • No comments yet — be the first.

Save without an account. Sign in to like or comment.

Our tips for carving a similar design

Large wing windows are subdivided by broad connected rind veins that create a stained-glass effect when lit from inside. The thick body connects to the top and bottom shell, and six separate dot apertures run along the lower wings. The outer wing rim includes shallow back-carved sections that frame the vein pattern and glow as a soft halo. Cutting the largest interior windows first, then refining the vein bridges, and finishing with the backed rim is the safest sequence.

From pumpkin to porch

  1. Prep and mark a flat-faced pumpkin

    Scoop to one inch of wall thickness. Tape the stencil firmly to the flattest section of the face and pin-punch all the vein lines, window boundaries, dot positions, and rim outline. Remove the template and trace each element with a marker before the pin holes close.

  2. Cut the largest interior wing windows

    Saw the largest aperture within each wing first, keeping the surrounding veins and body intact. Removing the largest waste pieces early gives better visibility for the remaining detail cuts. Keep each vein at least three quarters of an inch wide at its narrowest.

  3. Cut the smaller interior windows

    Working from large to small, cut each remaining wing window. Confirm that every vein connects back to either the central body or the outer rim at both ends; a vein loose at one end will eventually break under its own weight.

  4. Add the lower wing dot apertures

    Cut the six separate dot apertures along the lower wings using a small drill bit or detail blade. Space them evenly and keep a margin of at least half an inch between each dot and the nearest vein edge.

  5. Back-carve the outer wing rim

    Using a linoleum cutter or V-gouge, scoop the shallow sections of the outer wing rim to about a third of the wall thickness. These thinned areas will glow softly and provide a gentle halo around the whole design. Adults should handle this step with firm, controlled pressure.

  6. Light and display

    Place a bright LED inside and position on a stone garden wall at night. The vein pattern projects as intersecting light lines onto the wall behind the pumpkin. Apply petroleum jelly to all cut and scooped edges.

Written with AI to match this design

Gather your supplies

Check things off as you get ready.

Work on a stable surface, keep your free hand out of the cutting path, and have an adult handle sharp tools.

Three levels of light

  • Leave intact

    The thick central body and the rind veins between windows stay fully dark and structural

  • Peel & shade

    The shallow back-carved outer wing rim sections glow as a soft halo around each wing

  • Cut through

    All interior wing windows and the six lower dot apertures glow at full brightness

Learn the carving basics

Before you start cutting

How do I make sure the veins stay thick enough while I cut?

Mark the center line and both edges of each vein on the pumpkin face before cutting. Cut along the edge of the vein, not through it. If a vein looks thin after cutting the adjacent window, stop and trim the window back rather than narrowing the vein further.

What happens if one of the vein bridges breaks?

If a vein breaks mid-carve, gently press it back into place and let the inner moisture act as a temporary adhesive. Finish carving, then use a dab of wood glue and a toothpick from inside to reinforce it. A broken vein near the base of the design is less critical than one near the center.

Can this design work on a very round pumpkin?

Rounder pumpkins curve the vein pattern away from you, making it harder to keep cuts even. A flatter, taller pumpkin gives a more readable stained-glass effect. If you only have a round pumpkin, work on the flattest equatorial band and keep the design slightly smaller than the full face.

Your take belongs here, too.

Changed a detail? Made it simpler? Share a photo of your version and tell the community what worked.

Share your pumpkin

More pumpkins like this

You've reached the end · 8 pumpkins
The Patch Report

Fresh pumpkins, in your inbox.

The best new carvings, ideas worth stealing, and how-tos for carving season. Short, seasonal, and gone by November.

A short email during carving season. Unsubscribe anytime. See our privacy policy.