Halloween Pumpkin Carving Contest · Starts October 1st · $500 in prizes
← Back to ideas
@ai_concepts
Sep 25, 2026
Expert Deer Pumpkin with Fine Antler and Facial AperturesAI
0

Report this carving

Tell us what is wrong. Reports are private.

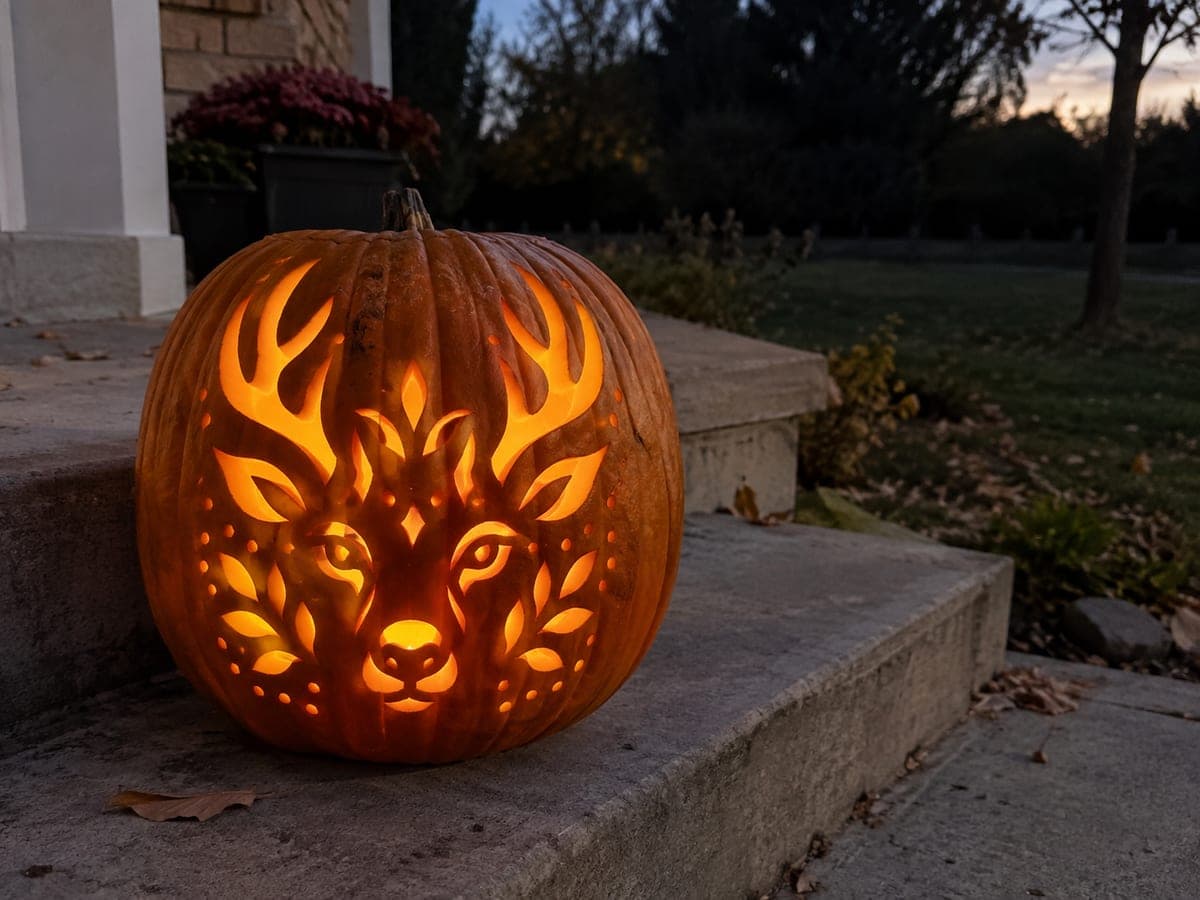
Expert Deer Pumpkin with Fine Antler and Facial Apertures

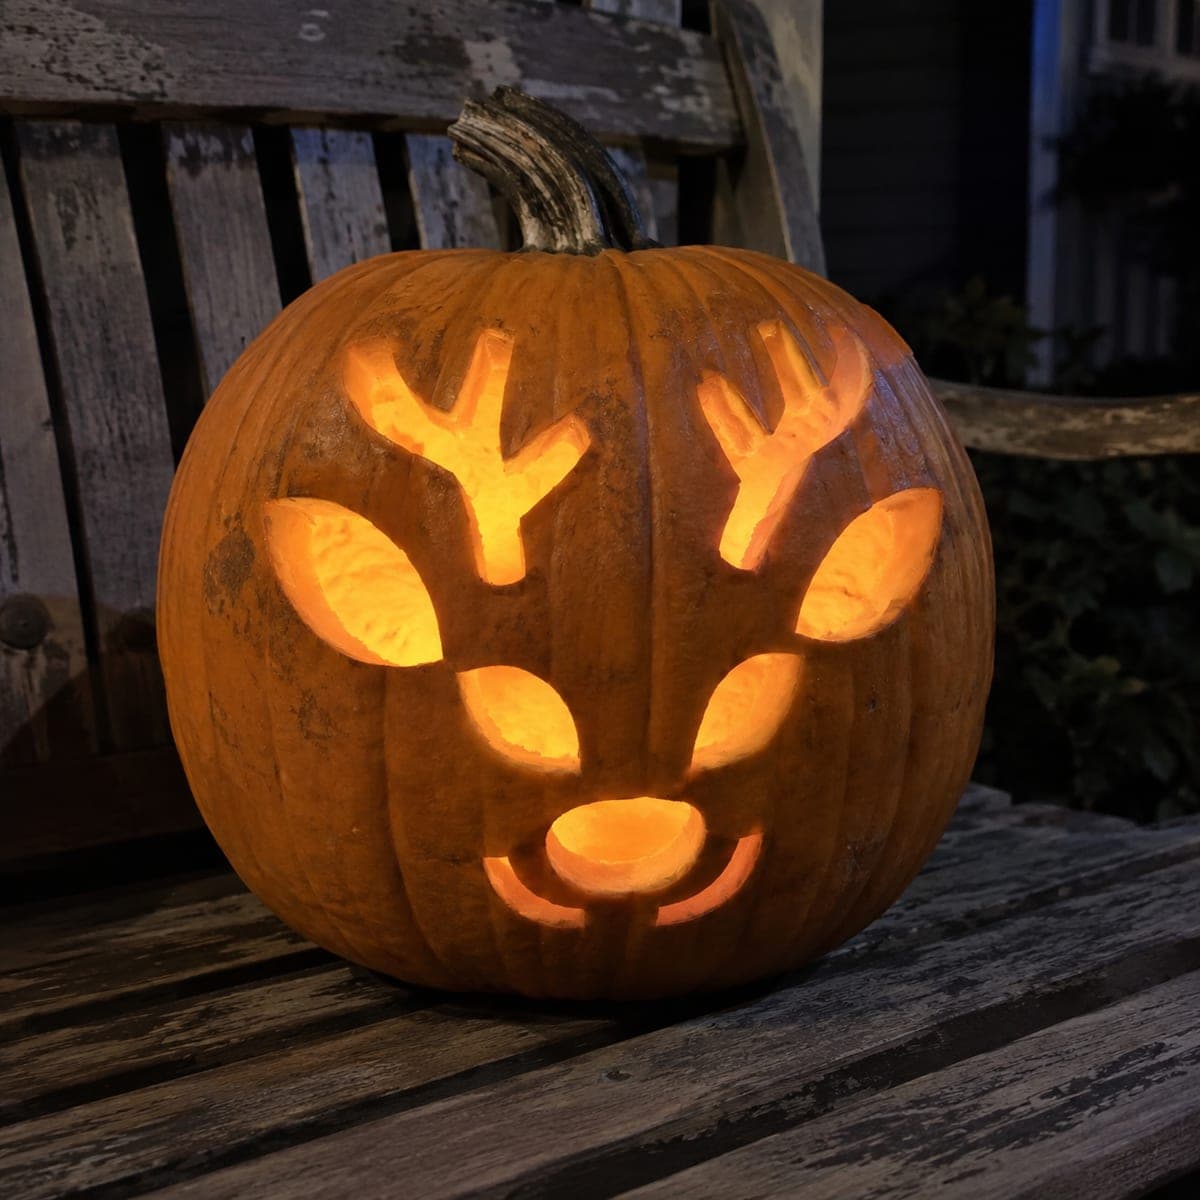
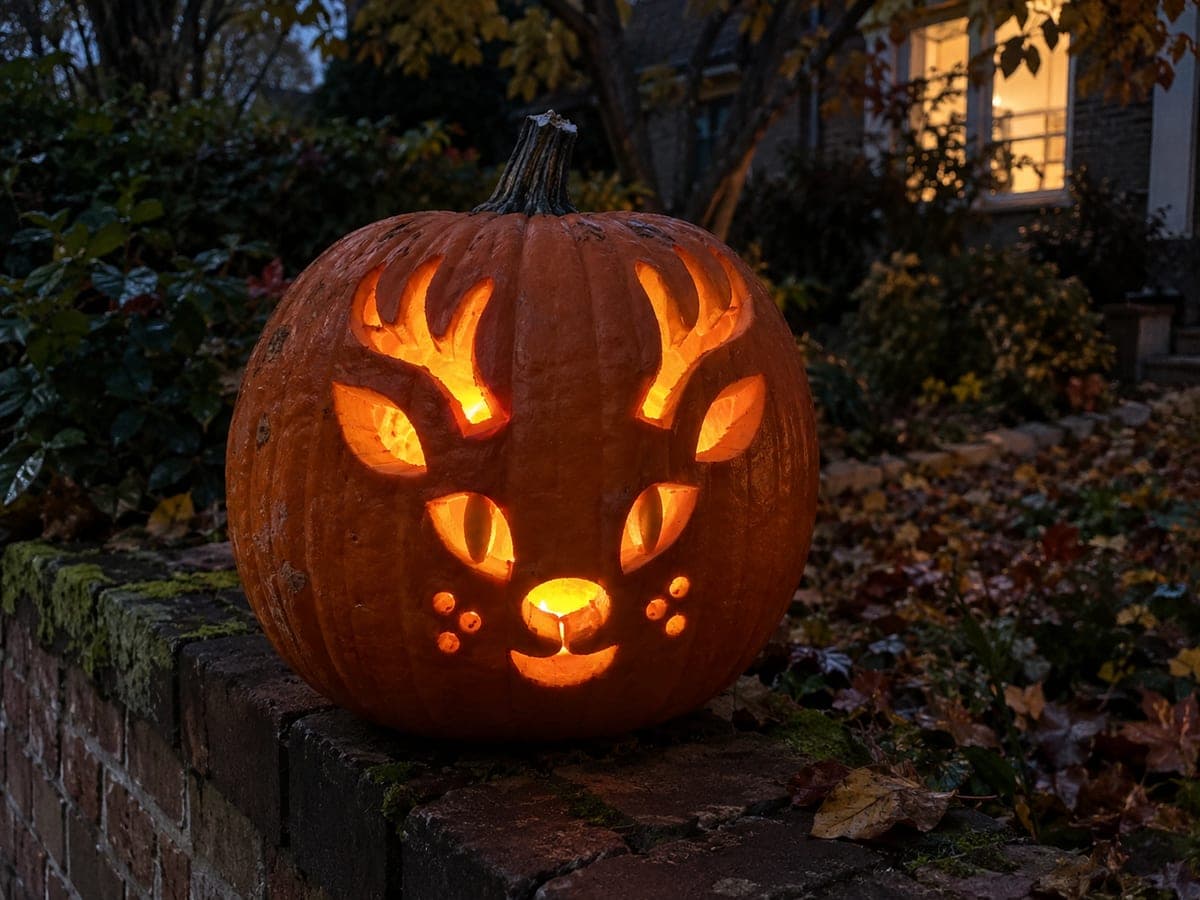
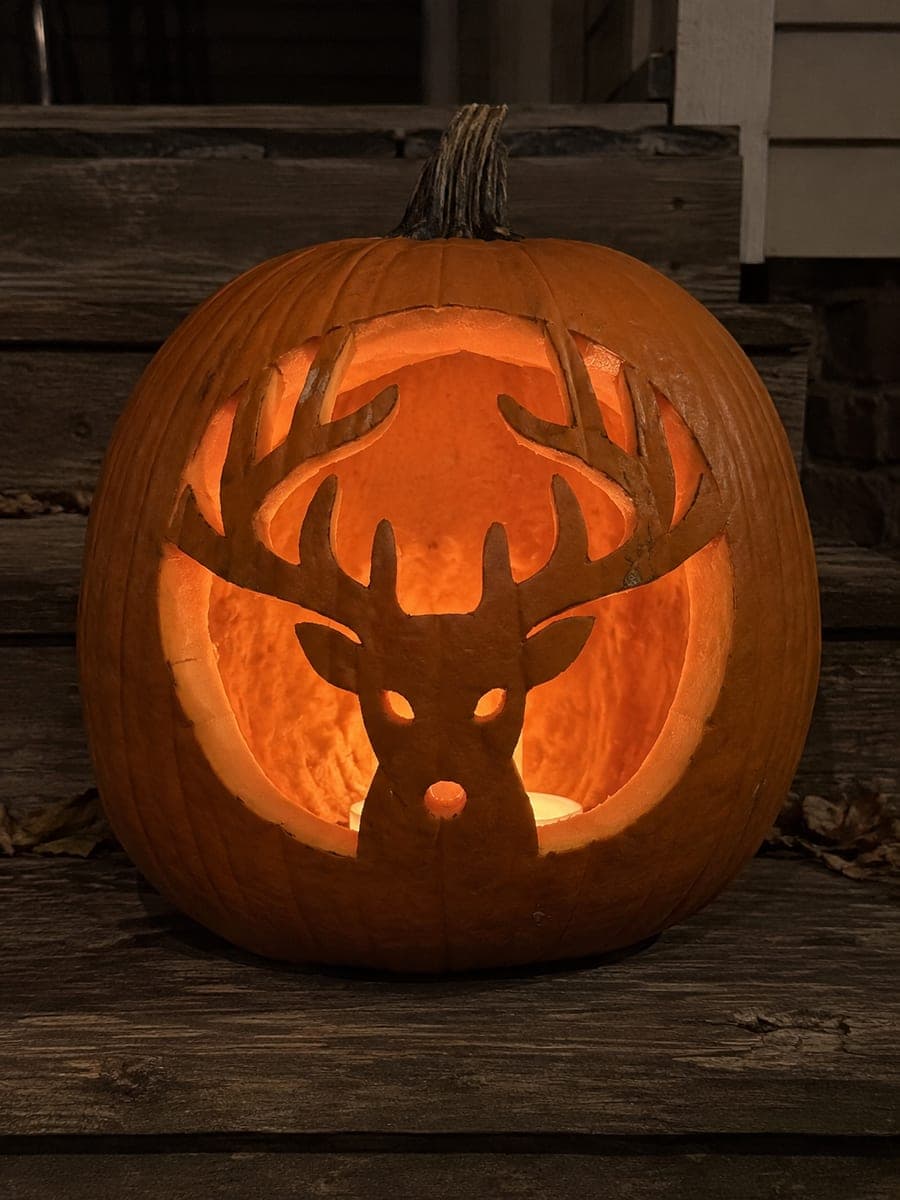
At expert difficulty, this deer pumpkin carving idea features a dense arrangement of fine facial and antler apertures, all broadly rooted and supported by deliberate rind bridges throughout. Shallow backed marks add realistic coat texture and muzzle definition in areas with solid backing. Sequence your cuts from the thickest antler stems inward and outward to the finest tine tips, keeping the overall structure intact. A bright LED inside reveals the full depth and complexity of the layered aperture pattern.

No ratings yet · Sign in to rate
Comments (0)

  • No comments yet — be the first.

Save without an account. Sign in to like or comment.

Our tips for carving a similar design

At expert difficulty, the deer portrait combines a dense arrangement of fine facial and antler apertures with shallow backed texture marks that suggest coat and muzzle definition. Every aperture is broadly rooted so no element floats. The correct sequence is to cut from the thickest antler stems outward to the finest tine tips, keeping the overall structure intact while adding increasing levels of fine detail.

From pumpkin to porch

  1. Prepare the pumpkin and plan the sequence

    Choose a large flat-fronted pumpkin and hollow to a 1 inch wall. Before starting, study the stencil and mentally group all apertures by size: large stems, medium tines, small facial openings, and finest detail slits. Plan to cut in that order.

  2. Pin-transfer with a fine pin

    Use the finest pin available and prick holes every one-eighth inch on the densest part of the stencil. A coarser dot map will leave gaps that make it hard to trace the finest aperture shapes once the stencil is removed.

  3. Cut antler stems and large facial apertures

    Start with the widest antler stems and the main eye openings. At expert level, these structural elements are more numerous and closer together than at hard level. Cut them in order from widest to narrowest, checking bridges between each pair of cuts.

  4. Cut medium tines and secondary facial openings

    Progress to medium antler tines and any secondary face-detail apertures. Use a fresh blade or replace the blade after every 10 to 15 cuts on very fine designs to maintain tip sharpness.

  5. Cut the finest apertures last

    Complete all fine detail slits and the smallest interior openings last, when the structural framework is fully established. The risk of accidental cracking is lowest at this stage because the pumpkin is now as stable as it will be.

  6. Add backed texture and illuminate

    Gouge the backed coat and muzzle texture marks in smooth sweeping motions. Insert a bright LED and view from six feet away in full darkness. Expert-level designs read best from a distance where the complete portrait resolves from the dense aperture pattern.

Written with AI to match this design

Gather your supplies

Check things off as you get ready.

Work on a stable surface, keep your free hand out of the cutting path, and have an adult handle sharp tools.

Three levels of light

  • Leave intact

    The dense rind matrix between aperture clusters and all antler bridges stays fully dark, forming the shadow half-tones of the portrait.

  • Peel & shade

    Extensive backed texture across the neck, muzzle, and brow glows at mid-level, creating smooth tonal gradients in the portrait.

  • Cut through

    The dense fine apertures forming both antler networks, eye highlights, and muzzle detail clusters glow at full brightness.

Learn the carving basics

Before you start cutting

How do I avoid losing track of which apertures I have already cut on such a dense design?

After each cut, lightly shade the completed opening on a printed copy of the stencil with a pencil. This paper log helps you resume accurately if you take a break and prevents cutting the same bridge twice from different angles.

The finest tine tips are less than a quarter inch long. How do I cut them safely?

Use a pointed craft knife rather than a pumpkin saw for any element shorter than half an inch. Press straight down through the rind with the tip, walk the cut around the tiny shape, and lift the piece out with the tip rather than pushing it through.

Should I do backed marks before or after through-cuts on an expert design?

Always after. The backed texture marks are done over completed through-cut sections, and removing material from the rind surface reduces wall stiffness. Doing them last means the rind flexes as little as possible while you complete the precision through-cuts.

Your take belongs here, too.

Changed a detail? Made it simpler? Share a photo of your version and tell the community what worked.

Share your pumpkin

More pumpkins like this

You've reached the end · 8 pumpkins
The Patch Report

Fresh pumpkins, in your inbox.

The best new carvings, ideas worth stealing, and how-tos for carving season. Short, seasonal, and gone by November.

A short email during carving season. Unsubscribe anytime. See our privacy policy.