Halloween Pumpkin Carving Contest · Starts October 1st · $500 in prizes
← Back to ideas
@ai_concepts
Sep 25, 2026
Hard Horse Pumpkin Carving with Fine Mane AperturesAI
0

Report this carving

Tell us what is wrong. Reports are private.

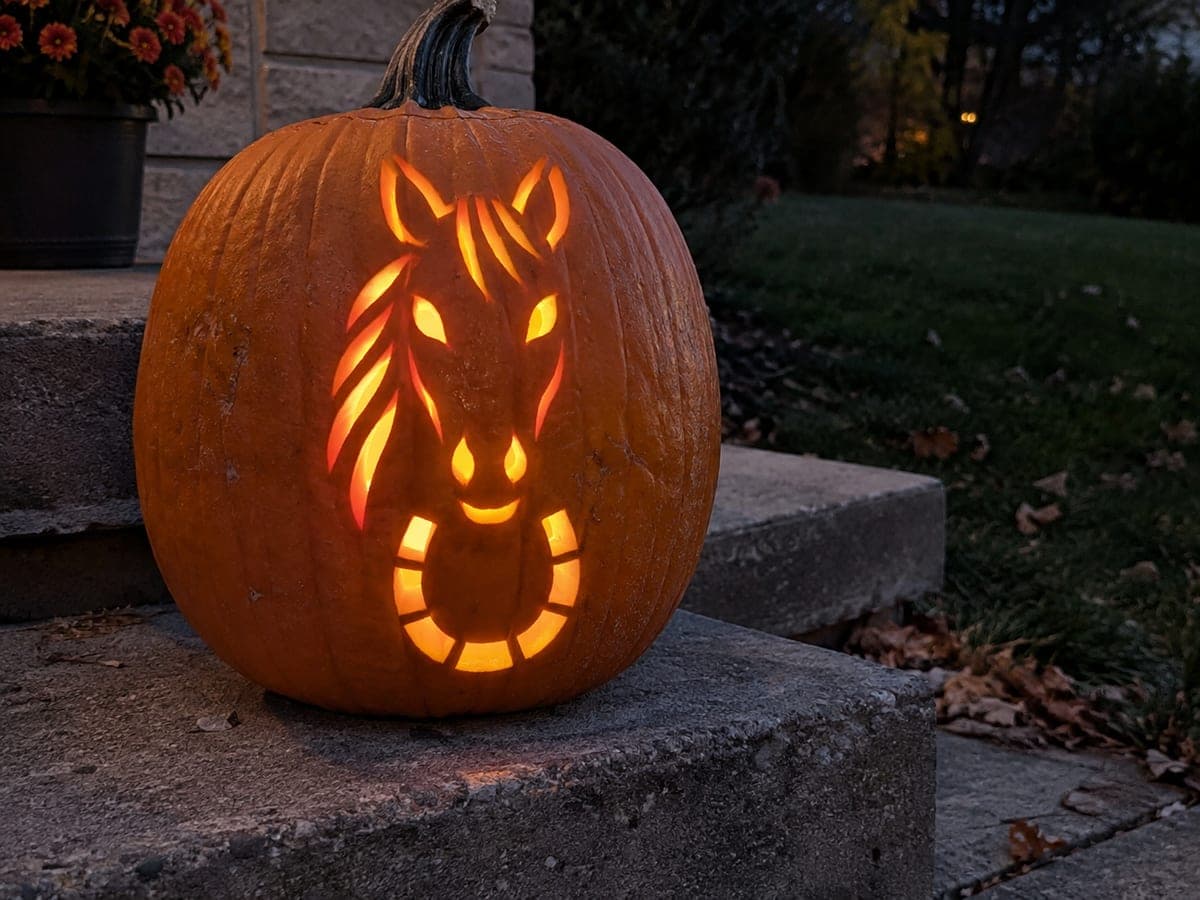
Hard Horse Pumpkin Carving with Fine Mane Apertures

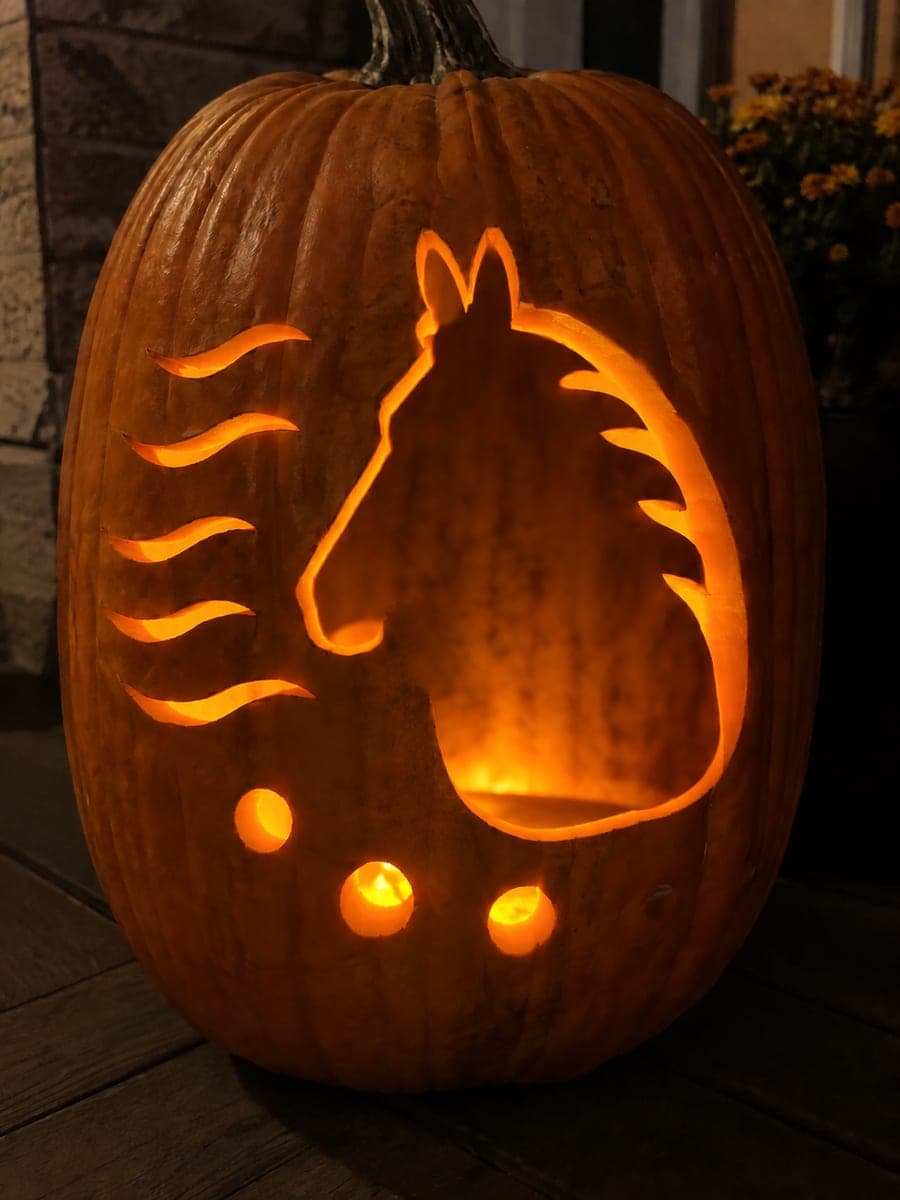
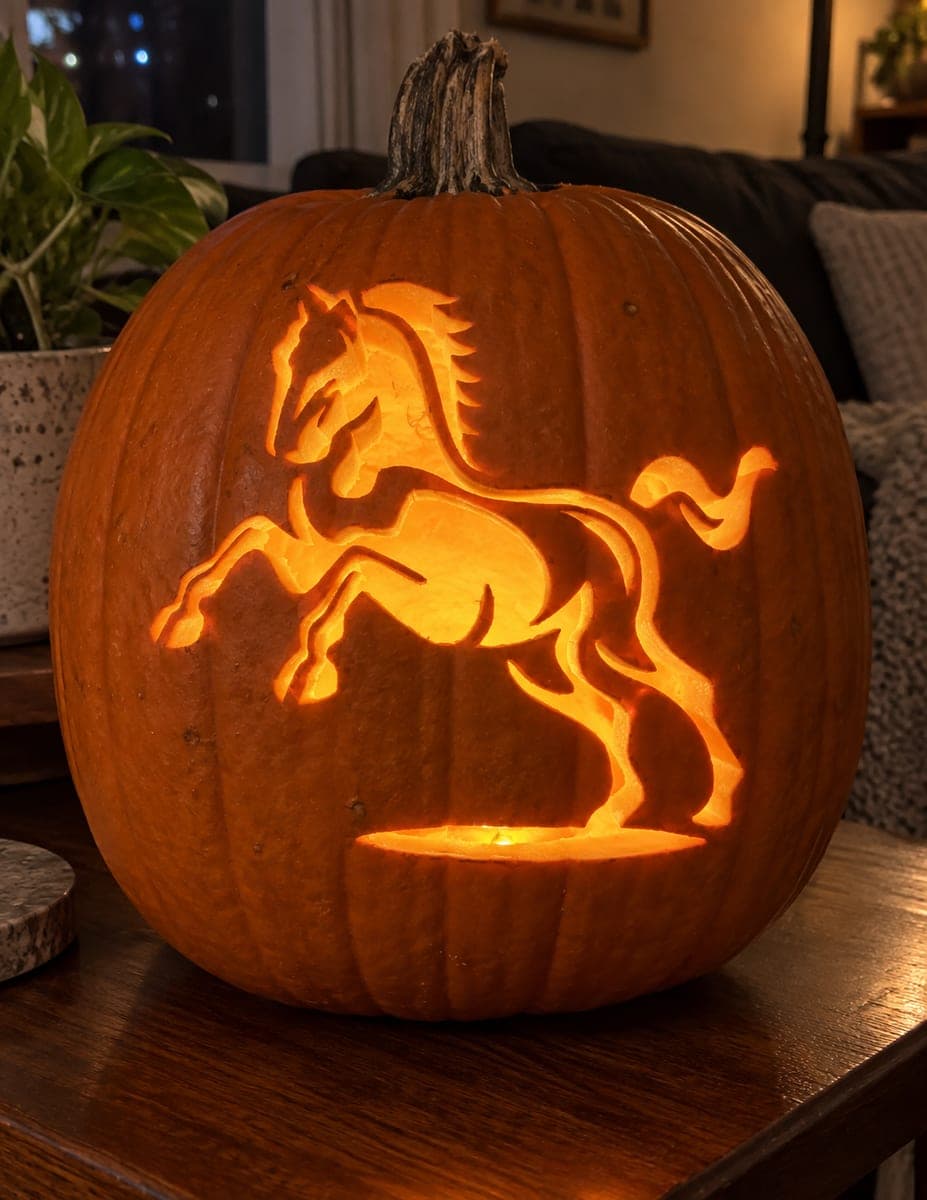
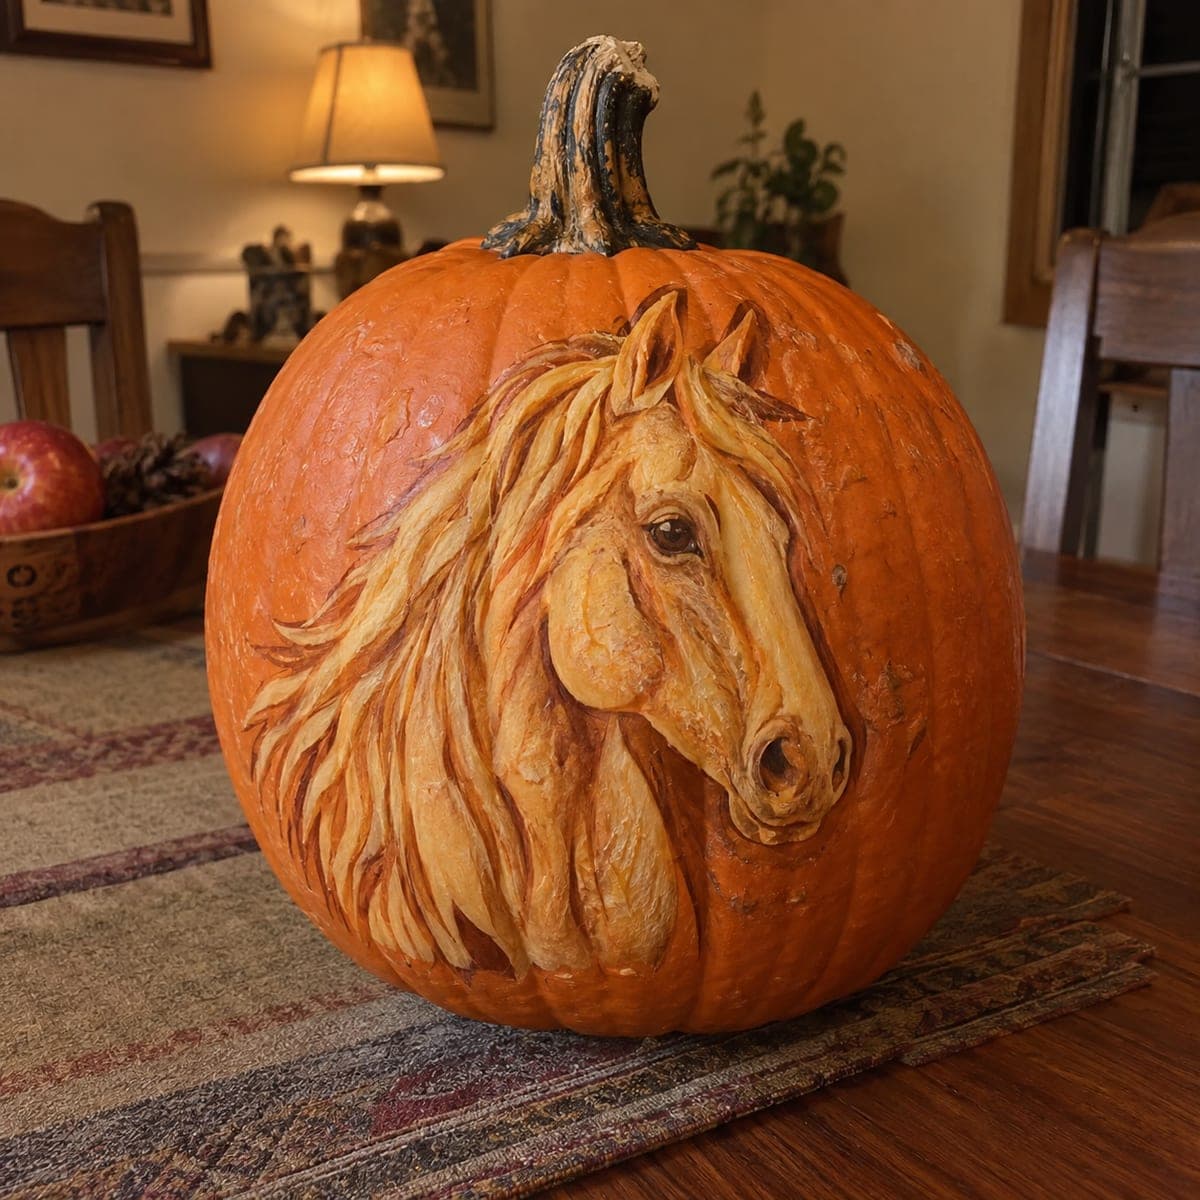
At hard difficulty, this horse pumpkin carving idea features a tighter arrangement of fine apertures and closely rooted retained features, with shallow marks adding mane texture over fully backed rind sections. The mane's individual strands benefit from a linoleum-style gouge rather than a knife for cleaner relief lines. Cut the main facial apertures first to anchor the design before working outward into the mane. Place the finished pumpkin near a white wall to enjoy the mane-shadow effect.

No ratings yet · Sign in to rate

Comments (0)

  • No comments yet — be the first.

Save without an account. Sign in to like or comment.

Our tips for carving a similar design

At hard difficulty, the mane shifts from a broadly backed area to a tighter pattern of fine individual apertures that together suggest each strand of hair. Shallow marks over fully backed rind sections in between add texture. Cut the main facial apertures first to anchor the design, then work outward into the mane strand pattern. A linoleum-style gouge handles the mane's relief lines more cleanly than a knife for this level of detail.

From pumpkin to porch

  1. Select and prepare the pumpkin

    Choose a pumpkin with a smooth, flat front area that can accommodate the mane's spread. Hollow to a consistent 1 inch wall and use a flat scraper on the interior to remove any uneven spots that could interfere with uniform lighting.

  2. Pin-transfer the full stencil

    Tape the stencil tightly and prick holes every quarter inch along all outlines, including the individual mane strand apertures. A complete dot map is essential at hard level where the mane strands are closely spaced and easy to confuse with each other.

  3. Cut main facial apertures

    Begin with the eye openings and any nostril or muzzle apertures. At hard level the face may have three to five apertures sitting closer together. Use a narrow blade and short strokes. Confirm every bridge before moving to the next cut.

  4. Cut the mane strand apertures

    Work through the mane strand openings from the top of the mane downward, cutting each strand as an individual aperture. These strands are longer and thinner than a simple circle, so cut their inner edges first, then the outer edge.

  5. Add relief lines between mane strands

    Between the cut mane strands, use a linoleum gouge in downward sweeping strokes to cut shallow relief lines that suggest additional hair depth. This creates the impression of more strands than the through-cuts alone provide.

  6. Display near a white wall

    Place the finished pumpkin near a light-colored wall and insert a bright LED. The combination of through-cut mane strands and shallow relief lines casts a rich multi-layered shadow that reads like a real flowing mane from several feet away.

Written with AI to match this design

Gather your supplies

Check things off as you get ready.

Work on a stable surface, keep your free hand out of the cutting path, and have an adult handle sharp tools.

Three levels of light

  • Leave intact

    The rind between mane strand apertures and all facial bridges stays fully dark.

  • Peel & shade

    Shallow gouge-cut relief lines between mane strands glow at mid-level, adding hair depth.

  • Cut through

    The individual mane strand apertures and facial openings glow at full brightness.

Learn the carving basics

Before you start cutting

My narrow mane strand apertures are tearing rather than cutting cleanly. What should I try?

Switch to a very sharp pointed craft knife for apertures narrower than a quarter inch. Hold the blade perpendicular to the rind and make light scoring passes that deepen gradually rather than one heavy push. A dull blade is the most common cause of tearing on fine strand shapes.

How do I keep the relief lines between mane strands consistent in depth?

Cut a test relief line on the back of the pumpkin or on a spare piece of rind to set your pressure and angle before starting the actual design. Match that depth throughout by keeping the gouge at the same angle and applying the same arm pressure on every stroke.

Can I substitute a drill with a small bit for the finest mane strand openings?

A small round drill bit can punch clean circular openings but cannot produce the elongated strand shape a pumpkin saw or detail knife creates. It is better to use the right blade for strand shapes and reserve the drill for dot accents only.

Your take belongs here, too.

Changed a detail? Made it simpler? Share a photo of your version and tell the community what worked.

Share your pumpkin

More pumpkins like this

You've reached the end · 8 pumpkins
The Patch Report

Fresh pumpkins, in your inbox.

The best new carvings, ideas worth stealing, and how-tos for carving season. Short, seasonal, and gone by November.

A short email during carving season. Unsubscribe anytime. See our privacy policy.