Halloween Pumpkin Carving Contest · Starts October 1st · $500 in prizes
← Back to ideas
@ai_concepts
Sep 25, 2026
Expert Horse Pumpkin with Dense Mane and Portrait AperturesAI
0

Report this carving

Tell us what is wrong. Reports are private.

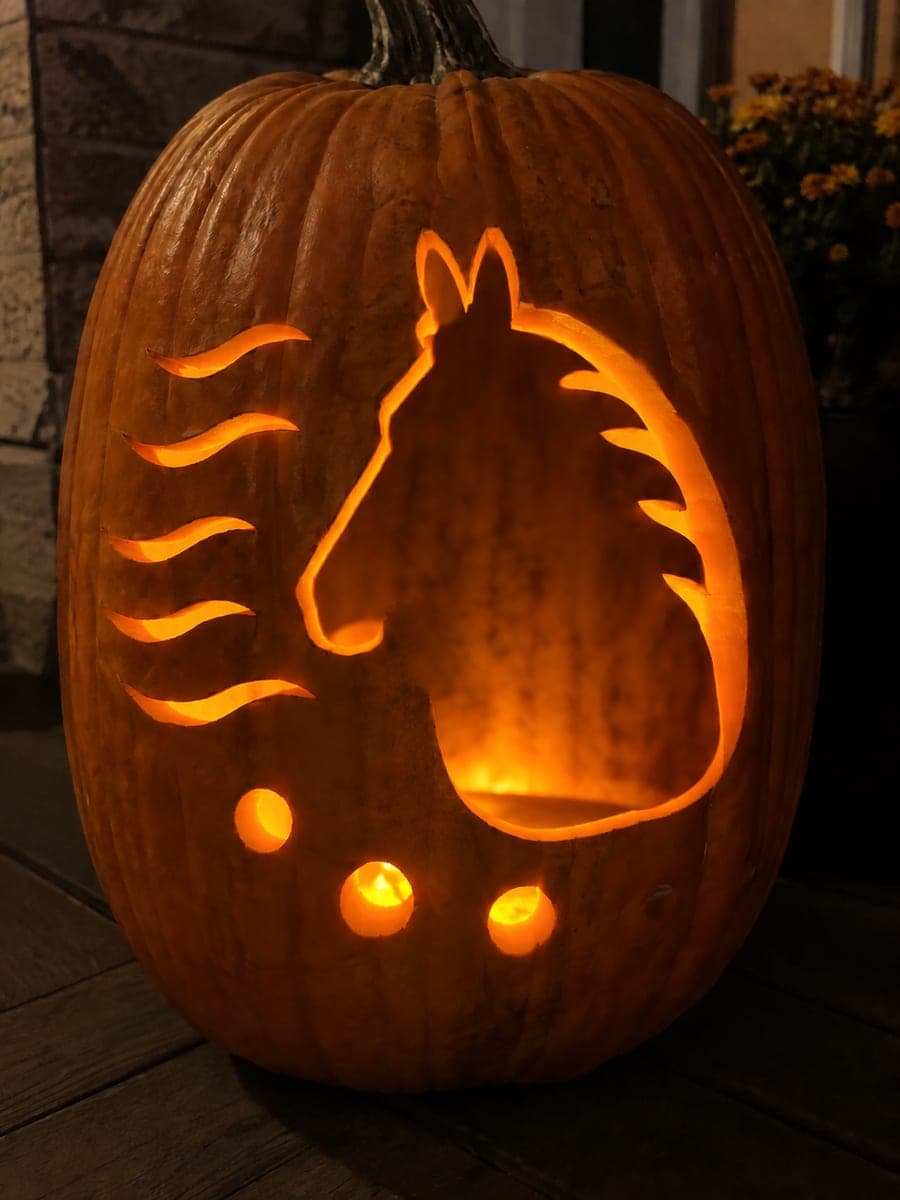
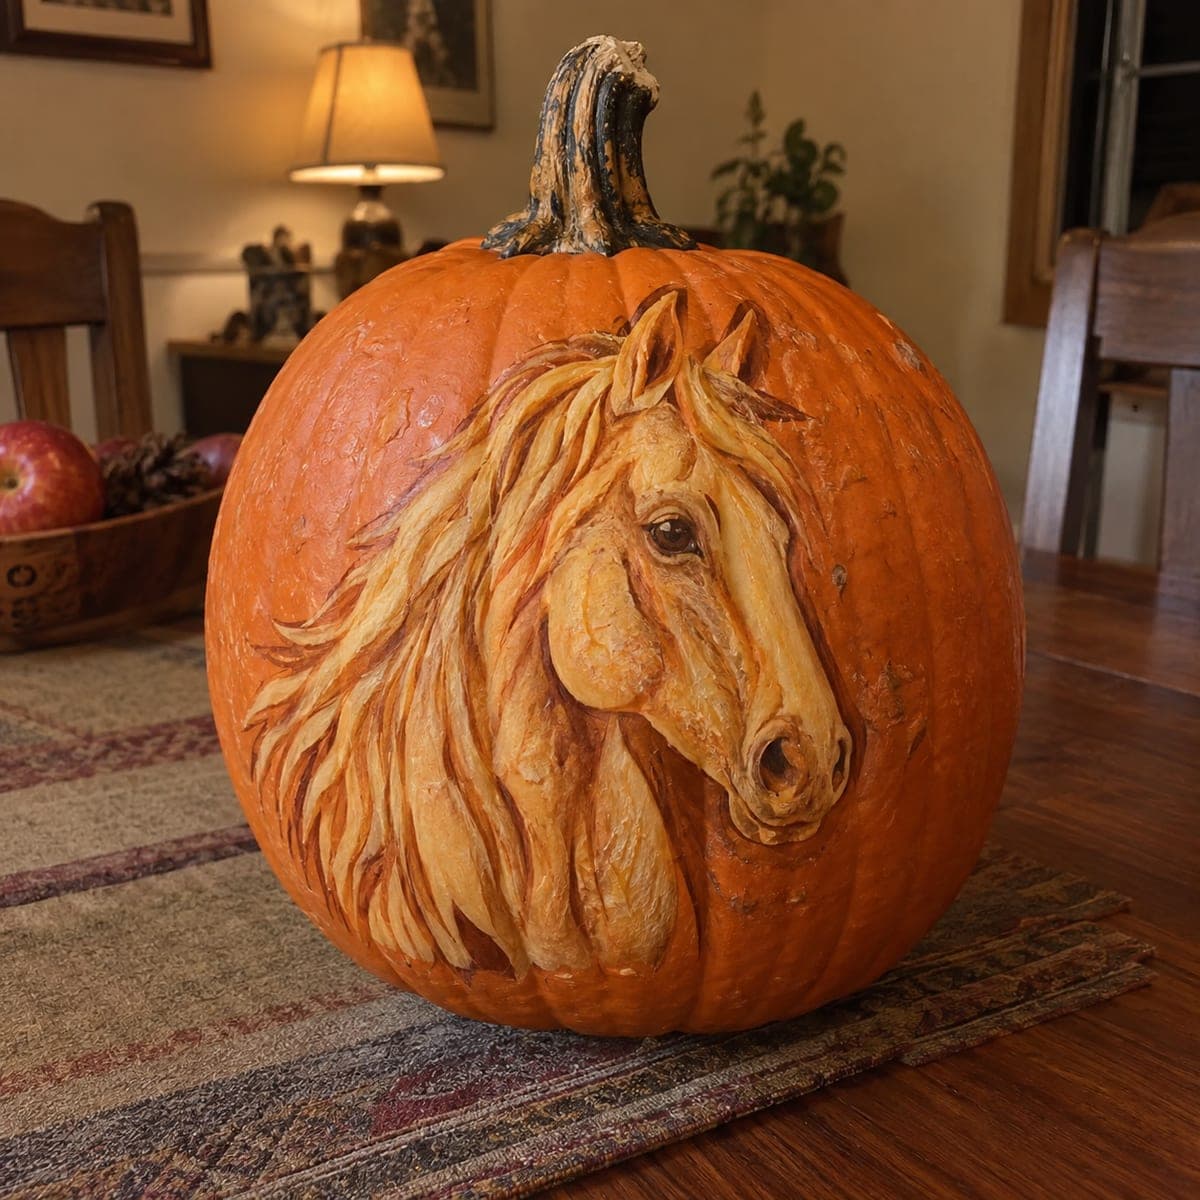
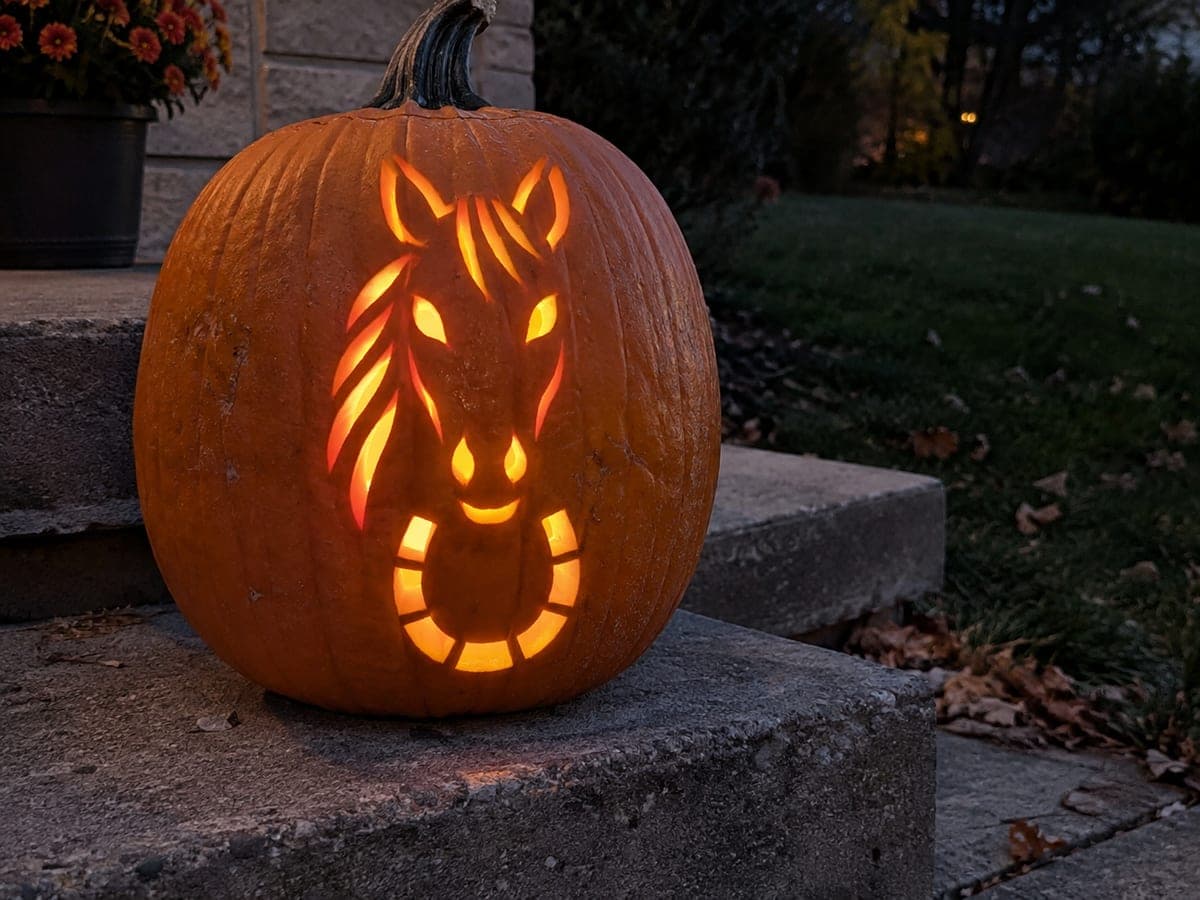
Expert Horse Pumpkin with Dense Mane and Portrait Apertures

This expert horse pumpkin carving combines a dense network of portrait apertures with detailed mane relief, all supported by precisely planned rind bridges that keep every element rooted to the shell. Shallow backed texture works across the nose and neck wherever the rind has full backing, adding realism to the glowing design. Always cut the widest structural bridges last, and use a bright LED rather than a candle so the fine aperture detail reads clearly. Pin-transfer the stencil with care to preserve the mane's flow.

No ratings yet · Sign in to rate
Comments (0)

  • No comments yet — be the first.

Save without an account. Sign in to like or comment.

Our tips for carving a similar design

This expert design combines a dense network of portrait apertures with detailed mane relief, all supported by precisely planned rind bridges connecting every element to the shell. Shallow backed texture works across the nose and neck wherever the rind has full backing, adding realism to the lit design. The cut sequence is critical: cut widest structural bridges last, and use a bright LED rather than a candle so every fine aperture reads clearly.

From pumpkin to porch

  1. Select the pumpkin and plan cuts

    Choose the largest flat-fronted pumpkin available. Before picking up the saw, spend five minutes studying the stencil and grouping every element by size. Write the cut order on a notepad so you can follow it without stopping to plan mid-carve.

  2. Pin-transfer with precision

    Use a very fine pin and prick holes one-eighth inch apart along all outlines in the dense mane and portrait zones. A coarser map on an expert design will leave ambiguity between adjacent fine apertures and backed texture boundaries.

  3. Cut the widest portrait and neck apertures

    Begin with the largest eye, nostril, and neck-contour openings. These establish the main structural skeleton of the portrait. Check that every bridge between these large openings is at least half an inch wide before moving to medium-sized cuts.

  4. Cut medium and fine portrait apertures

    Move through medium face-detail apertures, then to the fine portrait slits that define brow ridge, lip line, and mane strand edges. Use a fresh blade for each size step. At expert level a dull blade tip is the leading cause of bridges cracking.

  5. Cut fine mane strand apertures

    Work through the mane strand apertures from the top of the head downward. At expert level these are numerous and closely spaced. Complete one strand fully before starting the adjacent one, and rotate the pumpkin to maintain a comfortable cutting angle.

  6. Add backed texture and display

    Gouge backed texture marks across the nose, neck, and mane fill areas. Insert a high-output LED and view the design from six feet away in full darkness. At expert level the portrait resolves from the combined aperture and relief pattern only at a comfortable viewing distance.

Written with AI to match this design

Gather your supplies

Check things off as you get ready.

Work on a stable surface, keep your free hand out of the cutting path, and have an adult handle sharp tools.

Three levels of light

  • Leave intact

    The dense rind matrix between aperture clusters and the structural neck and jaw bridges stays fully dark.

  • Peel & shade

    Backed texture zones across the muzzle, neck, and inter-strand mane areas glow at mid-level.

  • Cut through

    The dense portrait apertures forming eyes, nostril, and mane strand network glow at full brightness.

Learn the carving basics

Before you start cutting

The mane strands at expert level are so close together that I keep cutting into the neighboring bridge. How do I avoid this?

Cut the inner edge of every strand first in a first pass across all strands, then come back and cut the outer edges in a second pass. Separating the two edges of each strand into different passes reduces the chance of the blade drifting into a neighboring bridge.

How do I preserve the finished expert carve for multiple nights of display?

Rub petroleum jelly over every cut edge and the interior walls immediately after carving. Store the pumpkin in a cool space or refrigerate it during the day. Re-apply petroleum jelly to cut edges every 36 hours. An expert carve kept this way can look good for five to seven days.

I made a mistake and cut through a bridge I needed. Can I repair it?

Insert a toothpick through both sides of the break as a pin, then dab the seam with petroleum jelly or white craft glue applied with a toothpick. The repair holds well overnight and is invisible at night when the pumpkin is lit.

Your take belongs here, too.

Changed a detail? Made it simpler? Share a photo of your version and tell the community what worked.

Share your pumpkin

More pumpkins like this

You've reached the end · 8 pumpkins
The Patch Report

Fresh pumpkins, in your inbox.

The best new carvings, ideas worth stealing, and how-tos for carving season. Short, seasonal, and gone by November.

A short email during carving season. Unsubscribe anytime. See our privacy policy.