Halloween Pumpkin Carving Contest Β· Starts October 1st Β· $500 in prizes
← Back to ideas
@ai_concepts
Sep 25, 2026
Intermediate Deer Jack-O-Lantern with Antler DetailAI
0

Report this carving

Tell us what is wrong. Reports are private.

Intermediate Deer Jack-O-Lantern with Antler Detail

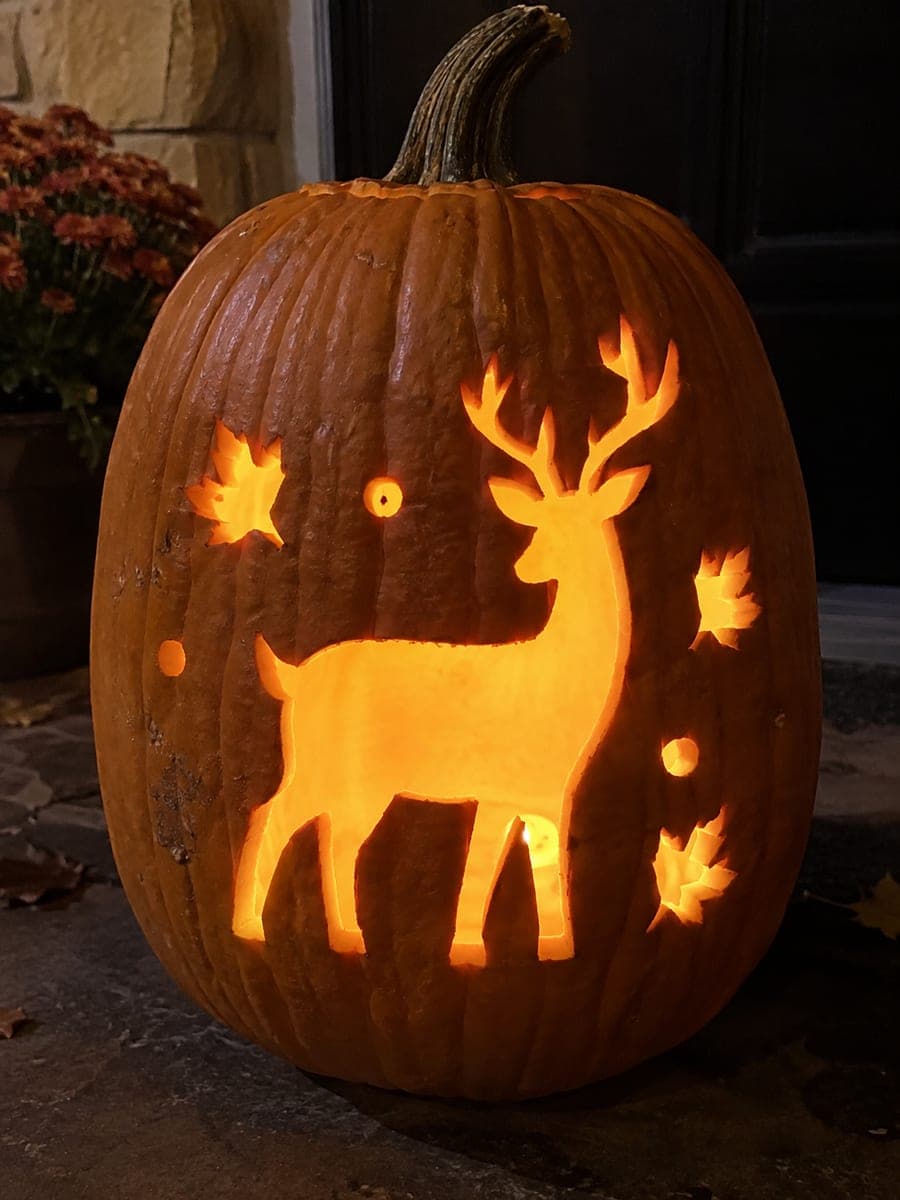
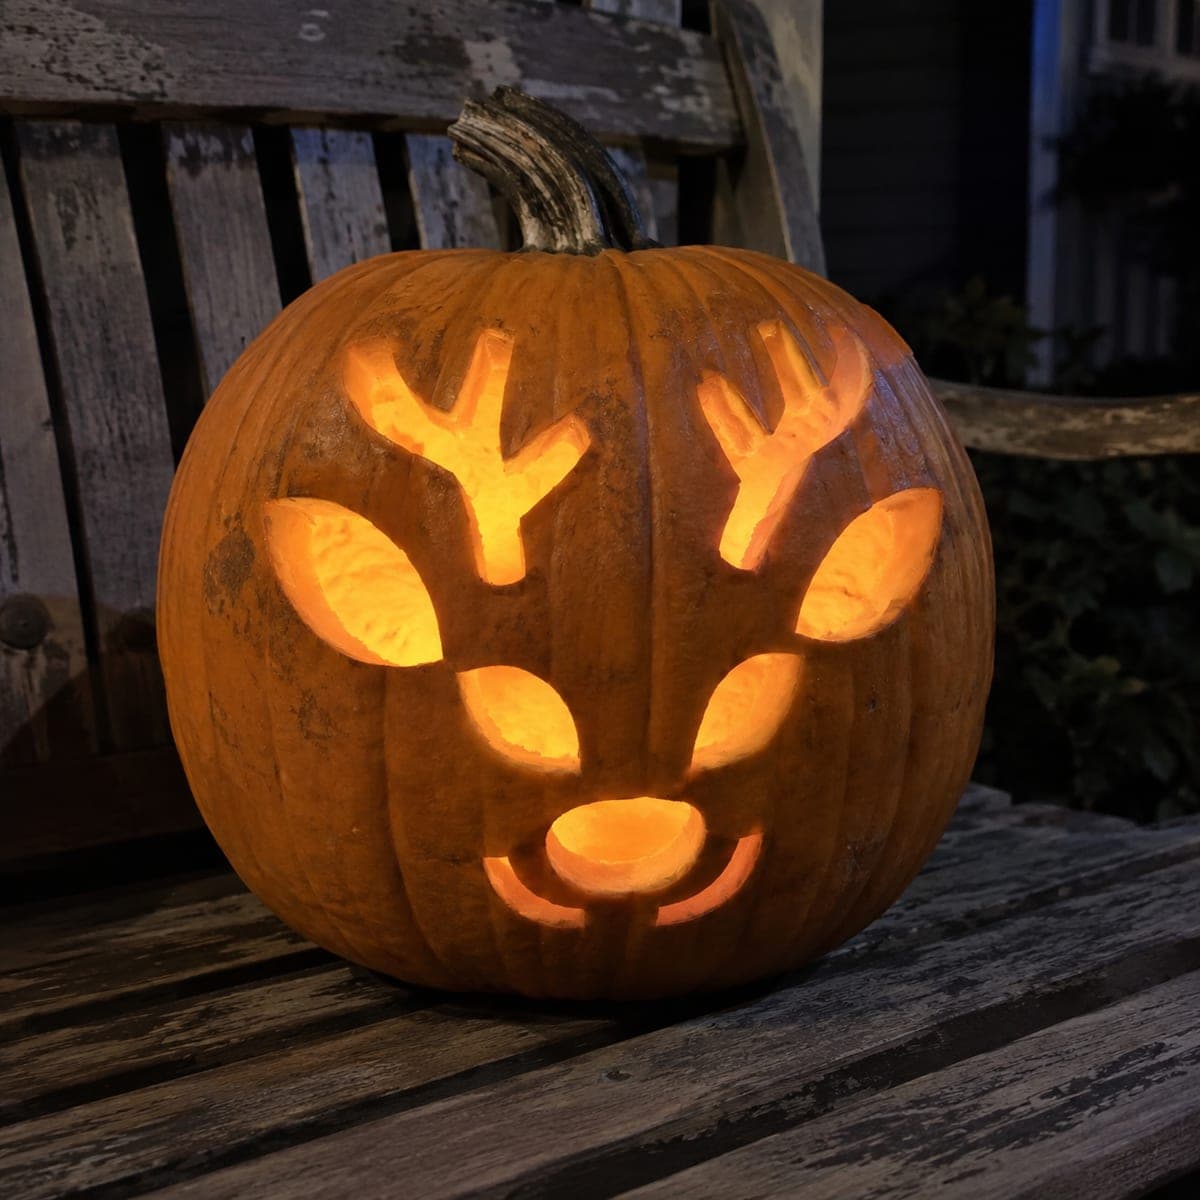
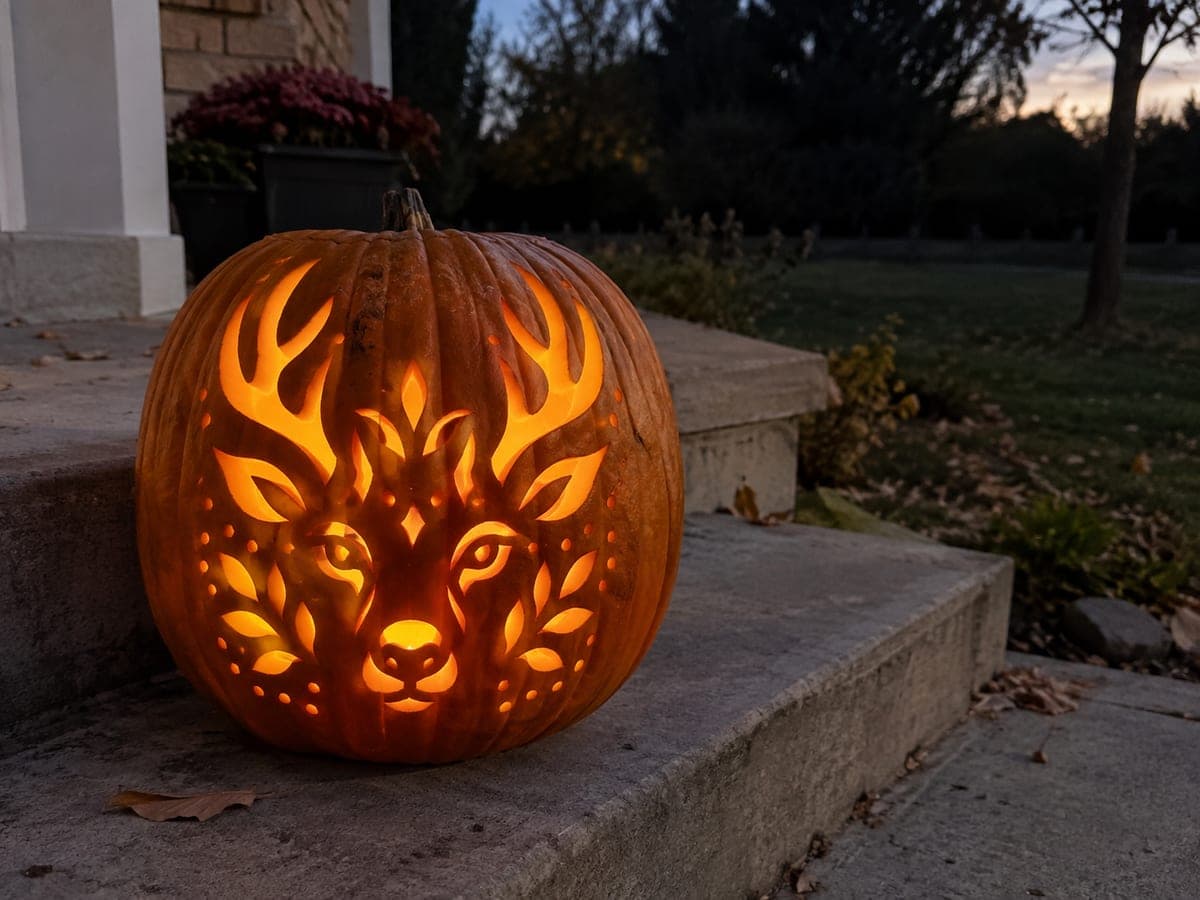
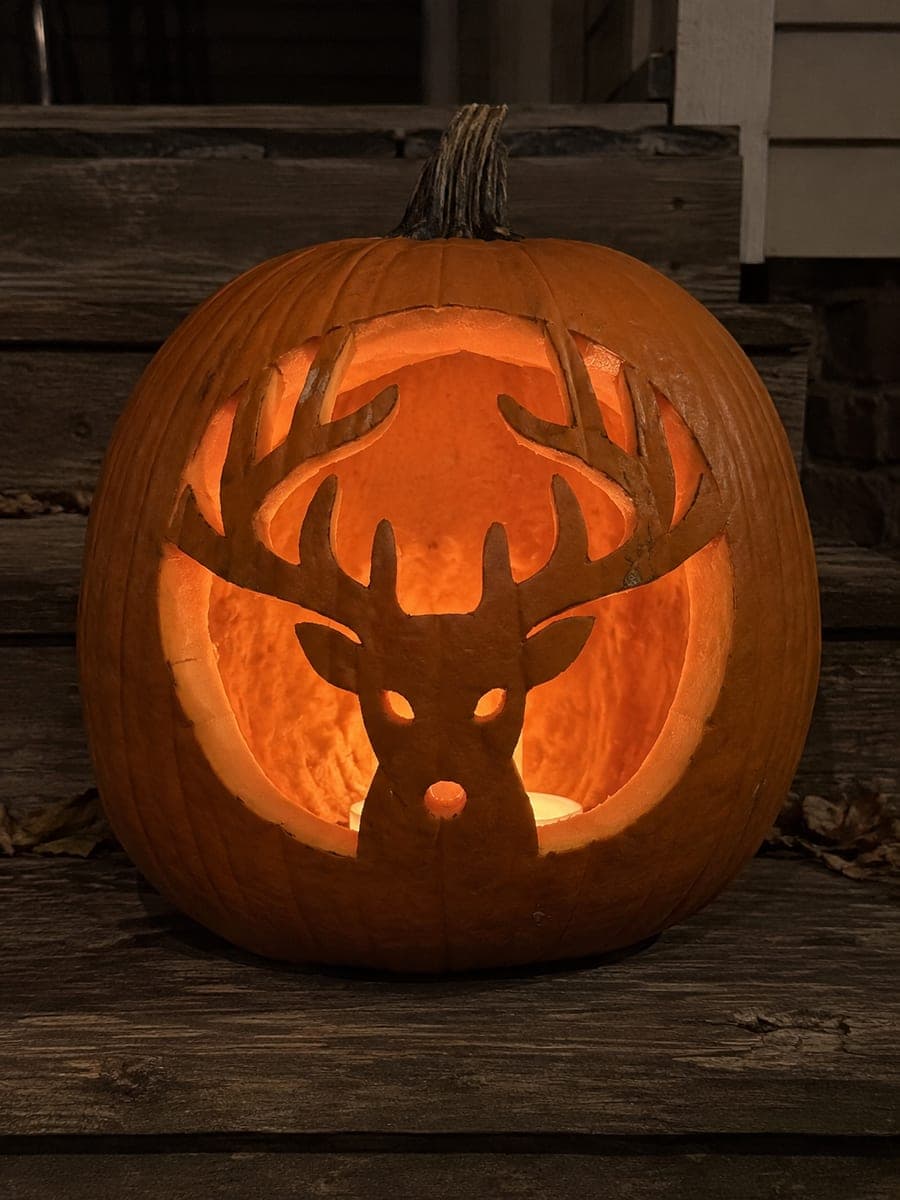
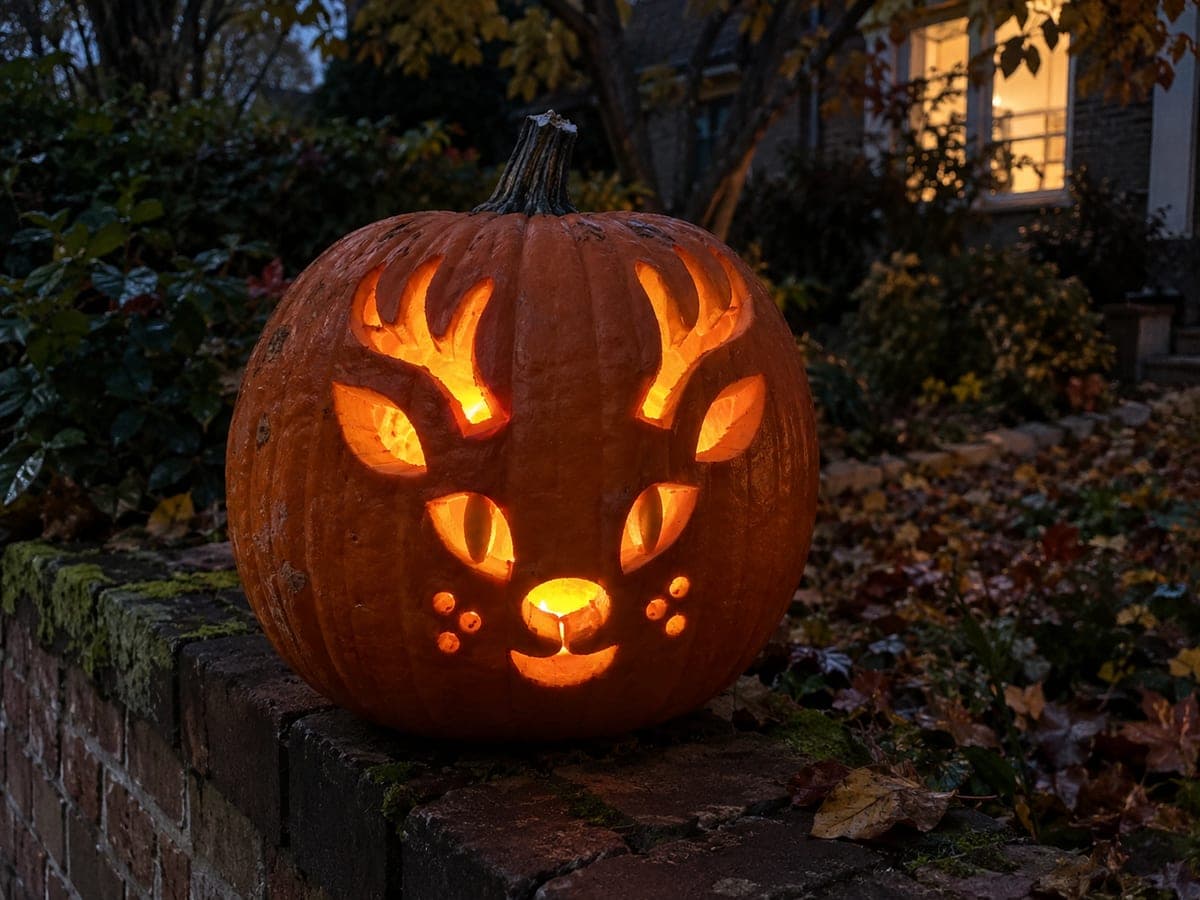
Separate through apertures and retained features introduce more complexity in this intermediate deer jack-o-lantern, with shallow backed detail added only over fully supported rind sections. The branching antler shape is the most intricate element, so cut it with slow, deliberate strokes to preserve each tine. Work the face apertures first to anchor the design, then finish with the antler branches. Displayed on a dark porch, the branching antler silhouette casts an elegant shadow.

No ratings yet Β· Sign in to rate

Comments (0)

  • No comments yet β€” be the first.

Save without an account. Sign in to like or comment.

Our tips for carving a similar design

More apertures and retained rind shapes build out the deer's muzzle and brow in this design, while the branching antler remains the centrepiece. The antler branches sit closer together at medium difficulty, requiring careful sequence planning. Cut the face apertures first to anchor the overall structure, then finish with the antler branches using slow, deliberate strokes.

From pumpkin to porch

  1. Prep the pumpkin

    Hollow the pumpkin to a consistent 1 to 1.25 inch wall. At medium difficulty the face has more apertures and closer bridges, so a thinner wall makes cutting easier without sacrificing structural strength.

  2. Transfer the stencil with care

    Pin-transfer all outlines, paying close attention to the bridge between the two eye openings and the antler base. Mark any backed contour areas with a lighter dot pressure so you can distinguish them from through-cut lines after removing the paper.

  3. Cut main face apertures

    Begin with the two eye openings and any muzzle apertures. At medium level these may sit closer together than at easy level, so use a narrow blade and short strokes to stay accurate along shared edges between two nearby openings.

  4. Cut the antler base and branches

    Start at the widest antler stem and work upward. Cut each branch individually, treating it as a separate cut connected to a completed parent stem. Slow, deliberate strokes preserve each tine end. Do not rush the branch tips since they are the thinnest parts of the design.

  5. Add backed contours

    Use a gouge to add shallow backed marks along the cheekbones and muzzle where the stencil indicates. Keep the gouge angle low and work across the grain of the rind rather than into it to reduce tearing.

  6. Display and enjoy

    Place the pumpkin on a dark porch or step and insert a bright LED. The branching antler silhouette casts an elegant shadow on walls or fences behind the pumpkin. Move the LED toward the back interior wall to push more light through the antler.

Written with AI to match this design

Gather your supplies

Check things off as you get ready.

Work on a stable surface, keep your free hand out of the cutting path, and have an adult handle sharp tools.

Three levels of light

  • Leave intact

    The solid rind between antler branches, the forehead, and the jaw bridges remains dark.

  • Peel & shade

    Shallow backed cheek and muzzle contours glow at a soft mid-level between the bright cut openings.

  • Cut through

    The eye apertures, nose opening, and full antler branch network glow at full brightness.

Learn the carving basics

Before you start cutting

How do I keep each antler branch from wavering off the stencil line as I cut?

Clamp the pumpkin between your knees or on a non-slip mat so it cannot rotate. Cut the inner edge of each branch first, then come back for the outer edge. Cutting both edges of a branch before moving the saw reduces the chance of the cut wandering between passes.

The bridge between my two eye openings cracked. Can I continue?

If the bridge cracked but the piece is still attached, apply a small amount of petroleum jelly across the crack to stabilize it and continue carefully. If the bridge broke clean, the design may still look good but be fragile; work very gently on any nearby cuts.

Do I need to seal the pumpkin after carving to make it last longer?

Rubbing petroleum jelly or a thin coat of vegetable oil over all cut edges and the interior walls right after carving slows dehydration significantly. Re-apply every other day for a display that can last up to a week.

Your take belongs here, too.

Changed a detail? Made it simpler? Share a photo of your version and tell the community what worked.

Share your pumpkin

More pumpkins like this

You've reached the end Β· 8 pumpkins
The Patch Report

Fresh pumpkins, in your inbox.

The best new carvings, ideas worth stealing, and how-tos for carving season. Short, seasonal, and gone by November.

A short email during carving season. Unsubscribe anytime. See our privacy policy.