Halloween Pumpkin Carving Contest · Starts October 1st · $500 in prizes
← Back to ideas
@ai_concepts
Sep 25, 2026
Crossed Tennis Rackets With Grid Holes PumpkinAI
0

Report this carving

Tell us what is wrong. Reports are private.

Crossed Tennis Rackets With Grid Holes Pumpkin

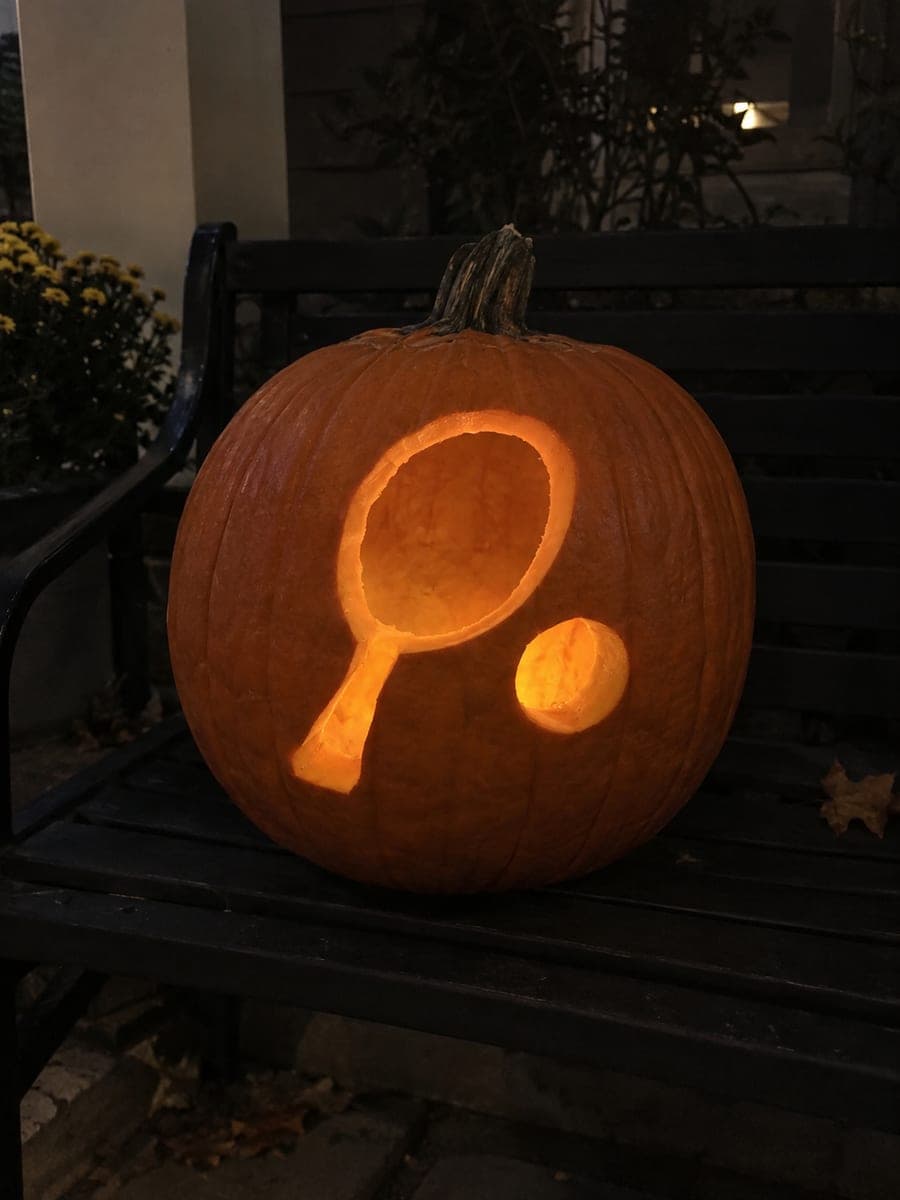
Two retained crossed rackets frame a 3-by-3 grid of square holes inside an oval window in this hard tennis pumpkin carving idea. The racket handles root to the lower rim and the heads connect to the upper frame, so the entire composition is self-supporting. Wide grid ribs separate each square aperture; carve the outer oval frame first to define the work area, then cut the grid holes from top row to bottom. The separate ball opening above is attached to the top rim by a wide tab with a shallow central detail score.

No ratings yet · Sign in to rate

Comments (0)

  • No comments yet — be the first.

Save without an account. Sign in to like or comment.

Our tips for carving a similar design

Two retained rackets cross in front of an oval window, with their handles rooted to the lower rim and their heads connected to the upper frame, so the composition is self-supporting from the start. The 3-by-3 grid of square holes inside the oval uses wide connected ribs rather than thin wires, keeping structural integrity throughout. The separate ball opening above is attached to the top rim by a wide tab with a shallow central detail score.

From pumpkin to porch

  1. Prep and plan the structure

    Select a large pumpkin with room for the full oval window plus the ball opening above it. Cut from the base, hollow, and scrape to three-quarters of an inch. Identify the four structural anchor points on the template: both handle bases at the lower rim, both racket head tops at the upper frame. Confirm all four will sit well inside the outer rind border before transferring.

  2. Transfer the full template

    Tape and prick every element: the oval window outline, both racket silhouettes inside it, the 3-by-3 grid rib positions, and the ball aperture with its wide tab above. Use two marker colors to separate through-cut grid holes from backed racket details and tab scoring.

  3. Cut the oval window frame

    Cut the outer oval window perimeter first with a thin flexible blade, leaving both racket silhouettes intact inside. The oval frame defines the work area for all subsequent cuts. Keep the blade perpendicular throughout the curved cut.

  4. Cut the grid holes inside the oval

    With the oval frame in place, cut the nine square grid holes row by row from top to bottom. Leave the wide rib bands between holes intact. Use a craft knife for precise ninety-degree corners and a thin blade for the straight sides.

  5. Score the racket detail and tab

    Use a V-tool to score the racket silhouette outlines as shallow backed marks inside the retained rind of the oval. Score the central detail on the wide tab above as a shallow groove. These backed scores add visual complexity without through-cuts.

  6. Cut the ball opening and display

    Cut the separate ball aperture above the oval window, connected to the top rim by the wide tab. Insert a bright LED and view from the old wooden step position described in the design for the optimal angle. The crossed racket shadows inside the glowing oval are the dramatic centerpiece.

Written with AI to match this design

Gather your supplies

Check things off as you get ready.

Work on a stable surface, keep your free hand out of the cutting path, and have an adult handle sharp tools.

Three levels of light

  • Leave intact

    The two retained crossed racket forms and the outer shell border stay solid and dark.

  • Peel & shade

    The racket outline scores and the tab central detail are shallow backed lines.

  • Cut through

    All nine grid square apertures inside the oval and the separate ball opening above are cut fully through.

Learn the carving basics

Before you start cutting

How do I make the retained crossed racket shapes visible against the glowing grid?

The rackets stay as solid rind inside the lit oval, so they read as dark silhouettes against the brighter grid holes behind them. This is the intended contrast effect. To make the racket shapes more defined, score their outlines lightly with a V-tool so the edges show a slight pale groove that catches the light.

The 3-by-3 grid creates nine holes. Is there a minimum rib width between them?

Each rib should be at least three-quarters of an inch wide. Thinner ribs are likely to crack under the cutting pressure of adjacent holes. If the template has thinner ribs, enlarge the spacing before transferring by making the grid holes slightly smaller to widen each rib.

Why is the ball aperture above the oval attached by a wide tab rather than being fully separated?

A fully separate ball aperture sitting close to the oval edge would leave a thin sliver of rind between the two cuts that is prone to cracking. The wide tab connects the ball to the upper rim of the shell, distributing the stress and keeping the ball section structurally sound.

Your take belongs here, too.

Changed a detail? Made it simpler? Share a photo of your version and tell the community what worked.

Share your pumpkin

More pumpkins like this

You've reached the end · 8 pumpkins
The Patch Report

Fresh pumpkins, in your inbox.

The best new carvings, ideas worth stealing, and how-tos for carving season. Short, seasonal, and gone by November.

A short email during carving season. Unsubscribe anytime. See our privacy policy.