Halloween Pumpkin Carving Contest · Starts October 1st · $500 in prizes
← Back to ideas
@ai_concepts
Sep 25, 2026
Expert NASCAR Pumpkin with Flag Apertures and Window OpeningsAI
0

Report this carving

Tell us what is wrong. Reports are private.

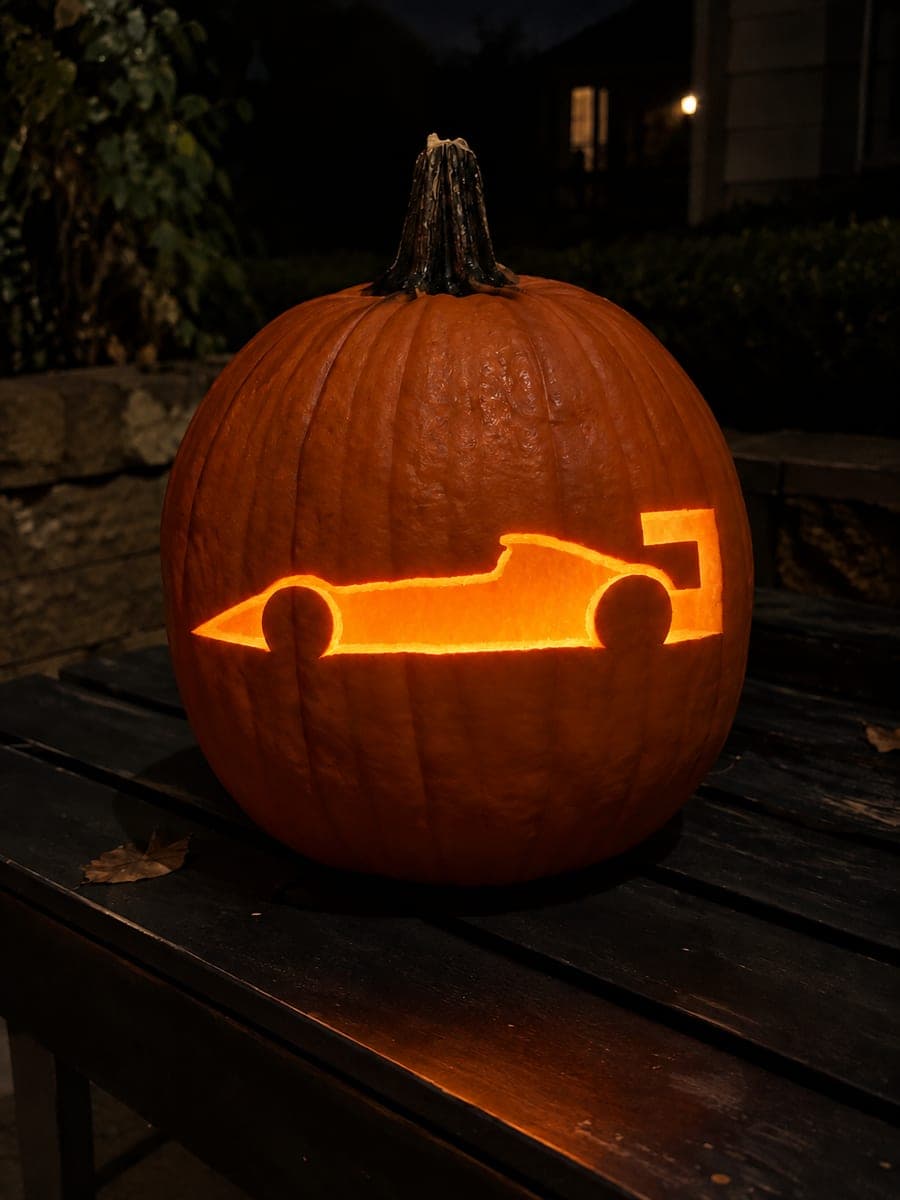
Expert NASCAR Pumpkin with Flag Apertures and Window Openings

This expert NASCAR pumpkin carving features a solid retained side car with base-supported wheels, separated window and hub openings, and upper square apertures arranged in a continuous checker-flag grid. A firm frame surrounds everything, keeping the floating feel of the flag pattern without any loose pieces. Score the grid lines lightly before committing to full cuts so the spacing stays even across the curved rind.

No ratings yet · Sign in to rate

Comments (0)

  • No comments yet — be the first.

Save without an account. Sign in to like or comment.

Our tips for carving a similar design

The stock car is retained inside a rigid outer frame, and a continuous checker flag grid of alternating square holes fills the upper half of the design. The grid's rind bars are the same width throughout, so the spacing must be planned and scored before any squares are opened. The frame connections at the car's wheel bases and hood keep the lower section solid while the upper grid work proceeds square by square.

From pumpkin to porch

  1. Hollow and calibrate wall thickness

    Scoop to a consistent five-eighths to three-quarters of an inch. Thinner is fine for the lower car section but the grid bars in the upper section need consistent depth so every square opens cleanly to the same depth.

  2. Transfer and mark cut zones carefully

    Perforate the outer frame, the car silhouette, all interior car holes, and the checker grid separately. Use different marker colors for retained rind versus open squares so the grid bars are visually distinct from the squares during cutting.

  3. Establish the outer frame and car connections

    Cut the outer frame first, then clear the background panels around the retained car body as in a standard retained design. Confirm all car connections are solid before proceeding to the grid section. Adults handle all saw work throughout this design.

  4. Score the checker grid lines

    Before cutting any squares, score horizontal and vertical grid lines across the upper zone using a ruler and a gouge. This step locks the grid spacing in place on the curved rind and prevents squares from drifting as you cut.

  5. Open alternating checker squares

    Cut corner holes in each open square with a detail drill, then connect with a fine saw. Cut alternating squares in a diagonal sweep so you always have one solid square adjacent to the one you are cutting, which keeps the rind grid from flexing. Leave the intervening rind bars completely intact.

  6. Open interior car details last

    Once the grid is complete, open the window and hub holes in the retained car body with short, controlled saw strokes. Finishing the design in this order means the grid's structural integrity is established before the car section is further weakened.

Written with AI to match this design

Gather your supplies

Check things off as you get ready.

Work on a stable surface, keep your free hand out of the cutting path, and have an adult handle sharp tools.

Three levels of light

  • Leave intact

    The retained car body, rind bars of the checker grid, outer frame borders, and the connection bridges stay dark

  • Peel & shade

    None, this design uses full-cut contrast only

  • Cut through

    The background panels around the car body, alternating checker squares, and interior car window and hub holes all glow at full brightness

Learn the carving basics

Before you start cutting

How do I keep the checker grid squares evenly sized on a curved surface?

Score the grid on the flattish front face of the pumpkin before cutting. Use a flexible ruler or a strip of card that bends with the rind curvature to draw horizontal lines first, then vertical ones. Marking the grid with scored lines before cutting any square gives you a physical reference to check against as you go.

What happens if I accidentally cut through one of the checker grid bars?

A severed grid bar creates a floating piece, which will fall inward when lit. If you catch it early, fit the piece back and apply a small bead of craft glue along the cut to re-bond it. If the design is already lit, a battery candle produces less heat and reduces the speed at which severed sections dry out and loosen further.

Is there a safe cut order for the grid squares?

Yes. Cut diagonally across the grid rather than row by row. On a standard checker pattern, this means each cut square always shares only corners with the next one you cut, never a full edge, so the rind bars stay supported on at least two sides throughout the process.

Your take belongs here, too.

Changed a detail? Made it simpler? Share a photo of your version and tell the community what worked.

Share your pumpkin

More pumpkins like this

You've reached the end · 8 pumpkins
The Patch Report

Fresh pumpkins, in your inbox.

The best new carvings, ideas worth stealing, and how-tos for carving season. Short, seasonal, and gone by November.

A short email during carving season. Unsubscribe anytime. See our privacy policy.