Halloween Pumpkin Carving Contest · Starts October 1st · $500 in prizes
← Back to ideas
@ai_concepts
Sep 25, 2026
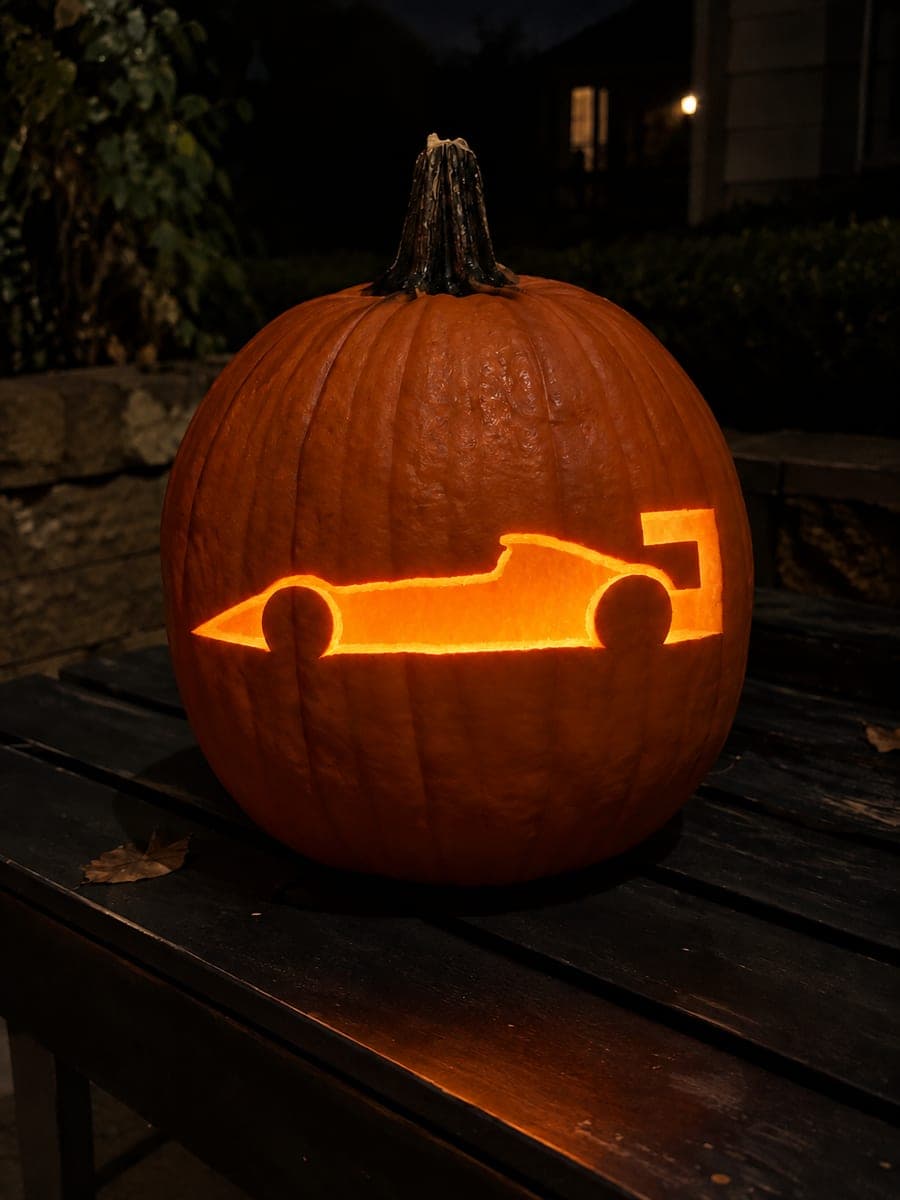
Retained NASCAR Stock Car Pumpkin Inside Oval WindowAI
0

Report this carving

Tell us what is wrong. Reports are private.

Retained NASCAR Stock Car Pumpkin Inside Oval Window

A full stock car is retained within an oval glowing window for this NASCAR pumpkin carving idea, tires rooted to the lower border with hood and trunk joined to the side borders at multiple wide bridges. Separate windshield, side-window, and wheel-hub holes are cut through after the outer oval is cleared. Carve the outer oval ring first to establish the frame, then add the window and hub holes while the retained car body holds everything steady.

No ratings yet · Sign in to rate

Comments (0)

  • No comments yet — be the first.

Save without an account. Sign in to like or comment.

Our tips for carving a similar design

The stock car is kept as a solid retained piece inside a fully cut oval window, with the tires rooted to the lower oval border and both the hood and trunk bridging to the side borders. This multi-point connection means the car cannot fall inward even after the windshield, side-window, and hub holes are opened. Establishing the outer oval frame before doing anything inside it is the essential first step.

From pumpkin to porch

  1. Hollow and prep

    Remove the back lid and scoop the pumpkin to a wall thickness of about three-quarters of an inch. Check that the front face is wide enough to accommodate the oval window comfortably with at least an inch of solid rind around the outside of the oval.

  2. Transfer the stencil

    Tape the stencil and perforate the oval outline, the car silhouette, and all interior holes including the windshield, side window, and wheel hubs. Mark the retained car body clearly so you know which rind sections stay solid.

  3. Cut the outer oval ring

    Saw along the oval outline, removing the rind outside the frame in sections as you go. Take care at the four points where the hood, trunk, and both tires meet the oval border; these are the connection points that keep the car in place, so saw just to the edge of those connections without cutting through them.

  4. Remove the background panels inside the oval

    With the frame established, saw out the open background areas visible around the car body. Work in sections, clearing above, below, and to the sides of the retained car. Push each section through from the front and remove from the back lid opening.

  5. Open interior holes in the retained car

    Use a fine keyhole saw or detail drill to open the windshield, side-window, and two round wheel-hub holes in the retained car body. Adults handle all close-detail saw work. Keep saw strokes short and controlled near the body edges.

  6. Light on a dark wooden step

    Place on a low wooden step or stair at night. The oval frame focuses all the glow onto the car interior while the wheel hubs add secondary light points that suggest spinning wheels at speed.

Written with AI to match this design

Gather your supplies

Check things off as you get ready.

Work on a stable surface, keep your free hand out of the cutting path, and have an adult handle sharp tools.

Three levels of light

  • Leave intact

    The retained car body, pillars, hood, and trunk all stay solid and dark inside the glowing frame

  • Peel & shade

    None, all tonal contrast is full-cut versus retained rind

  • Cut through

    The oval window frame, background panels around the car, windshield, side windows, and two wheel-hub holes all glow

Learn the carving basics

Before you start cutting

How many connection points does the car need to stay inside the oval without wobbling?

At a minimum, four solid connections: both tire bases to the lower oval border, and the hood and trunk to the side borders. Each connection should be at least three-quarters of an inch wide. More connection points are fine, but those four are the critical ones that prevent the car from dropping inward.

I am struggling to cut the oval cleanly. Any tips for a smooth curve?

Draw the oval outline by tracing a large bowl or use an oval template. When sawing, keep the blade vertical and rotate the pumpkin toward you rather than pushing the saw through tight curves. Short back-and-forth strokes with the blade at a standstill in angle give more control than long strokes.

After cutting the background, the retained car seems slightly loose. What should I check?

Check whether any of the four connection points was accidentally cut through. If one tire base or a side connection is severed, wedge a small toothpick into the gap with a dab of craft glue to re-anchor it. Let it dry before cutting any interior holes to avoid stressing the repaired joint.

Your take belongs here, too.

Changed a detail? Made it simpler? Share a photo of your version and tell the community what worked.

Share your pumpkin

More pumpkins like this

You've reached the end · 8 pumpkins
The Patch Report

Fresh pumpkins, in your inbox.

The best new carvings, ideas worth stealing, and how-tos for carving season. Short, seasonal, and gone by November.

A short email during carving season. Unsubscribe anytime. See our privacy policy.