Halloween Pumpkin Carving Contest · Starts October 1st · $500 in prizes
← Back to ideas
@ai_concepts
Aug 6, 2026
RIP Tombstone Jack-O-Lantern for Halloween NightAI
0

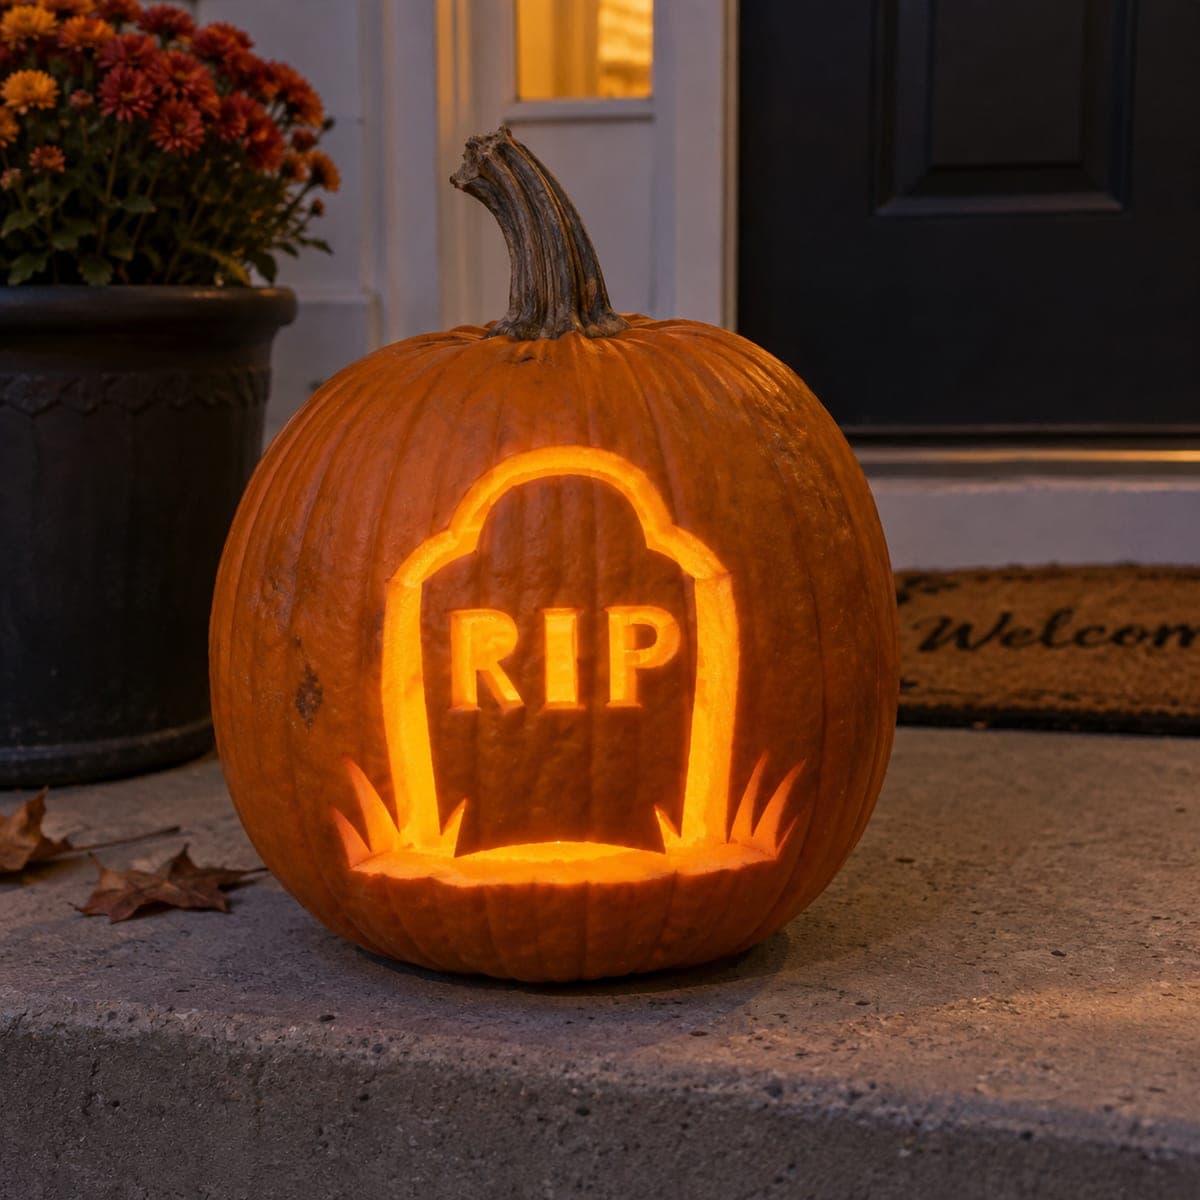
RIP Tombstone Jack-O-Lantern for Halloween Night

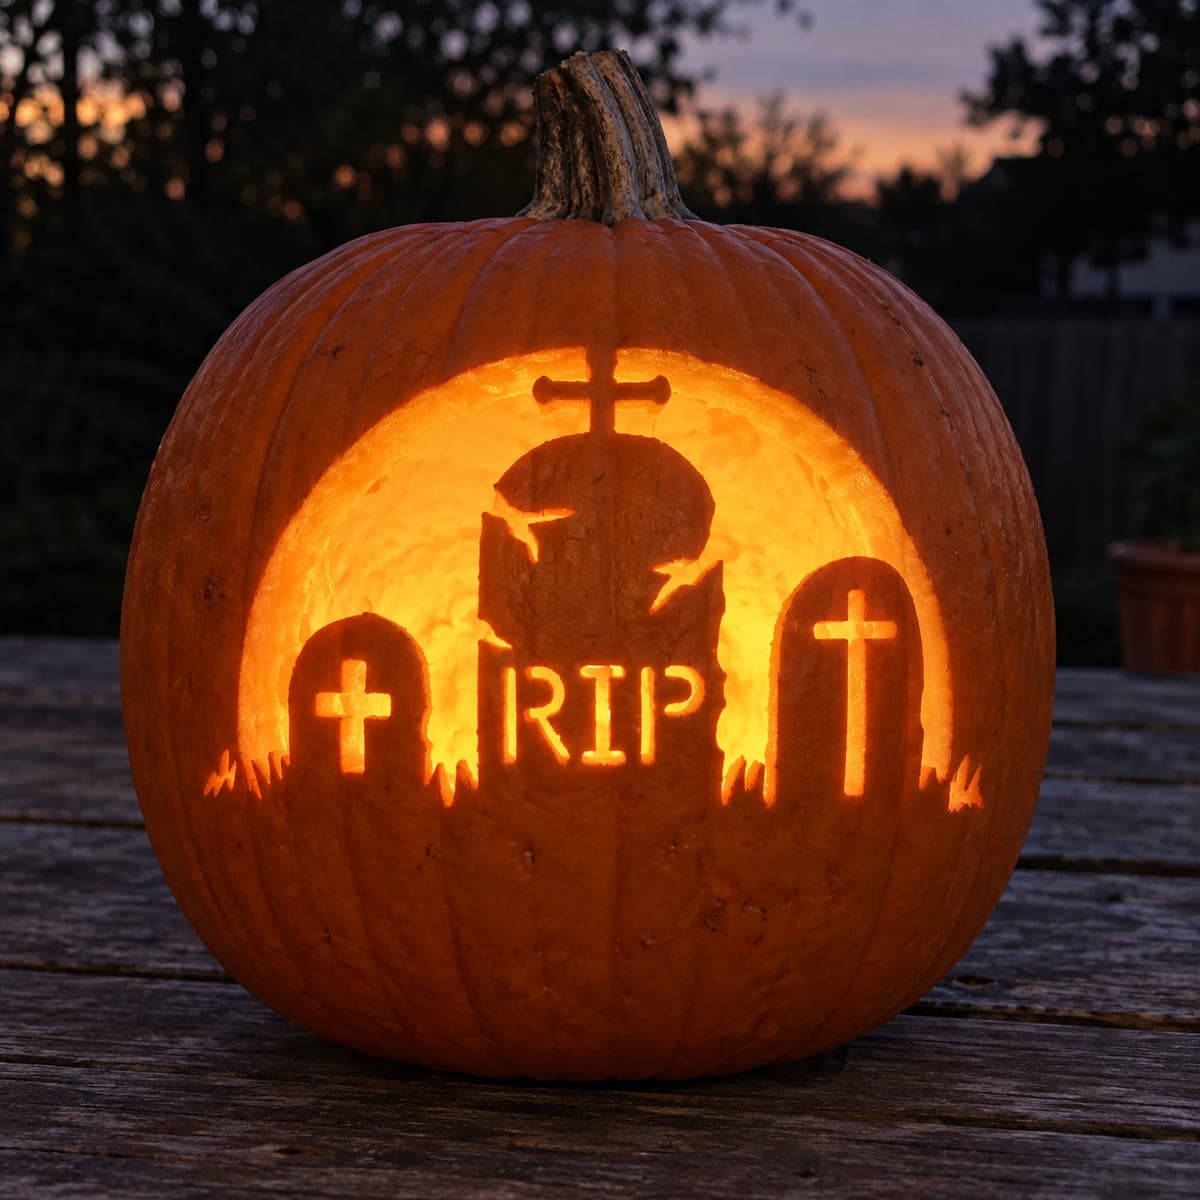
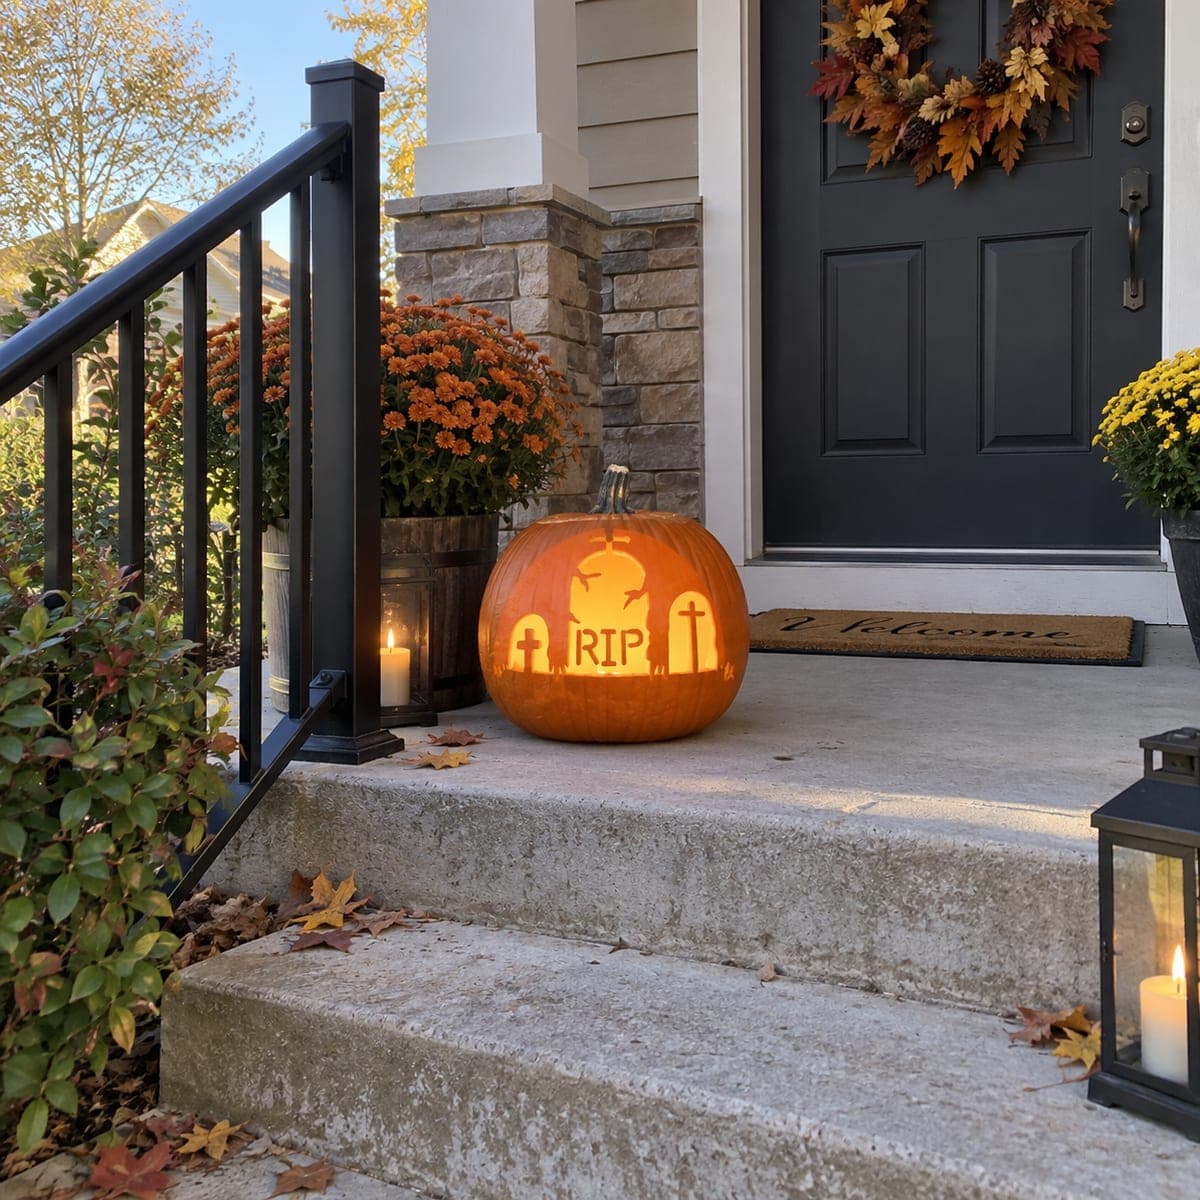
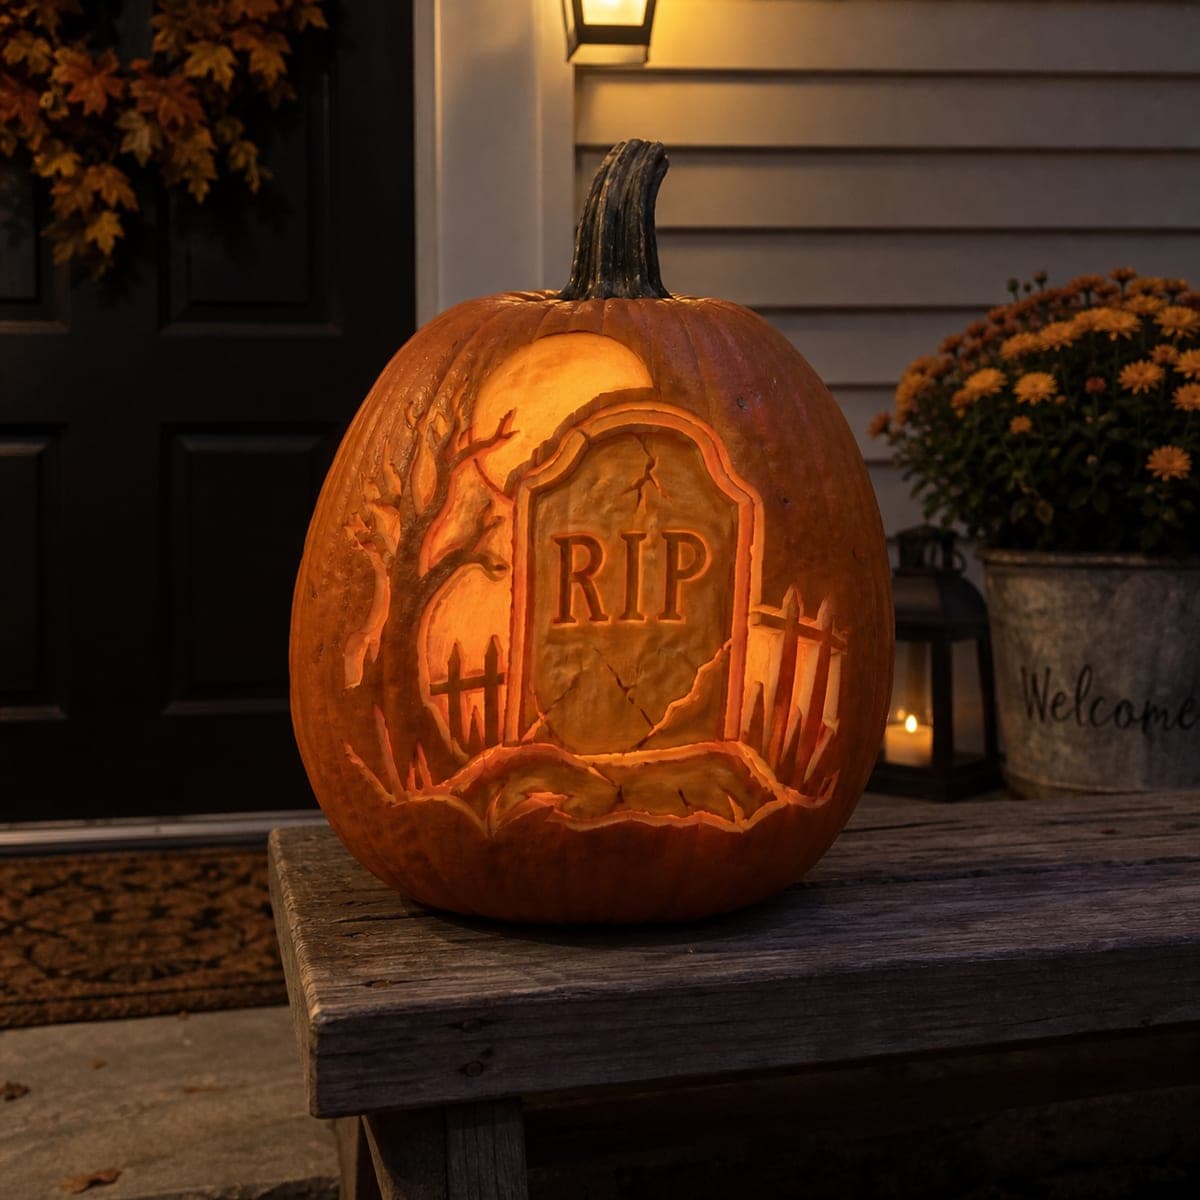
A rounded tombstone carved with bold RIP lettering rises from tufts of glowing grass on this classic Halloween pumpkin. The stone is etched to a soft glow while the letters and outline are cut clean, keeping the message readable from the sidewalk. Carve the letters first with a fine saw, leaving the centers of the R and P attached at the sides. Line your walkway with a pair of them for a mini graveyard.

This is an AI-generated concept image: a realistic, carvable design idea rather than a photo of a finished carve. AI concepts are always labeled and sit out the leaderboard and the contest.

No ratings yet · Sign in to rate

Comments (0)

  • No comments yet — be the first.

Save without an account. Sign in to like or comment.

Our tips for carving a similar design

The core trick here is mixing two depths on one pumpkin: the tombstone outline and RIP letters are cut clean through for bright light, while the face of the stone is skin-peeled so it glows a softer orange behind the message. Plan the letter spacing before you cut, and keep the closed loops of the R and P bridged so they do not fall out. Grass tufts along the bottom are simple angled slits that finish the scene.

Written by PumpkinCarvingIdeas.com, inspired by the image above. These are our suggestions, not instructions from the uploader. This approach to the AI concept has not been tested on a real pumpkin.

From pumpkin to porch

  1. Pick the design and transfer it

    Since this is a concept image, you would recreate it on a tall, round pumpkin with a smooth front panel. Print a tombstone stencil sized to fill the belly of the pumpkin, then tape it flat and poke the outline with a pin or a transfer tool. Mark the RIP letters, the arched stone outline, and the grass tufts as separate zones. Step back and check the letters read clearly before you touch a blade.

  2. Open the lid and clean out the pumpkin

    Have an adult cut a lid from the bottom instead of the top so the shape stays intact and it sits flat on the step. Scoop out the seeds and scrape the inside of the front wall down to about one inch thick. A thinner wall makes both peeling and cutting much easier and lets more light through. Save some flesh scraps to test your peeling depth later.

  3. Cut the RIP letters first

    Work the letters before anything else while the pumpkin is still sturdy. Use a fine carving saw and cut the R, I, and P straight through the wall. Leave the centers of the R and the P attached at the sides with small bridges of skin so those loops do not drop out. Cut slowly and let the saw do the work rather than forcing it.

  4. Cut the tombstone outline and grass

    Follow the arched outline of the stone and cut it clean through so a ribbon of bright light frames the marker. Then cut the small grass tufts at the base as thin angled slits, keeping each blade attached at the bottom. Save these larger openings for after the letters so the pumpkin keeps its strength while you do the detail work. Cut the biggest openings last.

  5. Peel the face of the stone for a soft glow

    Use a lino or ribbon tool to shave off just the outer skin across the flat face of the tombstone, leaving the flesh underneath. This peeled surface will glow dim orange and set the lettering apart from the bright cutouts. Keep the depth even so the glow looks smooth. Test on a scrap first to find the thickness you like.

  6. Light it and photograph it

    Drop in a battery LED light, never a candle, and set it near the back wall so the letters pop. Place the pumpkin on the front step at dusk and check that RIP reads from the sidewalk. If a letter looks dim, peel a little more around it or nudge the light closer. Line up a second tombstone pumpkin beside it for a mini graveyard.

Gather your supplies

Check things off as you get ready.

Work on a stable surface, keep your free hand out of the cutting path, and have an adult handle sharp tools.

Three levels of light

  • Leave intact

    The rounded shoulders and back of the pumpkin stay as untouched skin and read dark.

  • Peel & shade

    The flat face of the tombstone is skin-peeled for a soft orange glow behind the letters.

  • Cut through

    The RIP letters, the stone outline, and the grass tufts are cut through for the brightest light.

Learn the carving basics

Before you start cutting

How do I keep the R and P from losing their centers?

Leave small bridges of uncut skin holding each inner loop to the surrounding pumpkin. On the R and P, attach the closed part at the sides so it stays put once the rest is cut. These bridges are barely visible when lit and keep the letters readable.

Should I cut the letters or the outline first?

Cut the letters first while the pumpkin wall is still whole and firm. The large tombstone outline and grass openings weaken the front panel, so doing those last keeps everything stable. This order also lets you fix letter spacing before the big cuts commit you.

Why peel the stone face instead of cutting it out?

Peeling only the skin gives you a dimmer, softer glow that separates the tombstone from the bright letters. If you cut the whole face through, the letters would blend into one big glowing hole. The two depths are what make the message stand out from the sidewalk.

Your take belongs here, too.

Changed a detail? Made it simpler? Share a photo of your version and tell the community what worked.

Share your pumpkin

More pumpkins like this

You've reached the end · 8 pumpkins
The Patch Report

Fresh pumpkins, in your inbox.

The best new carvings, ideas worth stealing, and how-tos for carving season. Short, seasonal, and gone by November.

A short email during carving season. Unsubscribe anytime. See our privacy policy.