Halloween Pumpkin Carving Contest · Starts October 1st · $500 in prizes
← Back to ideas
@ai_concepts
Sep 14, 2026
RIP Gravestones Porch PumpkinAI
0

RIP Gravestones Porch Pumpkin

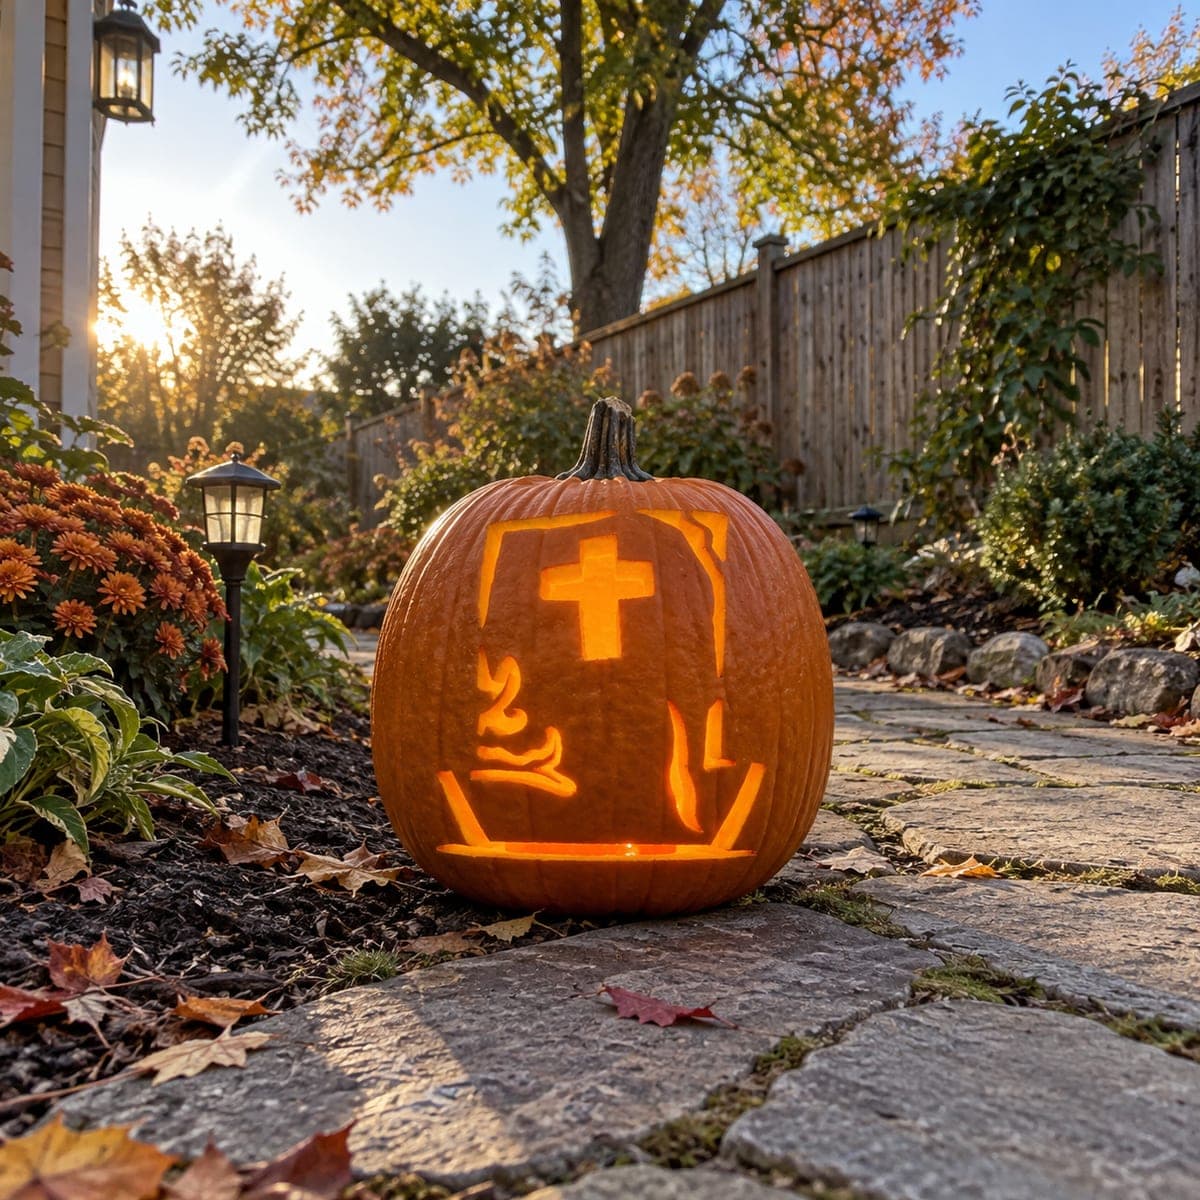
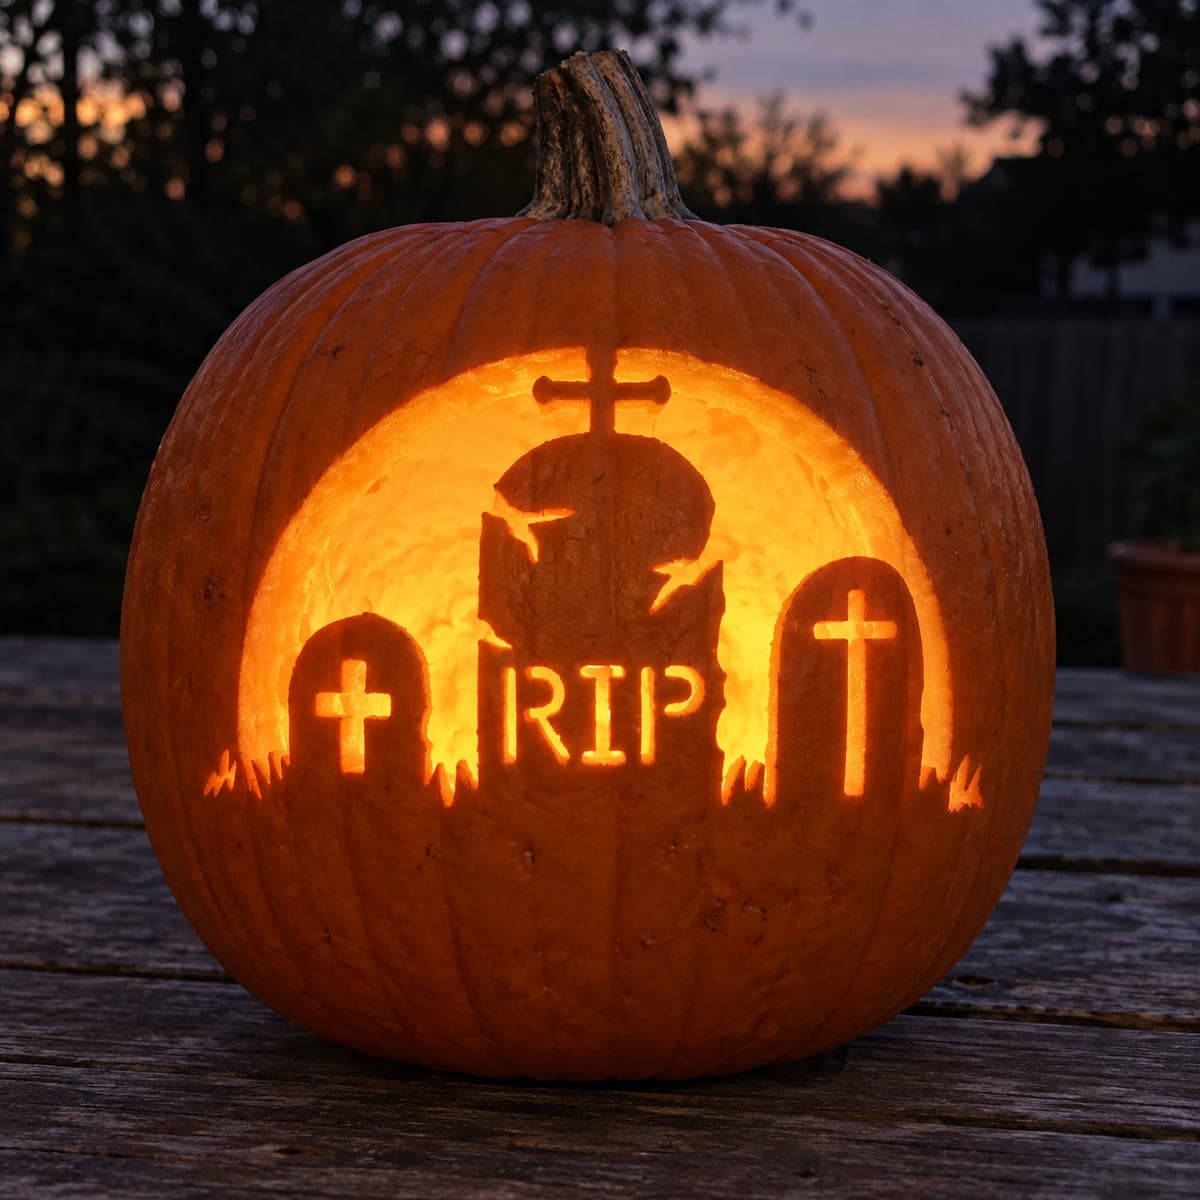
A graveyard scene runs across the pumpkin face with a cross headstone at left, a center RIP marker, a cross at right, and the dark silhouettes of birds and small figures cut against a glowing ground line in this spooky pumpkin carving idea for Halloween. The design uses a silhouette technique so the graveyard shapes remain as dark pumpkin skin against the glowing background sky cut behind them. Carve the large open background area around and above the markers first, leaving the headstone silhouettes as uncut islands, then carefully cut the ground line in a single continuous pass. Use a jigsaw or narrow pumpkin saw for the sky area and work from the center outward so you can keep the headstone shapes balanced on each side.

This is an AI-generated concept image: a realistic, carvable design idea rather than a photo of a finished carve. AI concepts are always labeled and sit out the leaderboard and the contest.
No ratings yet · Sign in to rate

Comments (0)

  • No comments yet — be the first.

Save without an account. Sign in to like or comment.

Our tips for carving a similar design

The core trick here is a reverse silhouette: instead of cutting the gravestones, you cut away the sky around them so the headstones, crosses, and little figures stay as solid dark skin against a glowing opening. You carve one big background area, leave the marker shapes as uncut islands, then finish with a single clean ground line across the bottom. Working from the center outward keeps both sides balanced.

Written by PumpkinCarvingIdeas.com, inspired by the image above. These are our suggestions, not instructions from the uploader. This approach to the AI concept has not been tested on a real pumpkin.

From pumpkin to porch

  1. Plan the layout and open the lid

    Since this is a design concept and no real pumpkin exists yet, start by choosing a tall pumpkin with a wide, flat front face. Have an adult cut a lid from the bottom rather than the top so the stem stays intact and the pumpkin sits flush on the porch. Scoop the walls on the carving face down to about one inch so light passes through easily. Dry the inside with paper towels before you transfer your pattern.

  2. Transfer the pattern and mark your islands

    Tape a printed stencil onto the front and poke through the outlines with a pin or transfer tool. The most important marks are the gravestone silhouettes, both crosses, and the small bird and figure shapes, because those are the parts you keep. Shade or hatch every area you plan to cut away, meaning the sky and the ground opening. This shading habit stops you from accidentally cutting through a headstone.

  3. Cut the sky background first

    Using a narrow pumpkin saw, cut the large open sky area around and above the markers. Work from the center outward so the RIP stone stays centered and the two crosses balance on each side. Take slow, steady strokes and rotate the pumpkin rather than forcing the blade. Leave small bridges of skin where any thin shape, like a bird or a cross arm, needs support so nothing snaps free.

  4. Keep the headstone silhouettes intact

    As the sky opens up, the gravestones, crosses, and figures should stand out as solid dark islands. Trim carefully right up to their edges to sharpen the outlines without nicking into the shapes. Check the birds and small figures from inside the pumpkin to confirm they are still attached. If a piece feels wobbly, leave a little extra skin behind it for strength.

  5. Cut the ground line last

    Save the long horizontal ground line for the end, since it is a big continuous opening that weakens the wall. Make it in one smooth pass so the base of the scene reads as a single glowing strip beneath the headstones. Keep the cut narrow so the bottom of the pumpkin stays sturdy. If you want the RIP letters to glow, cut them through now as well while the rest of the scene is finished.

  6. Light it and photograph on the porch

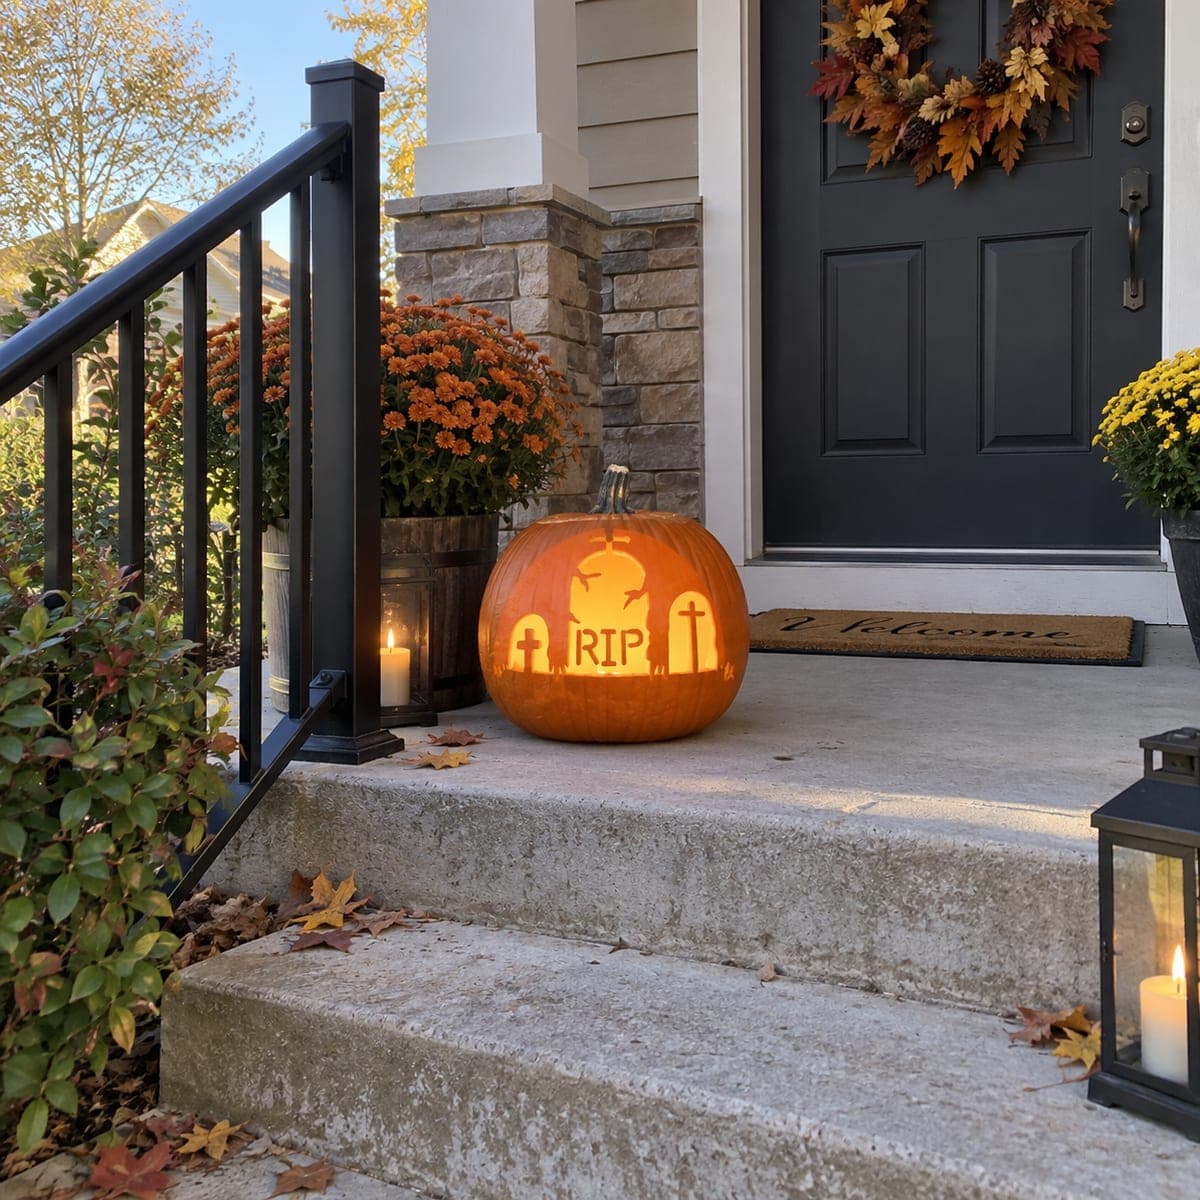
    Drop in a battery LED puck or string, not a candle, so the tall walls stay safe and the glow is even. Set the pumpkin on a step near your door with mums or a lantern beside it, as shown in the concept. Shoot at dusk so the cut sky glows warm against the dark silhouettes. Wipe the cut edges and mist the inside with water each day to keep the shapes crisp.

Gather your supplies

Check things off as you get ready.

Work on a stable surface, keep your free hand out of the cutting path, and have an adult handle sharp tools.

Three levels of light

  • Leave intact

    The gravestones, both crosses, the RIP marker body, and the bird and figure silhouettes stay as untouched dark skin.

  • Peel & shade

    Optionally skin-peel a soft halo just around the markers for a dim ground mist without a full cutout.

  • Cut through

    The open sky above and around the markers plus the single ground line glow brightest as full cutouts.

Learn the carving basics

Before you start cutting

Why cut the sky instead of the gravestones?

This is a silhouette design, so the shapes you care about need to stay dark and solid. By cutting the background sky, the light glows behind the headstones and makes them pop as clean black outlines. It feels backward at first, which is why shading your cut areas before you start really helps.

How do I keep the thin crosses and birds from breaking?

Leave small bridges of skin where a thin arm or wing meets the surrounding shape, so it stays anchored. Cut around these delicate parts slowly and check them from inside the pumpkin as you go. If a piece feels loose, leave a little extra skin behind it rather than trimming for a perfect line.

When should I cut the long ground line?

Save it for last because it is a wide continuous opening that removes a lot of support from the lower wall. Doing it at the end keeps the pumpkin rigid while you carve the detailed sky. Make it in one smooth pass and keep it narrow so the base stays strong.

Your take belongs here, too.

Changed a detail? Made it simpler? Share a photo of your version and tell the community what worked.

Share your pumpkin

More pumpkins like this

You've reached the end · 8 pumpkins
The Patch Report

Fresh pumpkins, in your inbox.

The best new carvings, ideas worth stealing, and how-tos for carving season. Short, seasonal, and gone by November.

A short email during carving season. Unsubscribe anytime. See our privacy policy.