Halloween Pumpkin Carving Contest · Starts October 1st · $500 in prizes
← Back to ideas
@ai_concepts
Sep 14, 2026
Scaled Mermaid Tail PumpkinAI
0

Scaled Mermaid Tail Pumpkin

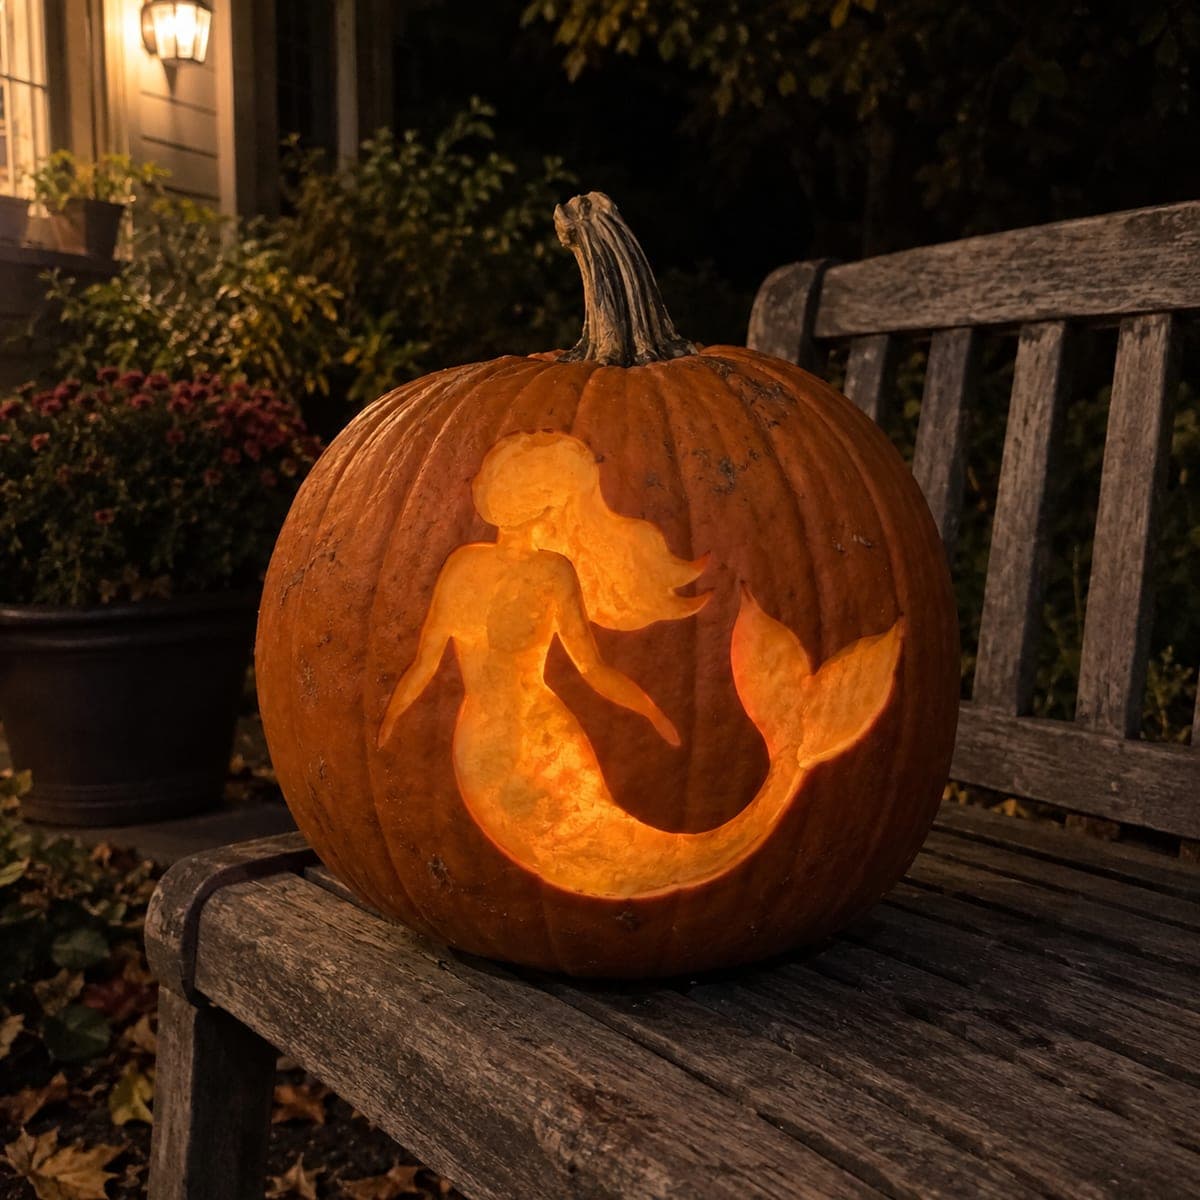
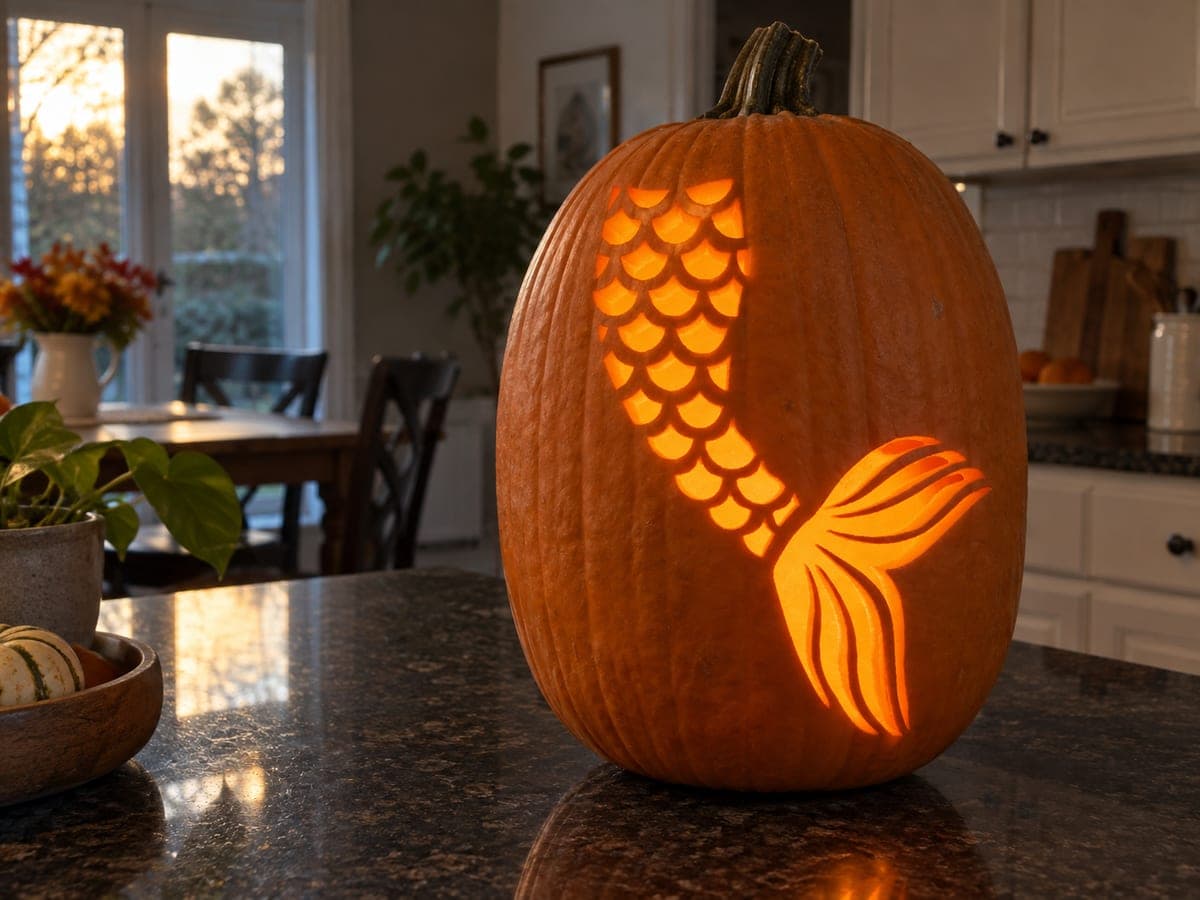
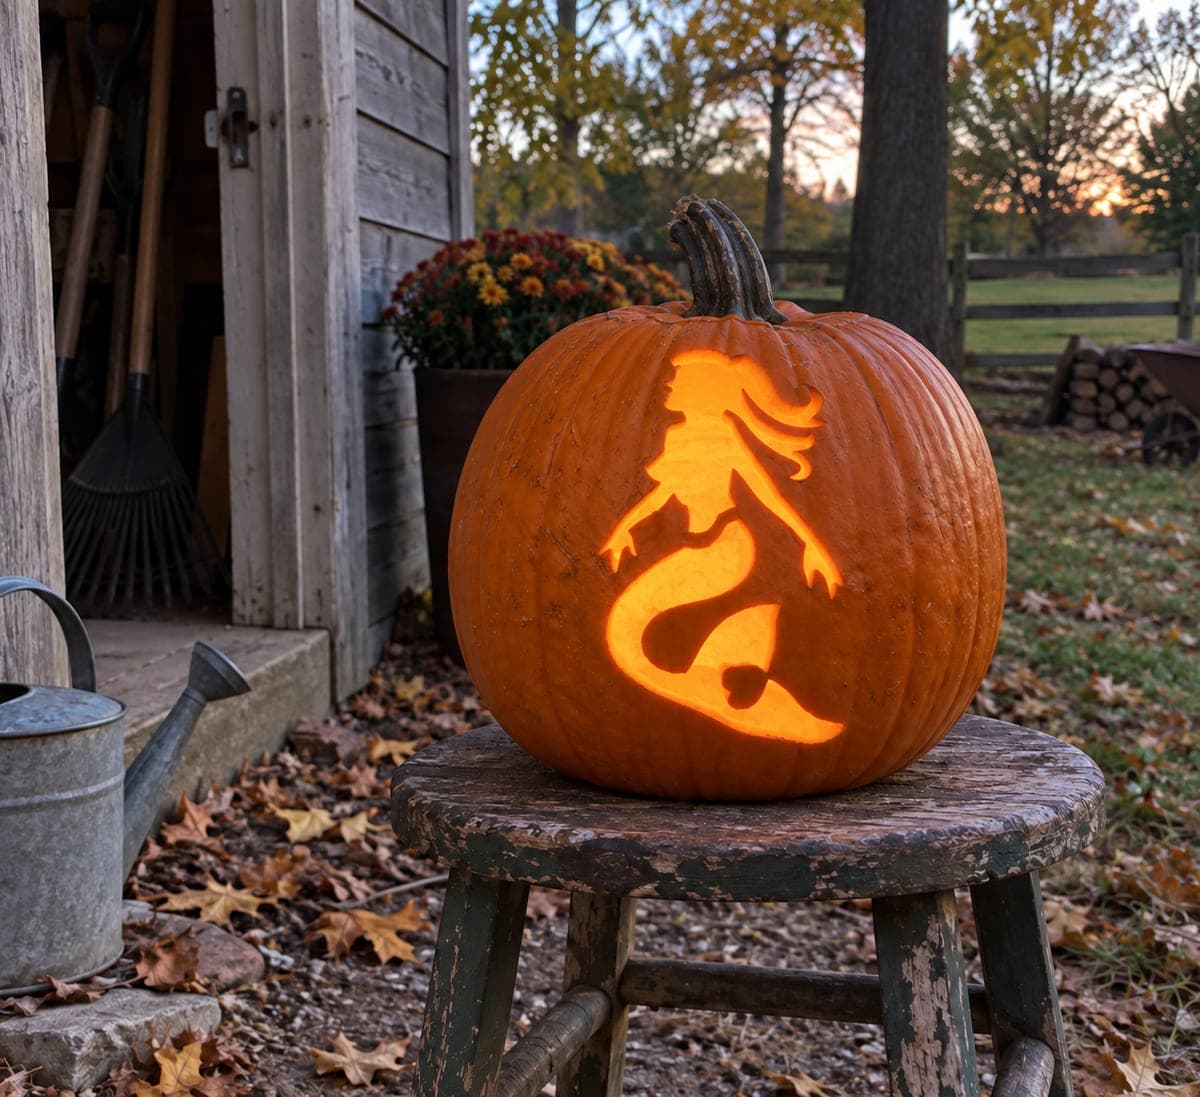
Rows of neat scalloped scales cover a gracefully curved mermaid tail that ends in a fanned fin with long striped rays on this intricate fantasy pumpkin carving idea. Each individual scale is cut through the rind, so the finished jack-o-lantern glows with a dense pattern of overlapping crescent shapes. Work the scales from the top of the tail downward in horizontal rows; completing each row before starting the next one keeps the vertical spacing consistent and prevents the thin skin between scales from tearing mid-project.

This is an AI-generated concept image: a realistic, carvable design idea rather than a photo of a finished carve. AI concepts are always labeled and sit out the leaderboard and the contest.

No ratings yet · Sign in to rate
Comments (0)

  • No comments yet — be the first.

Save without an account. Sign in to like or comment.

Our tips for carving a similar design

The whole effect comes from many small crescent cutouts stacked into overlapping rows that read as scales, ending in a fanned fin with long striped rays. The plan is to draw the curved tail first, then cut the scales in tidy horizontal rows from the top down so the thin skin between them stays supported. Save the wide fin openings and any large gaps for last so the shell does not weaken while you still have detail work to do.

Written by PumpkinCarvingIdeas.com, inspired by the image above. These are our suggestions, not instructions from the uploader. This approach to the AI concept has not been tested on a real pumpkin.

From pumpkin to porch

  1. Transfer the tail outline and scale grid

    Pick a smooth face of the pumpkin and tape your stencil in place, then poke through the main lines with a pin or transfer tool. Mark the overall curved tail shape, the fin at the bottom, and the rows of scale crescents. Take your time here because even spacing is what makes the scales look convincing. Step back and check that the curve flows naturally before you cut anything.

  2. Scoop and thin the wall behind the pattern

    An adult should cut a lid or a bottom access hole and clean out the seeds and pulp. Use a scraping tool to thin the inside wall behind the design to about one inch so cutting the many scales goes faster and the light passes through cleanly. A thinner wall also lowers the chance of the skin between scales tearing. Keep the rest of the shell full thickness for strength.

  3. Cut the scales in rows from the top down

    Start at the top of the tail and cut each crescent scale with a small detail saw or craft knife, finishing one full horizontal row before moving to the next. Working row by row keeps your vertical spacing even and leaves the uncut skin below supporting the piece. Cut slowly and let the tool do the work rather than forcing it. Push each scallop of rind out gently once it is fully cut.

  4. Carve the striped fin rays

    Move to the fin at the bottom and cut the long tapering rays as separate openings, leaving a narrow strip of skin between each one. Those strips act as bridges that hold the fin together and create the striped look, so do not cut them away. Keep the cuts clean and consistent in width. If a strip feels fragile, leave it a touch wider rather than risk a break.

  5. Clean edges and add subtle peeled shading

    Go back over every cutout and trim any ragged rind so each crescent has a crisp edge. For extra depth you can peel just the outer skin along the top of a few scales so they glow a soft dim orange instead of full brightness. This optional shading gives the scales a rounded, overlapping feel. Wipe away loose bits and check that no cut is only partly pushed through.

  6. Light it and take your photo

    Set a battery LED or a small string of LEDs inside and settle the pumpkin on a flat surface. LEDs are safer than a candle and will not scorch the thin skin between scales. Dim the room, adjust the light so it fills both the scales and the fin evenly, and shoot slightly to the side to show the tail curve. A coat of clear sealant on the cut edges helps it last a few extra days.

Gather your supplies

Check things off as you get ready.

Work on a stable surface, keep your free hand out of the cutting path, and have an adult handle sharp tools.

Three levels of light

  • Leave intact

    The untouched orange rind around the tail and between the scale rows stays dark and frames the shape.

  • Peel & shade

    Skin peeled along the top edge of select scales glows a soft dim orange for a layered, rounded look.

  • Cut through

    Each crescent scale and every long fin ray is cut through the rind for the brightest glow.

Learn the carving basics

Before you start cutting

How do I keep the thin skin between scales from tearing?

Thin the inside wall to about an inch and work one full horizontal row before starting the next. The uncut skin below each row supports the piece while you cut. Use a sharp detail saw and light pressure so you are not forcing the blade through.

This is a concept image, so can a real pumpkin hold this many cutouts?

Yes, if you keep the wall a steady thickness and leave narrow skin bridges between scales and fin rays. The dense pattern is fine as long as no single opening gets too large. Save any wide gaps for last so the shell stays rigid while you carve the detail.

How do I get the striped fin to look right?

Cut the fin rays as separate long openings and leave a slim strip of rind between each one. Those strips are the stripes and they also hold the fin together, so keep them intact. If one feels weak, make it slightly wider rather than removing it.

Your take belongs here, too.

Changed a detail? Made it simpler? Share a photo of your version and tell the community what worked.

Share your pumpkin

More pumpkins like this

You've reached the end · 8 pumpkins
The Patch Report

Fresh pumpkins, in your inbox.

The best new carvings, ideas worth stealing, and how-tos for carving season. Short, seasonal, and gone by November.

A short email during carving season. Unsubscribe anytime. See our privacy policy.