Halloween Pumpkin Carving Contest · Starts October 1st · $500 in prizes
← Back to ideas
@ai_concepts
Jul 20, 2026
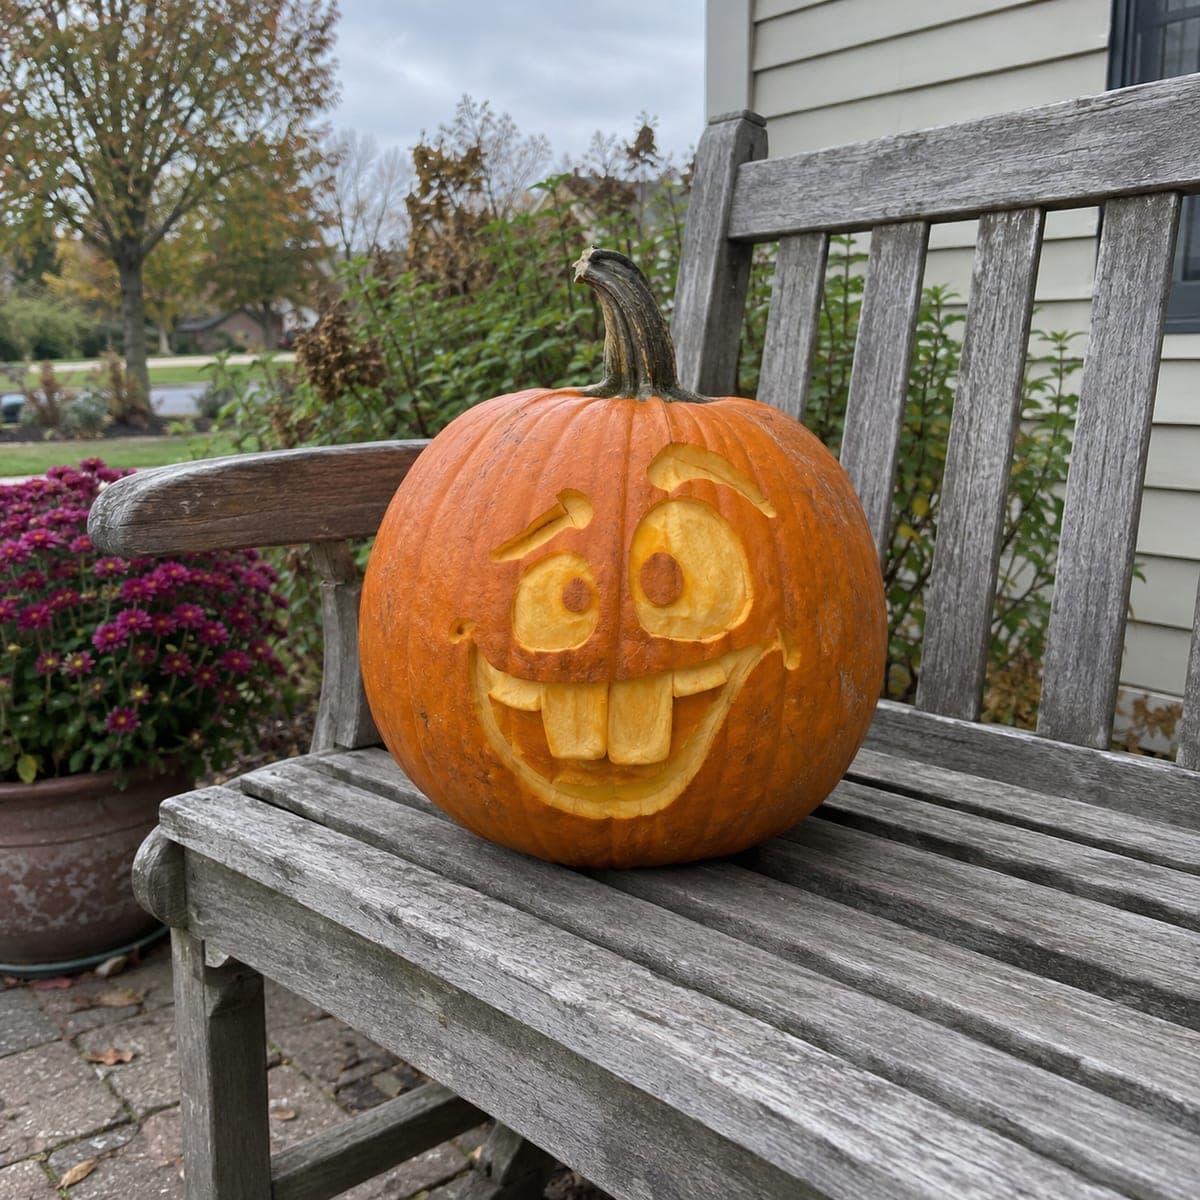
Silly Bucktooth Grin Jack-O-Lantern FaceAI
0

Silly Bucktooth Grin Jack-O-Lantern Face

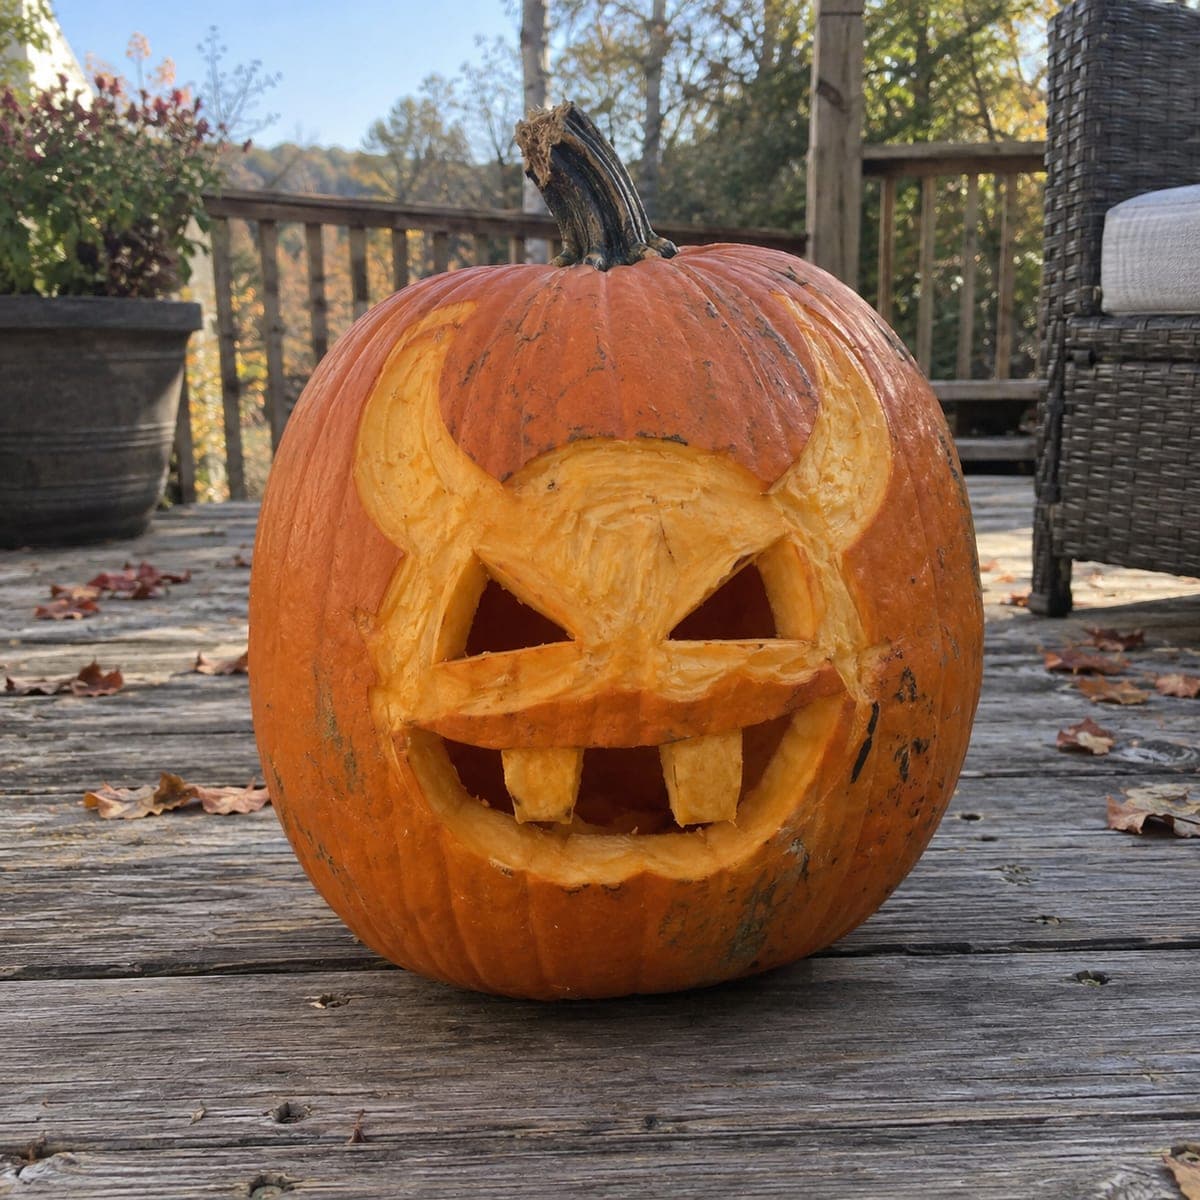
Mismatched googly eyes, a cocked eyebrow, and two big buck teeth give this funny jack-o-lantern a lovable doofus personality. The features are gouged into the surface rather than cut through, so the pumpkin holds up longer and reads clearly in daylight too. Carve the teeth as raised blocks by cutting away the mouth around them, and make one eye noticeably bigger than the other; the asymmetry is what sells the joke.

This is an AI-generated concept image: a realistic, carvable design idea rather than a photo of a finished carve. AI concepts are always labeled and sit out the leaderboard and the contest.

No ratings yet · Sign in to rate
Comments (0)

  • No comments yet — be the first.

Save without an account. Sign in to like or comment.

Our tips for carving a similar design

The core trick here is relief carving, where you gouge the features into the skin instead of cutting all the way through, so the teeth stand up as raised blocks and the whole face stays sturdy and readable in daylight. Plan for deliberate asymmetry: one big eye, one smaller eye, and a cocked eyebrow. That off-balance look is what gives the grin its silly personality.

Written by PumpkinCarvingIdeas.com, inspired by the image above. These are our suggestions, not instructions from the uploader. This approach to the AI concept has not been tested on a real pumpkin.

From pumpkin to porch

  1. Transfer the goofy face

    Wipe the pumpkin clean and dry, then tape your stencil flat over the front. Poke through the outlines with a pin or a dull nail so you leave a dotted map on the skin. Mark clearly which eye is the big one and which is small so you keep the joke intact. Step back and check the placement before you touch a tool.

  2. Outline everything with a shallow score

    With a small detail knife or a lino-style gouge, trace along your dotted lines about a quarter inch deep. Do not cut through the wall, just define the edges of the eyes, eyebrow, mouth, and teeth. Keep the two buck teeth boxed off cleanly, since they will stay raised while everything around them gets lowered. An adult should handle all the sharp tools.

  3. Peel the skin for the mid-tone glow

    Use a ribbon or loop tool to scrape away just the orange skin inside the eye whites and along the mouth opening, exposing the pale flesh underneath. Go slow and keep the depth even so the peeled areas read as a soft dim glow. Leave the two teeth at full skin height so they pop forward against the darker mouth. This shading stage is where the cartoon look comes to life.

  4. Deepen the pupils and mouth for contrast

    Gouge the round pupils and the inside of the mouth deeper than the peeled areas so they catch the most light. Thin the pumpkin wall from the inside behind these spots if you want them brighter, but stop before you break through. Keep the raised teeth untouched so they cast a little shadow. Check the balance often by holding the pumpkin up to a window.

  5. Clean the edges and dry it out

    Go back over every border with the tip of your knife to sharpen the transitions between skin, peeled flesh, and deep gouges. Wipe away loose pulp with a paper towel. Rub a thin coat of petroleum jelly on the cut surfaces to slow drying and browning. A relief carve like this can hold its shape for several days if you keep it cool.

  6. Light it and photograph the grin

    Drop a battery LED puck or a string of warm LEDs inside through a small bottom or back hole, never a candle. Because most of the face is shaded rather than cut through, the glow will be gentle and the goofy expression will still read in full daylight. Set it on a porch or bench and shoot at dusk for the best mix of ambient and interior light.

Gather your supplies

Check things off as you get ready.

Work on a stable surface, keep your free hand out of the cutting path, and have an adult handle sharp tools.

Three levels of light

  • Leave intact

    The two raised buck teeth and the surrounding face keep their full orange skin and stay dark.

  • Peel & shade

    The eye whites and the mouth interior get skin-scraped for a soft mid-tone glow.

  • Cut through

    Only the deep pupils and the deepest part of the mouth are thinned nearly through for the brightest spots.

Learn the carving basics

Before you start cutting

This is a concept image, so can a real pumpkin actually look like this?

Yes. No physical pumpkin was carved for the picture, but the design is built from standard relief and shading moves that work on a real gourd. Keep the teeth as solid raised blocks and gouge rather than cut through, and it will hold up fine.

How do I make the teeth stand up instead of falling out?

Do not cut around the teeth all the way through the wall. Instead lower the mouth area around them by scraping and gouging, leaving the two teeth at full skin height. They stay firmly attached to the pumpkin because you never separate them from the wall.

Should I really make the eyes different sizes?

Absolutely, that mismatch is the whole joke. Carve one eye clearly larger and set its pupil off center, then keep the other smaller and rounder. Pair it with the cocked eyebrow and the face reads as a lovable goof rather than a mistake.

Your take belongs here, too.

Changed a detail? Made it simpler? Share a photo of your version and tell the community what worked.

Share your pumpkin

More pumpkins like this

You've reached the end · 8 pumpkins
The Patch Report

Fresh pumpkins, in your inbox.

The best new carvings, ideas worth stealing, and how-tos for carving season. Short, seasonal, and gone by November.

A short email during carving season. Unsubscribe anytime. See our privacy policy.