Halloween Pumpkin Carving Contest · Starts October 1st · $500 in prizes
← Back to ideas
@ai_concepts
Sep 14, 2026
Simple Broken Heart PumpkinAI
0

Simple Broken Heart Pumpkin

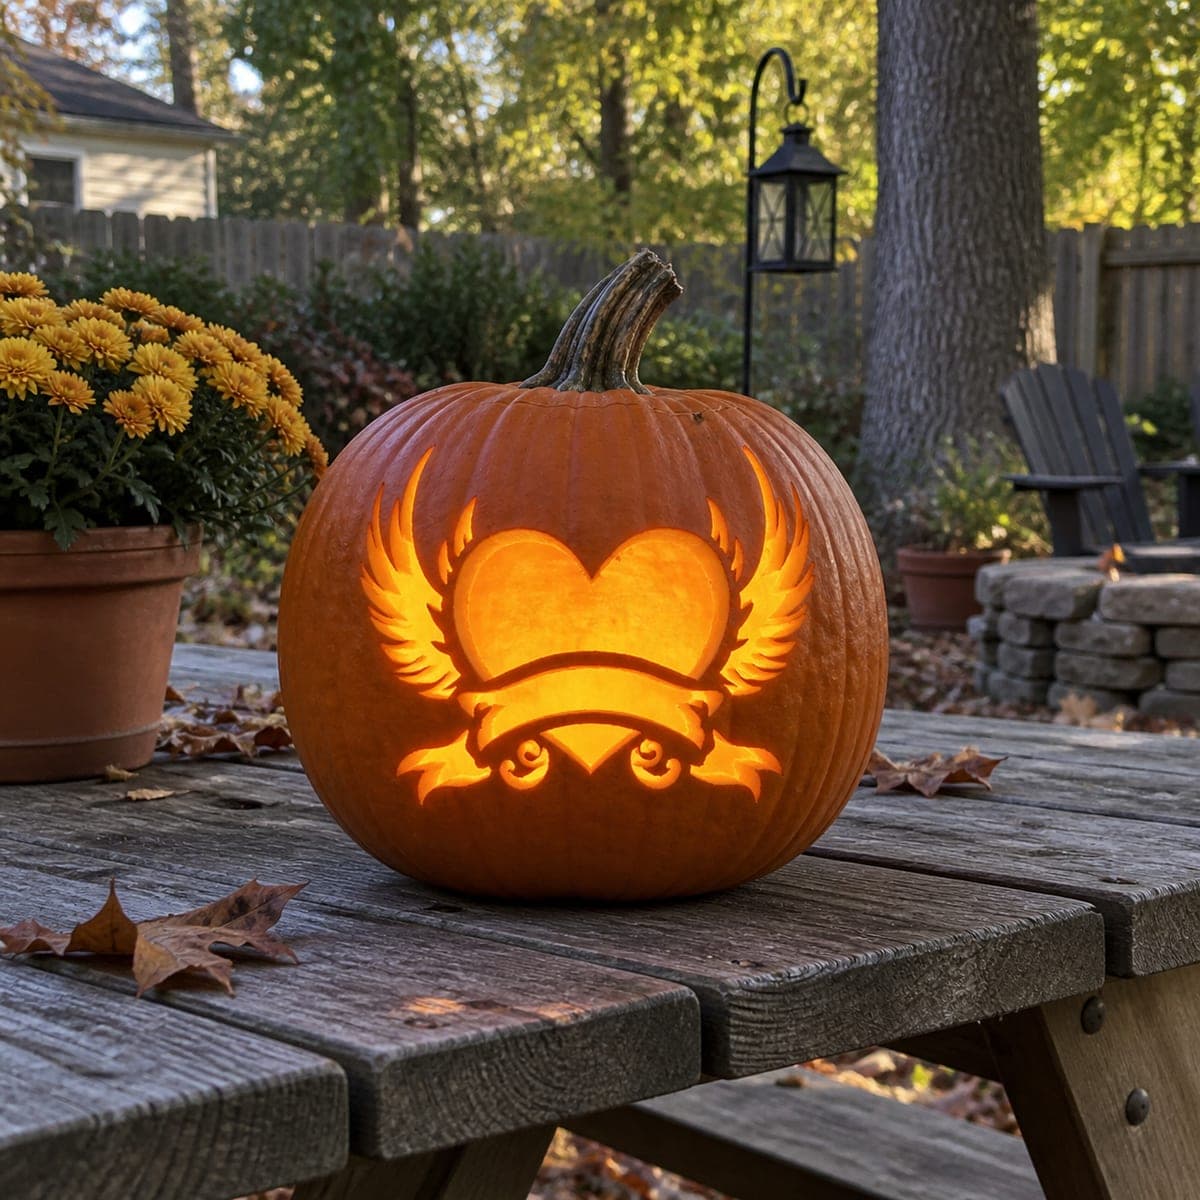
A large glowing heart fills the center of the pumpkin face, split down the middle by a thick lightning-bolt crack that is left as an uncut skin bridge, giving the design its broken-heart effect as a pumpkin carving idea. The sharp zigzag division keeps both heart halves connected so the whole shape holds together as one opening. Cut the outer heart boundary first to establish the full shape, then carefully score and remove the zigzag crack strip last, taking small shallow passes so the remaining skin bridge along the crack line does not snap under lateral pressure.

This is an AI-generated concept image: a realistic, carvable design idea rather than a photo of a finished carve. AI concepts are always labeled and sit out the leaderboard and the contest.

No ratings yet · Sign in to rate

Comments (0)

  • No comments yet — be the first.

Save without an account. Sign in to like or comment.

Our tips for carving a similar design

The whole trick here is one large heart cutout with a lightning-bolt zigzag left as an uncut skin bridge, so the two halves stay connected while reading as a broken heart. You cut the outer heart shape first to lock in the silhouette, then treat the zigzag as a fragile strip you protect rather than remove. Keep the crack narrow and the bridge intact, and the light does the rest.

Written by PumpkinCarvingIdeas.com, inspired by the image above. These are our suggestions, not instructions from the uploader. This approach to the AI concept has not been tested on a real pumpkin.

From pumpkin to porch

  1. Trace the heart and mark the crack

    Draw a full, symmetrical heart on the front of a tall pumpkin, keeping it centered under the stem. Sketch a jagged lightning-bolt line down the middle from the top notch to the bottom point, and shade it so you remember to leave that strip alone. Fold the heart in half mentally to check both lobes match. A dry-erase marker or transfer paper both work well on smooth skin.

  2. Open the lid and clean out

    Cut a lid on the back of the pumpkin instead of the top so the stem stays intact for looks. Scoop out all the seeds and pulp, then thin the inner wall behind the heart to about one inch. A thinner wall carves cleaner and lets more light through. Save some scooped pulp only if you plan to test-fit any pieces.

  3. Cut the outer heart boundary first

    Using a small serrated carving saw, cut along the outer heart outline in short, controlled strokes held perpendicular to the surface. Work in sections and support the wall with your free hand kept clear of the blade. Do not try to pop the center out yet, since the crack strip still needs to stay attached. Adults should handle all saw work while kids help with design and lighting.

  4. Free the two heart halves

    Carefully cut just along both edges of the zigzag line so the left and right halves become open, but leave the narrow crack strip itself uncut and in place. Take small, shallow passes and avoid pushing sideways on the strip, which can snap it. Ease each half out gently toward you rather than prying. If a lobe sticks, re-cut the edge instead of forcing it.

  5. Refine the crack and clean edges

    Trim any ragged edges along the heart and the zigzag so the lines look crisp from a few feet away. You can lightly bevel the inside of the cut edges toward the back to widen the light spill. Check that the crack strip is still solidly attached at top and bottom. Wipe away marker lines with a damp cloth.

  6. Light it and photograph

    Set a battery LED tealight or a small puck light inside and place the lid back on. Position the pumpkin on a step or table at dusk so the glow reads against a darker background. Skip real candles, since the crack bridge and thin walls can scorch. Snap your photo slightly off to the side to show the depth of the cut edges.

Gather your supplies

Check things off as you get ready.

Work on a stable surface, keep your free hand out of the cutting path, and have an adult handle sharp tools.

Three levels of light

  • Leave intact

    The untouched orange skin around the heart and the zigzag crack strip stay dark, which is what makes the break read.

  • Peel & shade

    You can shave a thin halo of skin just outside the heart for a soft dim ring if you want extra depth.

  • Cut through

    The two heart halves are cut fully through for the brightest glow.

Learn the carving basics

Before you start cutting

How do I keep the zigzag crack from snapping off?

Leave the crack as a solid, uncut strip and only cut along its two edges to free the heart halves. Keep the strip a bit wider than you think you need, at least a half inch, since narrow bridges break easily. Ease the cut pieces out gently instead of prying, and never push sideways against the strip.

Should I cut the heart out first or the crack first?

Cut the outer heart boundary first to set the full shape, then work the zigzag last. Freeing the big opening first gives you room to make small, controlled passes along the crack edges. Doing the fragile strip last means less handling and less chance of snapping it.

Since this is a concept image, will a real pumpkin hold this shape?

Yes, a single large heart with one central skin bridge is very doable on a real pumpkin. Keep the crack strip solid and attached at both the top and bottom of the heart so it supports itself. Thinning the wall to about an inch makes both the cutting and the glow easier.

Your take belongs here, too.

Changed a detail? Made it simpler? Share a photo of your version and tell the community what worked.

Share your pumpkin

More pumpkins like this

You've reached the end · 8 pumpkins
The Patch Report

Fresh pumpkins, in your inbox.

The best new carvings, ideas worth stealing, and how-tos for carving season. Short, seasonal, and gone by November.

A short email during carving season. Unsubscribe anytime. See our privacy policy.