@patchwork_penny
Aug 27, 2026

Sly grin with hooked eyes
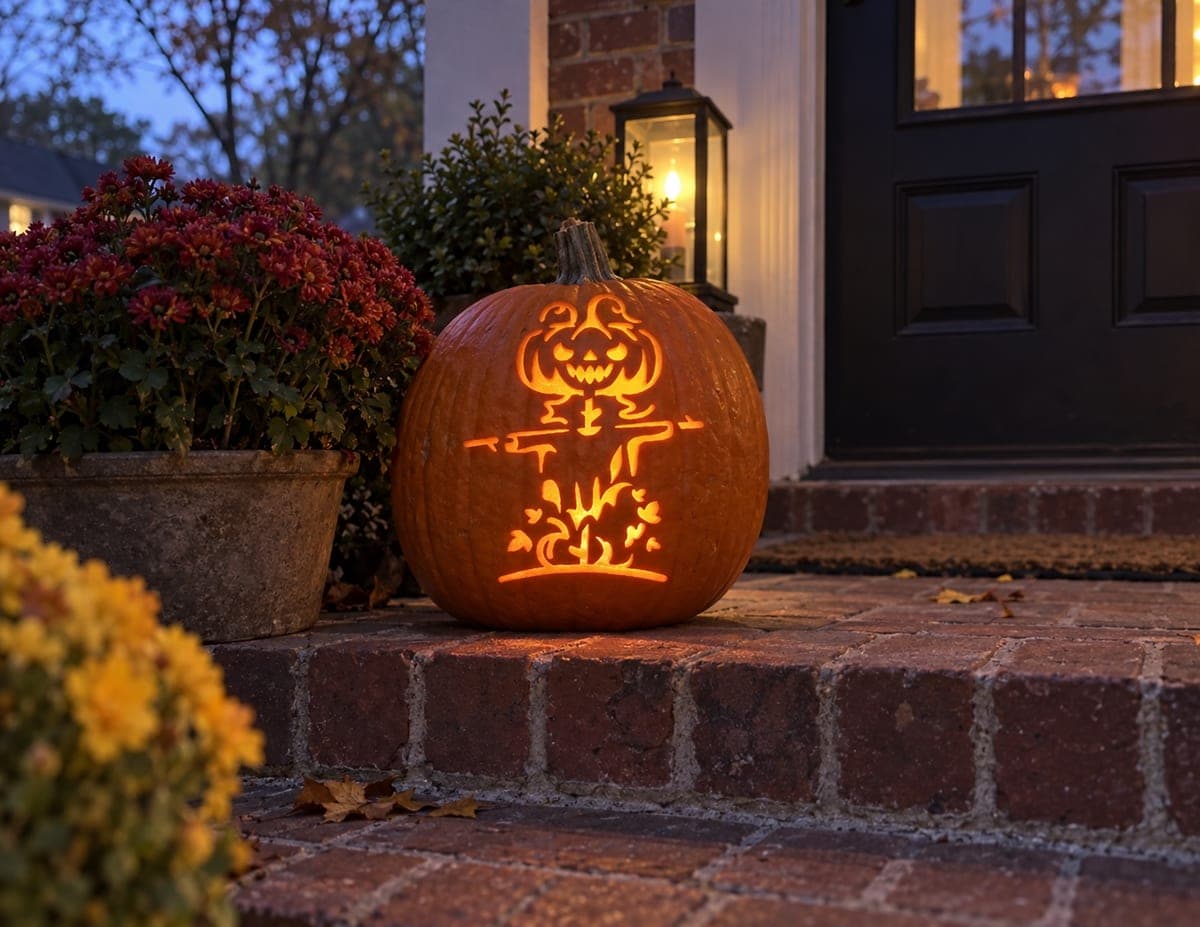
Curved, hooked eyes and a wavy jagged smile give this one a scheming look. All smooth curves, glowing on the brick steps.
No ratings yet · Sign in to rate
Curved, hooked eyes and a wavy jagged smile give this one a scheming look. All smooth curves, glowing on the brick steps.
The whole personality here comes from curves. Hooked, comma-shaped eyes tilt inward while a wavy jagged smile keeps the mouth playful rather than mean. Plan the face as a set of flowing cutouts, keep the little teeth as bridges of pumpkin skin, and save the mouth for last so the shell stays firm while you work.
Written by PumpkinCarvingIdeas.com, inspired by @patchwork_penny's photo above. These are our suggestions, not instructions from the uploader, and this approach hasn't been tested on their exact carve.
Pick a round pumpkin with a smooth front like the one shown. Cut a lid from the top or a hatch from the back with a serrated carving saw, angling the cut inward so the piece rests without falling in. Scoop the insides and scrape the front wall down to about one inch thick. A thinner front wall makes every curve easier to cut cleanly.
Sketch or tape a stencil to the face, centering the two hooked eyes and the wide grin. Mark the tall pointed eyebrows above the eyes so the scheming look reads clearly. Poke holes along the outlines with a pin or a poker tool, then pull the paper and connect the dots with a washable marker. Double check that the little teeth still have solid gaps between them before you cut.
Start with the smaller shapes while the shell is strongest. Cut the two comma-shaped eyes, keeping the hooked inner points sharp and the outer curves smooth. Follow the marker line and let the blade do the turning slowly rather than forcing it. Then cut the two angled eyebrow slivers above them to lock in the sly expression.
Cut the small nose opening, often a simple triangle or notch, right in the center below the eyes. Keep it modest so it does not compete with the grin. Push the piece out gently from inside to avoid cracking the edges. Clean up any ragged spots with a small detail blade.
Save the mouth for last since it is the biggest opening. Follow the wavy top and bottom lines and leave the pointed teeth as attached bridges of skin. Cut around each tooth rather than into it so none snap off. Work from the center outward and support the shell with your free hand as you go.
Drop in a battery LED light, warm white or amber, to get that glowing look. Set the pumpkin on a step or ledge and dim the surrounding lights. Shoot slightly to the side so the curves catch shadow. Wipe cut edges with a little petroleum jelly to slow drying if you want it to last.
Check things off as you get ready.
Work on a stable surface, keep your free hand out of the cutting path, and have an adult handle sharp tools.
The full outer skin of the pumpkin stays untouched and dark, framing the face.
Optional shallow peeling around the eye hooks or grin edges gives a soft dim halo if you want a glow border.
The eyes, brows, nose, and wavy grin are cut all the way through for the brightest yellow light.
Treat each tooth as a bridge of skin and cut around it, never into its base. Keep your front wall around one inch thick so the teeth have support. Work slowly and let your free hand steady the shell near the mouth.
The hook, or comma shape, is the trick. Keep the inner points sharp and low while the outer curve sweeps up and away. Pair them with tall thin eyebrows tilted inward to finish the scheming look.
Always start with the smaller eyes, brows, and nose while the pumpkin is at its strongest. The wide grin removes a lot of material and weakens the front, so cut it last. This order keeps the shell firm and your cuts cleaner.
Changed a detail? Made it simpler? Share a photo of your version and tell the community what worked.
The best new carvings, ideas worth stealing, and how-tos for carving season. Short, seasonal, and gone by November.






Comments (0)