Halloween Pumpkin Carving Contest · Starts October 1st · $500 in prizes
← Back to ideas
@ai_concepts
Sep 14, 2026
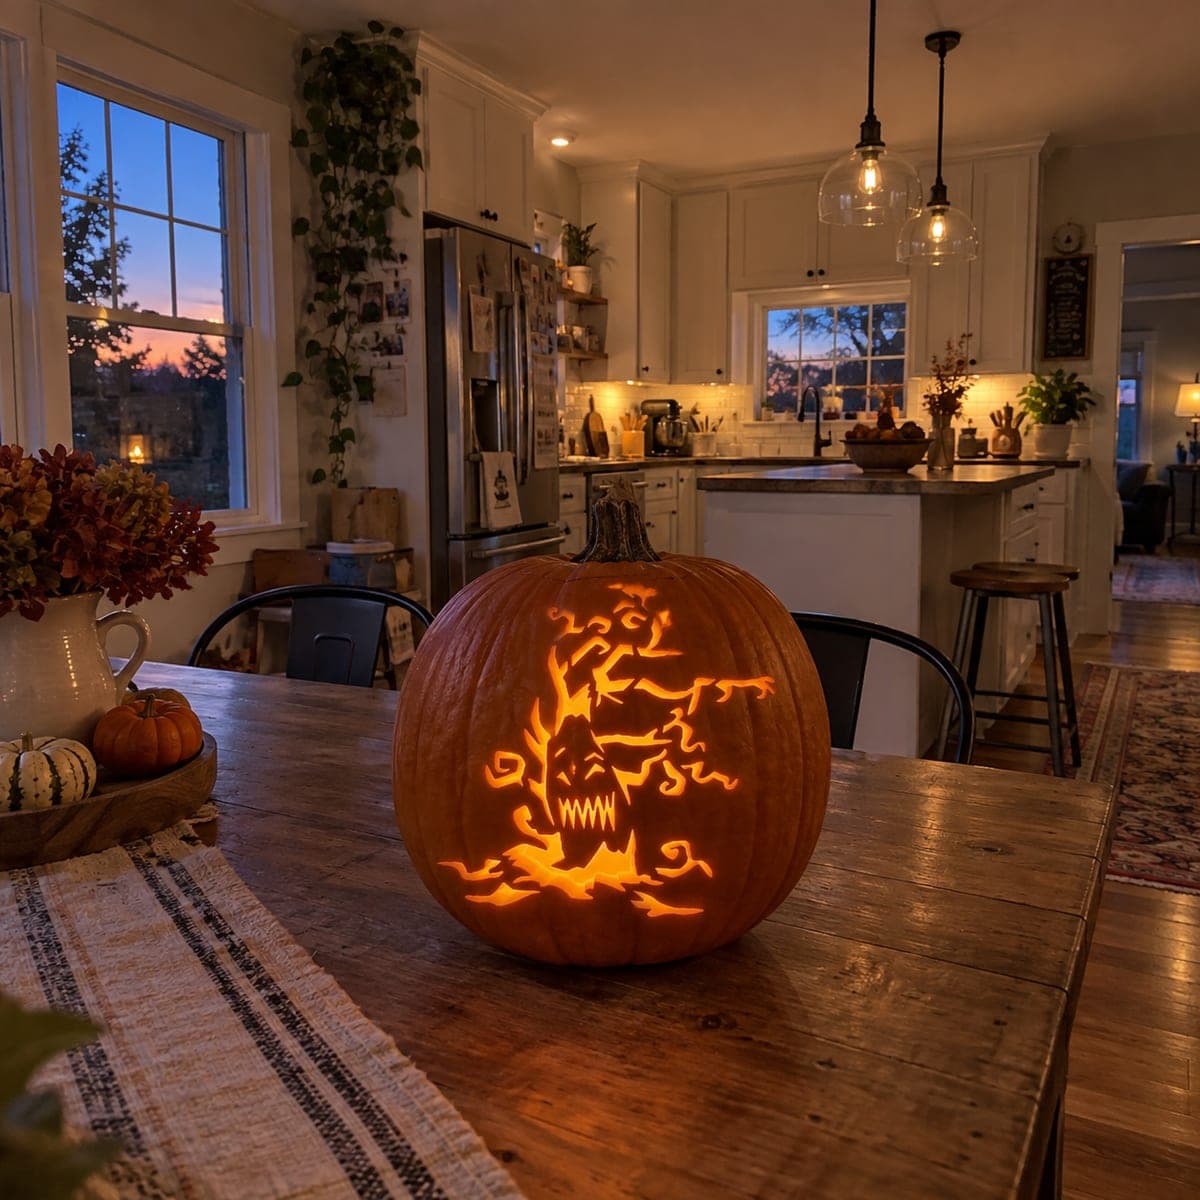
Dense Bare Tree PumpkinAI
0

Dense Bare Tree Pumpkin

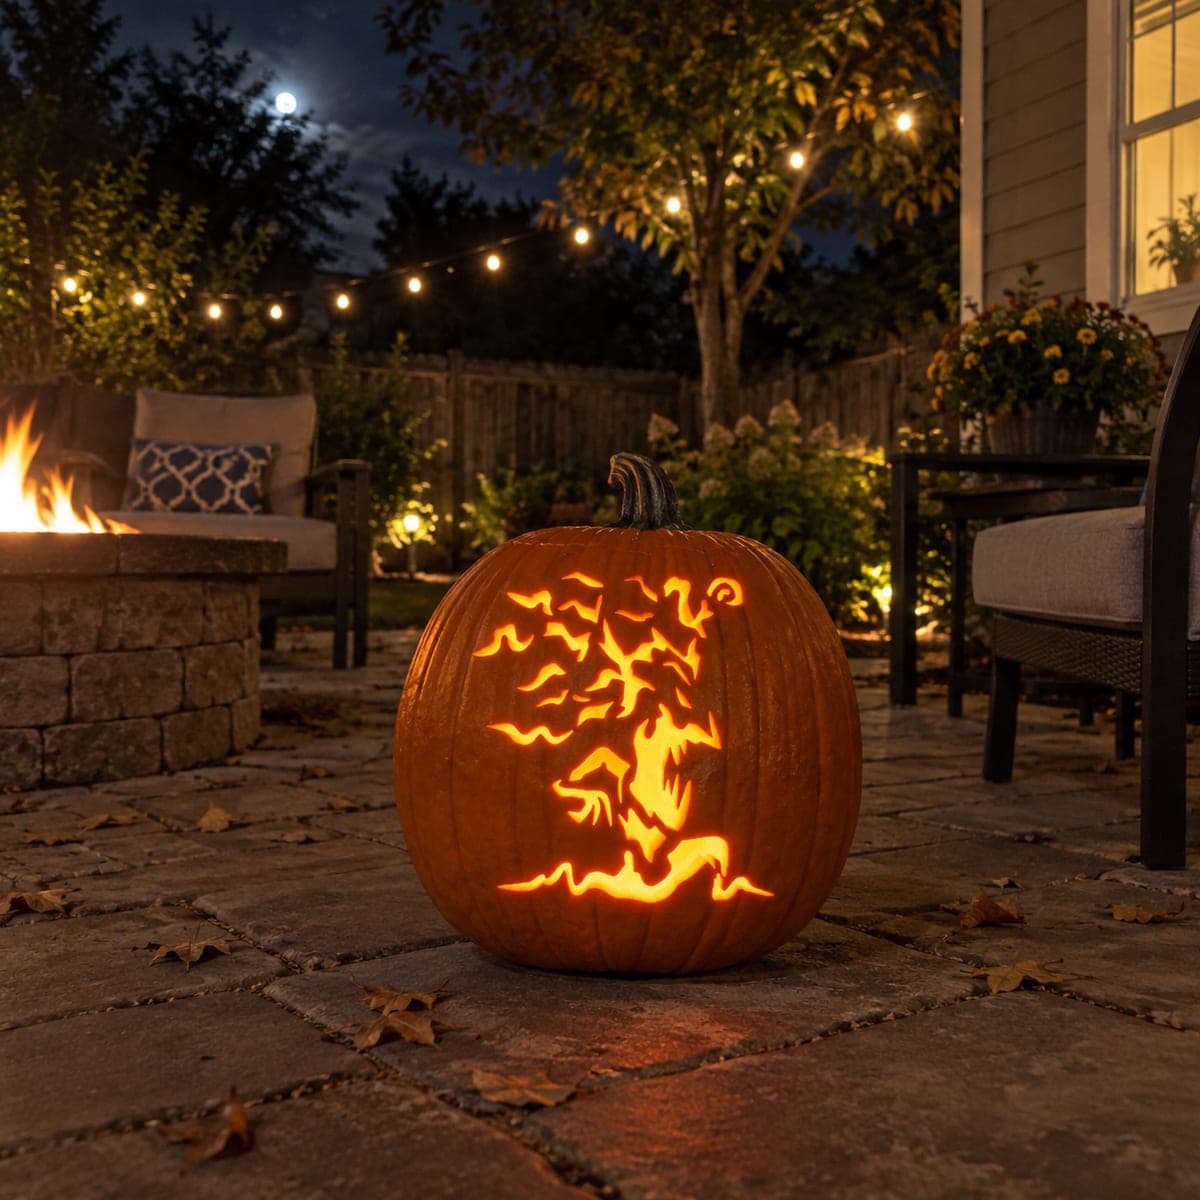
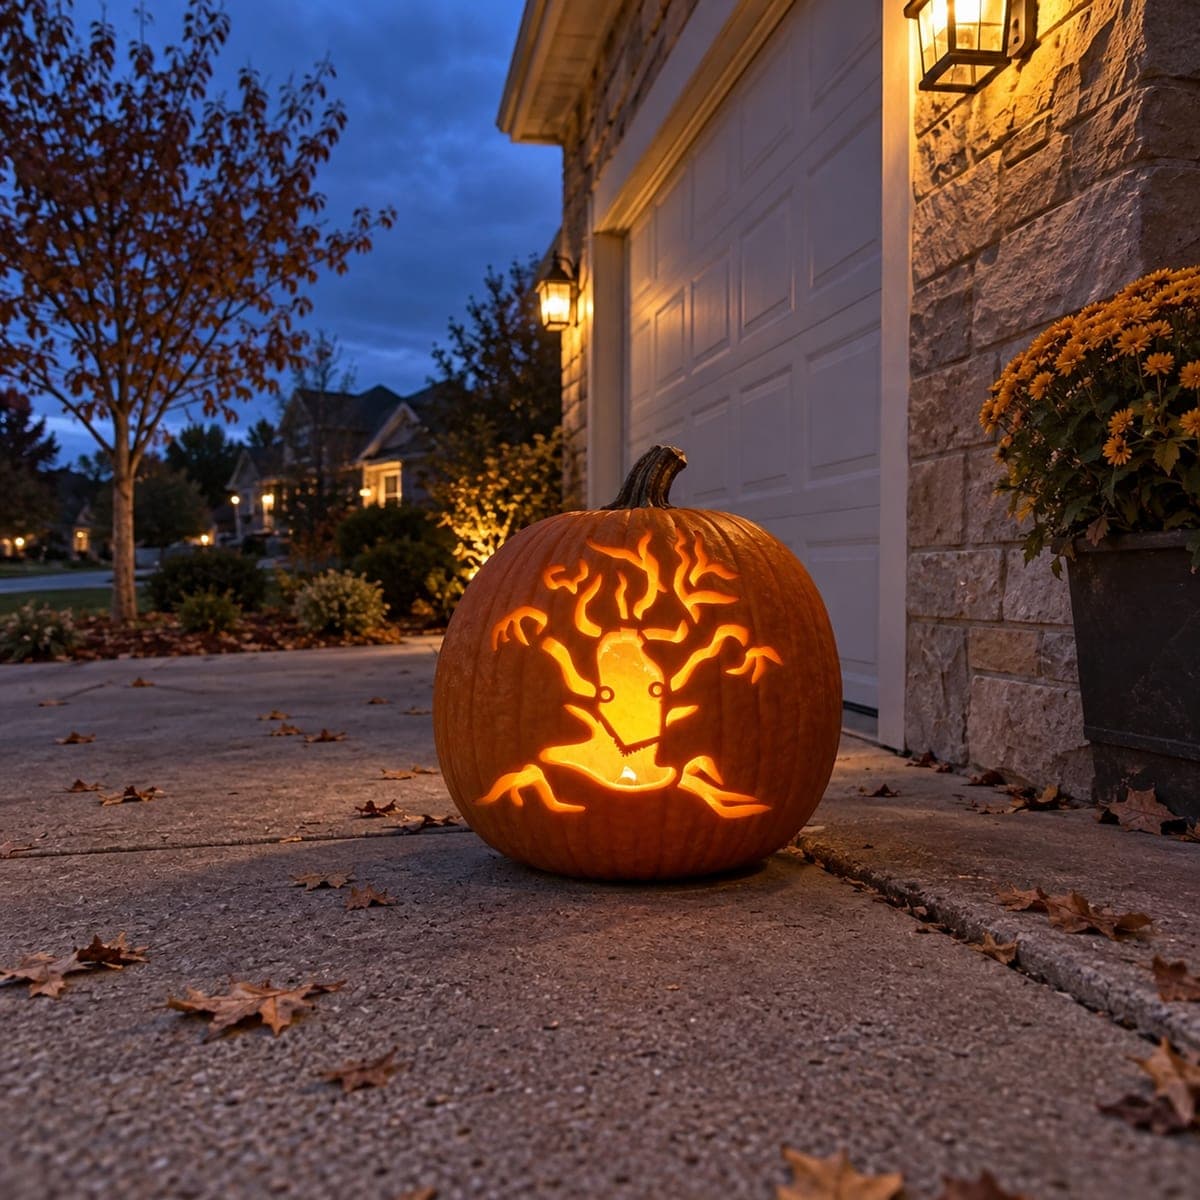
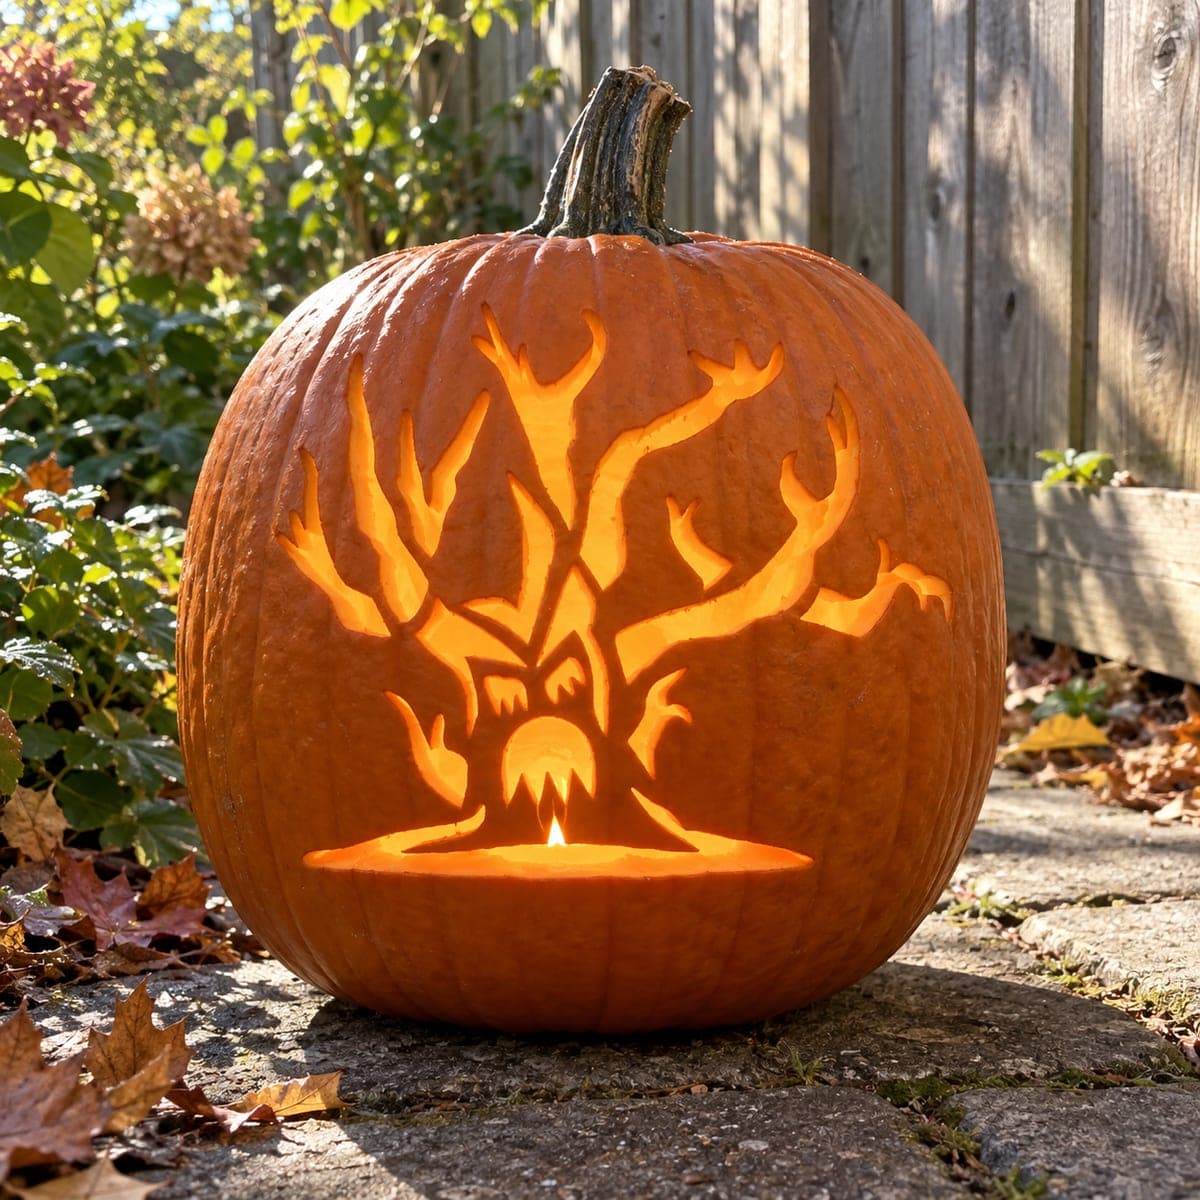
A gnarled, leafless tree with a scowling face hidden in its trunk spreads dozens of thin branching limbs across the entire pumpkin face, all carved through as a hard pumpkin carving idea that creates a dense web of glowing lines. The monstrous face carved into the trunk adds a horror element that only becomes visible up close as the branch pattern fills the eye first from a distance. Carve the trunk face's eyes and mouth first while the wall is stiff, then tackle the main limb branches working from the trunk outward, leaving the outermost twig tips until last. Keep the thinnest branch tips at least an eighth of an inch wide and use a fresh blade to avoid tearing those narrow strips.

This is an AI-generated concept image: a realistic, carvable design idea rather than a photo of a finished carve. AI concepts are always labeled and sit out the leaderboard and the contest.
No ratings yet · Sign in to rate

Comments (0)

  • No comments yet — be the first.

Save without an account. Sign in to like or comment.

Our tips for carving a similar design

The core trick here is a dense web of thin branch cutouts that reads as a leafless tree from across the room, with a scowling face tucked into the trunk that only shows up close. Plan to carve the small, delicate face features first while the pumpkin wall is still stiff, then work the limbs outward from the trunk. Save the finest twig tips for last so the wall stays strong while you make all the bigger cuts.

Written by PumpkinCarvingIdeas.com, inspired by the image above. These are our suggestions, not instructions from the uploader. This approach to the AI concept has not been tested on a real pumpkin.

From pumpkin to porch

  1. Pick a tall pumpkin and open a lid

    Choose a tall, evenly shaped pumpkin with a smooth front panel big enough for the whole tree. Cut a lid from the back rather than the top so the front face stays uninterrupted, angling the cut inward so the lid rests without falling in. Scoop the insides and scrape the carving wall down to about an inch thick. A thinner, even wall makes the many narrow cuts far easier.

  2. Transfer the branching pattern

    Print or draw the tree so the trunk sits low and center with limbs fanning up and out to the edges. Tape the stencil down and poke closely spaced dots along every line, including the small face inside the trunk. Take your time here, since the whole design depends on the branch spacing staying accurate. Peel the paper and connect the dots lightly in pencil before you cut.

  3. Cut the trunk face first

    While the wall is still stiff, carve the small eyes and jagged mouth hidden in the trunk. These are your most delicate detail cuts, so use a fresh fine blade and make slow, controlled passes. Keep the mouth's teeth and the eye slivers at least an eighth of an inch wide so they do not tear. Doing the face early means the surrounding pumpkin still supports these tiny cuts.

  4. Carve the main limbs outward

    Move to the thick central branches next, cutting from the trunk outward toward the pumpkin edges. Work one limb at a time and always cut with the blade angled away from your holding hand. Leave short bridges of skin where branches cross so nothing large drops out or weakens the wall. Rotate the pumpkin instead of twisting your wrist into awkward angles.

  5. Finish the fine twig tips

    Save the thinnest outer twigs for last, once all the bigger openings are done. Refresh your blade so it slices cleanly without dragging the narrow strips. Keep every tip at least an eighth of an inch wide and support each strip with a fingertip as you cut. Push cut pieces gently inward and out rather than pulling them, which can snap a twig.

  6. Light it and photograph

    Drop a bright LED puck or battery string inside, never a candle, so the fine lines glow safely. Position the light low and slightly forward so it fills the branch web evenly and throws warm light through the face. Set the pumpkin on a runner or tray to catch drips. Shoot the photo in a dim room so the glowing lines stand out.

Gather your supplies

Check things off as you get ready.

Work on a stable surface, keep your free hand out of the cutting path, and have an adult handle sharp tools.

Three levels of light

  • Leave intact

    The broad orange skin around the tree and the background of the pumpkin stays untouched and dark.

  • Peel & shade

    Optional shallow-scraped halos around the trunk can give a soft dim glow that adds depth behind the branches.

  • Cut through

    Every branch, twig, and the trunk face's eyes and mouth are cut through for the brightest glowing lines.

Learn the carving basics

Before you start cutting

How thin can I safely make the branch tips?

Keep the thinnest twig tips at least an eighth of an inch wide. Anything narrower tears easily and can snap once the wall softens. A fresh, sharp blade helps you cut clean edges at that width without dragging.

Why carve the trunk face before the branches?

The small eyes and mouth are the most delicate cuts, and they hold their shape best while the surrounding wall is still stiff and fully supported. If you cut all the branches first, the wall flexes and those tiny face slivers can crack. Do the face early, then work outward.

How do I keep the dense pattern from falling apart?

Leave small bridges of skin where branches cross or bunch together, and cut the largest openings last. Work from the trunk outward so the strong center supports each new cut. Rotate the pumpkin as you go instead of forcing the blade into cramped angles.

Your take belongs here, too.

Changed a detail? Made it simpler? Share a photo of your version and tell the community what worked.

Share your pumpkin

More pumpkins like this

You've reached the end · 8 pumpkins
The Patch Report

Fresh pumpkins, in your inbox.

The best new carvings, ideas worth stealing, and how-tos for carving season. Short, seasonal, and gone by November.

A short email during carving season. Unsubscribe anytime. See our privacy policy.