Halloween Pumpkin Carving Contest Β· Starts October 1st Β· $500 in prizes
← Back to ideas
@ai_concepts
Sep 25, 2026
Twin Spooky Trees Pumpkin with Glowing Star CutoutsAI
0

Report this carving

Tell us what is wrong. Reports are private.

Twin Spooky Trees Pumpkin with Glowing Star Cutouts

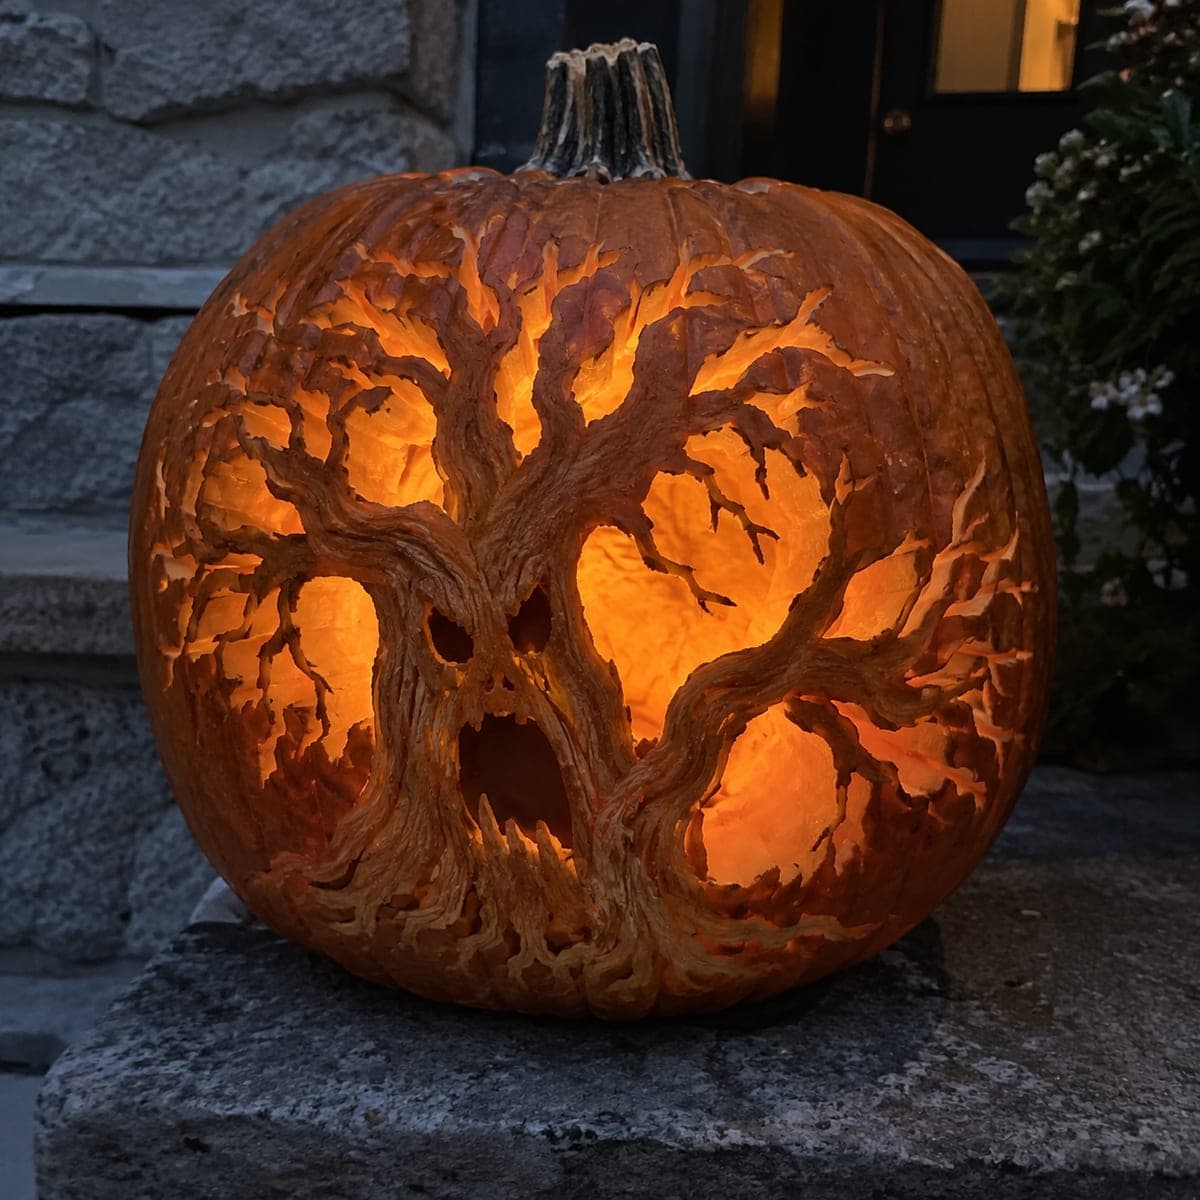
Two gnarled trees flank a sky full of star openings on this expert spooky tree pumpkin carving, displayed on a brick porch. Root both trunks firmly into the bottom frame and connect every branch tip to the arched top before making any interior cuts. Star holes should be punched last, as small finishing details, after the major structure is confirmed stable. A bright LED bulb placed centrally makes both trees and the surrounding stars glow evenly.

No ratings yet Β· Sign in to rate

Comments (0)

  • No comments yet β€” be the first.

Save without an account. Sign in to like or comment.

Our tips for carving a similar design

Both trunks must be firmly rooted into the bottom frame and all branch tips connected to the arched top frame before any interior cuts begin: the whole design functions as a contained lattice where the top and bottom frames are the primary structural members. Star holes are the last element added after the major structure is confirmed solid, functioning as finishing details that do not add to structural risk if the main lattice is sound. A bright LED centered inside illuminates both trees and the star field evenly.

From pumpkin to porch

  1. Map the full lattice structure

    Print the design at full size and trace every rind strip from trunk base to branch tip, confirming that every branch end connects to the arched top frame. Mark the bottom frame strip and both trunk bases in bright marker. No branch end should be left floating. This map is your reference for every cut in the session.

  2. Prep and gut the pumpkin

    Use a large pumpkin with a wide flat front. Cut a wide bottom cap and scoop to about an inch of wall thickness for even light distribution. Transfer the full pattern with all bridge points marked before any other lines are drawn.

  3. Cut the bottom and top frame apertures first

    Establish the bottom frame by cutting the ground strip boundary, leaving the strip itself intact. Cut the arched top frame boundary similarly. These two frame elements are the primary anchors for everything between them. Confirm both feel solid before moving inward.

  4. Cut sky openings between branches, tree by tree

    Work one tree at a time, cutting the sky apertures between branches from the top downward. After completing one tree, check overall stability before starting the second. Keep all branch widths at least half an inch. Confirm each branch tip is still connected to the arch before cutting the adjacent sky opening.

  5. Cut the central sky area between the two trees

    Once both tree structures are confirmed stable, remove the central open sky area between the two crowns. This is the largest single aperture and carries the most structural risk. Work from the top of this opening downward and pause regularly to check the surrounding frames.

  6. Punch star holes last

    Place star holes as small circular or six-pointed punches in the sky area rind, at least three-quarters of an inch apart and away from any branch. Work methodically from one side to the other. After all stars are punched, place a bright LED inside through the bottom, light it up, and apply petroleum jelly to all cut edges before display.

Written with AI to match this design

Gather your supplies

Check things off as you get ready.

Work on a stable surface, keep your free hand out of the cutting path, and have an adult handle sharp tools.

Three levels of light

  • Leave intact

    Bottom frame strip, arched top frame, both tree trunk bodies, all branch rind, and all branch-to-arch connection points

  • Peel & shade

    None, all light comes through through-cuts

  • Cut through

    All sky apertures between branches, central sky area between the two tree crowns, and all star punch holes

Learn the carving basics

Before you start cutting

How do I keep both trees structurally symmetrical if the pumpkin is irregular?

Find the vertical centerline of your pumpkin face before transferring the pattern and align the gap between the two trunks with that line. If the pumpkin surface curves differently on each side, adjust the branch lengths slightly so each tip still reaches the arch rind at roughly the same rind thickness. Symmetry in structure is more important than symmetry in exact shape.

When is the right moment to test structural integrity during this carve?

After completing each tree structure individually, and again after cutting the central sky area. Press gently on the carved sections after each test point. If anything flexes more than a couple of millimeters, stop cutting interior detail, rub petroleum jelly into all exposed cut edges, and chill the pumpkin for a few hours before continuing.

How do I make the star holes look like stars rather than circles?

Use a narrow V-tip linoleum tool to carve short radiating score lines outward from each punched circle, creating a star-burst halo around each hole. You can also cut a very small six-pointed shape instead of a circle for larger stars, but keep the points broad (no narrower than a quarter inch) or they will snap.

Your take belongs here, too.

Changed a detail? Made it simpler? Share a photo of your version and tell the community what worked.

Share your pumpkin

More pumpkins like this

You've reached the end Β· 8 pumpkins
The Patch Report

Fresh pumpkins, in your inbox.

The best new carvings, ideas worth stealing, and how-tos for carving season. Short, seasonal, and gone by November.

A short email during carving season. Unsubscribe anytime. See our privacy policy.