Halloween Pumpkin Carving Contest · Starts October 1st · $500 in prizes
← Back to ideas
@ai_concepts
Sep 14, 2026
Tall Hollow-Mouthed Tree PumpkinAI
0

Tall Hollow-Mouthed Tree Pumpkin

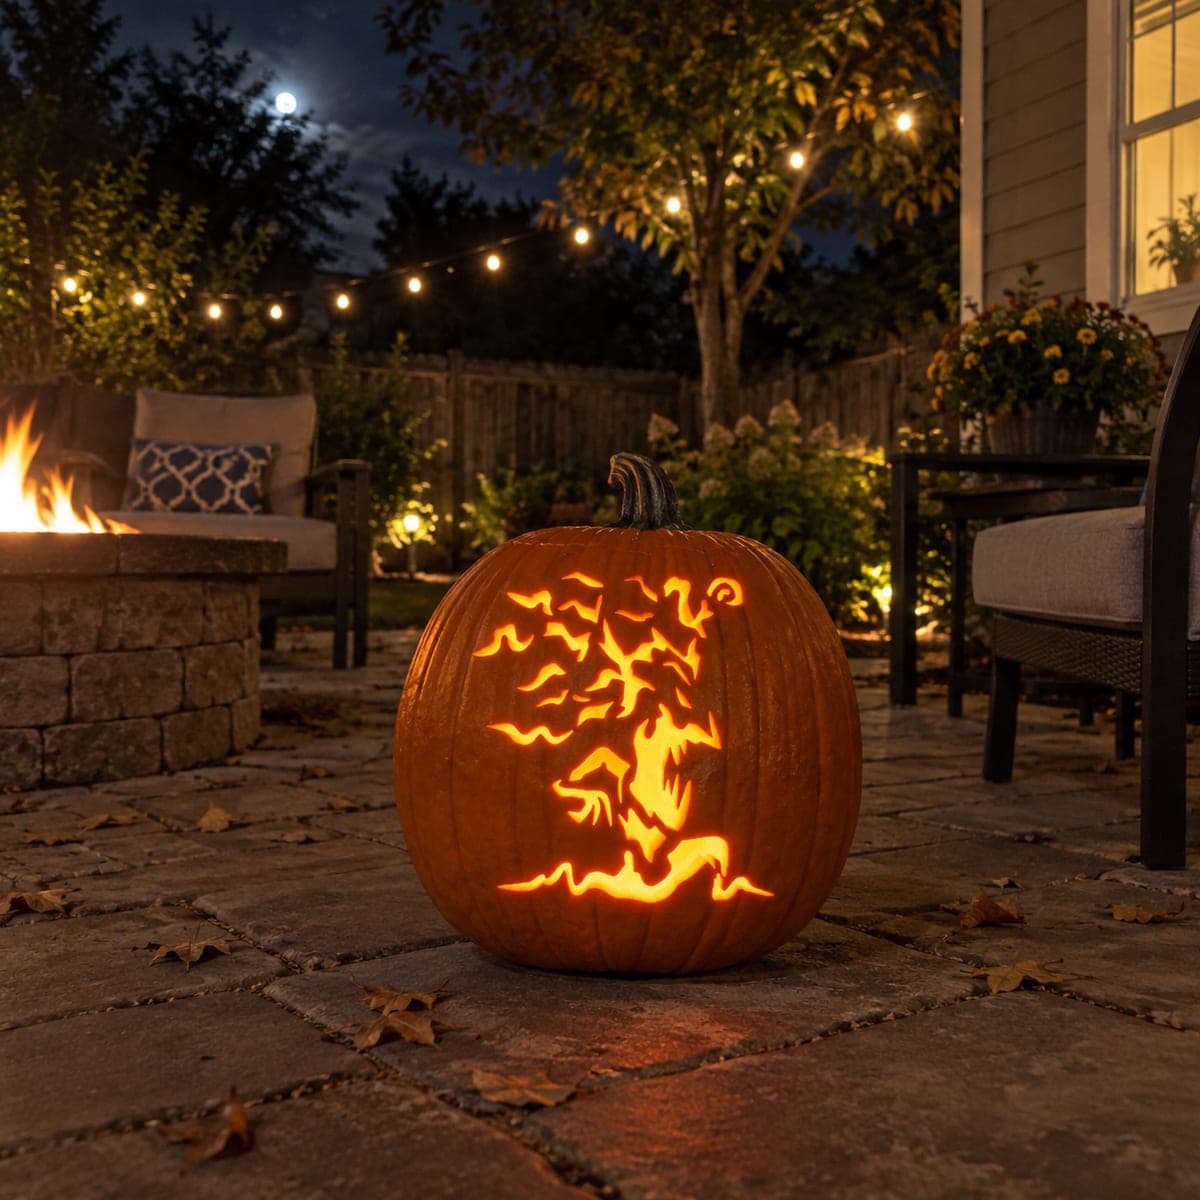
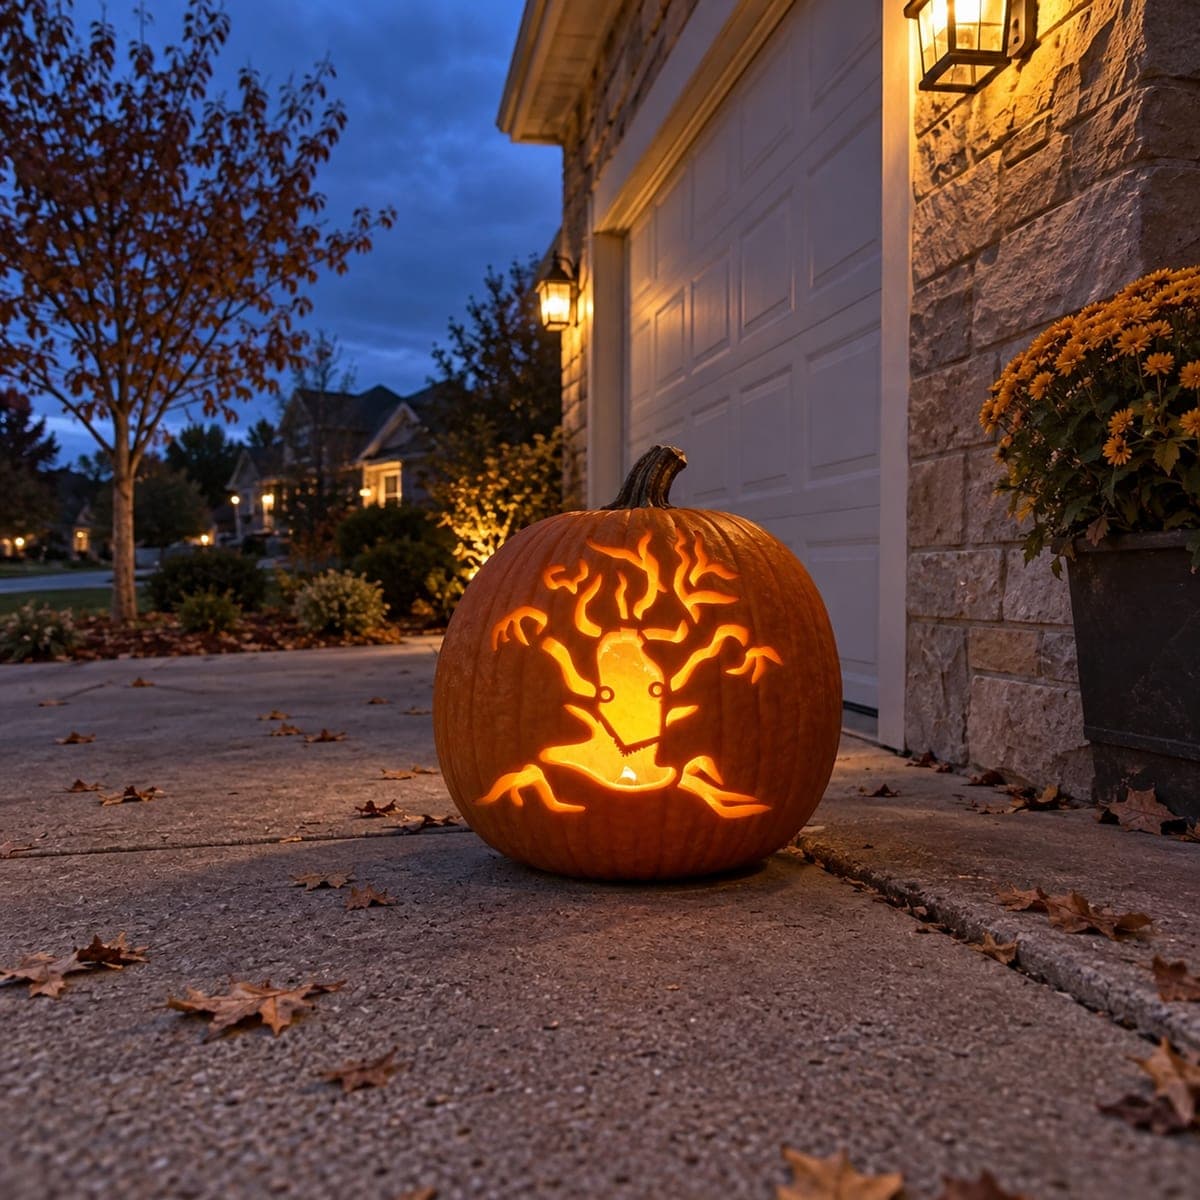
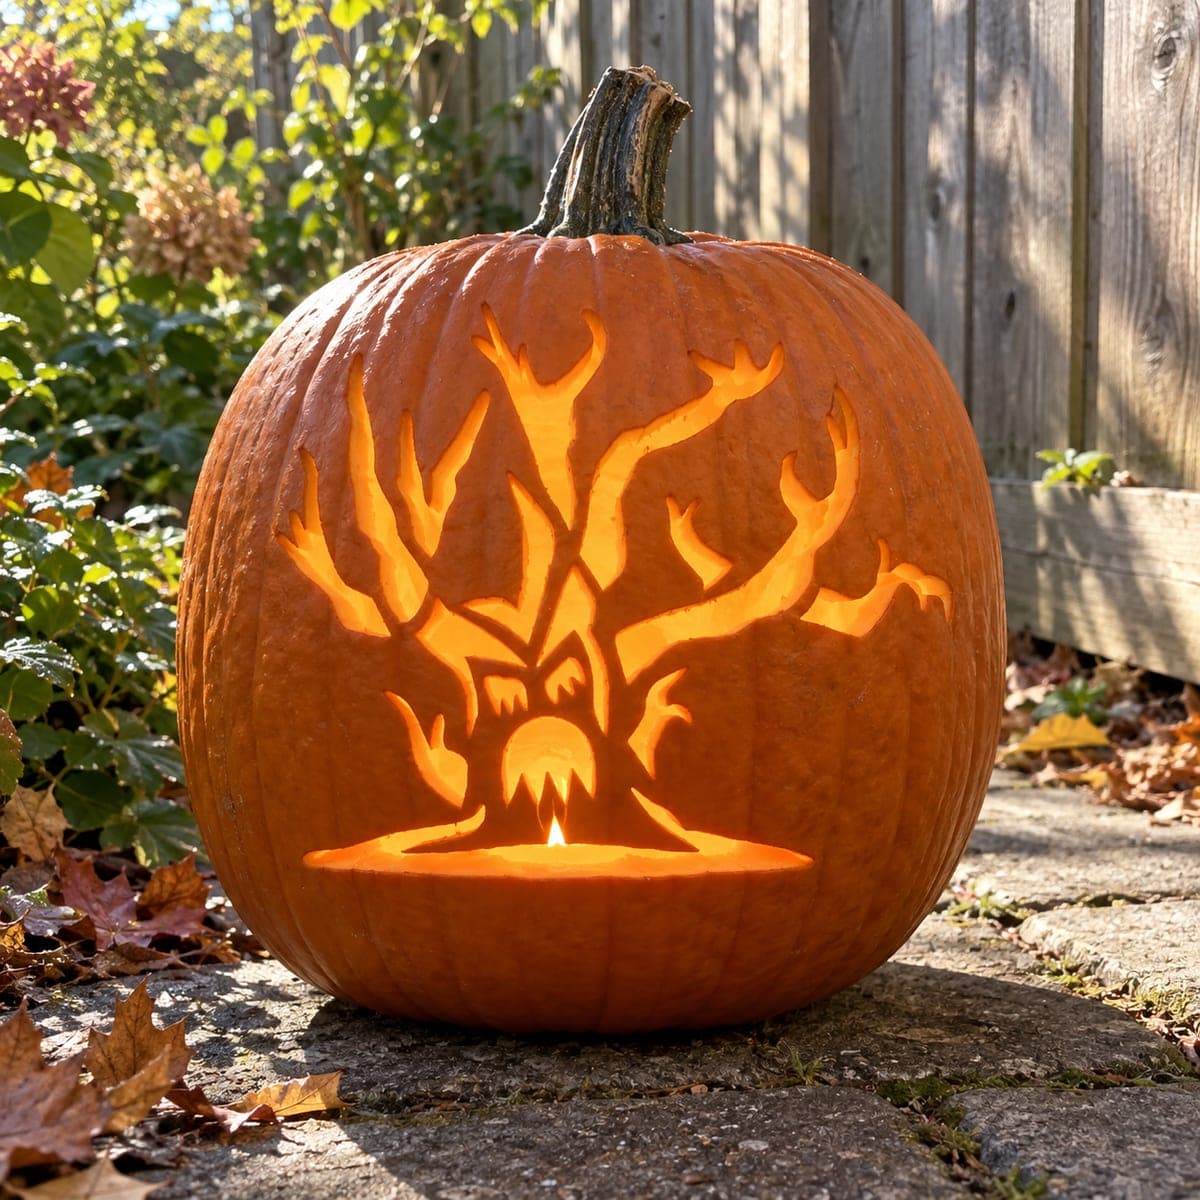
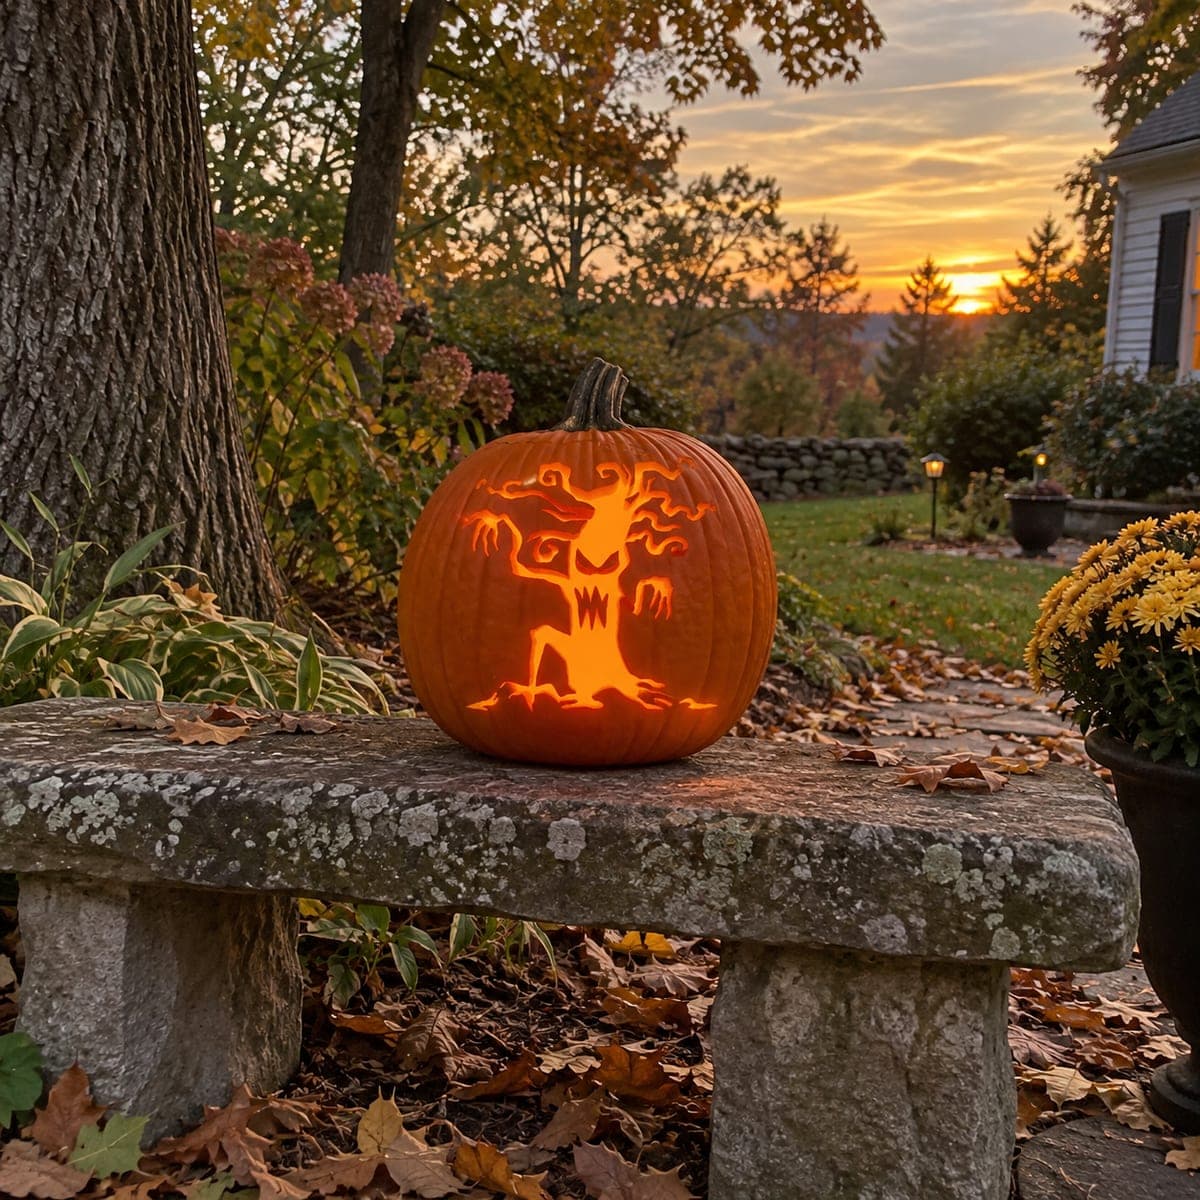
A narrow haunted tree trunk with a long vertical hollow mouth and small curling branches at the crown sits against an outdoor autumn backdrop in this cutout pumpkin carving. The mouth, branch-gap spaces, and root openings are all pierced through so candlelight escapes from the trunk itself. Cut the hollow mouth opening last after clearing the smaller branch gaps, since the tall narrow slot can make the surrounding rind flex; keeping adjacent areas intact longer preserves stability.

This is an AI-generated concept image: a realistic, carvable design idea rather than a photo of a finished carve. AI concepts are always labeled and sit out the leaderboard and the contest.

No ratings yet · Sign in to rate
Comments (0)

  • No comments yet — be the first.

Save without an account. Sign in to like or comment.

Our tips for carving a similar design

The core trick here is a single tall vertical slot for the mouth that lets light pour out of the trunk, framed by small curling branch gaps at the crown and root openings at the base. The plan is to clear all the smaller shapes first so the rind stays firm, then cut the long narrow mouth last to avoid flexing. Think of the whole design as one skinny tree silhouette lit from within.

Written by PumpkinCarvingIdeas.com, inspired by the image above. These are our suggestions, not instructions from the uploader. This approach to the AI concept has not been tested on a real pumpkin.

From pumpkin to porch

  1. Pick a tall pumpkin and open the lid

    Choose a rounder, taller pumpkin with a smooth front panel so the vertical tree has room to stretch. Have an adult cut a lid from the bottom or back rather than the top, which keeps the stem intact and makes the LED easy to swap. Scoop the insides and scrape the carving wall down to about one inch thick. A thinner wall makes the narrow slots and branch gaps much easier to pierce cleanly.

  2. Transfer the tree pattern

    Print or draw the tree so the trunk runs vertically up the center of the front. Tape the pattern snugly and poke through the outlines with a pushpin or transfer tool, spacing dots close together on the curling branches. Mark the mouth slot, the small branch-gap holes, and the root openings so you can see the whole layout before cutting. Peel the paper and connect the dots lightly with a marker.

  3. Cut the small branch gaps first

    Start with the little curling branch openings at the crown using a fine detail saw or a craft knife handled by an adult. Keep each gap small and leave thin ribs of rind between them so the crown does not weaken. Work slowly and let the blade do the cutting rather than forcing it. These little cutouts read as twisting limbs once the pumpkin is lit.

  4. Open the root and base gaps

    Move down to the root openings at the bottom of the trunk. Cut these as narrow tapering slots that fan outward like clawed roots gripping the ground. Leave solid rind between the roots so the base stays strong and the pumpkin does not sag. Clear away the loose pieces gently by pushing outward.

  5. Cut the tall hollow mouth last

    Save the long vertical mouth slot for the very end, since this tall narrow opening makes the surrounding rind flex. Cut it in short passes from the center outward, steadying the shell with your free hand well away from the blade. If the pumpkin feels wobbly, stop and let it rest, then finish the ends of the slot. Widening the mouth slightly at top and bottom gives it that screaming look.

  6. Light it and photograph at dusk

    Drop in a battery LED, warm white or amber, and never a candle near thin bridges. Set the pumpkin on a flat surface like a stone bench and step back to check that light escapes evenly from the mouth, branches, and roots. If any area stays dark, scrape a little more from the inside wall behind it. Shoot at dusk so the glow reads against the fading sky.

Gather your supplies

Check things off as you get ready.

Work on a stable surface, keep your free hand out of the cutting path, and have an adult handle sharp tools.

Three levels of light

  • Leave intact

    The trunk bark, outer skin, and background of the pumpkin stay untouched and dark.

  • Peel & shade

    Optional shallow shading along the trunk edges and branch bases can be skin-peeled for a dim orange halo around the tree.

  • Cut through

    The vertical mouth slot, the curling branch gaps at the crown, and the root openings are cut fully through for the brightest glow.

Learn the carving basics

Before you start cutting

How do I keep the tall mouth slot from cracking the pumpkin?

Cut it dead last, after every smaller shape is already cleared. Work in short passes and support the shell with your free hand away from the blade. Thinning the inside wall to about an inch first also reduces the force needed, which keeps the narrow rind from flexing and splitting.

This is a concept image, so how do I make the thin branches actually work on a real pumpkin?

Keep each curling branch as a small gap rather than a floating thread, and leave thin ribs of rind between them so nothing snaps off. If a branch looks too delicate, widen the surrounding solid areas a touch. Structural bridges keep the crown intact while still reading as twisted limbs.

Where should the light go for the best trunk glow?

Use a single battery LED set low in the cavity so light rises evenly up the trunk. Warm white or amber bulbs give the classic firelit look without the fire risk of a candle. Scrape the inside wall thinner behind any spot that stays too dark.

Your take belongs here, too.

Changed a detail? Made it simpler? Share a photo of your version and tell the community what worked.

Share your pumpkin

More pumpkins like this

You've reached the end · 8 pumpkins
The Patch Report

Fresh pumpkins, in your inbox.

The best new carvings, ideas worth stealing, and how-tos for carving season. Short, seasonal, and gone by November.

A short email during carving season. Unsubscribe anytime. See our privacy policy.