Halloween Pumpkin Carving Contest · Starts October 1st · $500 in prizes
← Back to ideas
@ai_concepts
Sep 14, 2026
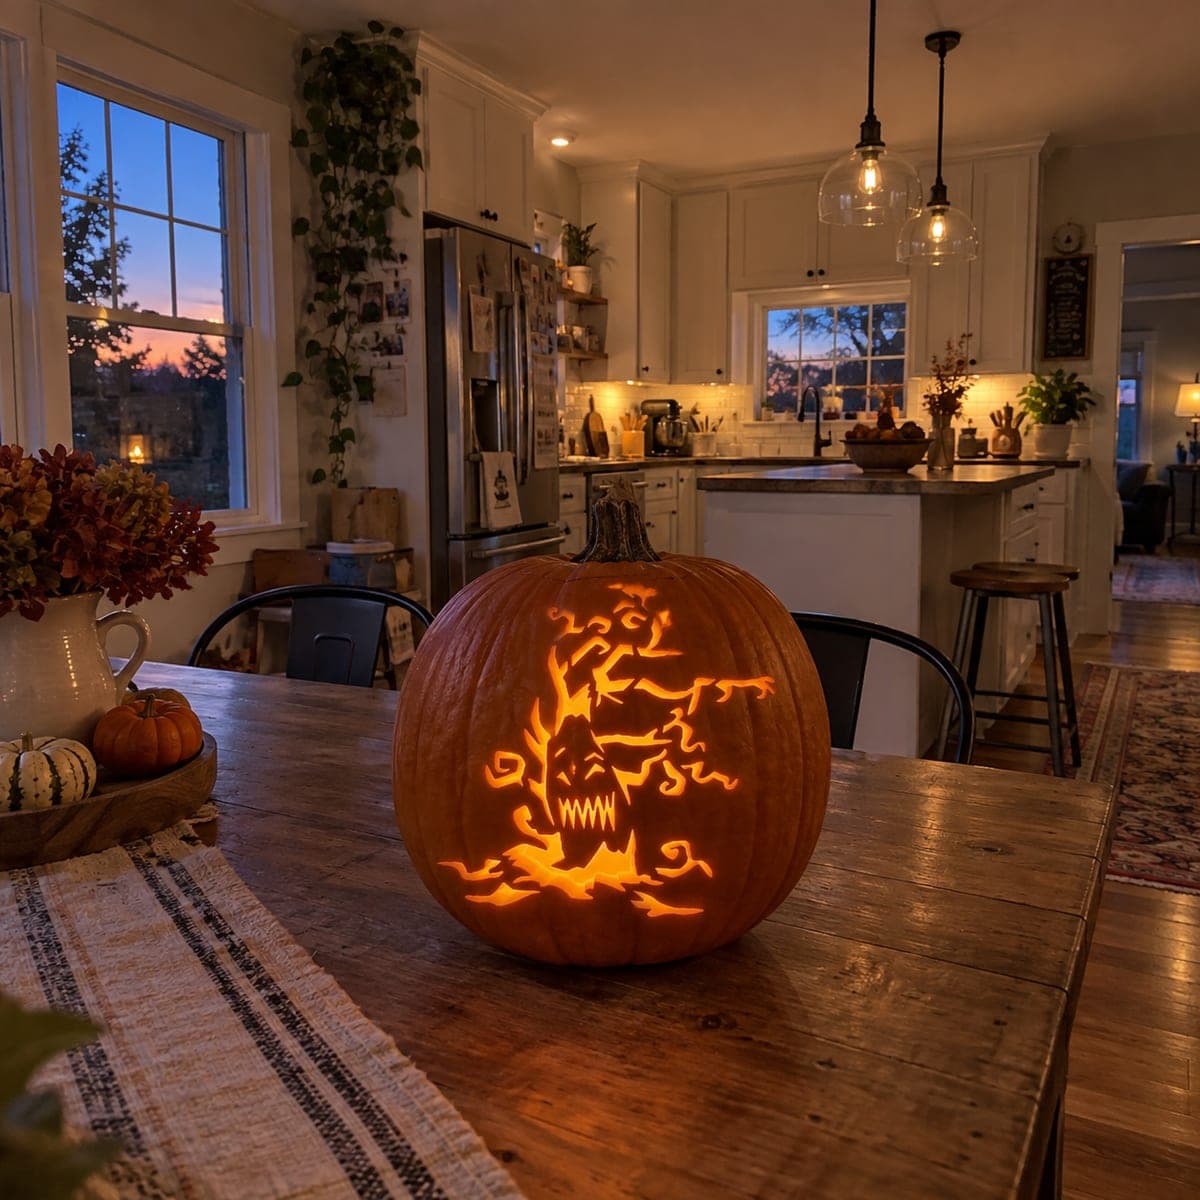
Snarling Tree With Twisted Branches PumpkinAI
0

Snarling Tree With Twisted Branches Pumpkin

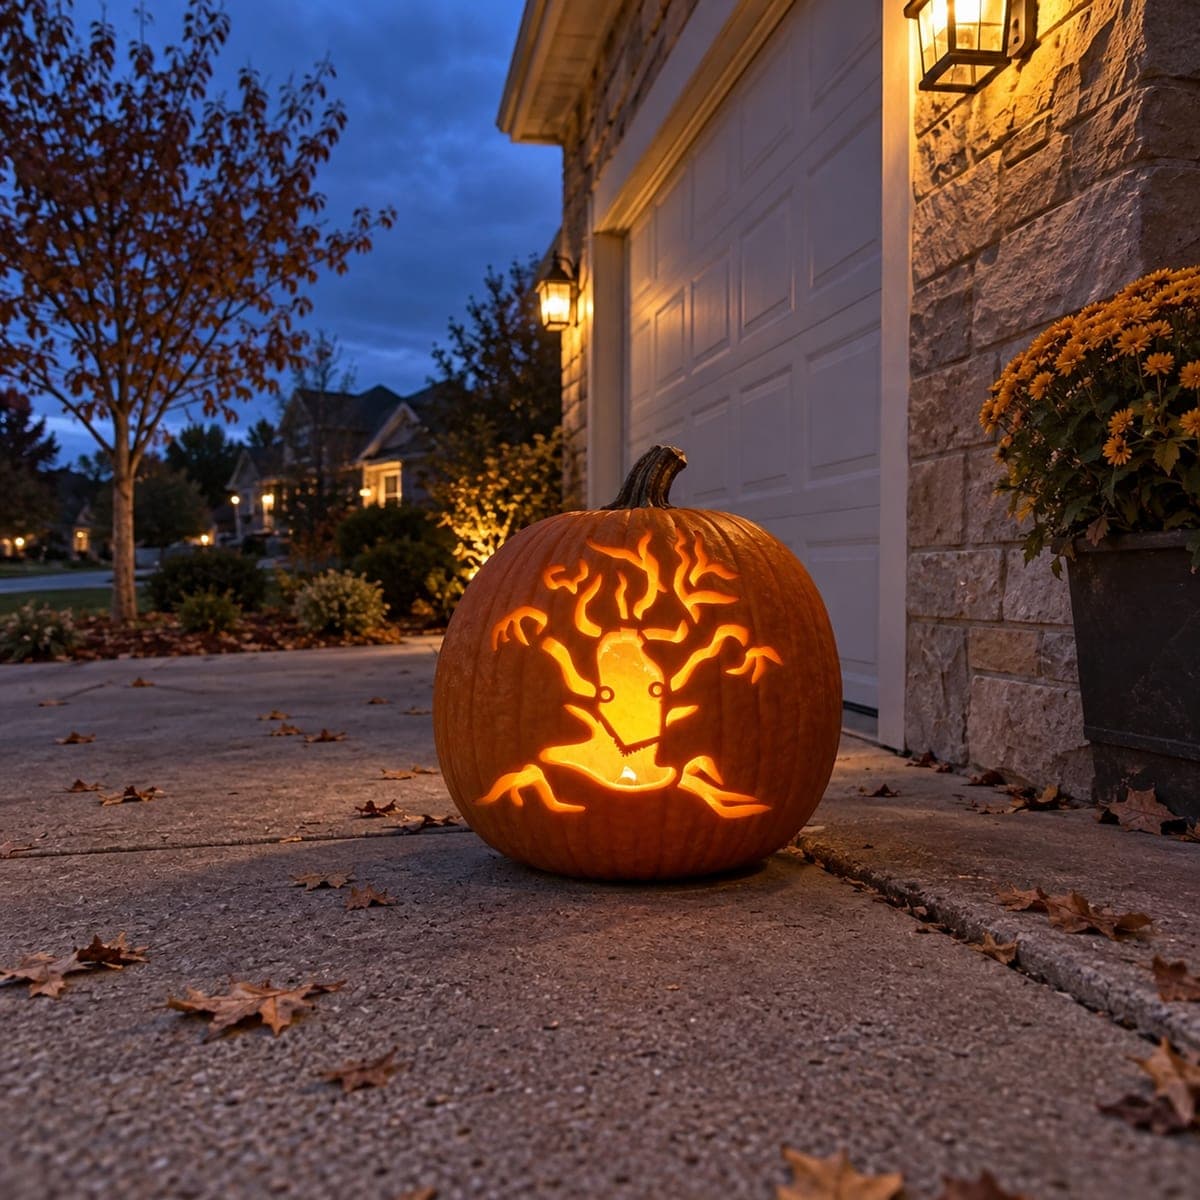
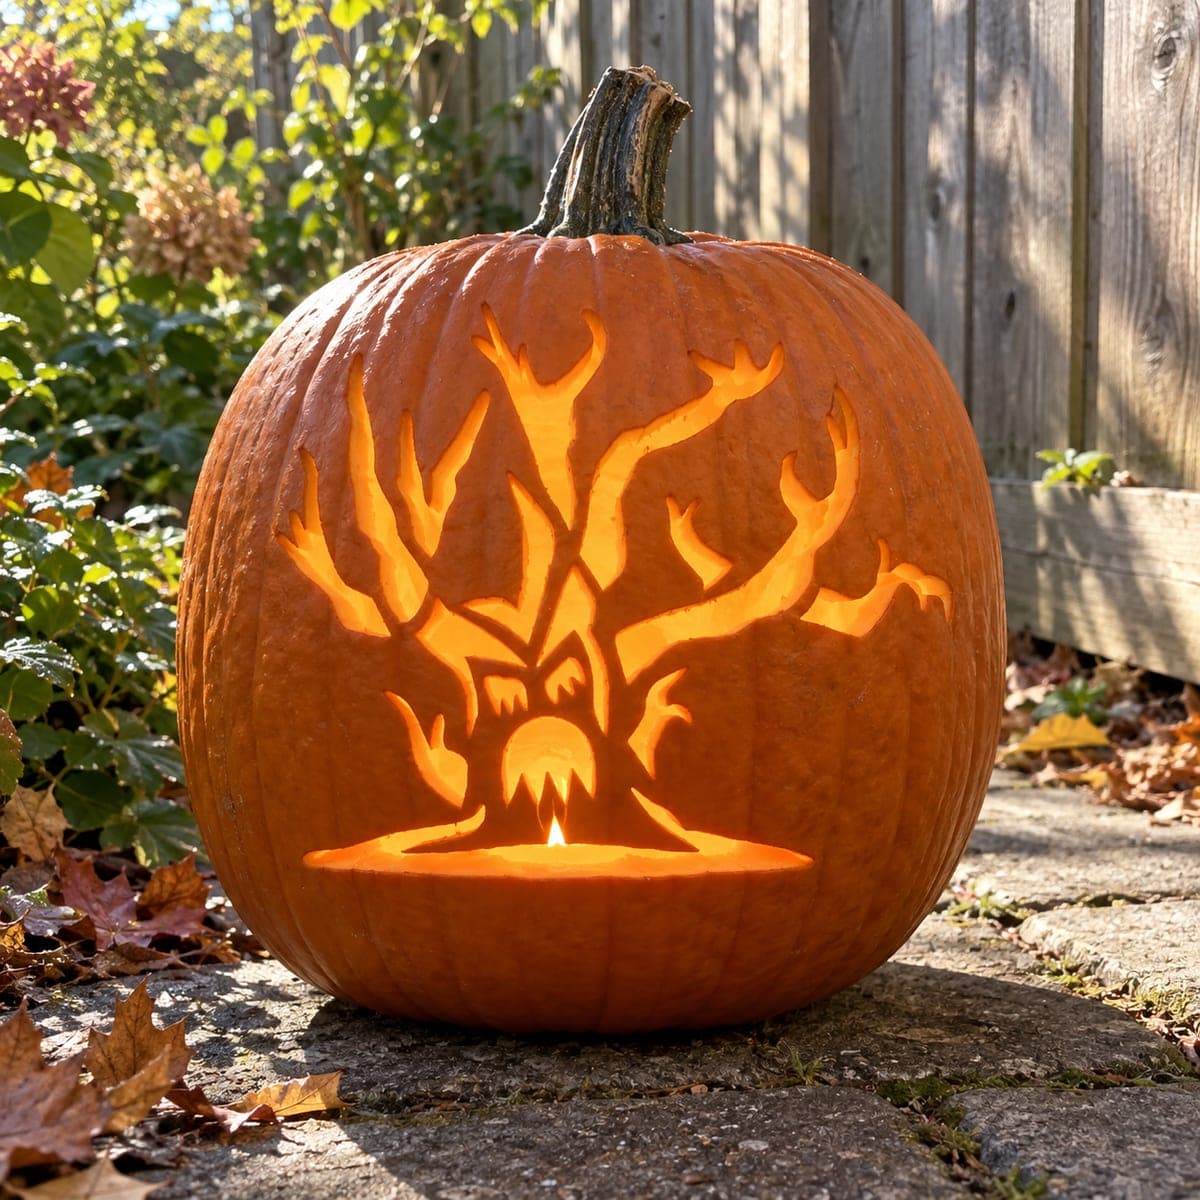
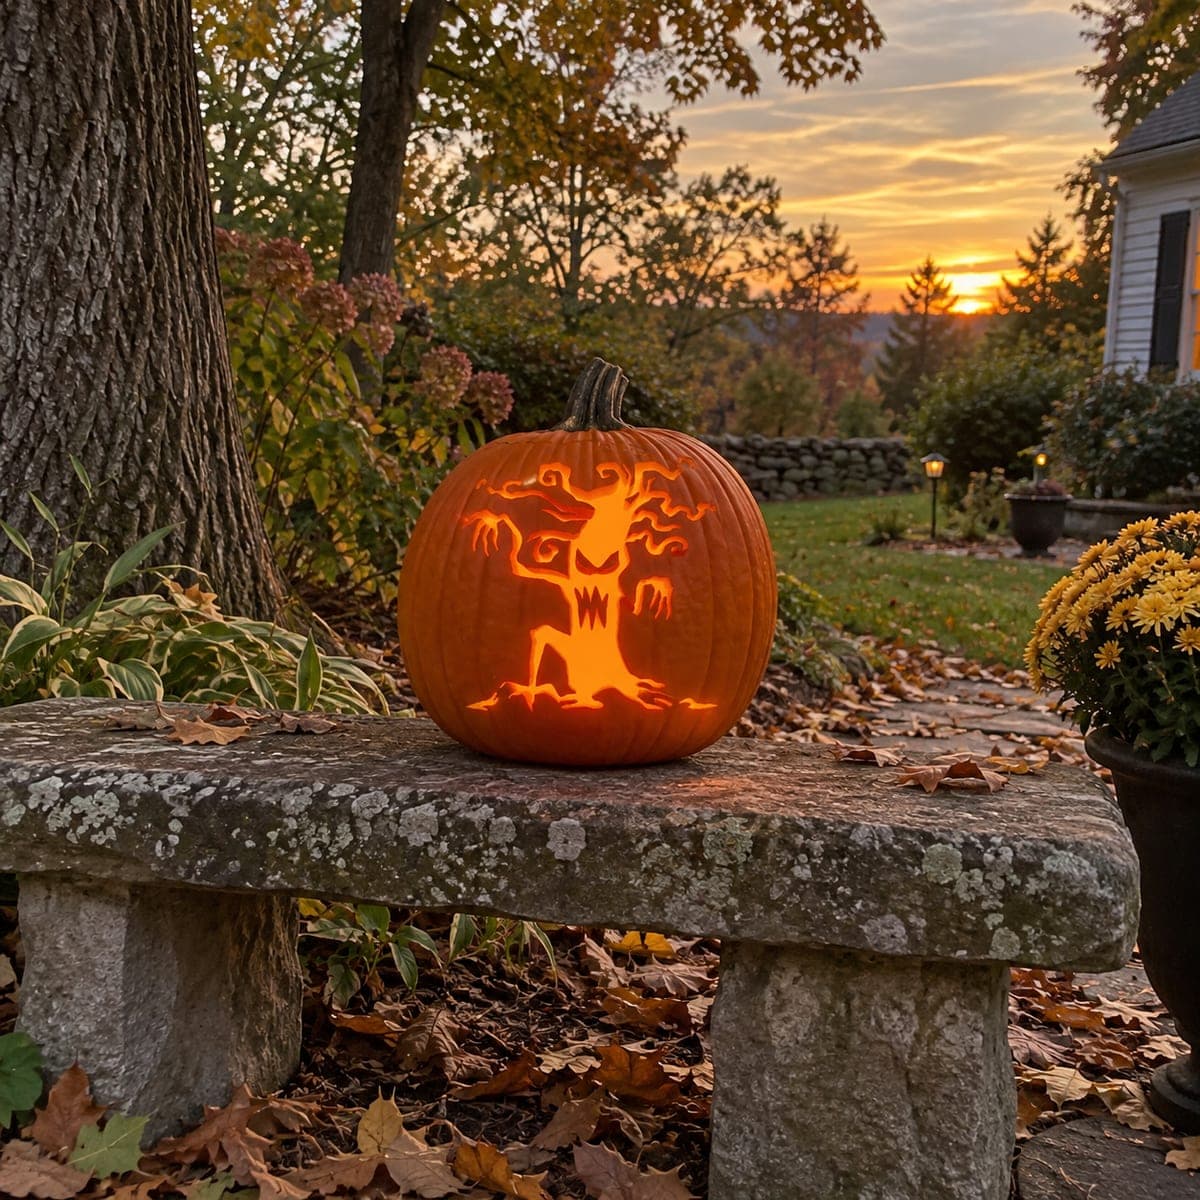
A monstrous tree with a wide screaming mouth, wild curling branches, and grasping root claws fills the pumpkin face with chaotic glowing shapes. All the open areas are cut through, creating a dense pattern of jagged negative space around the dark tree body. Start with the mouth opening and the gaps between the root claws at the bottom, then work upward through the branch spaces so the structure stays rigid while you navigate the tight curves.

This is an AI-generated concept image: a realistic, carvable design idea rather than a photo of a finished carve. AI concepts are always labeled and sit out the leaderboard and the contest.

No ratings yet · Sign in to rate
Comments (0)

  • No comments yet — be the first.

Save without an account. Sign in to like or comment.

Our tips for carving a similar design

The core trick here is treating the tree body as solid dark wood while every gap around it becomes glowing negative space. You keep the black branches and trunk attached to the pumpkin skin, then cut through all the spaces between them so light rakes out in jagged shards. Working from the bottom up keeps the pumpkin rigid while you handle the tight curves.

Written by PumpkinCarvingIdeas.com, inspired by the image above. These are our suggestions, not instructions from the uploader. This approach to the AI concept has not been tested on a real pumpkin.

From pumpkin to porch

  1. Prep and light-test the pumpkin

    Pick a tall pumpkin with a smooth, wide face for this busy design. Cut a lid from the bottom or the back rather than the top so the stem stays intact and the walls stay strong. Scrape the inside of the front wall down to about one inch thick so your tool passes through easily. Drop in an LED light and test which side glows most evenly before you transfer the pattern.

  2. Transfer the stencil and read the shapes

    Tape your snarling tree stencil flat against the front, snipping the edges so it hugs the curve. Poke through all the outlines with a pushpin or a transfer tool, spacing dots close together on the tight branch curls. Before cutting, shade in pencil which areas stay as dark tree and which become open light. Getting clear on the solid trunk, mouth, and root claws now saves mistakes later.

  3. Cut the mouth and root gaps first

    Start with the wide screaming mouth in the center, since it is the largest opening and gives you a stable anchor. Then cut the gaps between the grasping root claws along the bottom. Use a fine detail saw and let the blade do the work with gentle strokes, easing around each jagged tooth. Keeping these low openings first means the upper pumpkin stays firm while you carve above them.

  4. Work upward through the branch spaces

    Move slowly up into the curling branch gaps, cutting the smaller enclosed spaces before the larger ones near the top. Turn the pumpkin instead of twisting your wrist so the blade stays straight in the tight curves. Leave thin slivers of skin between crowded shapes so the tree body does not weaken and sag. If a branch tip feels fragile, keep it attached to the trunk at both ends like a bridge.

  5. Clean edges and add peeled shading

    Push out each cut piece from the inside so the fronts stay crisp, then trim any ragged bits with the tip of your saw. For extra depth, use a lino or shaving tool to skin-peel a few narrow ribbons along the trunk edges so they glow dim orange. This softer light halo makes the sharp black branches read as raised and gnarled. Wipe away pencil marks with a damp cloth.

  6. Light it and photograph

    Set a bright LED puck or a battery string inside and aim it toward the carved face. Dim the room and shoot slightly off to one side so the jagged shapes cast texture. If some openings look dull, angle the light or add a second LED near the base to fill the root claws. Rub a little petroleum jelly on cut edges to slow drying and keep the pattern sharp for photos.

Gather your supplies

Check things off as you get ready.

Work on a stable surface, keep your free hand out of the cutting path, and have an adult handle sharp tools.

Three levels of light

  • Leave intact

    The tree trunk, branches, and root claws stay as untouched skin so they read as a dark silhouette.

  • Peel & shade

    Narrow ribbons skinned along the trunk and branch edges glow dim orange for depth.

  • Cut through

    The screaming mouth, root-claw gaps, and all the spaces between the branches cut fully through for the brightest jagged light.

Learn the carving basics

Before you start cutting

How do I keep the thin branches from breaking off?

Never leave a branch cut free on both ends. Keep each curling branch attached to the trunk or to the pumpkin skin at both tips so it works like a bridge. If a section feels wobbly, leave an extra sliver of skin connecting it and trim later.

Why cut the mouth and roots before the branches?

The lower openings are the largest, and cutting them first while the top is still solid keeps the pumpkin from flexing. Working bottom to top means the rigid upper wall supports your hand as you navigate the tight branch curves. Cutting big openings last is the general rule for keeping a busy design stable.

This looks like an AI concept. Can a real pumpkin hold this much cutout?

It can if you keep the tree body connected. This is an editorial design idea, so treat the branches as one linked network rather than floating pieces. Leave slim skin bridges between crowded gaps and thin the wall to about one inch so light still pushes through.

Your take belongs here, too.

Changed a detail? Made it simpler? Share a photo of your version and tell the community what worked.

Share your pumpkin

More pumpkins like this

You've reached the end · 8 pumpkins
The Patch Report

Fresh pumpkins, in your inbox.

The best new carvings, ideas worth stealing, and how-tos for carving season. Short, seasonal, and gone by November.

A short email during carving season. Unsubscribe anytime. See our privacy policy.