The 2026 contest winners are inGrand Prize, People's Choice and Most Creative, all crowned.
@ai_concepts
Sep 25, 2026
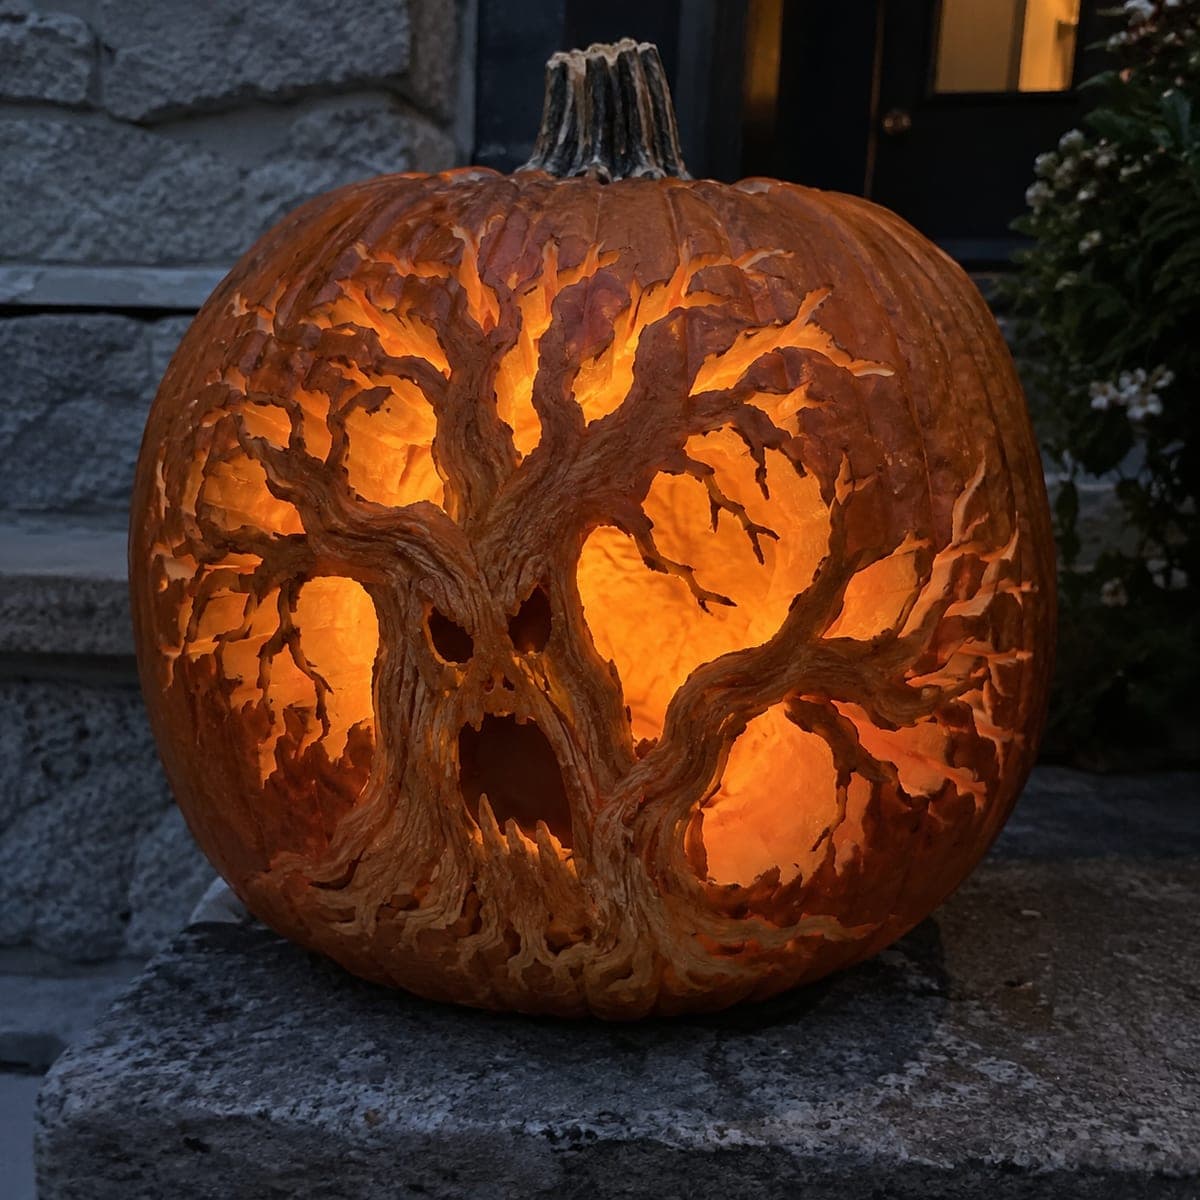
The Watching Spooky Tree PumpkinAI
0

Report this carving

Tell us what is wrong. Reports are private.

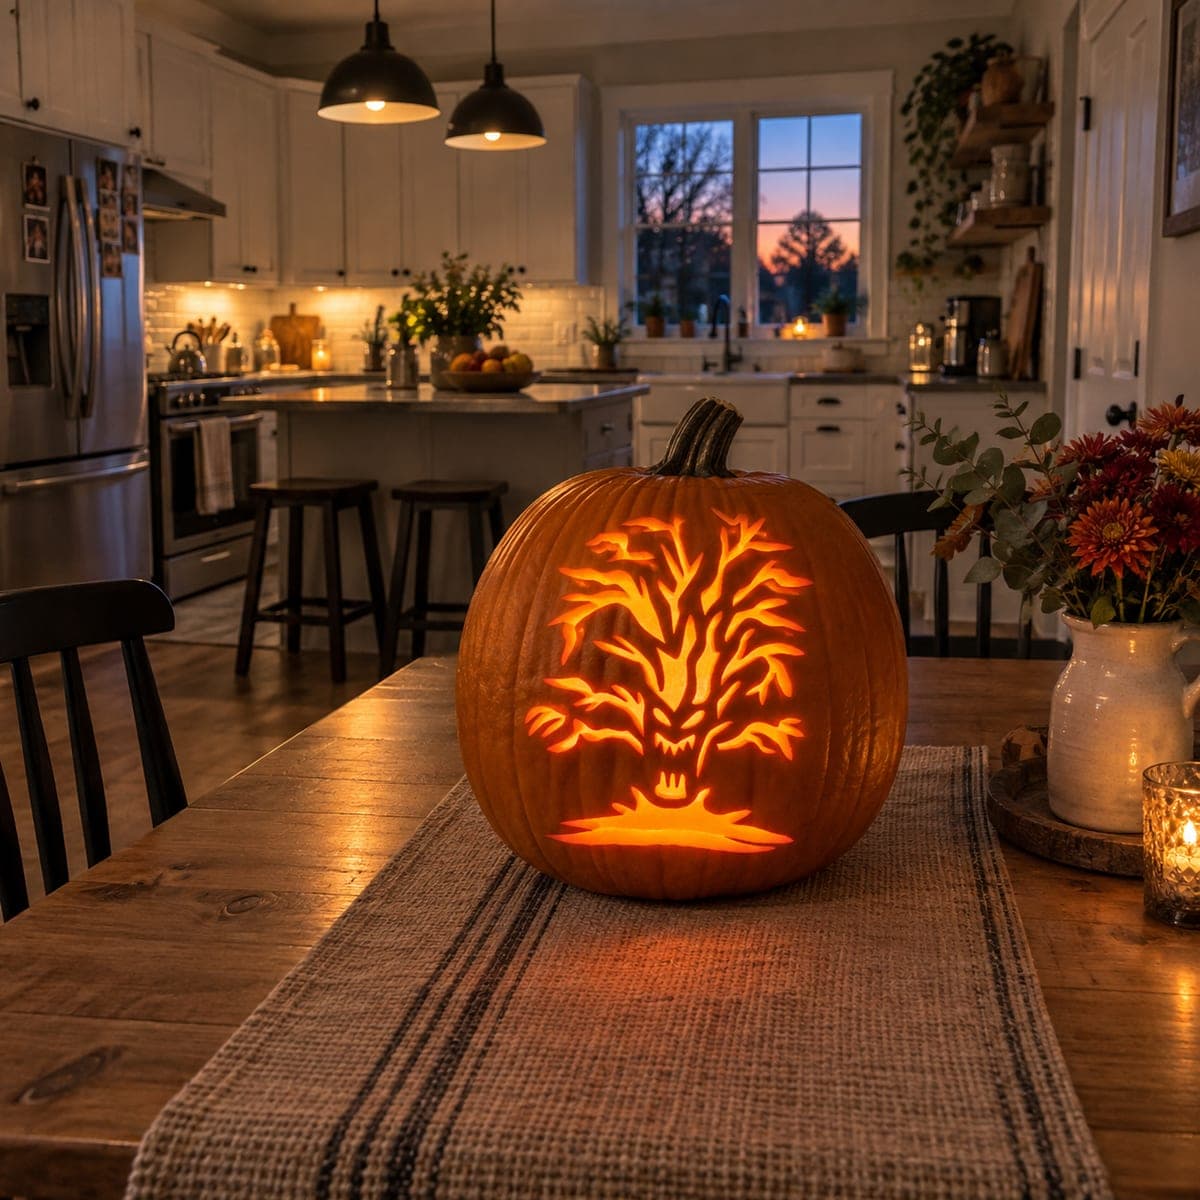
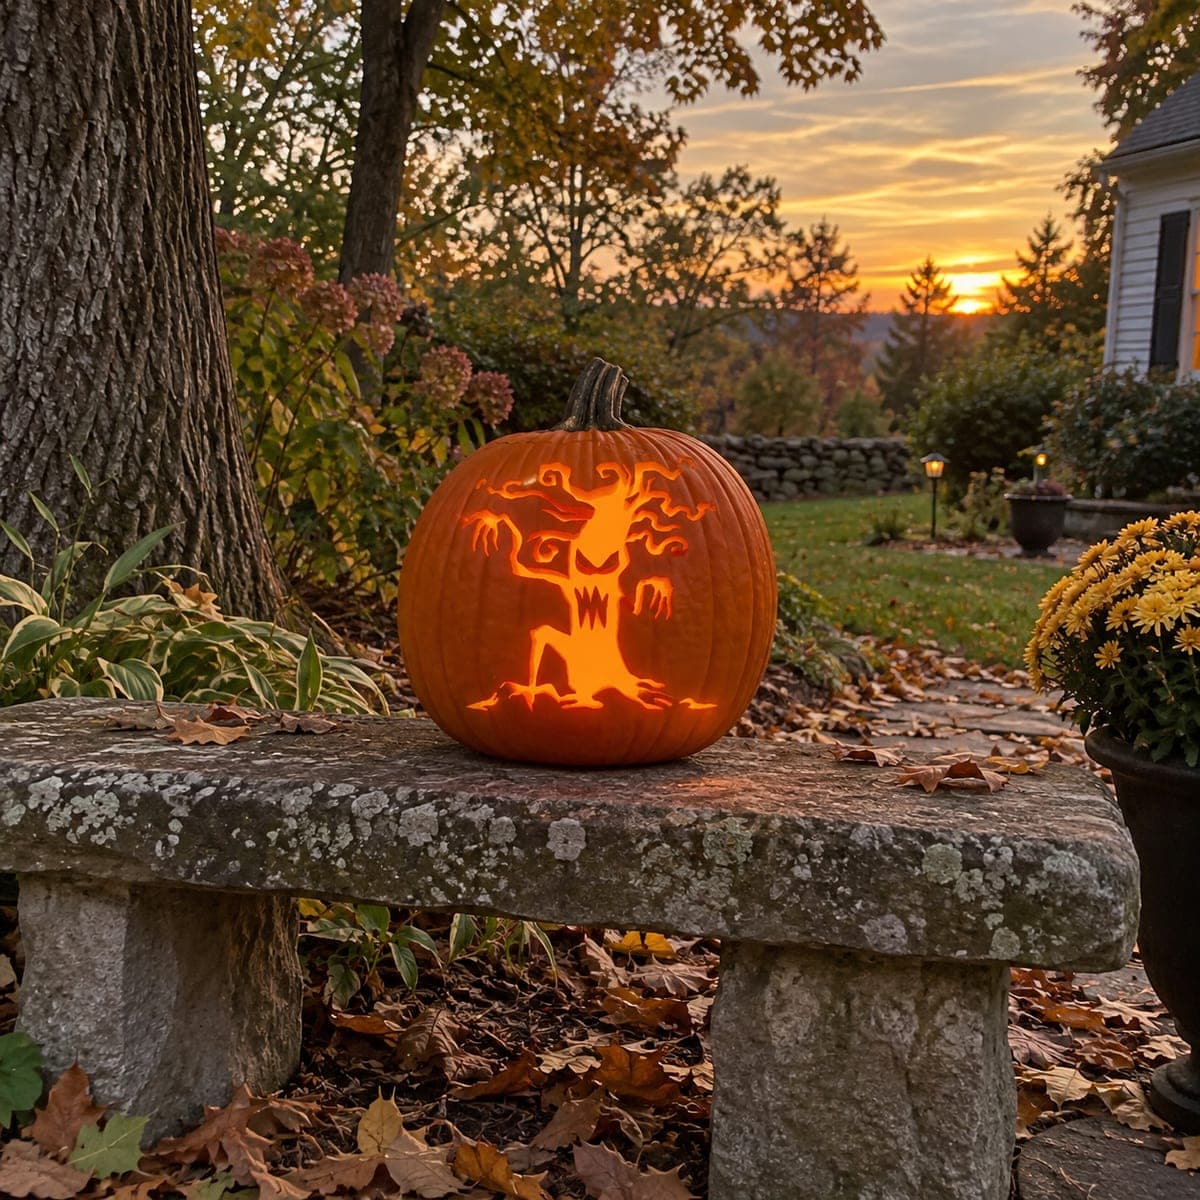
The Watching Spooky Tree Pumpkin

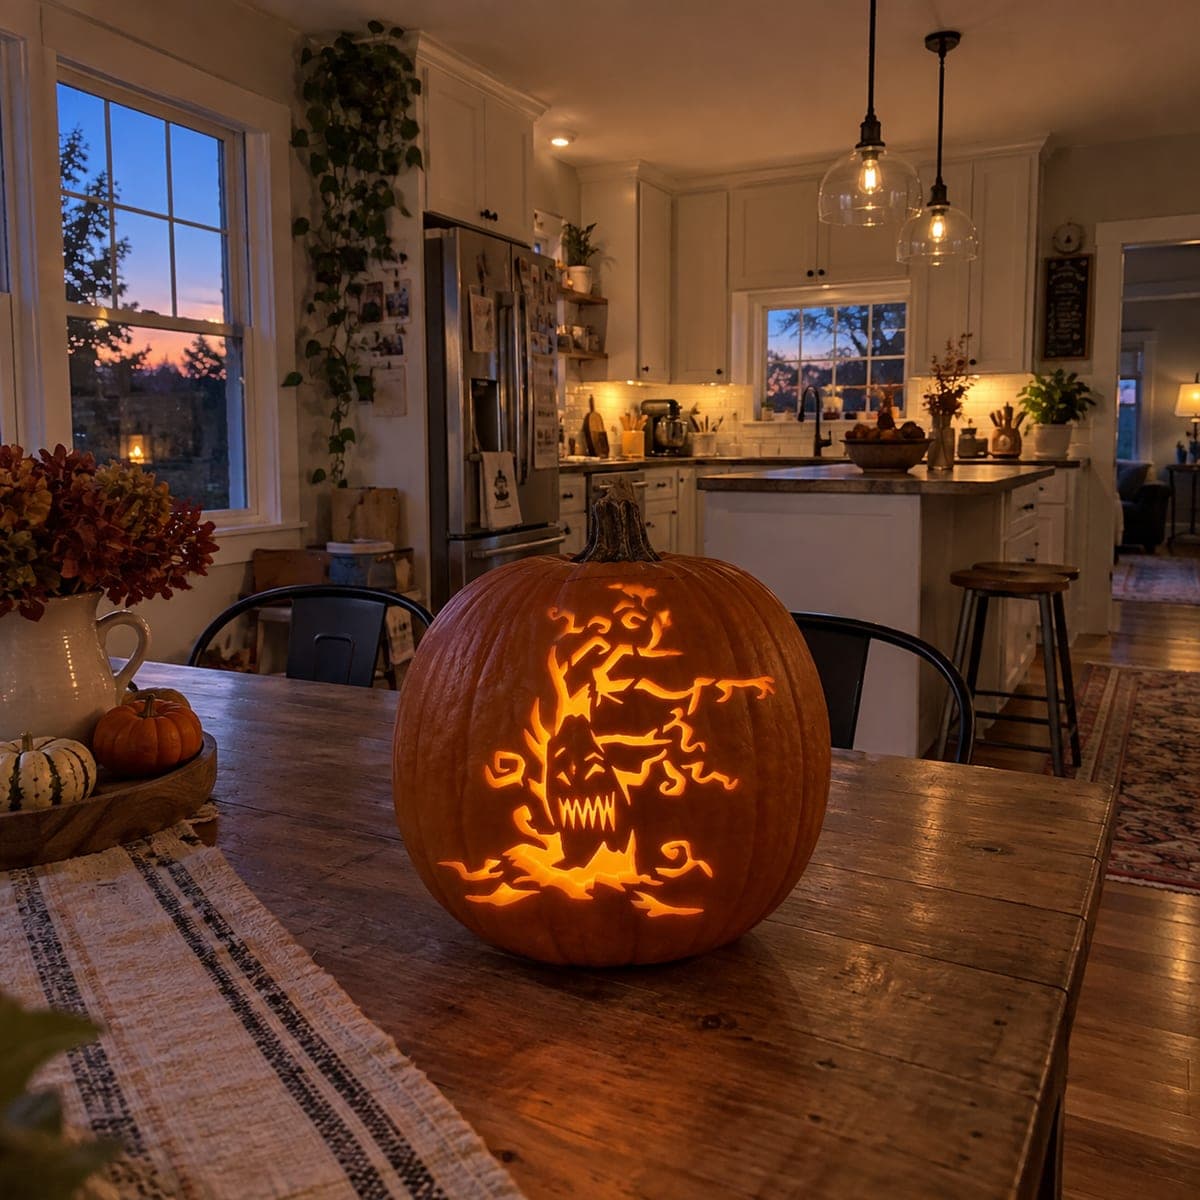
This hard-level spooky tree pumpkin carving features an arched canopy above a trunk that holds a carved face, all glowing on a stone patio. Keep the trunk rooted at the base and anchor each limb to the arch on both sides so no rind island floats free. Cut the sky openings between branches and the face holes separately, working from the top down so debris falls away cleanly. A flickering LED candle brings out the face without overheating the rind.

No ratings yet · Sign in to rate
creepy-treespookycreepytreescaryarched-canopytrunk-facestone-patio

Save this design for carving night, then share a photo of your own jack-o'-lantern once it's glowing.

Comments (0)

  • No comments yet. Be the first.

Our tips for carving a similar design

The arched canopy structure works by rooting the trunk into the pumpkin base and anchoring every main limb to the outer arch on both sides, ensuring no rind island floats loose above. The face is carved into the trunk as a separate set of cutout holes, chosen to express a specific expression without cutting so much material that the trunk narrows dangerously. Working from the top of the pumpkin downward keeps debris falling away from completed work throughout the session.

From pumpkin to porch

  1. Prep and gut the pumpkin

    Cut a wide bottom cap and scoop to about an inch of wall thickness. A taller pumpkin works well because it gives the arched canopy room to spread. Dry the surface and transfer the full pattern, marking all limb-to-arch connection points in a contrasting color.

  2. Establish all limb-to-arch connection points

    Before cutting any sky openings, confirm that every main limb has at least one connection point to the outer arch rind at its tip. Mark these connection points explicitly. Any limb that does not reach the arch must be extended in the design before the first cut, or it will drop when the sky area beside it is removed.

  3. Cut sky openings between branches from the top down

    Working from the top of the canopy downward, remove each sky opening between branches as a separate aperture. Keep each cut clear of the limb-to-arch connections. Work one section at a time and confirm the overall structure feels solid after each major opening is removed.

  4. Shape the trunk and retain its base

    Define the trunk shape by removing the sky areas on each side of it, leaving the trunk rooted firmly at the base. The trunk should be at least three-quarters of an inch wide at its narrowest point, even after the face holes are added. Keep the base root wide to carry the load of everything above.

  5. Carve the face holes in the trunk

    Use a fine-blade detail saw to cut the eye and mouth apertures within the trunk. Keep each hole's edge at least a quarter inch from the trunk silhouette boundary. A flickering LED inside will animate the face naturally. Cut the eyes first, then the mouth, and confirm the trunk still feels rigid after each hole.

  6. Light and display

    Place a flickering LED candle inside and position it toward the face so the eyes and mouth glow with maximum intensity. Display on a stone patio or outdoor surface where the arched canopy casts a dramatic upward shadow. Apply petroleum jelly to all cut edges before the first display night.

Written with AI to match this design

Gather your supplies

Check things off as you get ready.

Work on a stable surface, keep your free hand out of the cutting path, and have an adult handle sharp tools.

Three levels of light

  • Leave intact

    Trunk rind, all limb rind, base root, and all limb-to-arch connection rind at branch tips

  • Peel & shade

    None, all depth from through-cuts

  • Cut through

    Sky openings between branches, face eye apertures in trunk, and face mouth aperture in trunk

Learn the carving basics

Before you start cutting

How many face features can the trunk hold without becoming too thin?

Two eyes and a mouth is the standard maximum for a trunk that is three-quarters of an inch wide. Adding a nose cut as well is possible if the trunk is an inch or more wide at that point. Do not add brow cuts unless the trunk is at least one and a quarter inches wide. Err toward fewer, simpler features rather than more.

A limb fell off after I cut the adjacent sky opening. Can it be repaired?

A fully detached limb is difficult to reattach permanently. You can press it back in place and use two or three toothpicks inserted through the break point to pin it, then seal with petroleum jelly. This may last one or two more display nights. Going forward, always confirm limb connections before cutting the adjacent sky opening.

The arched canopy looks different on a curved pumpkin surface. How do I adjust?

On a curved surface, the arch will naturally wrap around the pumpkin, which makes it look wider and less tall than your flat template. Adjust by sketching the arch freehand on the pumpkin surface after pattern transfer, adding height to the peak to compensate for the curvature. Step back and view from straight on before committing the final outline in marker.

Your take belongs here, too.

Changed a detail? Made it simpler? Share a photo of your version and tell the community what worked.

Share your pumpkin

Want more designs like this? Browse our full library of pumpkin carving ideas, or pick a free printable stencil. Every pattern and template in our own collection is free to print at home.

More pumpkins like this

You've reached the end · 8 pumpkins
The Patch Report

Fresh pumpkins, in your inbox.

The best new carvings, ideas worth stealing, and how-tos for carving season. Short, seasonal, and gone by November.

A short email during carving season. Unsubscribe anytime. See our privacy policy.