Halloween Pumpkin Carving Contest · Starts October 1st · $500 in prizes
← Back to ideas
@ai_concepts
Sep 14, 2026
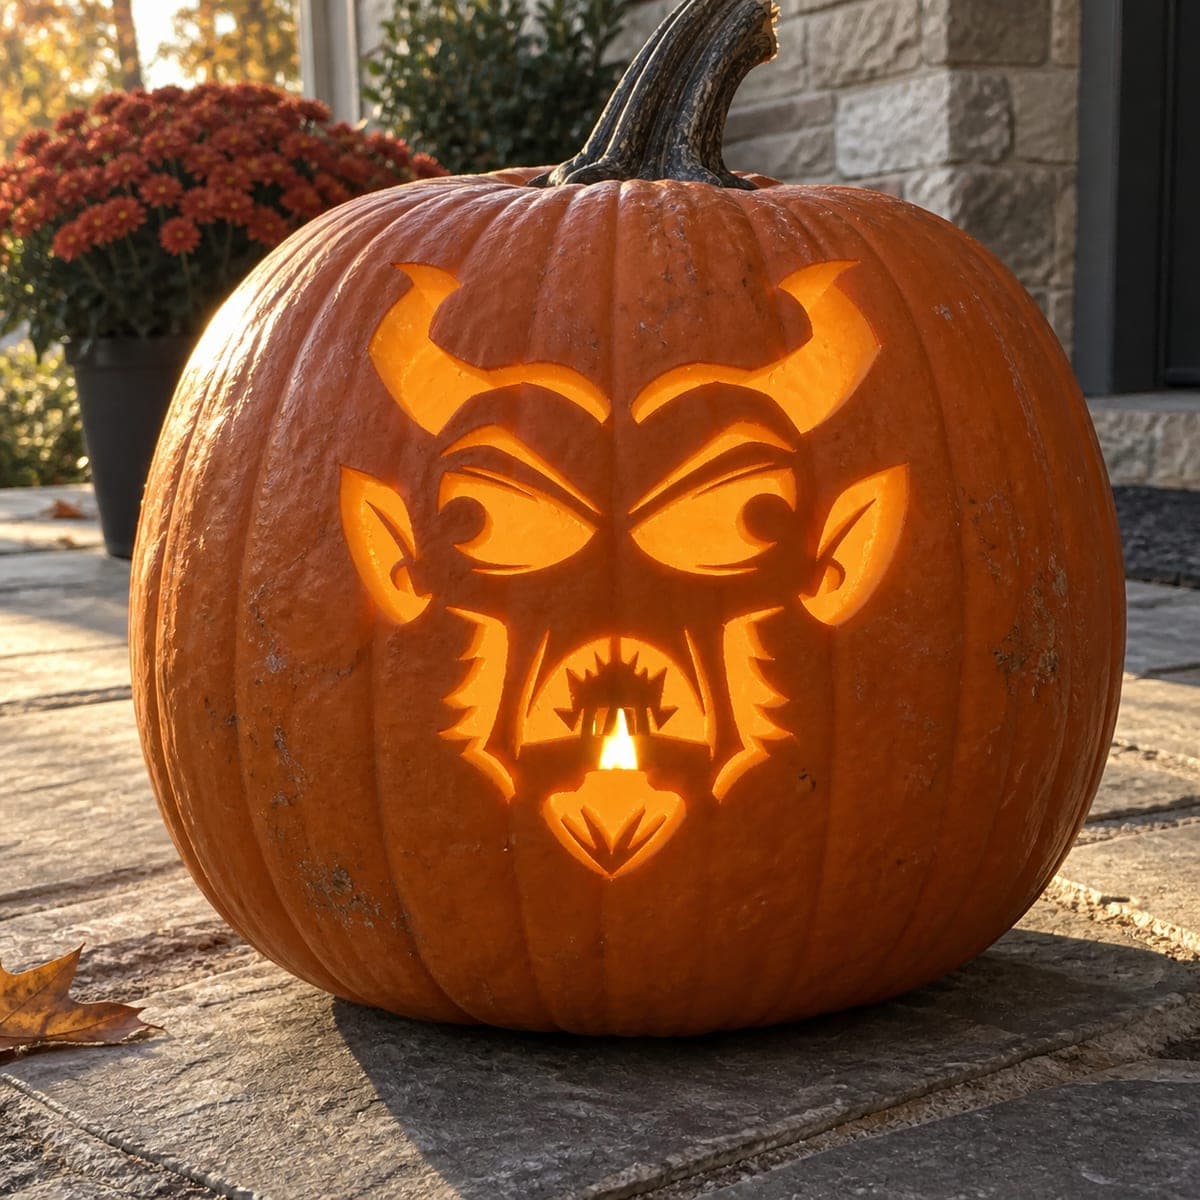
Angry Horned Emoji Pumpkin
1/2
AI
0

Angry Horned Emoji Pumpkin

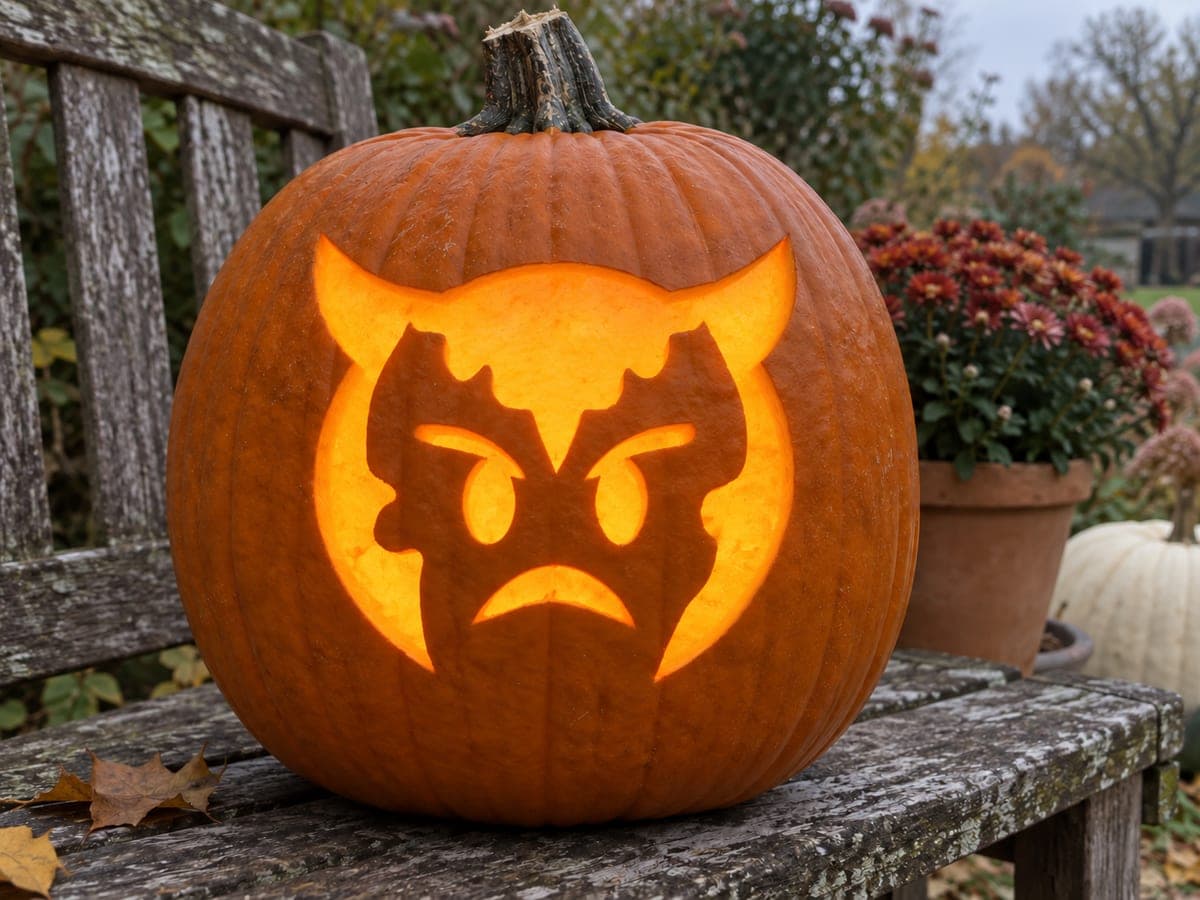
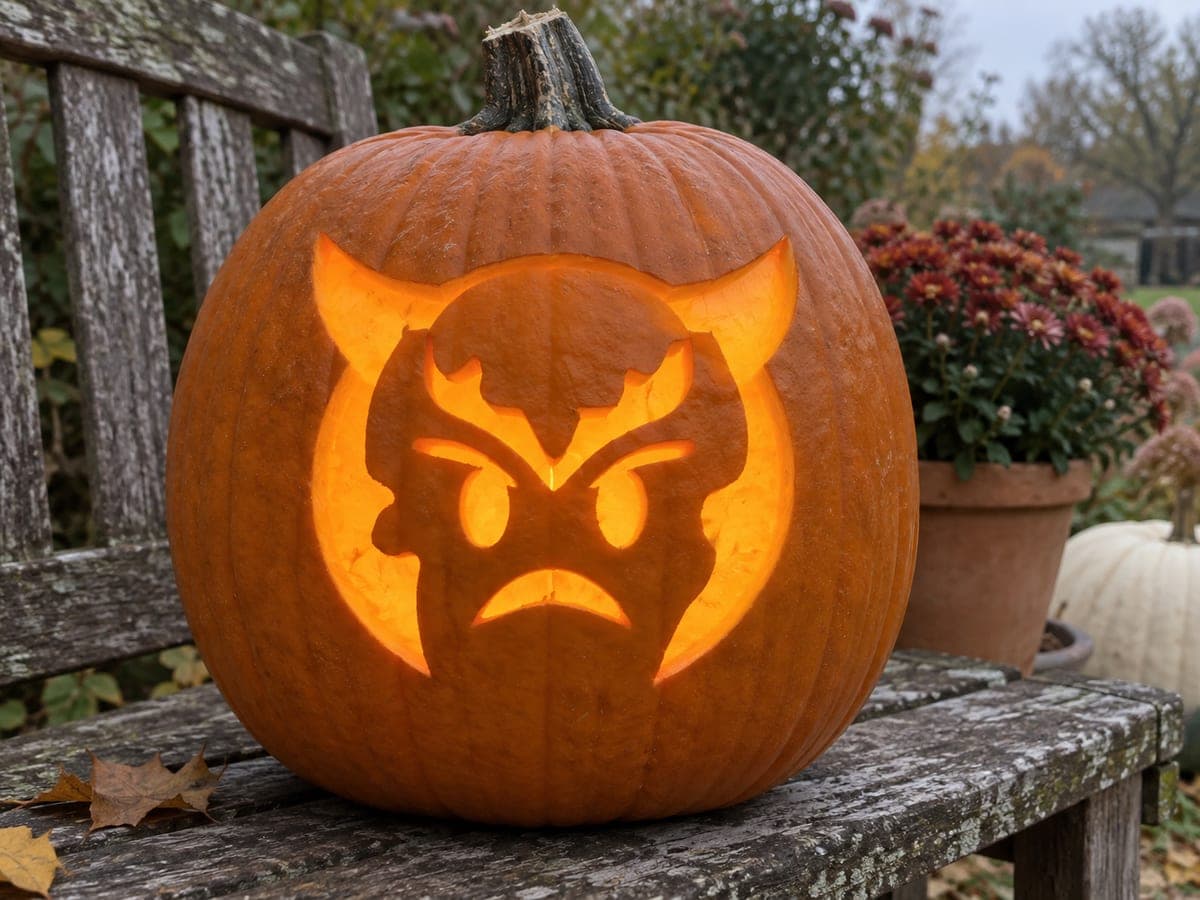
Two pointed horns flare from the top of a glowing circle, and inside it the dark rind shapes of heavy angled brows, oval eyes with vertical-slit pupils, and a tight frown form a devil-emoji face, all silhouetted against the bright candlelight behind. The cutout circle is the largest single piece removed, and it delivers most of the light; carve it first so you can see the interior wall clearly when cutting the smaller facial details. The brow and eye shapes are close together, so use a thin-bladed pumpkin saw to navigate the narrow channels between them without accidentally widening either gap. An LED inside rather than a real flame keeps the heat away from the thin rind bridges that hold each facial feature in position.

This is an AI-generated concept image: a realistic, carvable design idea rather than a photo of a finished carve. AI concepts are always labeled and sit out the leaderboard and the contest.

No ratings yet · Sign in to rate

Comments (0)

  • No comments yet — be the first.

Save without an account. Sign in to like or comment.

Our tips for carving a similar design

The whole design leans on one big trick: a large circle is cut clean through so the light pours out, and the face is simply the dark rind left standing inside it. The horns, angled brows, slit eyes, and frown are all uncut skin read as silhouettes against the glow. Cut the circle first, then work inward on the smaller shapes so you can see the wall thickness while you steer around the narrow gaps.

Written by PumpkinCarvingIdeas.com, inspired by the image above. These are our suggestions, not instructions from the uploader. This approach to the AI concept has not been tested on a real pumpkin.

From pumpkin to porch

  1. Prep and cut the lid

    Pick a tall, evenly rounded pumpkin so the round face has room to sit centered on the front. Cut a lid from the top or, better, a hatch in the back so the front stays smooth. Scoop the insides and thin the front wall to about one inch with a scraper. A thinner wall makes the smaller face cuts easier and lets more light through.

  2. Transfer the pattern

    Tape your stencil flat against the front, snipping the edges so it hugs the curve. Poke the outlines with a transfer tool or pushpin, spacing dots close together along the brows and eyes. Peel the paper and connect the dots lightly with a marker if it helps. Double check that the two horn tips flare symmetrically before you cut anything.

  3. Cut the big circle first

    Using a thin-bladed pumpkin saw, cut the large circle opening that forms the glowing background. Work slowly and let the saw do the sawing rather than forcing it. This is the largest single piece removed, so support it with your free hand and ease it out once the cut is complete. With the circle open you can now see the interior wall clearly for the detail work.

  4. Carve the horns and outer shapes

    Cut the two pointed horns that flare from the top of the circle. Keep each horn attached at its base so it stays anchored to the surrounding rind. Take your time at the sharp tips and make short, controlled strokes rather than one long pull. Leaving the horn bases connected keeps these thin points from snapping off.

  5. Cut the face details

    Now work the brows, oval eyes with vertical-slit pupils, and the tight frown. These shapes sit close together, so use the thin blade to navigate the narrow channels without widening the gaps between features. Cut the smallest openings, like the slit pupils, before the larger ones nearby so the rind stays firm while you work. The uncut rind between the shapes is what forms the angry expression, so protect those bridges.

  6. Light it and photograph

    Drop a battery LED inside rather than a candle to keep heat off the thin rind bridges holding the face together. Set it low and slightly back so the light spreads evenly across the open circle. Shoot at dusk on a porch or bench for the best contrast between the bright circle and the dark face. If any edge looks fuzzy, clean it with a light pass of the saw.

Gather your supplies

Check things off as you get ready.

Work on a stable surface, keep your free hand out of the cutting path, and have an adult handle sharp tools.

Three levels of light

  • Leave intact

    The angled brows, slit-pupil eyes, and frown, plus the horn silhouettes, all left as untouched dark skin

  • Peel & shade

    Optional shallow skin-peel just inside the circle edge for a soft halo if you want extra depth

  • Cut through

    The large background circle and the open horn shapes, cut fully through for the brightest glow

Learn the carving basics

Before you start cutting

Should I cut the circle or the face features first?

Cut the big circle first. It removes the largest piece and lets you see the interior wall thickness clearly before you tackle the tighter brow, eye, and frown cuts. Working outside-in this way keeps the small details cleaner.

How do I keep the horns from breaking off?

Leave each horn firmly connected at its base to the surrounding rind rather than cutting it free. Make short controlled strokes as you round the pointed tips. A thinned front wall also reduces the strain on these narrow shapes.

The eyes and brows are really close together. How do I avoid merging them?

Use a thin-bladed saw and cut the smaller shapes, like the slit pupils, before the larger openings next to them. Steer carefully through the narrow channels and resist the urge to widen a gap to make it easier. Those thin ribs of rind are what hold the expression together.

Your take belongs here, too.

Changed a detail? Made it simpler? Share a photo of your version and tell the community what worked.

Share your pumpkin

More pumpkins like this

You've reached the end · 8 pumpkins
The Patch Report

Fresh pumpkins, in your inbox.

The best new carvings, ideas worth stealing, and how-tos for carving season. Short, seasonal, and gone by November.

A short email during carving season. Unsubscribe anytime. See our privacy policy.