Halloween Pumpkin Carving Contest Β· Starts October 1st Β· $500 in prizes
← Back to ideas
@ai_concepts
Jul 30, 2026

Flaming Devil Face Jack-O-Lantern With HornsAI
0

Flaming Devil Face Jack-O-Lantern With Horns

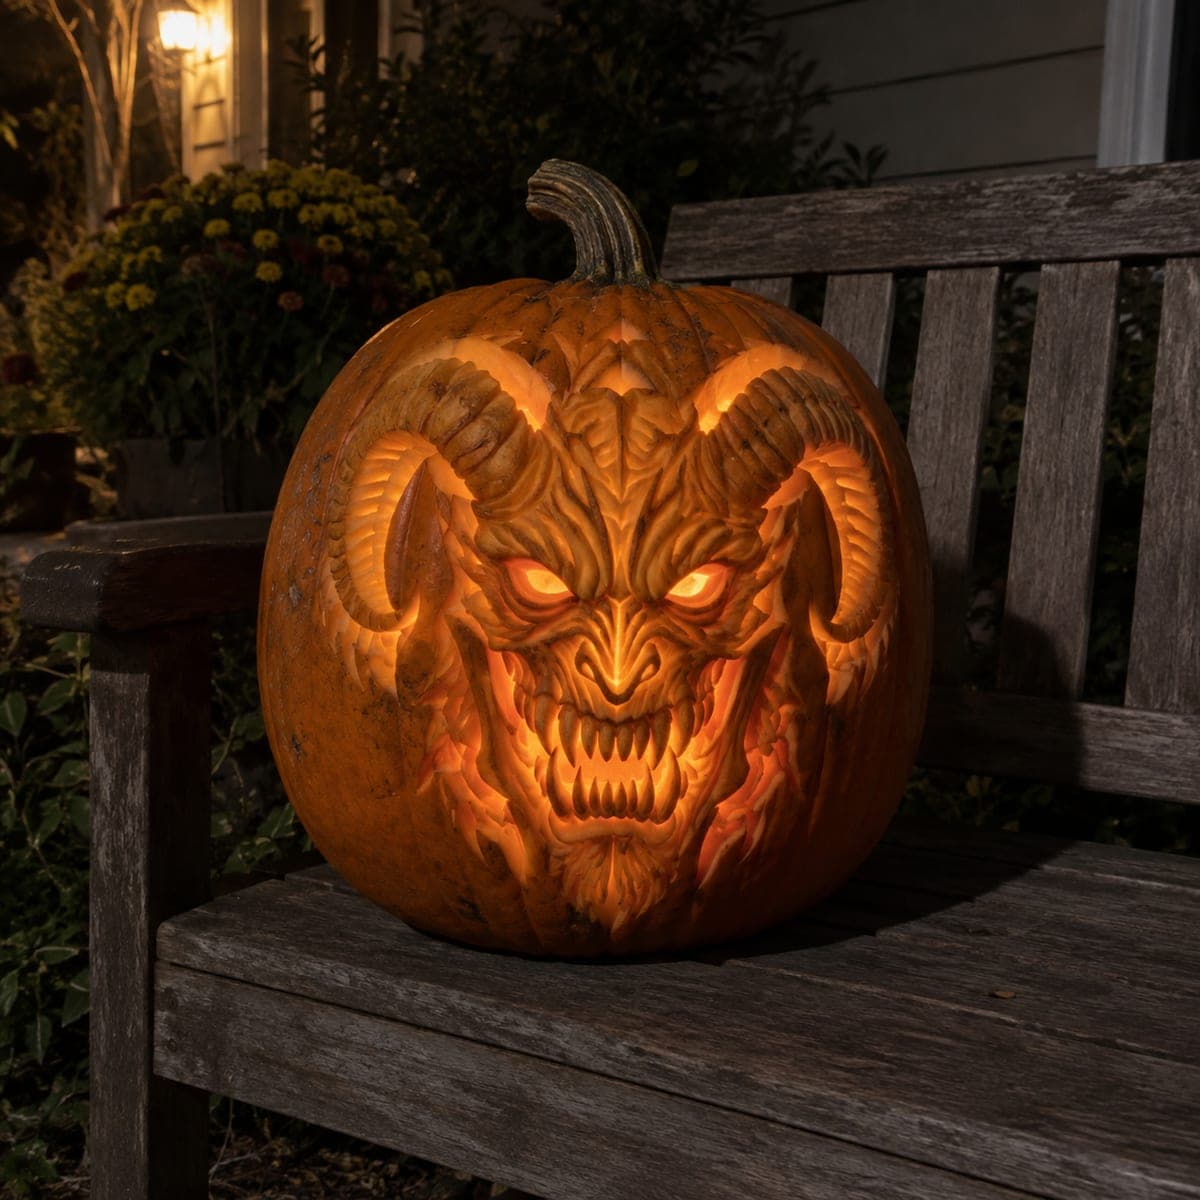
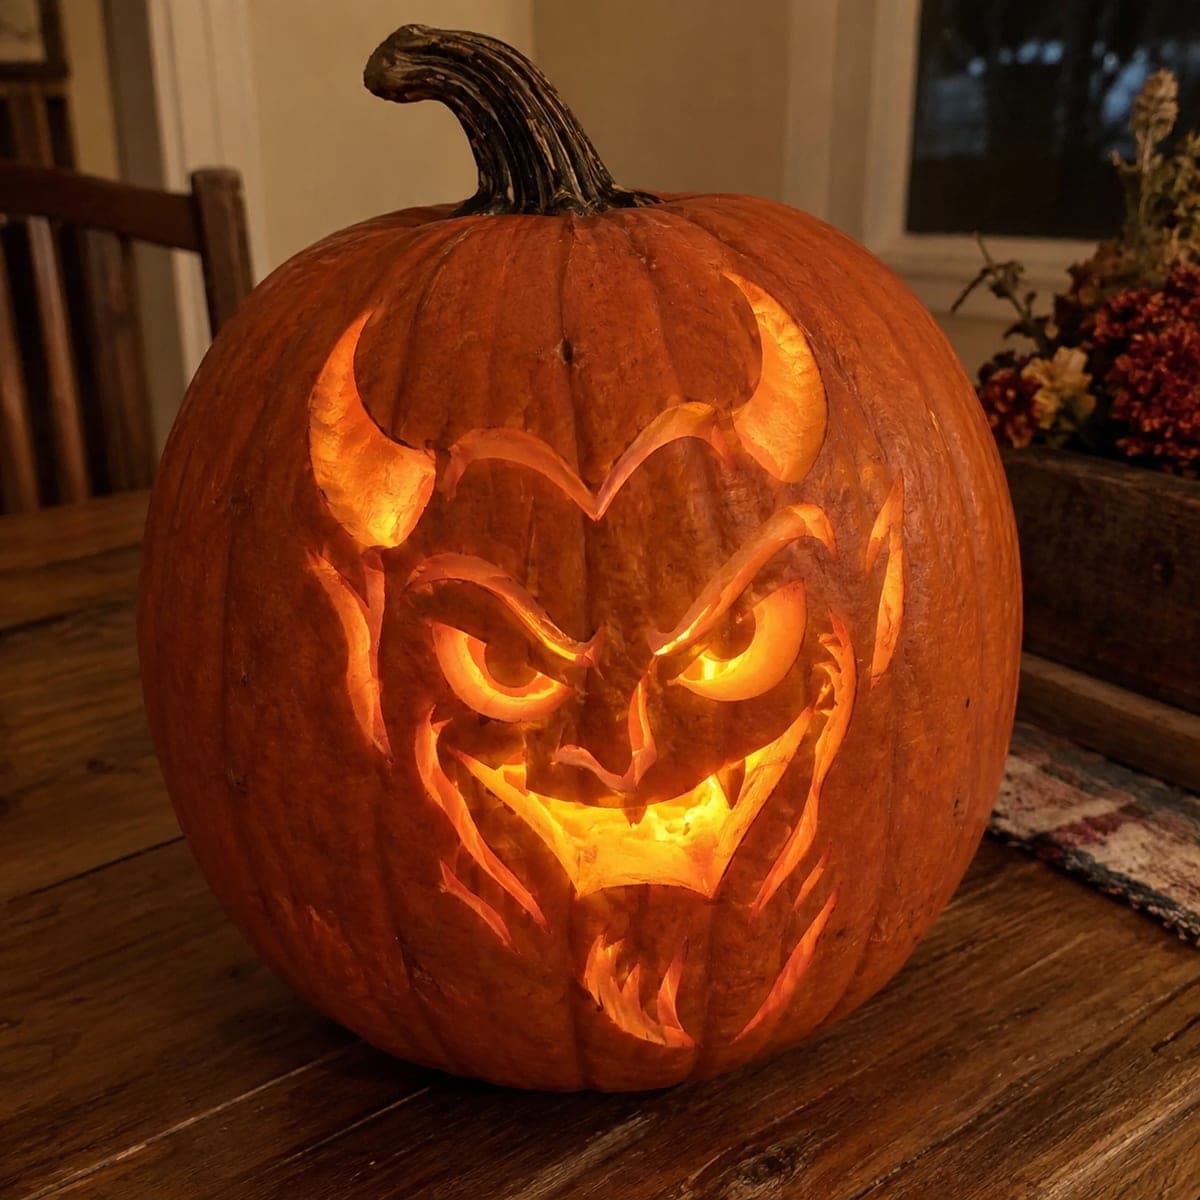
A grinning devil leers from this pumpkin, ringed by carved flames, with striped horns, blazing cut-through eyes, and a mouth full of jagged teeth. The menace comes from contrast: only the eyes and mouth pierce the wall, while the face and fire are sculpted at graduated depths that smolder rather than shine. Carve the deep features first, then chase the flame licks outward with a loop tool, and use a red-orange bulb to push the hellish glow.

This is an AI-generated concept image: a realistic, carvable design idea rather than a photo of a finished carve. AI concepts are always labeled and sit out the leaderboard and the contest.

No ratings yet Β· Sign in to rate

Comments (0)

  • No comments yet β€” be the first.

Save without an account. Sign in to like or comment.

Our tips for carving a similar design

The trick here is contrast: only the eyes and mouth are cut all the way through, while the horns, face, and surrounding flames are shaded at different depths so they smolder instead of blaze. Since this is a concept image, treat it as a target to build toward on a real pumpkin by planning your depths before you cut. Carve the deep sculpted features first and save the full cutouts for last so the shell stays strong.

Written by PumpkinCarvingIdeas.com, inspired by the image above. These are our suggestions, not instructions from the uploader. This approach to the AI concept has not been tested on a real pumpkin.

From pumpkin to porch

  1. Prep the pumpkin and cut the lid

    Pick a tall, round pumpkin with a smooth front for the face. Cut an access hole in the back or bottom rather than the top so the stem stays intact for the crown of the design. Scrape the inside wall behind the face down to about one inch thick with a scoop, since thinner walls shade and glow more evenly. Dry the inner wall with a paper towel before you transfer the pattern.

  2. Transfer the pattern and mark your depths

    Tape your devil-and-flame stencil to the front and poke the outlines with a pin or transfer wheel. Before cutting, mark which zones are cutouts, which get skin peeled, and which stay dark, using a washable marker. The eyes and mouth are your only pierce-through areas, so circle them clearly. Planning depths now keeps you from accidentally cutting a flame all the way through later.

  3. Sculpt the face and horns with a loop tool

    Start with the brow, nose, cheeks, and the striped horns using a loop or ribbon tool to peel skin to varying depths. Go deeper where you want more glow, like the ridges of the horns and the top of the cheekbones, and stay shallow for the darker recesses beside the nose. Work slowly and keep both hands behind the blade. Building the face in relief first gives you a stable surface before you weaken the shell with openings.

  4. Chase the flames outward

    Use the loop tool to carve the flame licks that ring the face, peeling the skin so they glow dim orange against the untouched background. Keep each flame tip attached to the body of the flame so nothing floats free or snaps. Vary the depth along each lick so the fire looks like it flickers rather than sits flat. Leave narrow strips of untouched skin between flames to define their edges.

  5. Cut the eyes and mouth last

    Now pierce the eyes and the jagged teeth with a small serrated saw, cutting the largest openings dead last. Leave thin bridges of pumpkin between each tooth so the grin holds its shape and does not collapse into one hole. Cut the eyes as narrow, angled slits to keep the menace. Support the wall with your free hand as you finish each opening.

  6. Light it and take the photo

    Set a red-orange LED bulb inside to push the hellish glow, and skip open flame so the sculpted areas stay safe overnight. Test in the dark and rotate the light until the eyes and mouth blaze while the flames smolder. If a shaded area looks too dark, thin it a little more from the inside. Shoot at dusk against a plain backdrop so the glow reads as the star.

Gather your supplies

Check things off as you get ready.

Work on a stable surface, keep your free hand out of the cutting path, and have an adult handle sharp tools.

Three levels of light

  • Leave intact

    The dark recesses beside the nose and the background skin between flames stay untouched for deep shadow.

  • Peel & shade

    The horns, cheeks, brow, and the ring of flames get skin-peeled for a dim smoldering orange.

  • Cut through

    The angled eyes and the jagged-toothed grin are cut through for the brightest blaze.

Learn the carving basics

Before you start cutting

How do I keep the jagged teeth from breaking?

Leave a thin bridge of pumpkin between each tooth instead of cutting one wide mouth hole. These bridges hold the grin together and read as the gaps between teeth. Cut the mouth last, after the sculpting is done, so the shell is at full strength while you work.

How do I get the flames to smolder instead of glow bright?

Peel only the skin off the flames rather than cutting through the wall. Peeled skin lets a dim orange light bleed through, which looks like smoldering fire. Save full cutouts for just the eyes and mouth so those features pop against the softer glow.

This is an expert design, can I simplify it?

Yes. You can drop the surrounding flames and carve just the horned devil face with shaded features and cut eyes and mouth. That keeps the menace while cutting the sculpting time roughly in half. Add the flame ring later once you are comfortable with the loop tool.

Your take belongs here, too.

Changed a detail? Made it simpler? Share a photo of your version and tell the community what worked.

Share your pumpkin

More pumpkins like this

You've reached the end Β· 8 pumpkins
The Patch Report

Fresh pumpkins, in your inbox.

The best new carvings, ideas worth stealing, and how-tos for carving season. Short, seasonal, and gone by November.

A short email during carving season. Unsubscribe anytime. See our privacy policy.